Embroidered Pumpkin Pillow
-Brother Sews Ambassador
It may still be 90 degrees here, but I’m totally getting into the fall spirit! I’ve been sewing with beautiful fall fabric lately and drinking pumpkin spiced coffee and trying to imagine that it’s getting cooler. I’m super excited about this fall throw pillow project today. There are so many ways you can create something like this, I hope I will inspire your creativity with this tutorial.
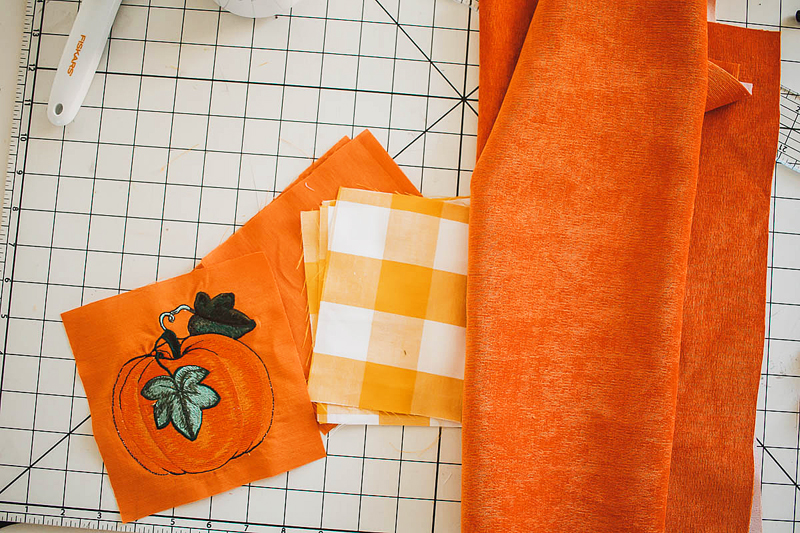
Fall Pillow Supplies needed: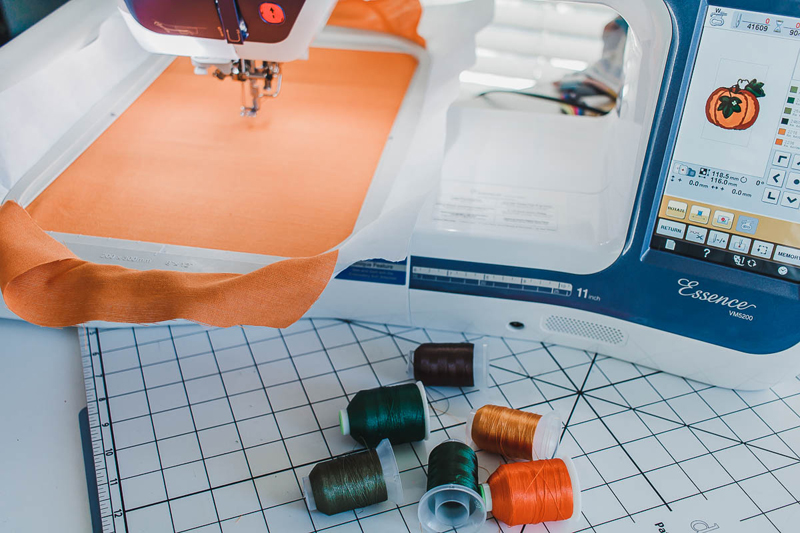 Start by cutting your fabric squared. For a 16” pillow form you will cut eight squares each 5.75” square. If you have a different size pillow you will have to divide the width by 3 to find your square size. I only cut eight of the squares to start, and cut the embroidered one after I did the embroidery.
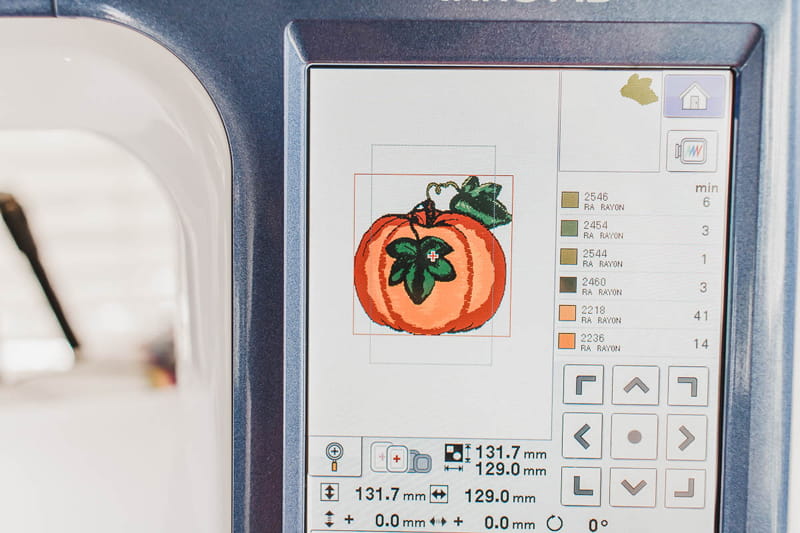
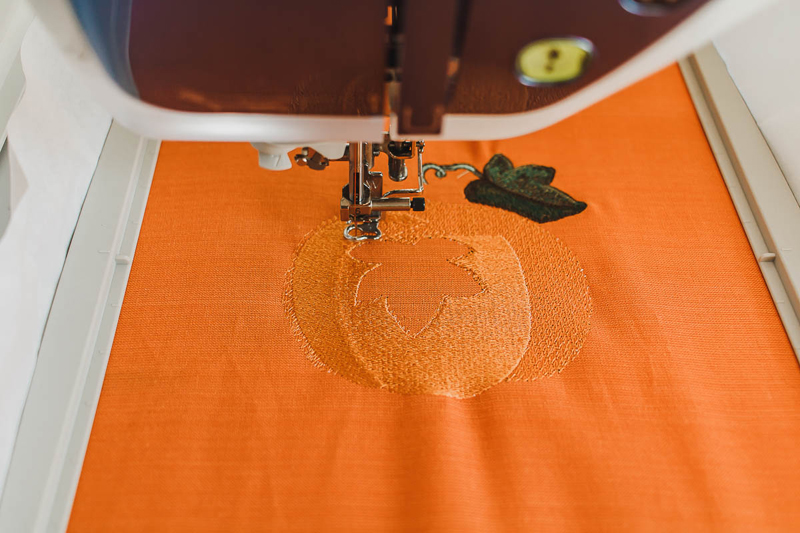
Embroider the design on a piece of fabric. I didn’t have the exact colors, but I was able to use similar colors to still create a beautiful fall design.
Start by cutting your fabric squared. For a 16” pillow form you will cut eight squares each 5.75” square. If you have a different size pillow you will have to divide the width by 3 to find your square size. I only cut eight of the squares to start, and cut the embroidered one after I did the embroidery.
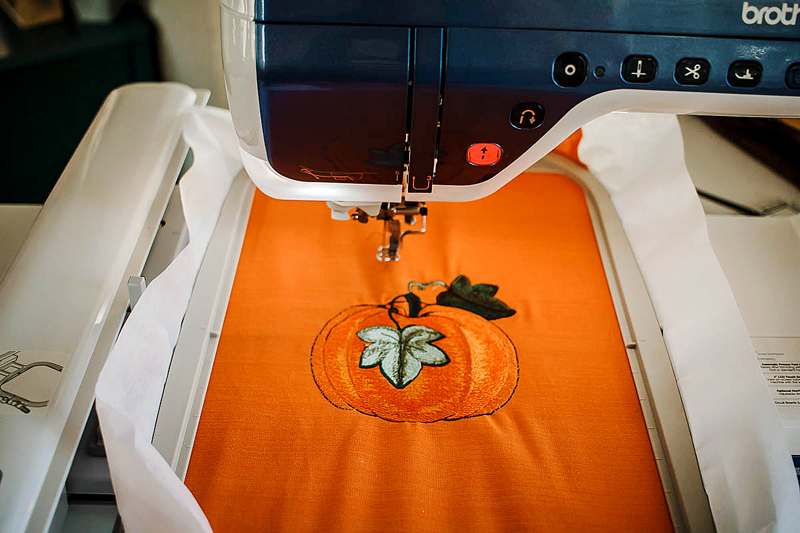
Embroider the design on a piece of fabric. I didn’t have the exact colors, but I was able to use similar colors to still create a beautiful fall design.
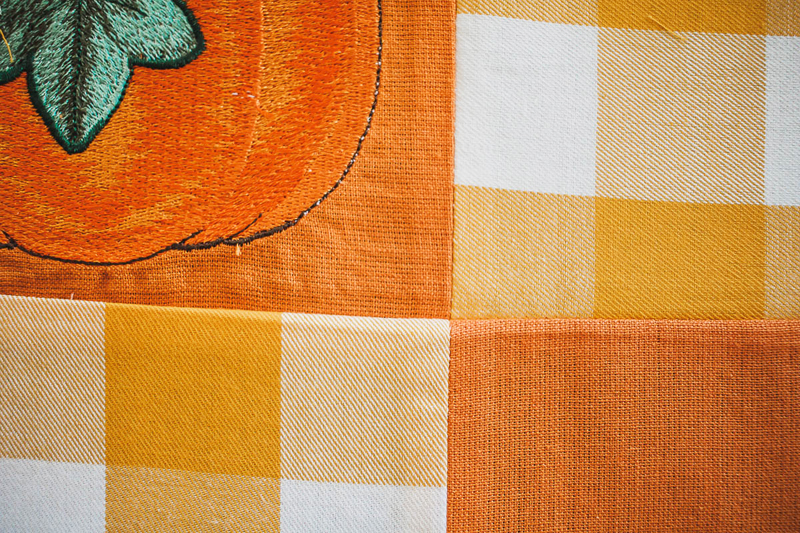
 Look at how pretty the design turned out.
 Remove the design from the hoop and tear away the backing. Use a steam iron to press the embroidery and then trim around it to create the ninth block for the pillow front. You will also need fabric for the pillow backing. For this pillow I’m going to be adding a zipper closure, but you can also make an envelope pillow or button back.
 Arrange the blocks in the design that you want to create. You could also have embroidery on several of the blocks instead of just the center block.
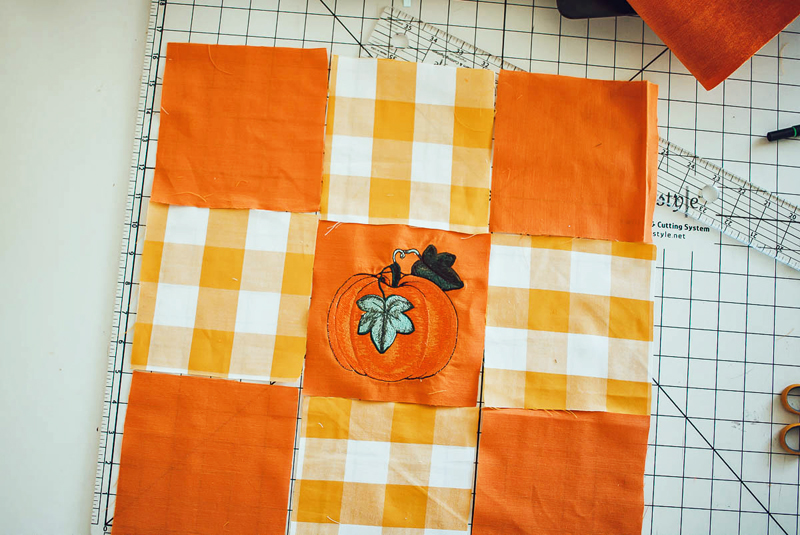 Sew each row of blocks together and press the seam allowance open as you sew.
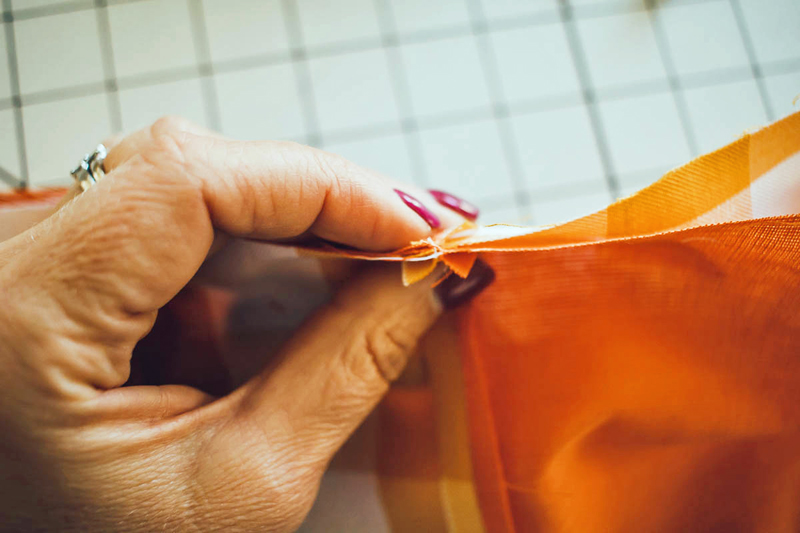
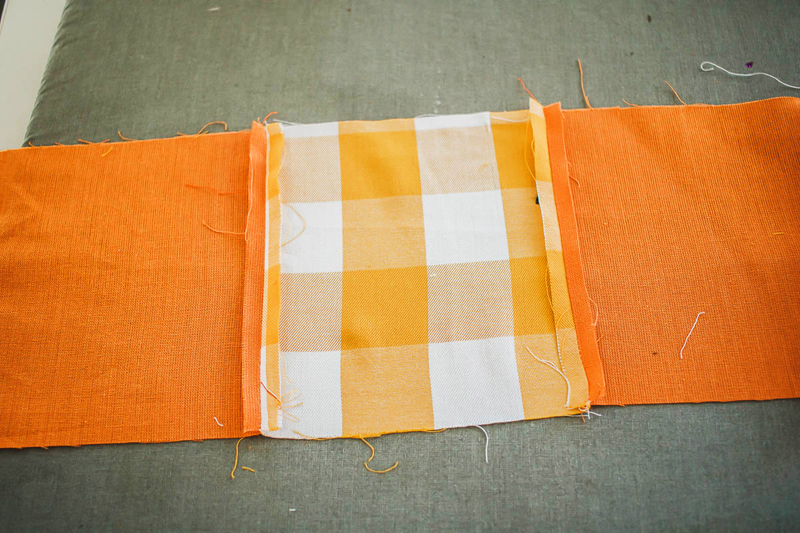 After the rows are sewed, sew the rows together. Make sure to match the rows and corners the best you can. NOTE: I am not a quilter… so those of you who are will have perfect corners every time. I’m just happy I mostly matched some of my corners.
 Press the front of the pillow case well before adding the back. Again, I am adding a zipper, but there are many kinds of pillow backs as seen here. For the zipper back, cut the back piece the same as the front. My back is 16” x 16”.
 Sew the right side of the zipper to one side of the nine square pillow front.
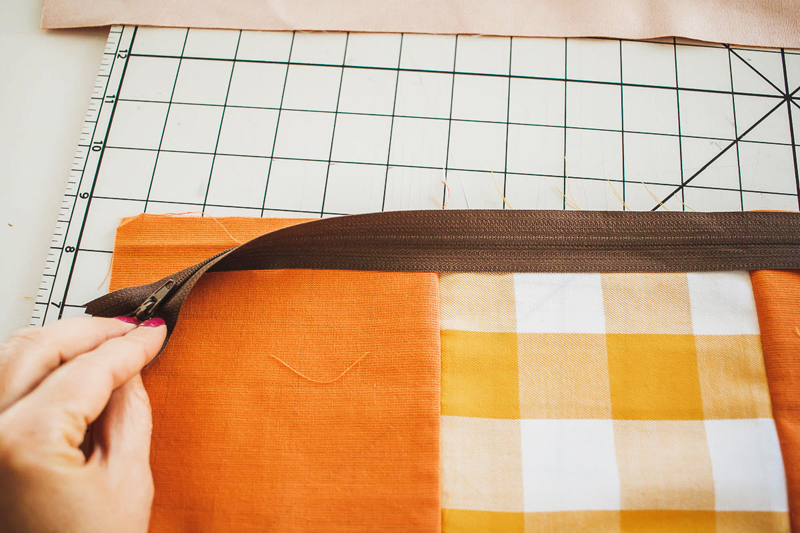
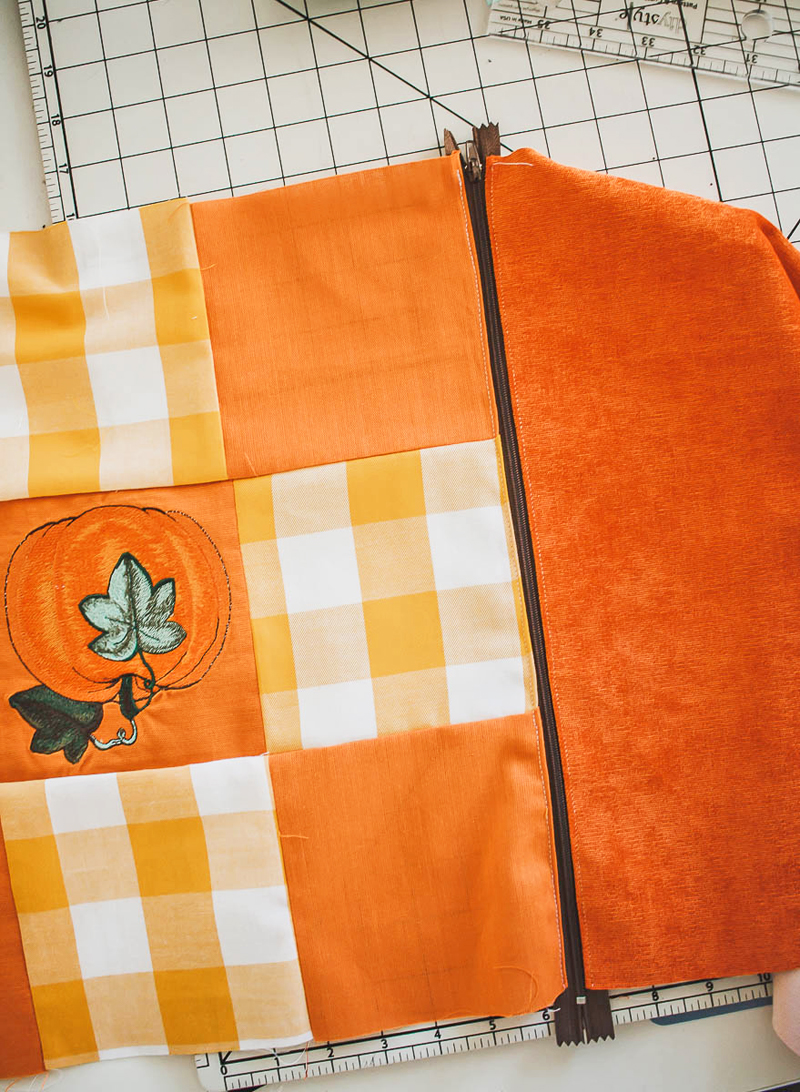
 Repeat and sew the other side of the zipper to the pillow backing.
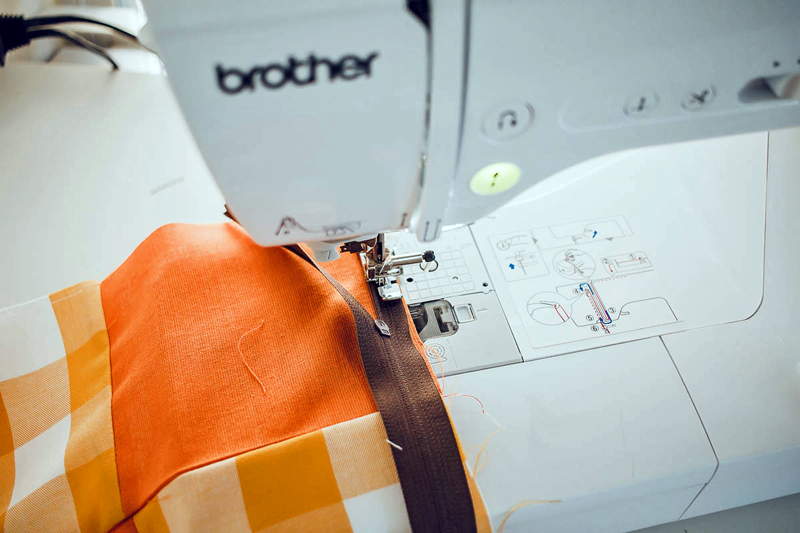
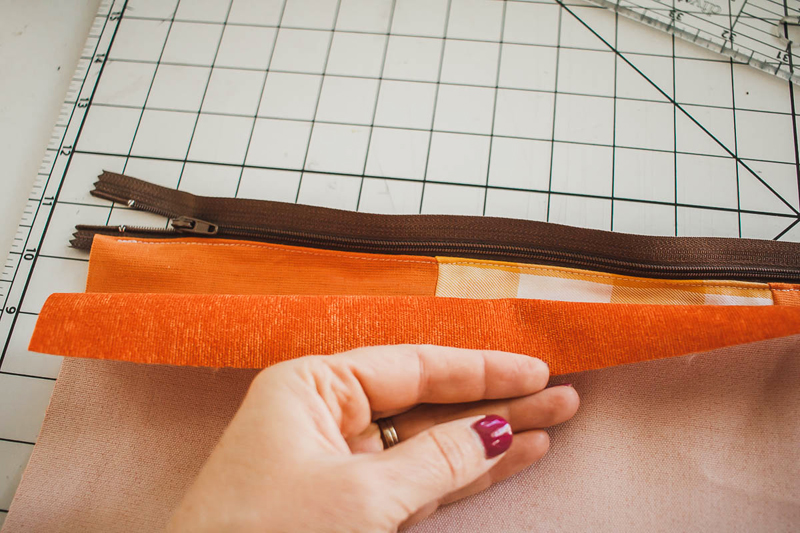 Top-stitch the seam allowance on either side of the zipper.
 Fold the pillow front and back together with the right sides touching. Pin around on all three sides of the fabric to finish sewing the pillow. NOTE: Make sure to unzip the zipper a few inches so you can turn the pillow right side out.
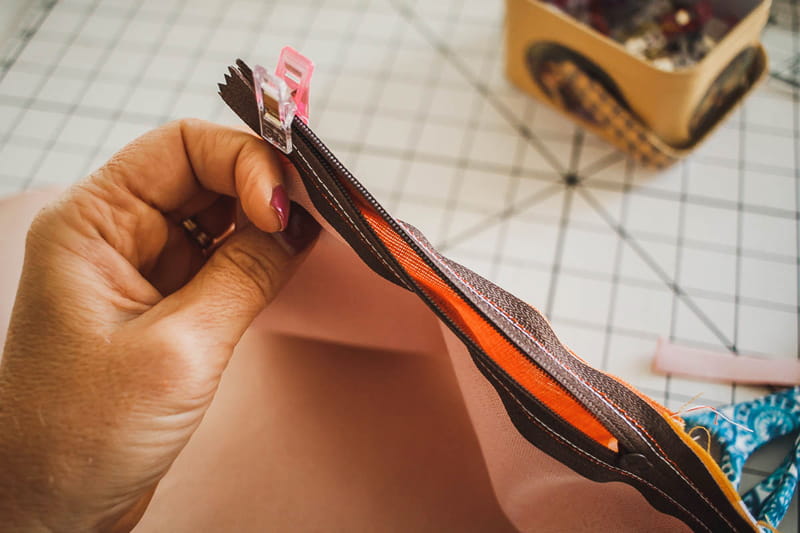 Sew around the three sides then clip the extra ends of the zipper to remove the bulk and turn right side out.
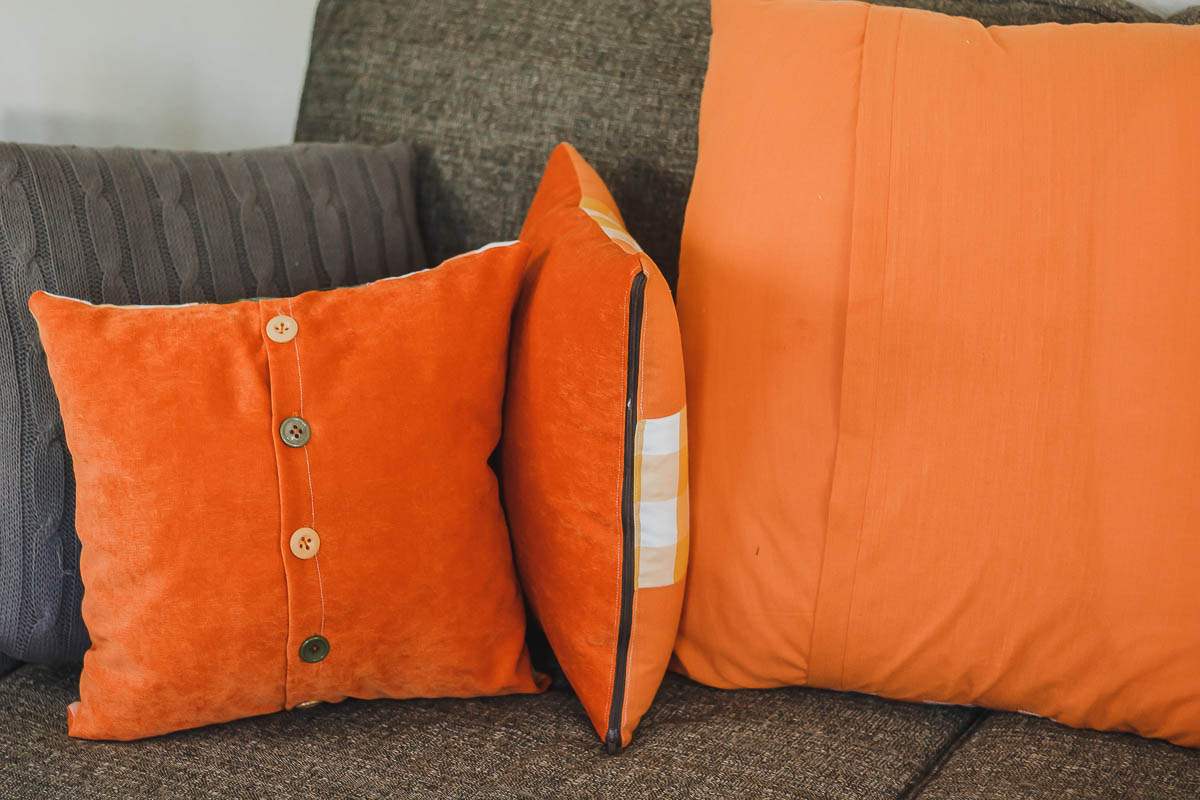
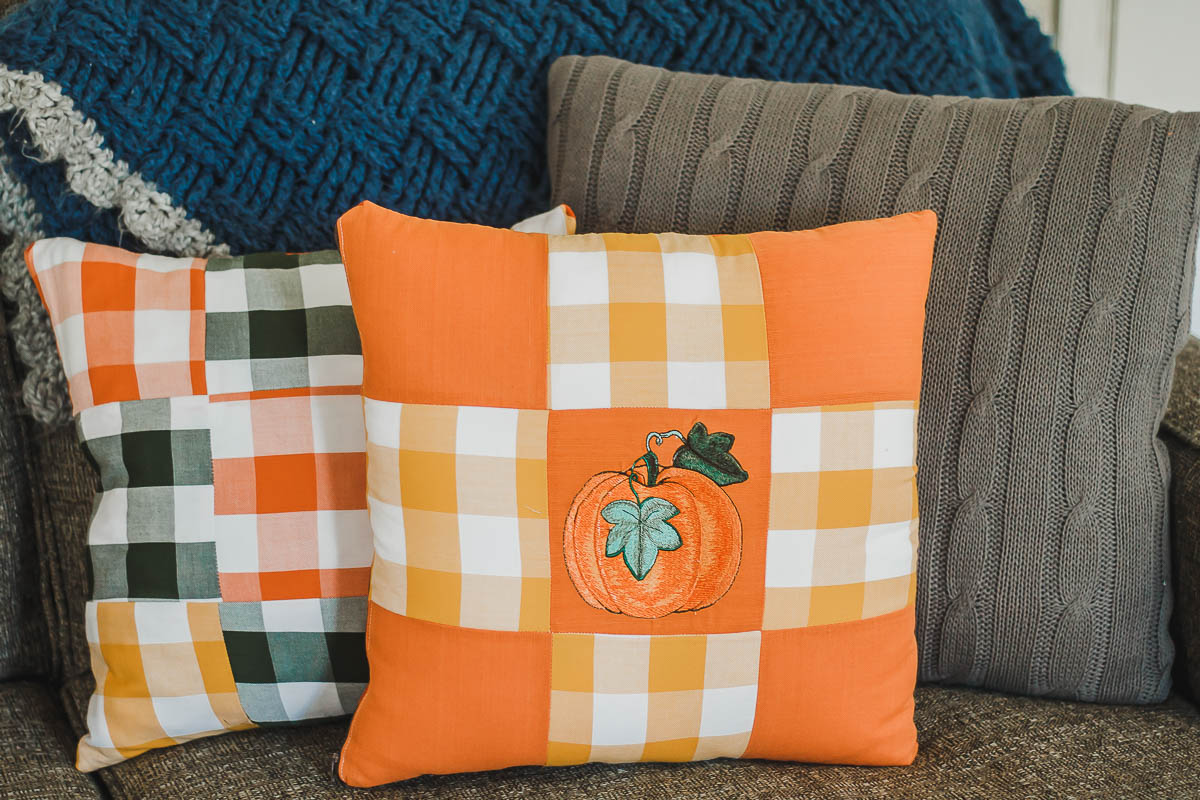
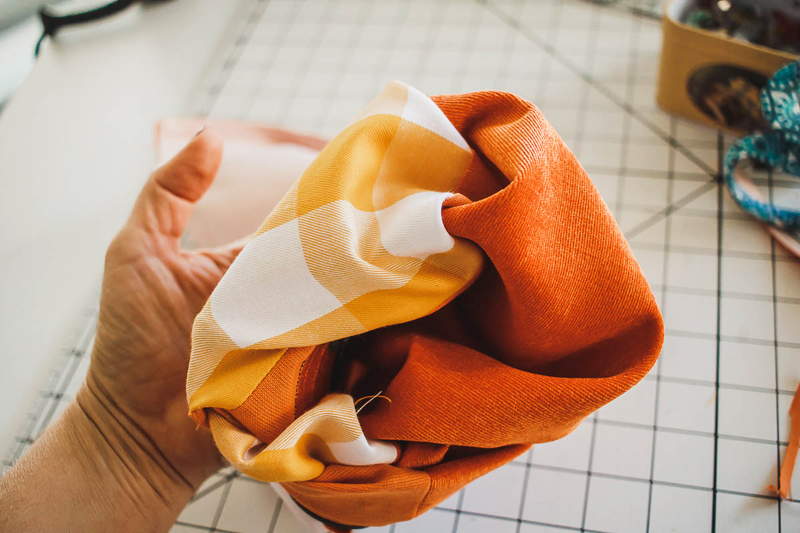 Gorgeous DIY fall pillows can now be yours! You can create multiple designs and patterns using the same basic idea for each of them.
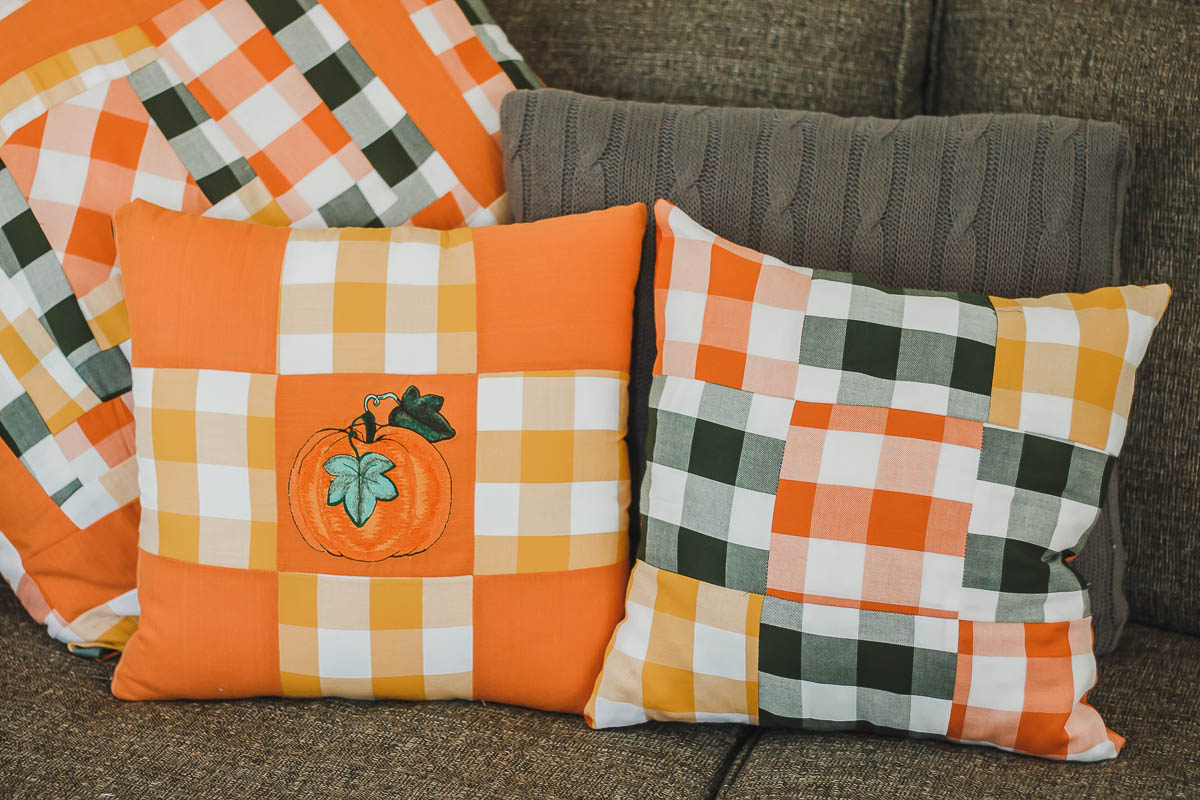
It may still be 90 degrees here, but I’m totally getting into the fall spirit! I’ve been sewing with beautiful fall fabric lately and drinking pumpkin spiced coffee and trying to imagine that it’s getting cooler. I’m super excited about this fall throw pillow project today. There are so many ways you can create something like this, I hope I will inspire your creativity with this tutorial.
Fall Pillow Supplies needed:
- Fat Quarters of Fun Fall Fabric
- Pumpkin Embroidery Design from iBroidery
- Embroidery Thread and Stabilizer
- Fabric for Backing
- {Optional Zipper}
- Pillow Form 16” x 16”
Start by cutting your fabric squared. For a 16” pillow form you will cut eight squares each 5.75” square. If you have a different size pillow you will have to divide the width by 3 to find your square size. I only cut eight of the squares to start, and cut the embroidered one after I did the embroidery.
Embroider the design on a piece of fabric. I didn’t have the exact colors, but I was able to use similar colors to still create a beautiful fall design.
Look at how pretty the design turned out.
Remove the design from the hoop and tear away the backing. Use a steam iron to press the embroidery and then trim around it to create the ninth block for the pillow front. You will also need fabric for the pillow backing. For this pillow I’m going to be adding a zipper closure, but you can also make an envelope pillow or button back.
Arrange the blocks in the design that you want to create. You could also have embroidery on several of the blocks instead of just the center block.
Sew each row of blocks together and press the seam allowance open as you sew.
After the rows are sewed, sew the rows together. Make sure to match the rows and corners the best you can. NOTE: I am not a quilter… so those of you who are will have perfect corners every time. I’m just happy I mostly matched some of my corners.
Press the front of the pillow case well before adding the back. Again, I am adding a zipper, but there are many kinds of pillow backs as seen here. For the zipper back, cut the back piece the same as the front. My back is 16” x 16”.
Sew the right side of the zipper to one side of the nine square pillow front.
Repeat and sew the other side of the zipper to the pillow backing.
Top-stitch the seam allowance on either side of the zipper.
Fold the pillow front and back together with the right sides touching. Pin around on all three sides of the fabric to finish sewing the pillow. NOTE: Make sure to unzip the zipper a few inches so you can turn the pillow right side out.
Sew around the three sides then clip the extra ends of the zipper to remove the bulk and turn right side out.
Gorgeous DIY fall pillows can now be yours! You can create multiple designs and patterns using the same basic idea for each of them.
Tags
Shop this Project
Ready to make this project your own? Well, Brother has you covered! The products in this inspiring project are available for purchase so you can click, shop, and get to sewing!

Embroidery Sewing Machines
Related Projects
Stay Connected
* Required fields