Free Design: Fall Embroidered Napkin Rings
-Brother Sews Ambassador
This is the first of a few projects designed to give our faithful Brother fans some ways to dress up your dining area. Our free design of the month is a beautiful border of tiny falling leaves, perfect for some quick to sew napkin rings. Are you ready? Let’s go sew!
Materials and Supplies: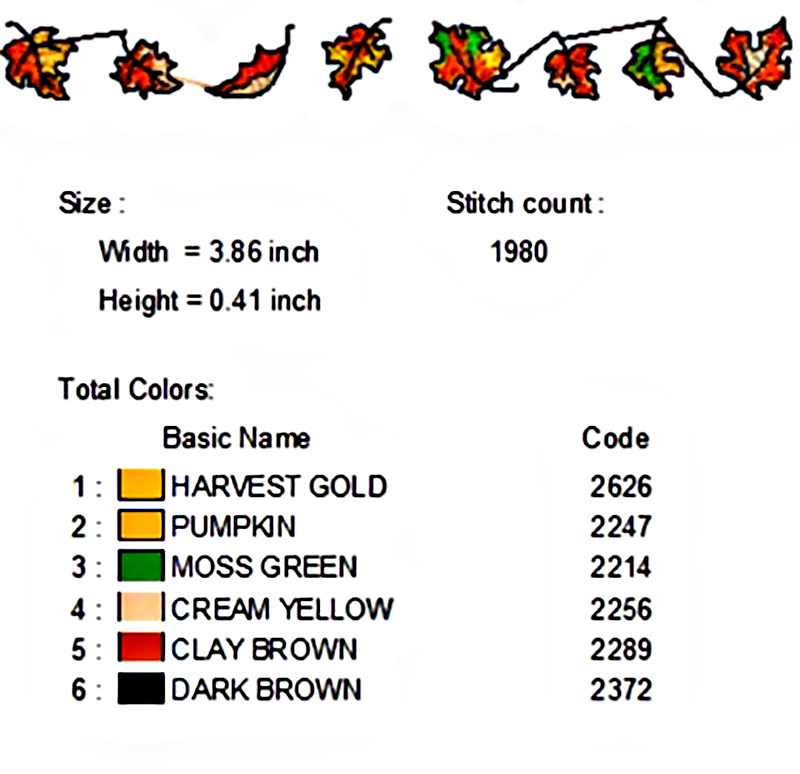 Figure #1[/caption]
Steps to Create Napkin Rings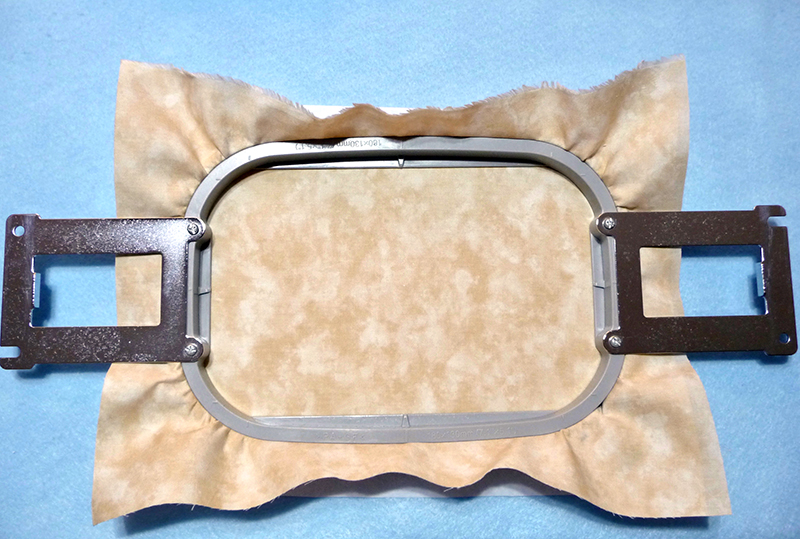 Figure #2[/caption]
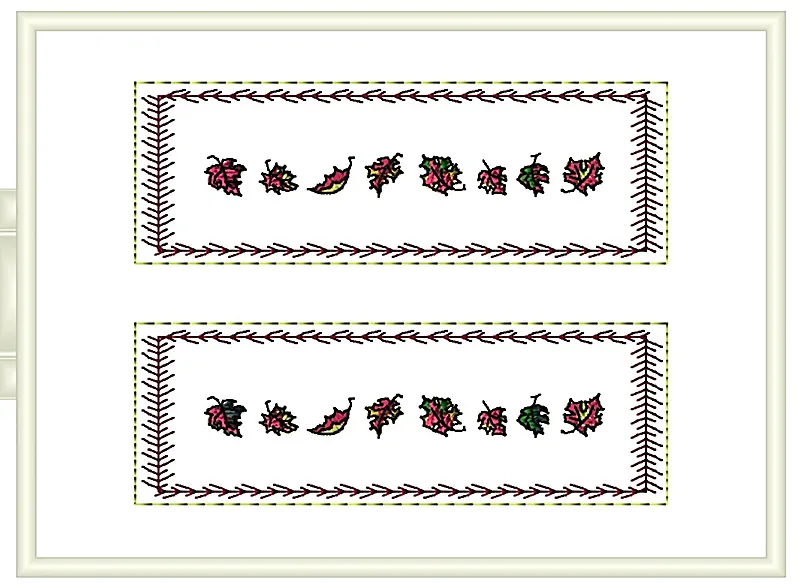 Figure #3[/caption]
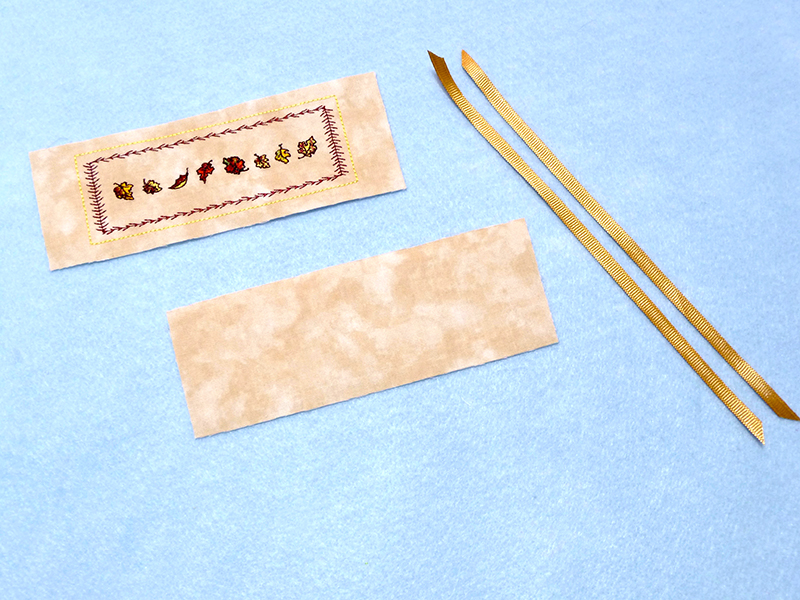 Figure #4[/caption]
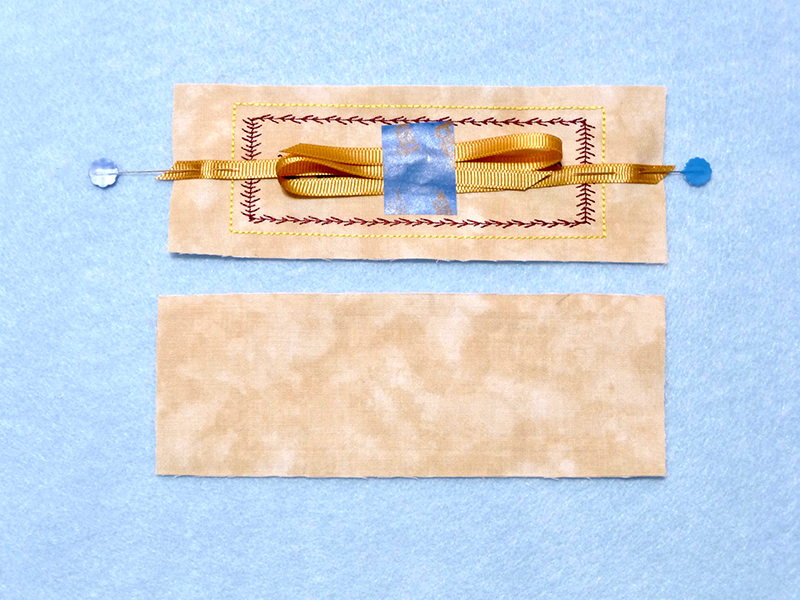 Figure #5[/caption]
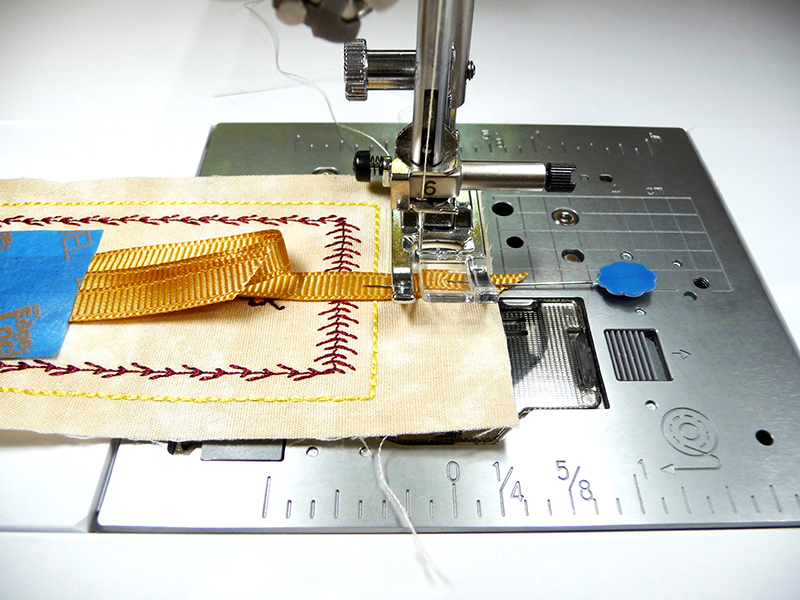 Figure #6[/caption]
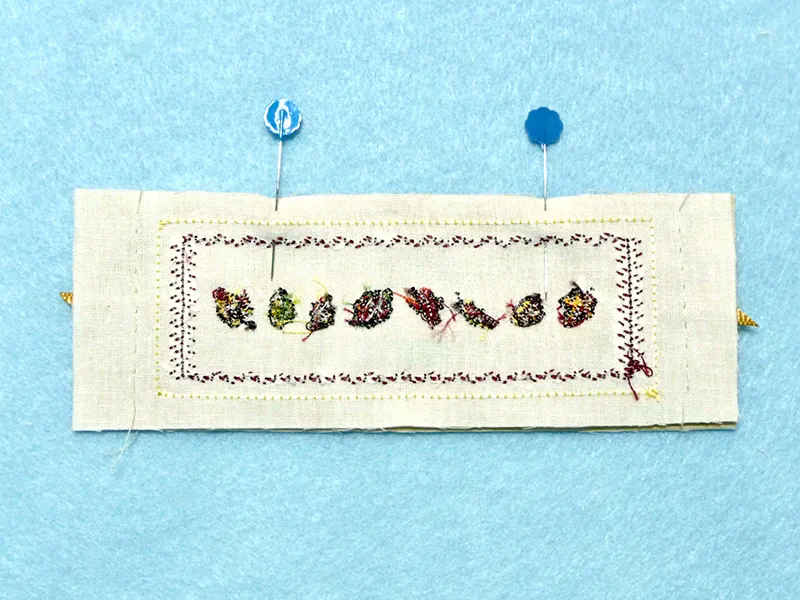 Figure #7[/caption]
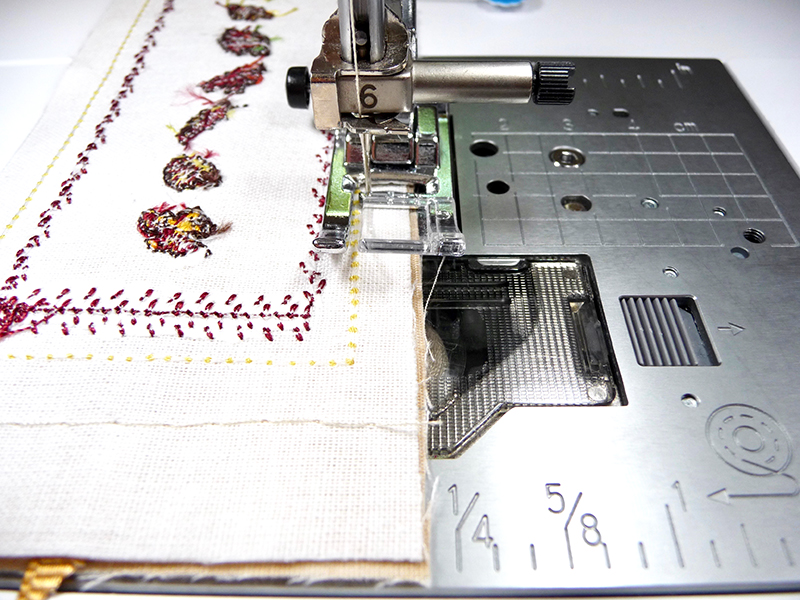 Figure #8[/caption]
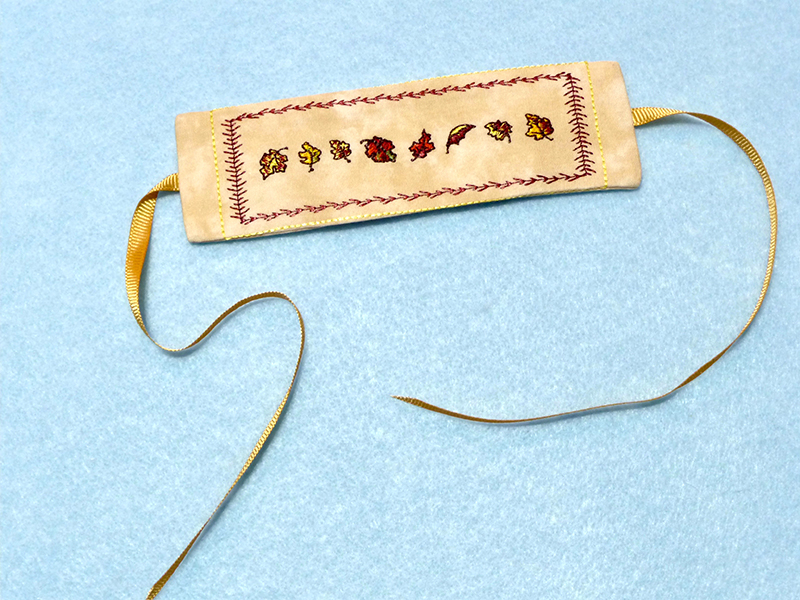 Figure #9a[/caption]
 Options and ideas:
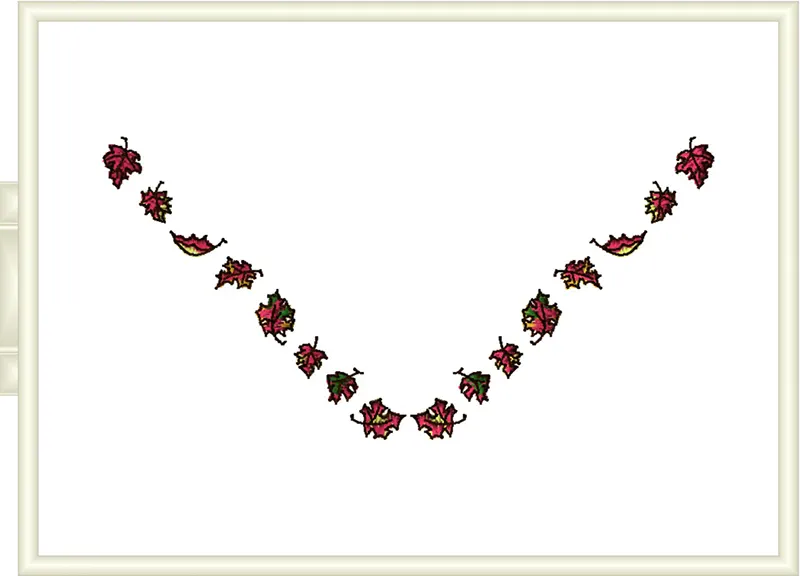 Figure #10[/caption]
CLICK HERE FOR PDF!
This is the first of a few projects designed to give our faithful Brother fans some ways to dress up your dining area. Our free design of the month is a beautiful border of tiny falling leaves, perfect for some quick to sew napkin rings. Are you ready? Let’s go sew!
Materials and Supplies:
- Brother sewing and embroidery machine
. Note: Machine featured in this project is the Brother XP1 Luminaire. The free design fits within a 4-inch hoop. I opted to add decorative frame designs and stitch two napkin rings at a time, using a 5-inch X 7-inch hoop. - Brother Embroidery Threads and Bobbin Thread
for embroidering. - SA5810
Brother Medium Weight Tear-Away Stabilizer - Two pieces of ribbon measuring ¼-inch wide X 9-inches long for tie ends on each napkin ring.
- Basic sewing notions including a narrow strip of fusible webbing to close the opening in the DIY napkin ring.
- Cotton fabric for front side of napkin rings: Size will vary depending on the hoop you use. I was able to stitch two napkin rings in a 5-inch X 7-inch hoop. For each napkin ring you will need a second piece of fabric measuring 2 ¼-inches wide X 6-inches long for back side of napkin rings. Fuse medium weight interfacing to the wrong side of all pieces.
- CLICK HERE FOR BROTHER FREE DESIGN OF THE MONTH
, See Figure #1.
 Figure #1[/caption]
Steps to Create Napkin Rings
- Transfer design to machine. Hoop fabric with a layer of the tear away stabilizer floating underneath the hoop. Note: Hoop shown in Figure #2 is a Brother tubular embroidery machine hoop with a horizontal layout. Create a vertical layout for alternative 5-inch X 7-inch hoops. See Figure #2.
 Figure #2[/caption]
- Create a combination design with the leaf design, using frame shapes from the built-in frame patterns, adding a rectangular shape with a feather stitch measuring approximately 1.48-inches X 4.77-inches, and a rectangular straight stitch outline frame measuring 1.76-inches X 5.00-inches. To stitch two in one hoop, duplicate the entire design, leaving at least 1/2-inch of space between each one. See example in Figure #3.
 Figure #3[/caption]
- When finished with embroidery, remove from hoop and tear away excess stabilizer. Tip: A pair of short tipped needle nose pliers work well for pulling small amounts of stabilizer out of tight spaces.
- Press fabric and cut each piece to equal 2 ¼-inches wide X 6-inches long.
- Assemble pieces to sew napkin ring. Note that the rest of the instructions show only one napkin ring. Steps are the same for each napkin ring. See Figure #4.
 Figure #4[/caption]
- Pin ribbon in the center of each short edge. Tip: Taping the ribbon with low tack tape will keep it out of the way while stitching. See Figure #5.
 Figure #5[/caption]
- Baste ribbon in place. See Figure #6.
 Figure #6[/caption]
- Pin backing and embroidered pieces right sides together, marking off a spot to leave an opening for turning. See Figure #7.
 Figure #7[/caption]
- Sew pieces together using a scant ¼-inch seam, stitching just outside the rectangular outline. See Figure #8.
 Figure #8[/caption]
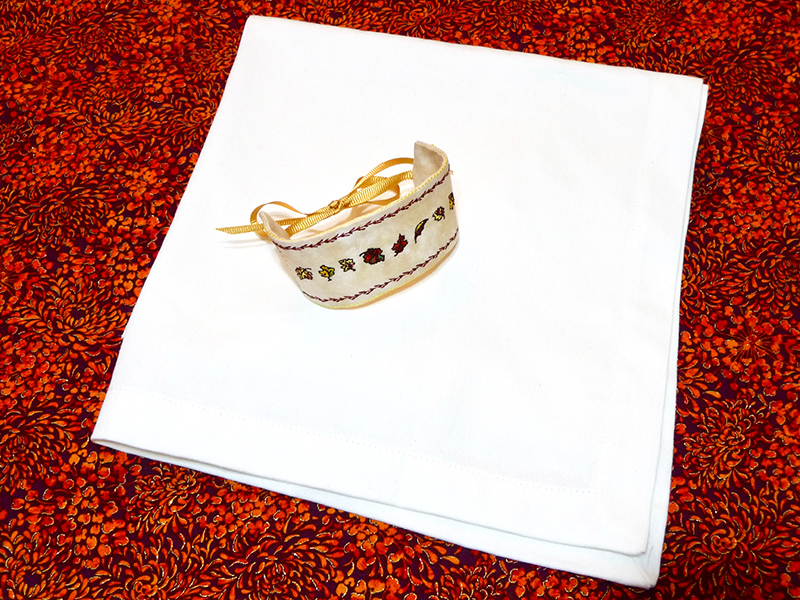
- Turn right side out, press opening closed and slip the fusible webbing inside the open area. Fuse to close opening and finish. These are easy to make so you can stitch up as many as you need to include with your place settings. See Figure #9a and Figure #9b for a completed napkin ring.
 Figure #9a[/caption]
 Options and ideas:
- You’ll find many coordinating fall embroidery designs available for purchase on the Brother iBroidery.com design download center. This design coordinates well with a Morango Design collection called Colors of Autumn
. - Many of the designs you’ll find in the collection mentioned above would be ideal for embroidering table runners.
- Consider embroidering napkin corners with this same fall design, rotating the design at a 45-degree angle and then mirror imaging a second copy of the motif. See example below in Figure #10.
 Figure #10[/caption]
CLICK HERE FOR PDF!

