Fabulous Flat Felled Denim Curtains
Brother Sews Blogger
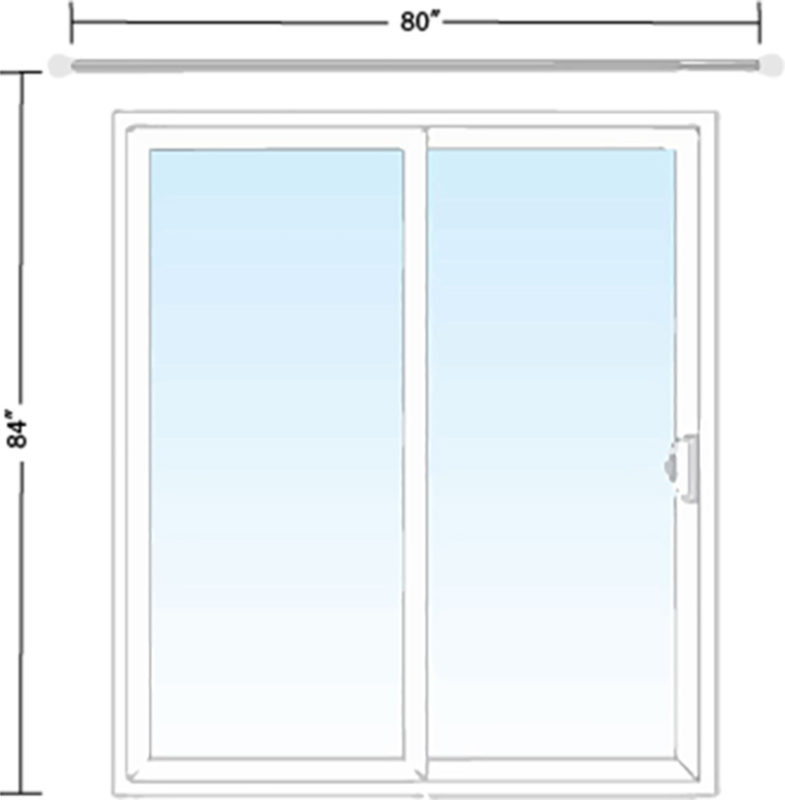
Last month, I was tasked by my spouse to make curtains for all of the windows downstairs. Since shopping for fabric wasn’t an option, I immediately went to my stash to figure out what I could use. My standard-sized windows were easy-peasy. However, I didn’t have enough of one fabric to fully cover my sliding glass door to the backyard. Then the lightbulb in my brain went off and I was reminded that I wanted to try using a flat-felled seam to make sleek curtains and if I combined three denims (chambray weight), I could make it work. And since windows and doors are each uniquely sized in each of our homes, I’m approaching this tutorial as a combination of technique and showing y’all how to make this work for you, but all fabric and measurements will be what was required for my specific curtains.
What You’ll Need:
- 3 different fabrics (3 yards each)
- Appropriately sized curtain rod
Product Used:
- Brother SE1900
(aka Alphonso)
Cutting Out the Pieces
The fabric that I’m working with has a selvage to selvage width of 60”, so if you’re using quilter’s cotton with a standard 42-44” width of fabric, you might need more. Based on my dimensions, I needed the following cuts:- Six 8” x 90” rectangles from each of the three fabrics (panels)
- Two 3” x 82” rectangles from one of the three fabrics (hems)
Flat-Fell It
For all intents and purposes, sewing curtains are basically two rectangles with various hems all the way around stuck on a pole. However, I’ve found that the simpler projects are the ones where I need to have a closer attention to detail because any mistake will stick out like a sore thumb. And exposed seams? No way. If you’re unfamiliar with the flat-felled seam, it’s that seam that’s on the side of jeans and I’ve primarily used it when sewing apparel. It’s super strong and super clean, which means it’s also the perfect seam for this project.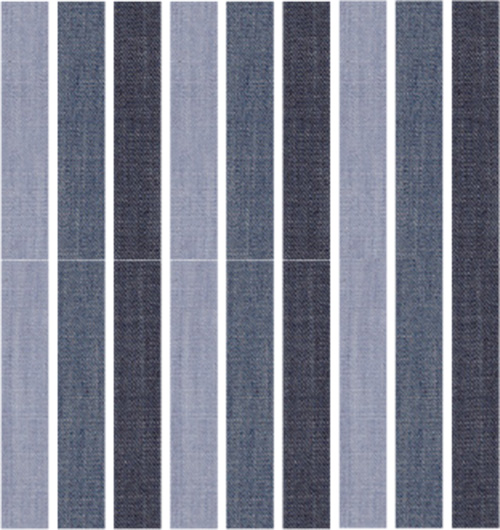
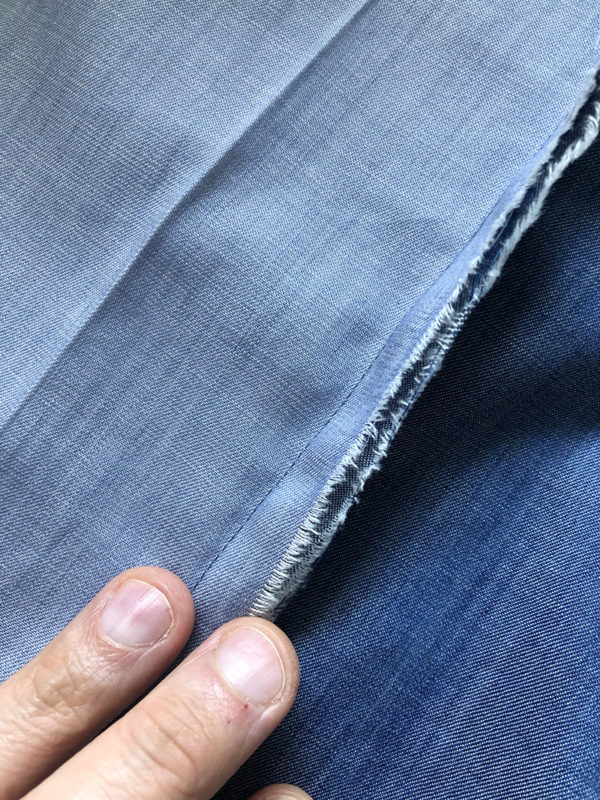
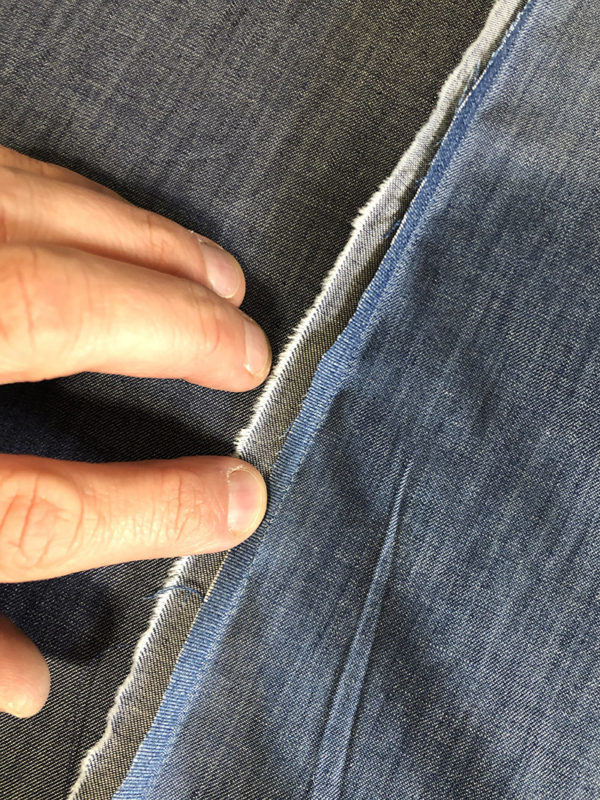
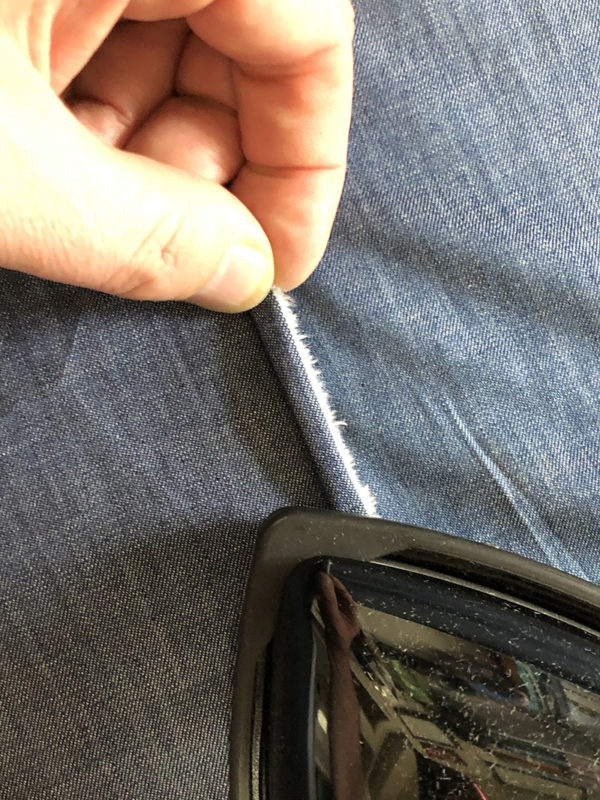
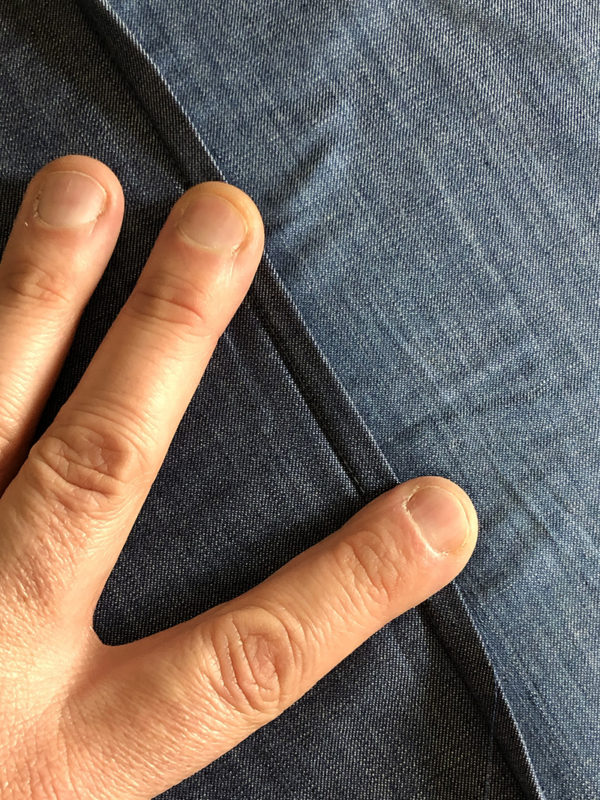
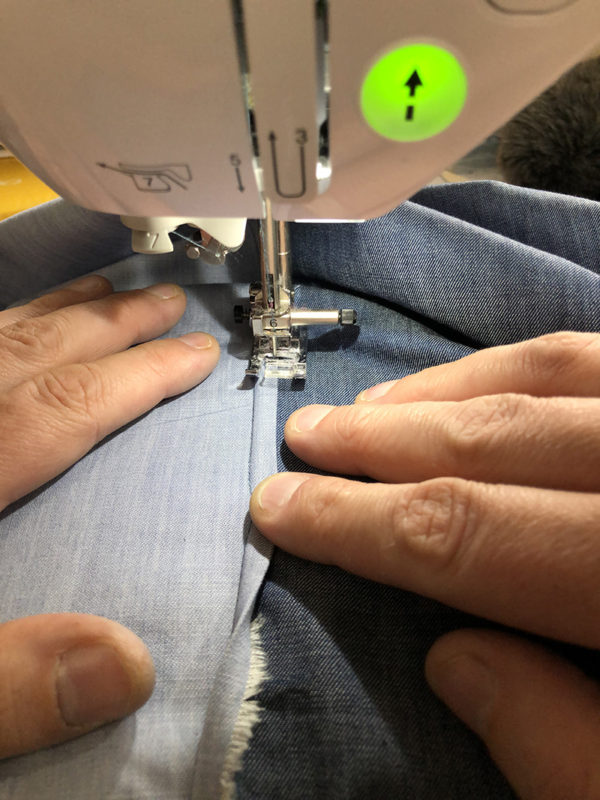 Each panel will require nine of the 8” x 90” rectangles, three from each fabric. Also, this stitch it easiest to sew if you have the same thread in the top stitch and bobbin.
• Following the diagram above, sew each rectangle its adjoining rectangle wrong sides together and at 5/8” seam allowance.
• On one of the two raw edges per seam, trim to 1/4” from the seam and leave the other at 5/8”.
• Fold the 5/8” raw edge over the 1/4” raw edge and press.
• Flip the fold to the other side of the seam and edge stitch the entire length.
• Repeat this process to complete each panel, making sure to trim the seam allowance from the same side of the panel as you go.
Side Hems
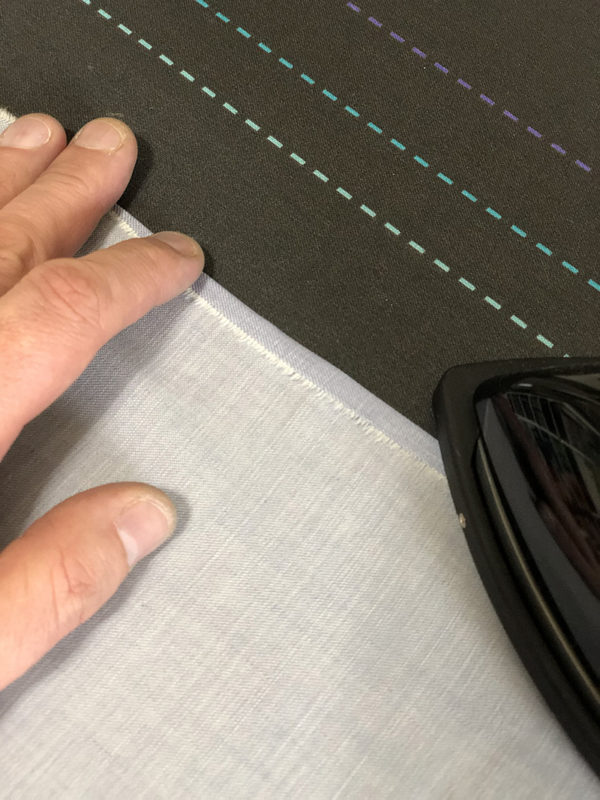
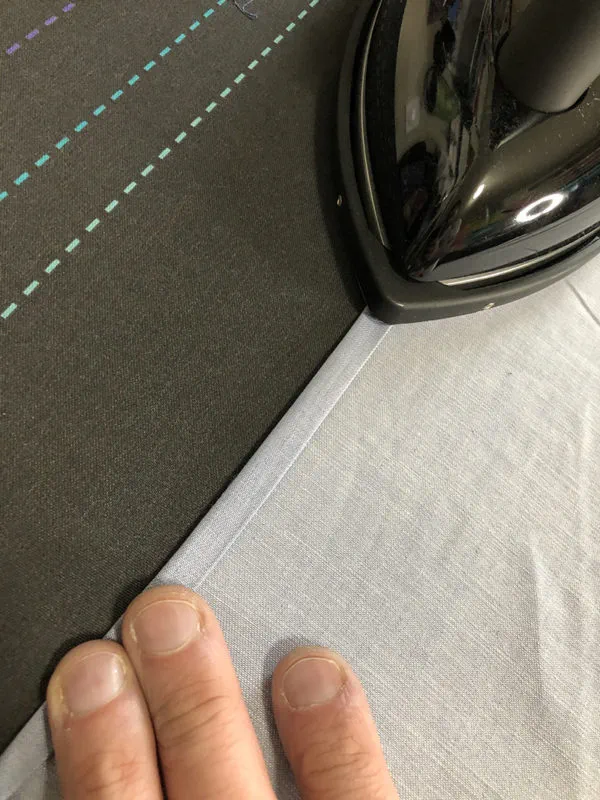
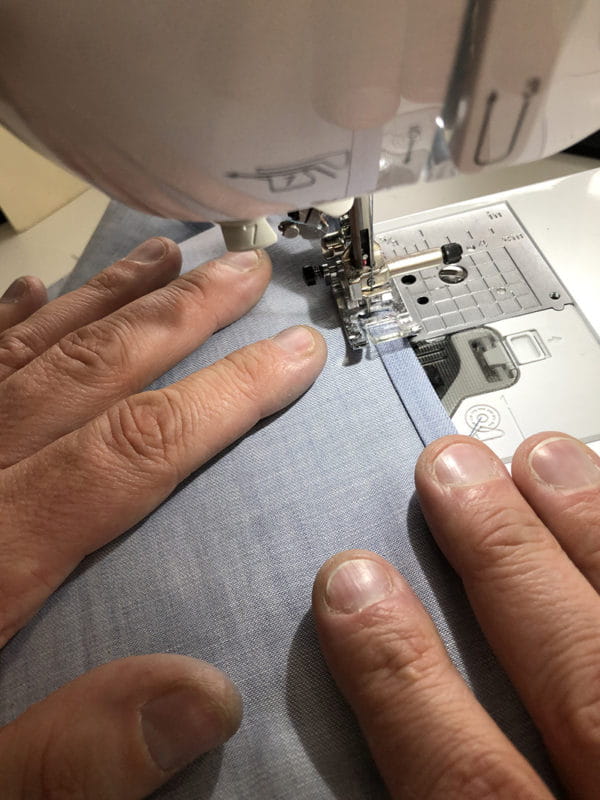
- Fold and press one of the side raw edges 1/4”.
- Fold and press again at 1/4”.
- Edge stitch from the back.
- Repeat this process with the remaining 3 side hems.
Rod Pocket
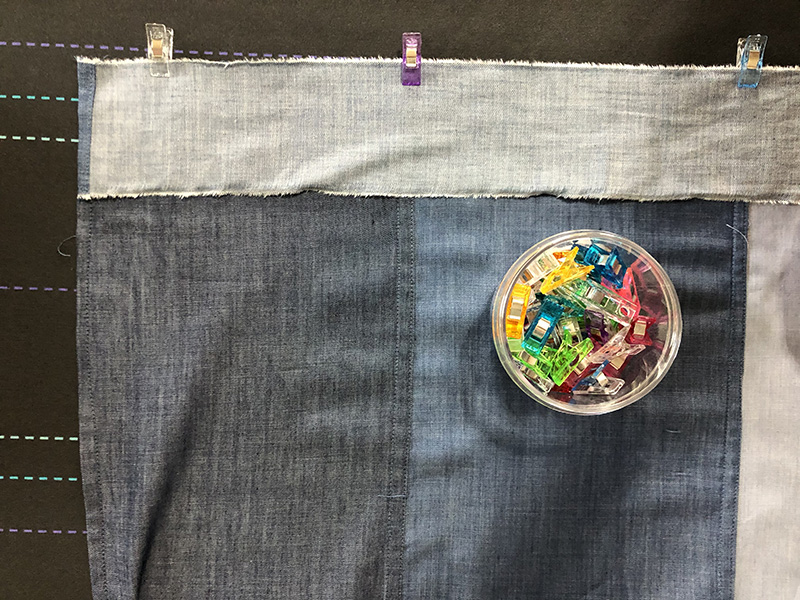
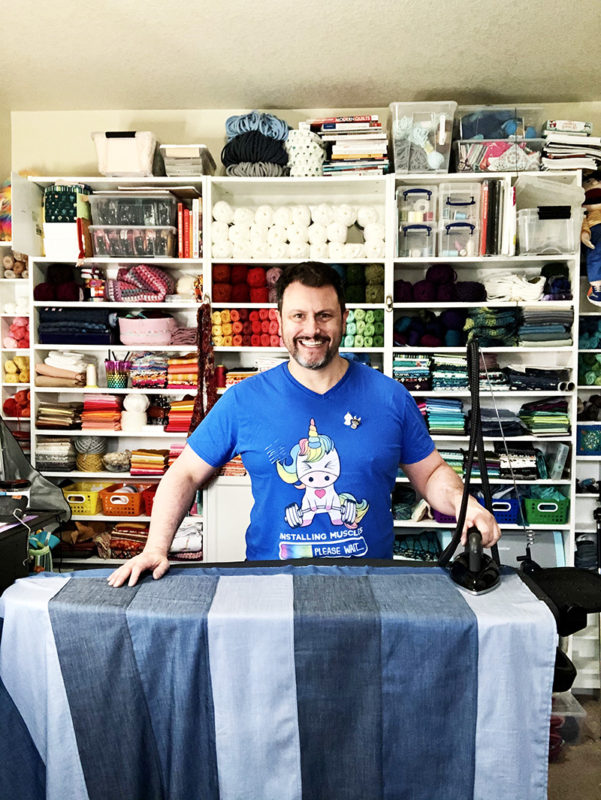
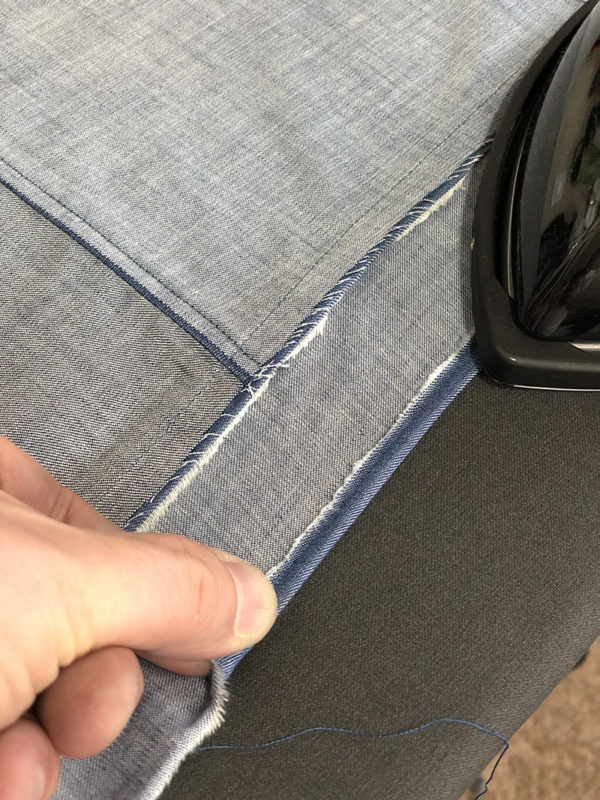
- Sew a side hem on one end of each of the 3” x 82” rectangles using the technique outlined above.
- Right sides together, line up the side hem and raw edge of one of the 3” x 82” rectangles to the top raw edge and side hem of a panel. Clip in place across almost the entire width, leaving 6” unclipped.
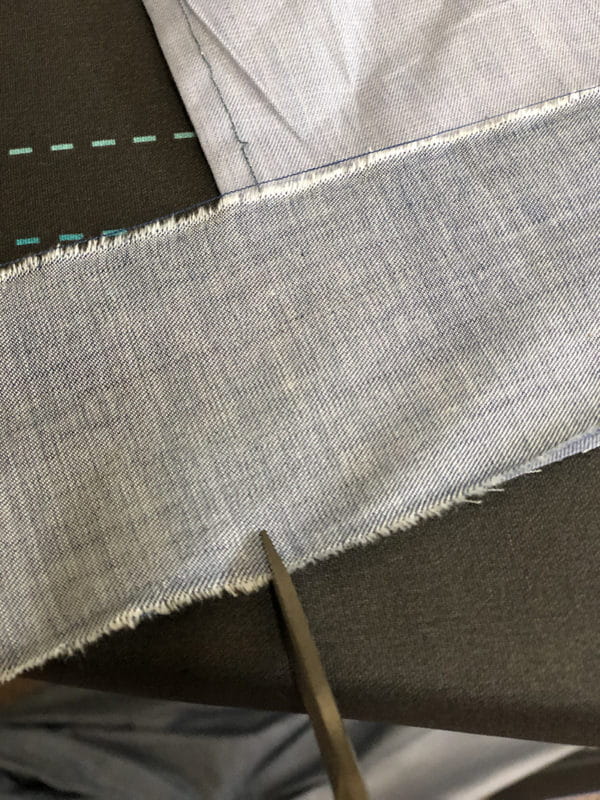
- To account for human variance, measure and stitch the second side hem to ensure that it perfectly matched the width of each panel.
- Flatten the seam by pressing to one side.
- Fold over and press at 1/4” from the raw edge.
- Fold at seam, press, and edge stitch the bottom fold the entire width, backstitching at the beginning and end of the stitch.
Bottom Hem
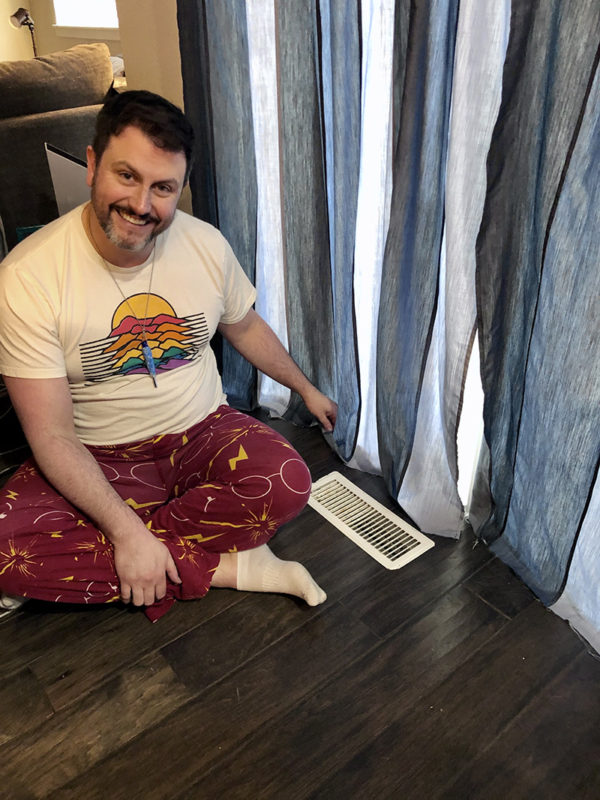 Use the same technique as the rod pocket to sew the bottom hem. Before doing so, hang the panels on the rod and mark where each panel hits the ground. That will be where the seam hits, so use that to trim and position the bottom hems to ensure they’re where you want them. Since my back door is a high traffic area, I totally made bottom hem high waters so that they never touched the ground.
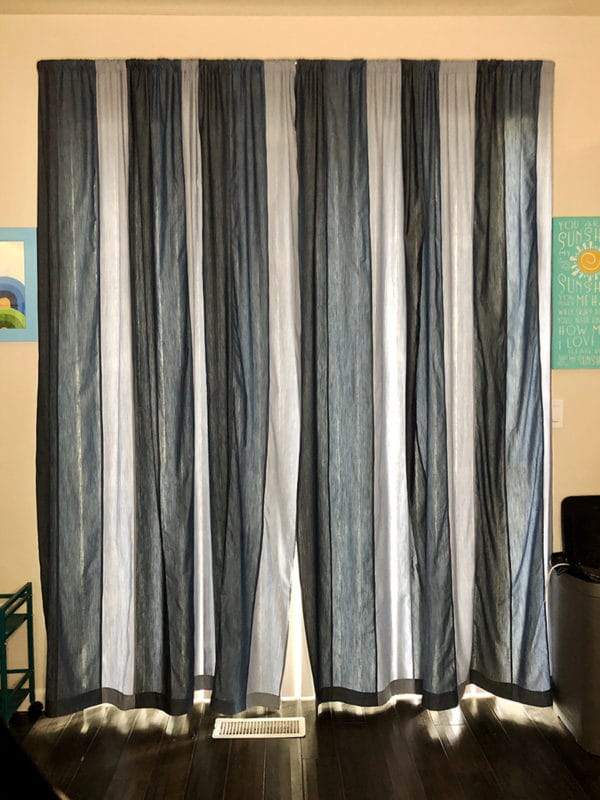
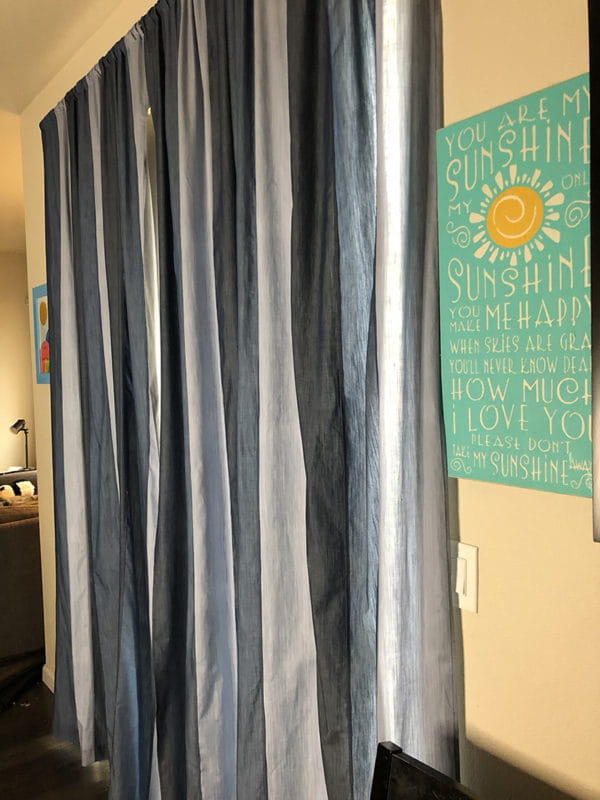 After you’ve given the curtains a good steaming, hang those puppies on their rod and enjoy the extra eleganza that you just added to your decor. So happy stitching and keep it positive!
Mister Domestic

