Foot of the Month: Cloth Napkins with Ribbon Trim
Cloth napkins add an elegant touch to your holiday table setting! You can add extra class to ready-made napkins by trimming edges with gold ribbon. It’s easy to sew ribbon to the edge using our featured Foot of the Month, the Brother Braiding foot.
Materials and Supplies:
- Brother Sewing and Embroidery machine with 4-inch hoop capability.
- SA141 Brother Braiding foot
- Optional: MTPK14 Brother Metallic thread
- Ready-made dinner napkin
- Washable 1/8-inch wide ribbon
- Seam sealant for treating ribbon ends
Note: See Step #1 for required amount of ribbon for each napkin.
Instructions for Trimming Napkins
- Measure one edge of napkin, add 10-inches, and multiply times four. The resulting number equals the number of inches you need for ribbon trim on each napkin.
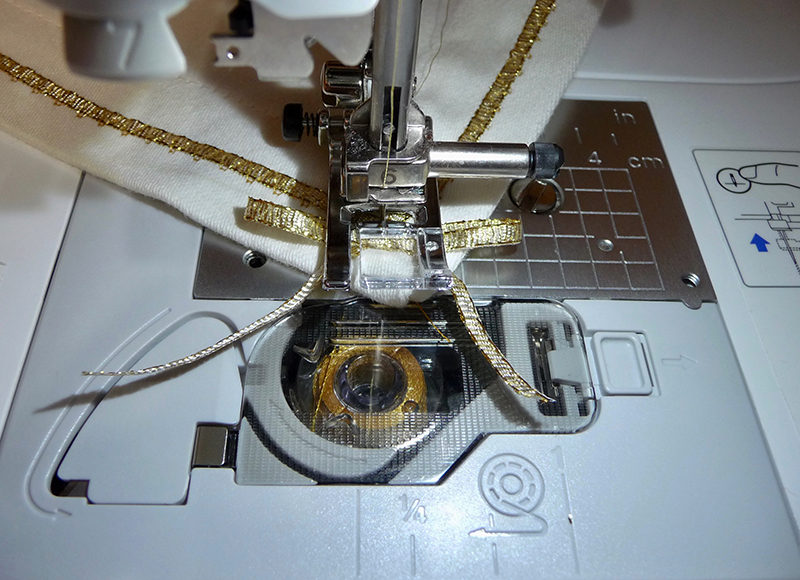
- Set machine for sewing with thread that coordinates with your ribbon. This example features metallic thread in the needle and standard thread in the bobbin. Before attaching foot to machine, insert ribbon into foot, leaving a 5-inch tail of ribbon behind the foot. Adjust opening on the foot to fit ribbon. See Figure #1.
 Figure #1[/caption]
Tips for using the Brother Braiding Foot: The Brother Braiding Foot has an adjustable slot that will hold ribbon, yarn, and cording up to 7mm wide. It’s always a good idea to test the trim before using it on your project. Insert trim over the top of the front plate, feed it into hole, and pull it towards the back of foot. Loosen screw on the left side and adjust opening until trim is snug but still flows easily through foot. You can experiment with a variety of stitches to couch trim with this foot. It’s best to use a stitch that skips from left to right and is fairly open. Adjust stitch width and length as needed and always test on a remnant of fabric before stitching on your actual project. This example features a stitch that is ideal for couching trim. See Figure #2.
[caption id="attachment_17757" align="aligncenter" width="681"] Figure #2[/caption]
- Sew ribbon from end to end on one side, taking care to tie off stitch at the beginning and the end. See Figure #3a and #3b.
 Figure #3a[/caption]
[caption id="attachment_17759" align="aligncenter" width="800"]
Figure #3a[/caption]
[caption id="attachment_17759" align="aligncenter" width="800"] Figure #3b[/caption]
Note: Notice how easy it is to sew with ribbon held firmly in the foot. When you reach the end leave a 5-inch tail of ribbon before cutting. See Figure #4.
[caption id="attachment_17760" align="aligncenter" width="800"] Figure #4[/caption]
- Repeat Step 3 for each side of napkin.
- Change to standard sewing foot. Tie ribbon in a simple knot or a bow. Use a straight stitch to stitch across the center and keep ties from becoming unraveled. See below:
- Trim ribbon ends to even them up and apply a small amount of seam sealant to the ends.
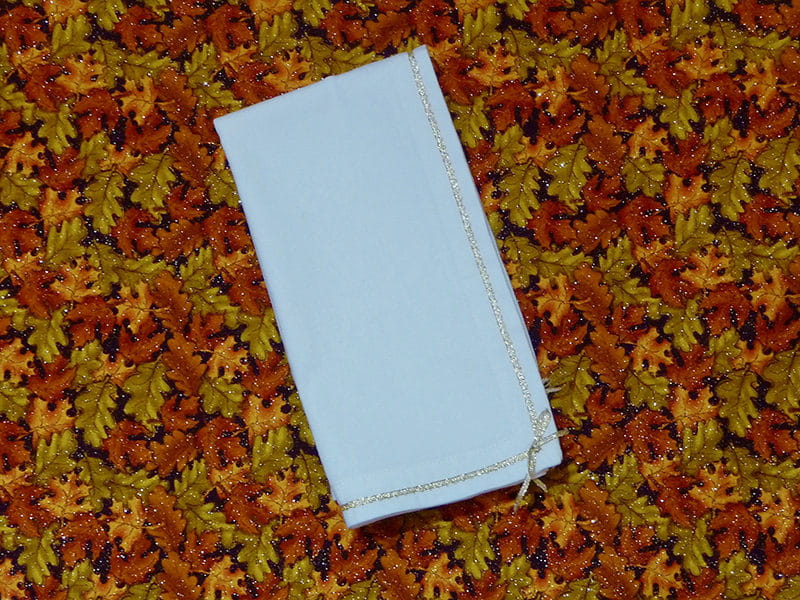 You are finished! Enjoy!
Related Projects
Stay Connected
* Required fields