Foot of the Month: Embellished Straw Hat
Summer means sunshine and good times outdoors! Embellish a straw hat with a ribbon made from fabric and top off the ribbon with faux flowers for a fun look! This project features the Brother narrow rolled hem foot as the foot of the month. Use this foot to make a neat narrow hem on the fabric and then add flowers and buttons using the button fitting foot. Wear your new hat to the beach, summer gatherings, or in your own backyard!
Materials and Supplies
- Brother Sewing machine
- SA126
or SA127
Brother Narrow Hem foot - Basic sewing notions including thread to match fabric
- Faux flowers for trim
- Buttons to decorate center of flowers
- Sharp, fine machine needle for sewing
- Pre-purchased hat to decorate
- 1 ½-inch wide strip of lightweight cotton fabric, cut to length determined in Step #1.
- Tape measure for measuring hat and determining length of fabric strip
- Rotary cutter, ruler and mat for accurate cutting of strip
Instructions for Embellishing Hat
- Wrap and tie tape measure around hat to determine approximate length. See Figure #1a.
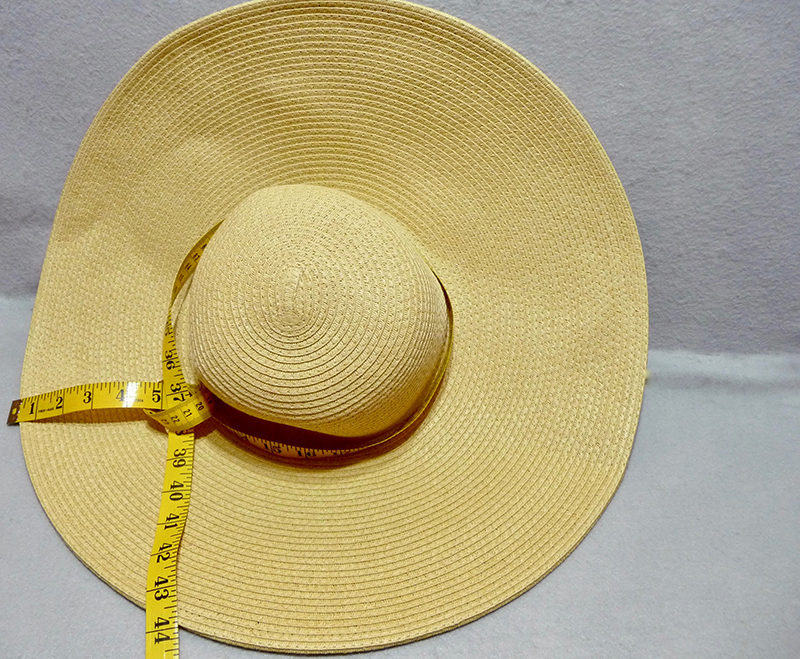 Figure #1a[/caption]
- Add a few extra inches to your measurement for length and cut the 1 1/2-inch wide strip using rotary cutter.
Tip: Cut with a sharp blade for a straight and accurate cut edge. If you are unfamiliar with using the narrow hem foot it's a good idea to cut an extra strip for testing.
- Gather supplies for embellishing the hat. This project features three sets of flowers stacked with three different colors. You can add more flowers and buttons as you wish. See Figure #1b.
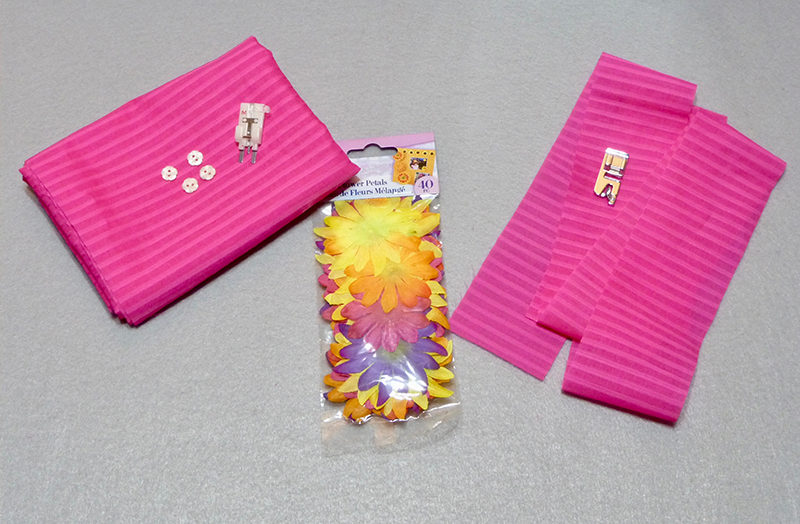 Figure #1b[/caption]
- Pre-press the first two inches of your hem by finger pressing or using an iron. See pinned hem in Figure #2.
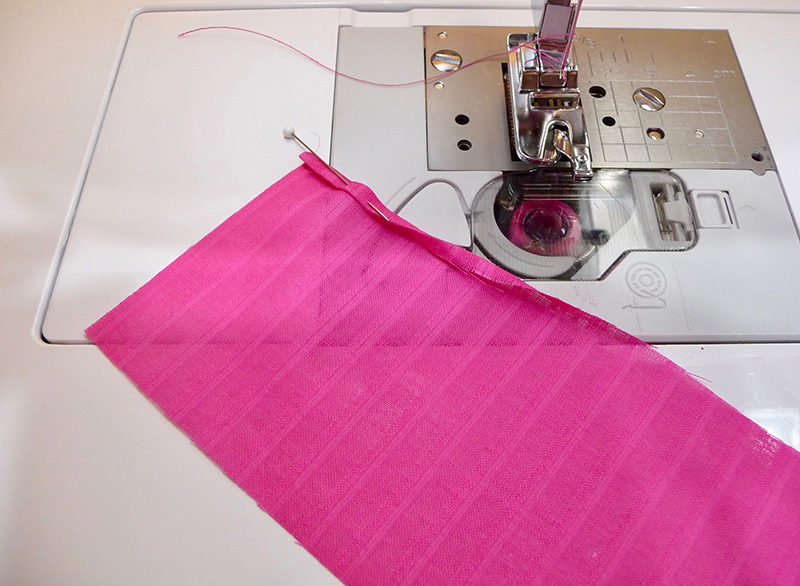 Figure #2[/caption]
Note: Set up machine for center needle straight sewing. Check to see where needle will pierce fabric. At this point you may decide to move the needle position slightly to catch more of the hem. In this project the width key was changed from 3.5 to 4.0. Thread machine, pulling both needle and bobbin thread under and then behind the foot.
- Place pre-folded hem under the foot having it directly under the needle. Sew two to three stitches and stop with needle down. See Figure #3.
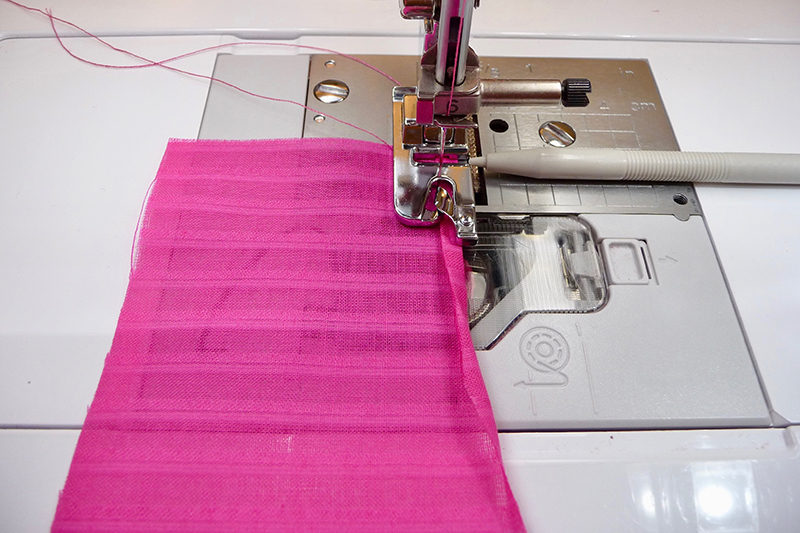 Figure #3[/caption]
- Now, carefully lift the folded hem up into the spiral scroll on the foot. See Figure #4.
 Figure #4[/caption]
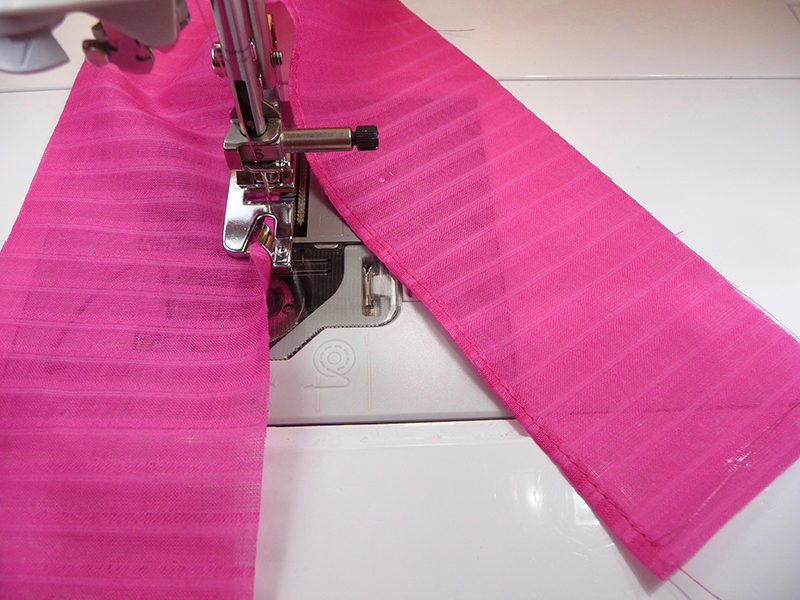
Note: Use one hand to hold the thread tails at the back and gently pull as you begin to hem the rest of the edge. Tips for stitching: Hold the fabric up at a very slight angle as you feed the fabric into the scroll, turning over a scant ¼-inch of fabric and feeding 2-3 inches at a time. Be sure to trim any fraying threads or they will poke out of your hem. You'll want to take care to feed a consistent amount of fabric into the scroll as you continue all along the hem, letting the scroll do the work of turning the raw edge under to form the narrow hem. It's important to keep from feeding too much or too little fabric into the scroll. It may take a little practice to achieve consistent results. See partially stitched hem below:
- Tie the strip around your hat to determine final length. Trim to size and lightly press strip. Change to standard foot.
- To finish each end, begin by folding strip in half with right sides together and then sew a 1/4-inch seam. See Figure #5.
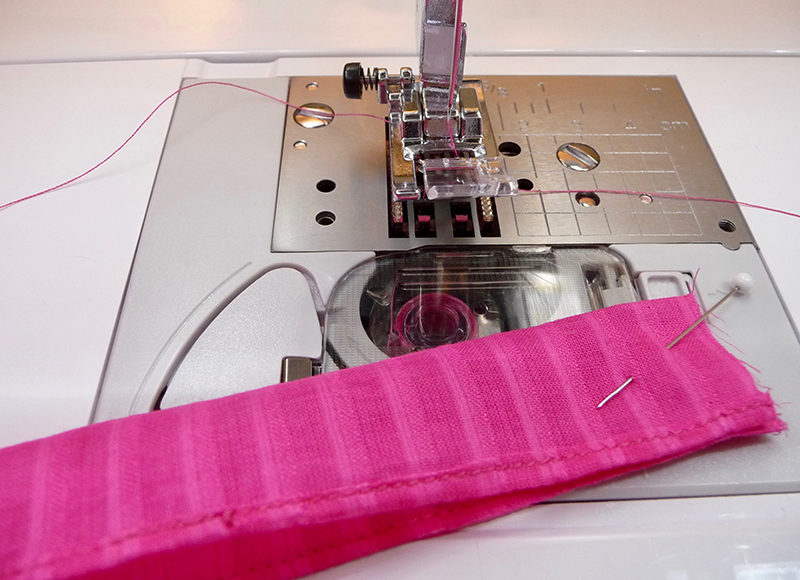 Figure #5[/caption]
- Open up the ends and shape to form points. Stitch across each point to anchor ends in place. See Figure #6.
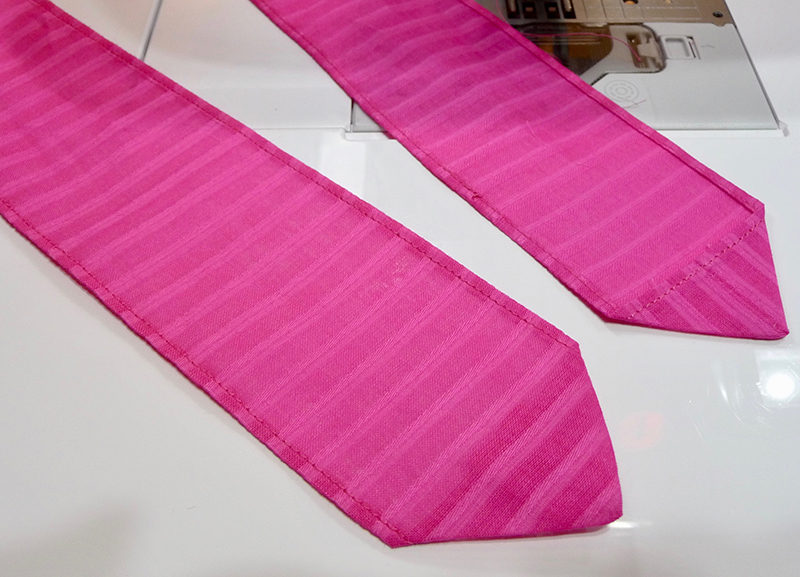 Figure #6[/caption]
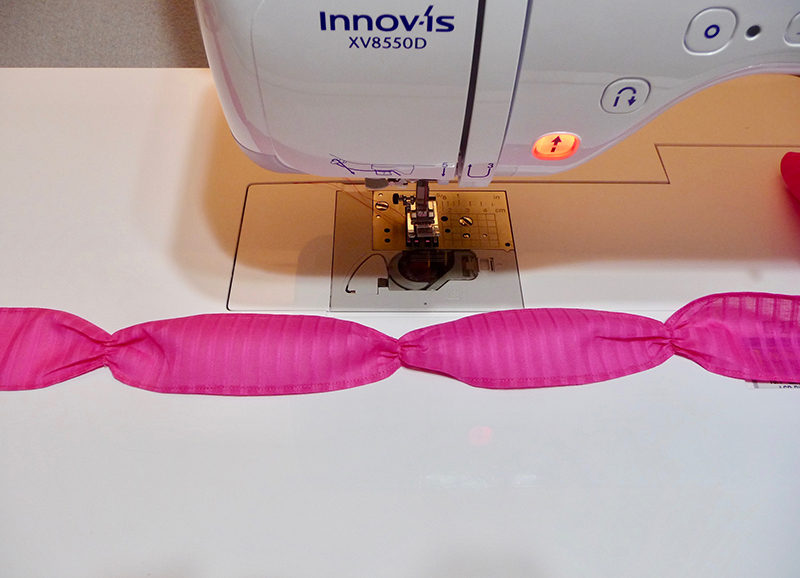
- Decide where you want to position the flowers and mark each spot temporarily by using a pin. Use a basting stitch to gather the strip at each location. See below:
- Change to button sewing foot and select button sewing stitch. Layer flowers with button in center, pin in place, and then stitch each set of flowers over gathering stitches. See Figure #7a and #7b.
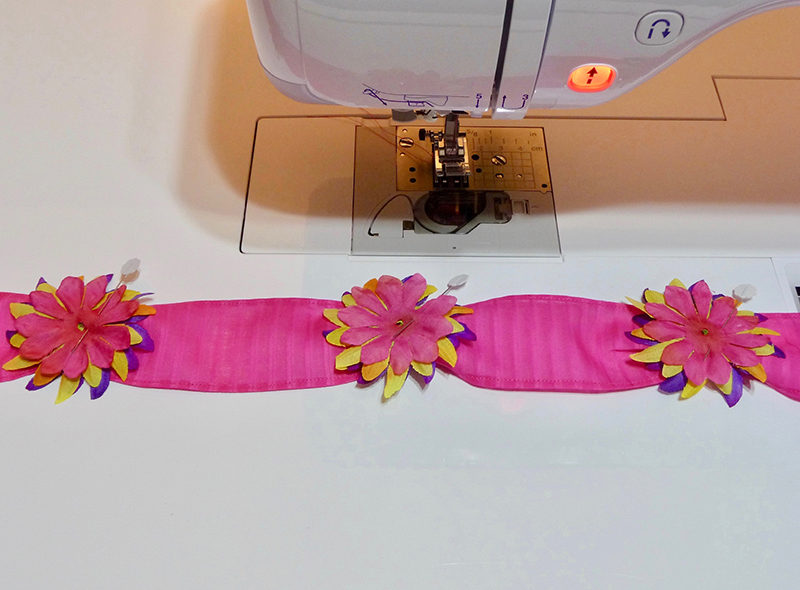 Figure #7a[/caption]
Tip: Use a dab of wash out fabric glue to hold button in place. Let dry thoroughly before stitching.
[caption id="attachment_16222" align="aligncenter" width="800"]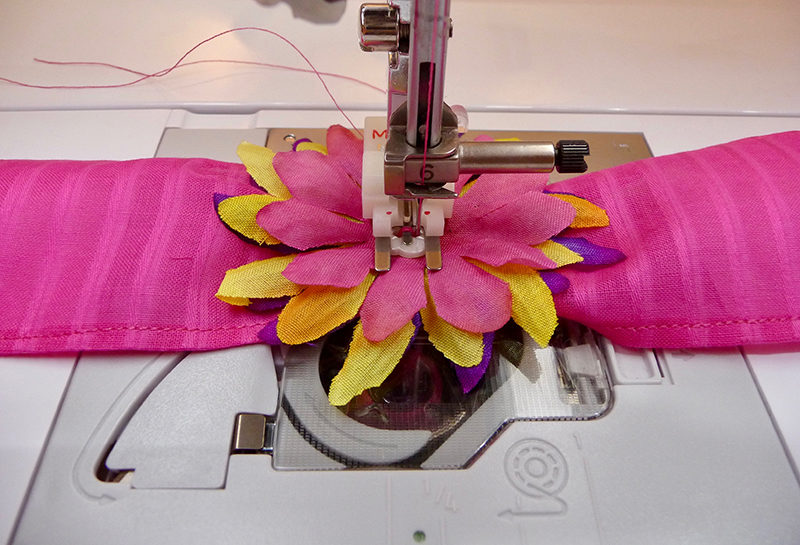 Figure #7b[/caption]
Wrap and tie the strip to your hat. You are finished! Enjoy!

