Football Table Runner
It's almost time for the big game! You know what that means… Parties! I'm not a huge football watcher, but I do love a good football party, and today I have a fun football themed table runner tutorial to share that will "kick off" your party on the right foot!! This football table runner is easy to sew, and I added a few fun details as well. I ordered the green football field fabric as a panel and then the football fabric for the backing. You will also need some fusible fleece interfacing for the inside. You will need one yard of the ball fabric and interfacing to go with your football field panel.
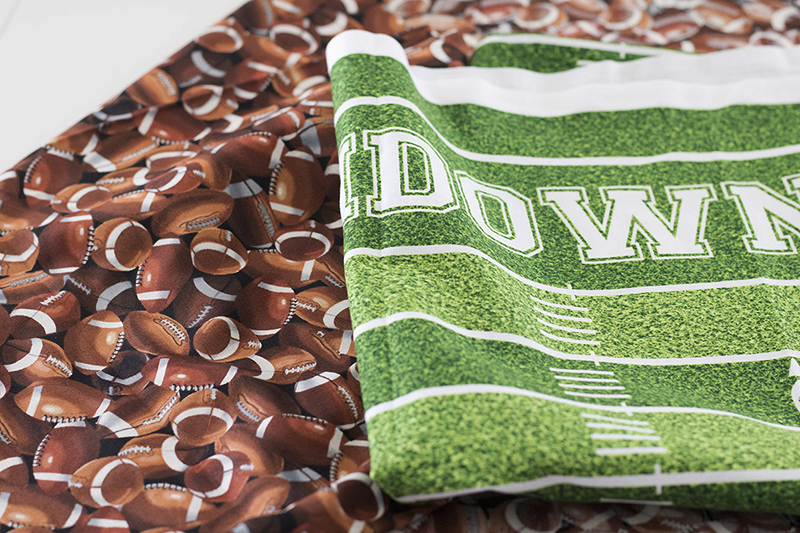
- Start by cutting the ball fabric and the interfacing to match your field panel. The interfacing should be about ½" smaller on all sides. It is easier to turn if the interfacing is not in the seam.
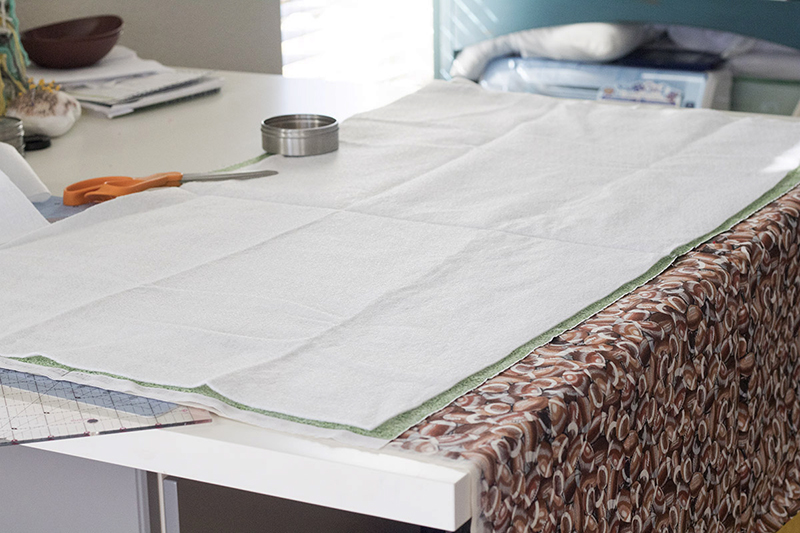
- Then use an iron to fuse the fleece to the wrong side of the football field panel fabric. Again there should be around ½' from the edge of the fleece to the edge of the fabric.
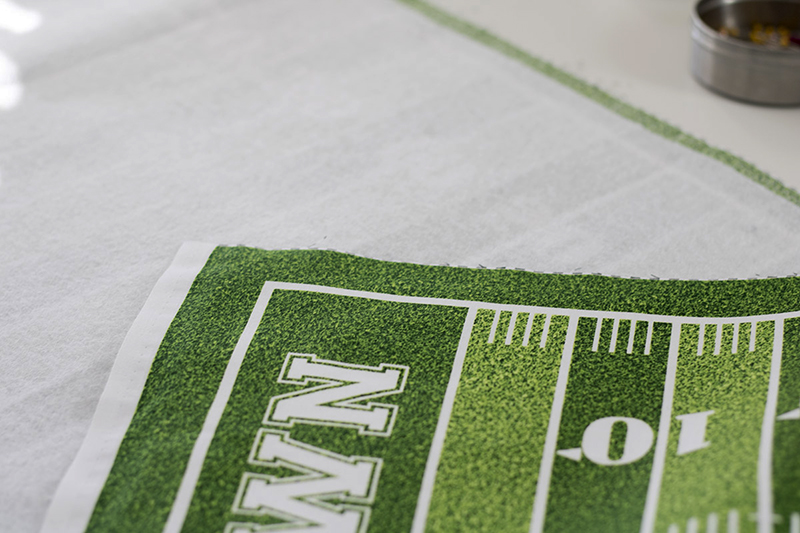
- Match up the fabrics with the right sides together and pin along all four side. Smooth the fabric as flat as possible to get the two fabrics the same size.
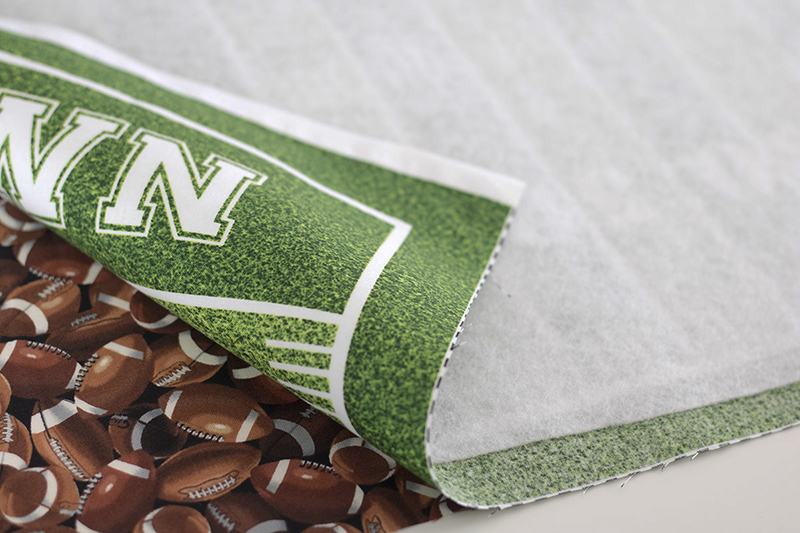
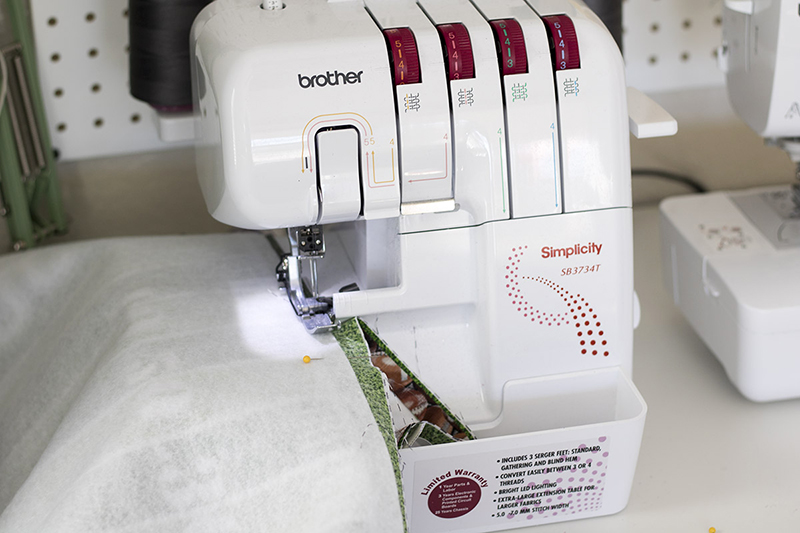
- Using my Brother Simplicity Limited Edition SB3734T (or sewing machine)
to sew the fabrics together. I trimmed off about ⅓" around the football panel as I sewed the two together. You should not catch the fleece in your seam. It is much harder to turn and topstitch if you catch the fleece while sewing. Leave a 6-10" opening when sewing around, this is for turning.
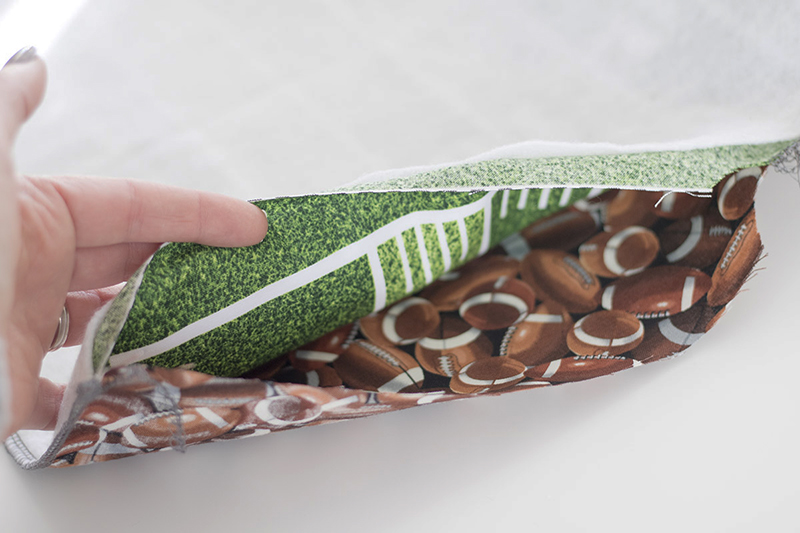
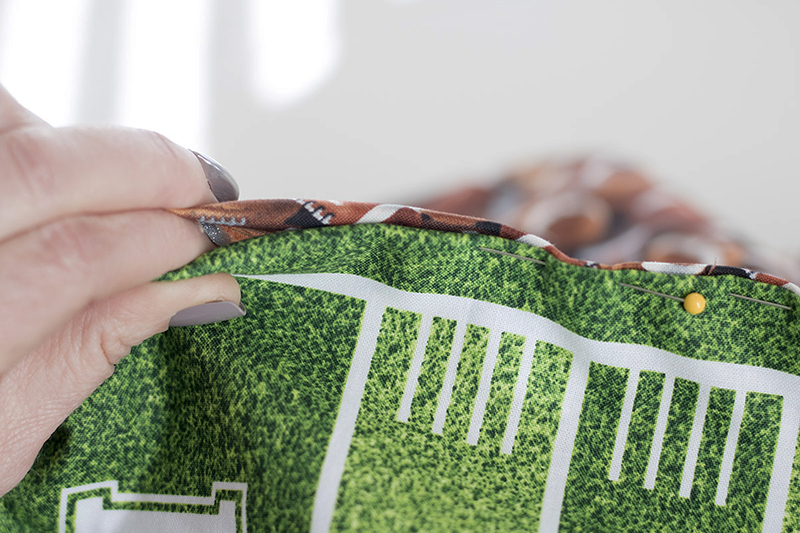
- Turn the runner right side out close the opening with pins. Fold the seam allowance in and pin to hold.
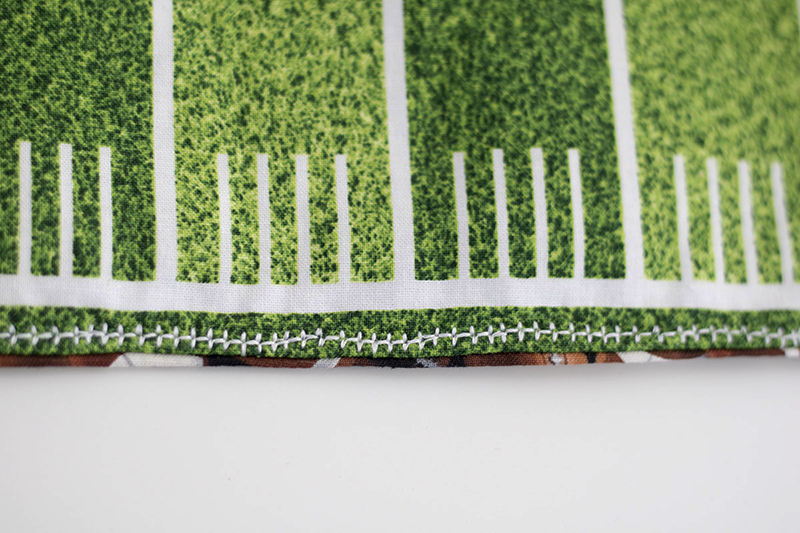
- Start sewing where the opening was then continue all around the perimeter of the runner. I used a decorative stitch on the Brother NS1750D
that looks like the stitching on a football for my top stitching.
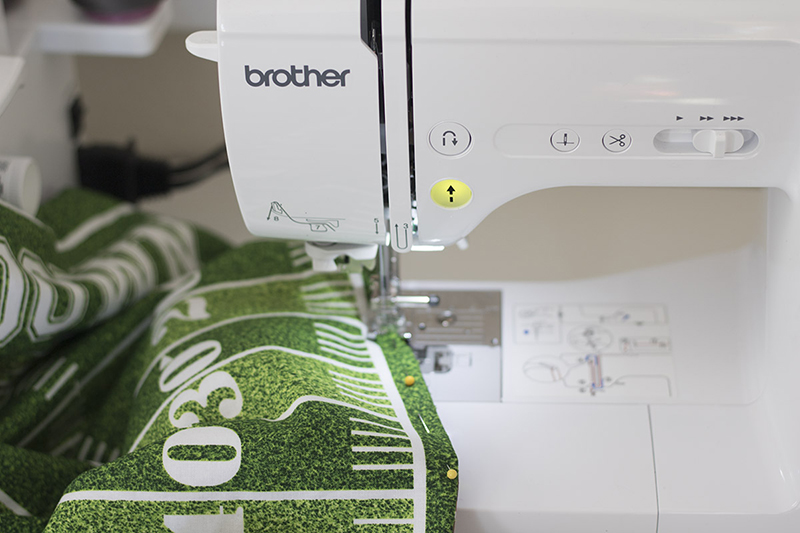
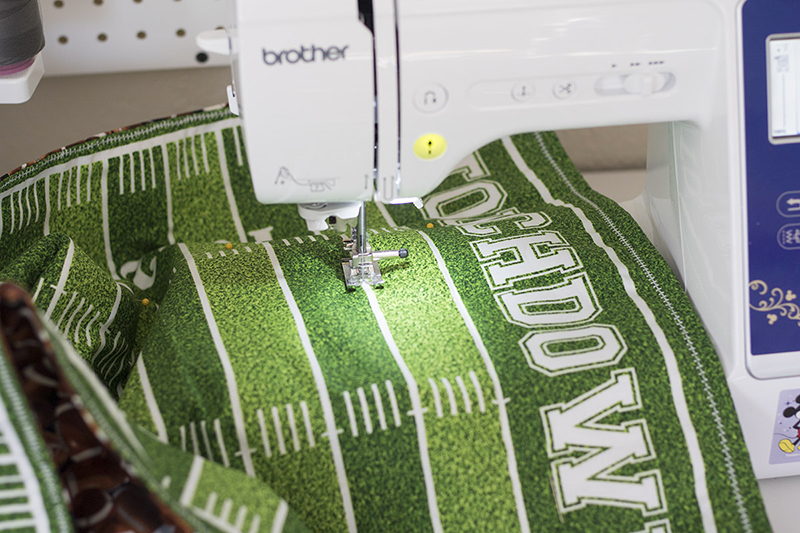
- Quilt the runner by sewing on the 10 yard lines printed on the fabric. I sewed each one going opposite directions to give the field some texture and avoid wrinkles. I just used a long straight stitch with white thread for this quilting.
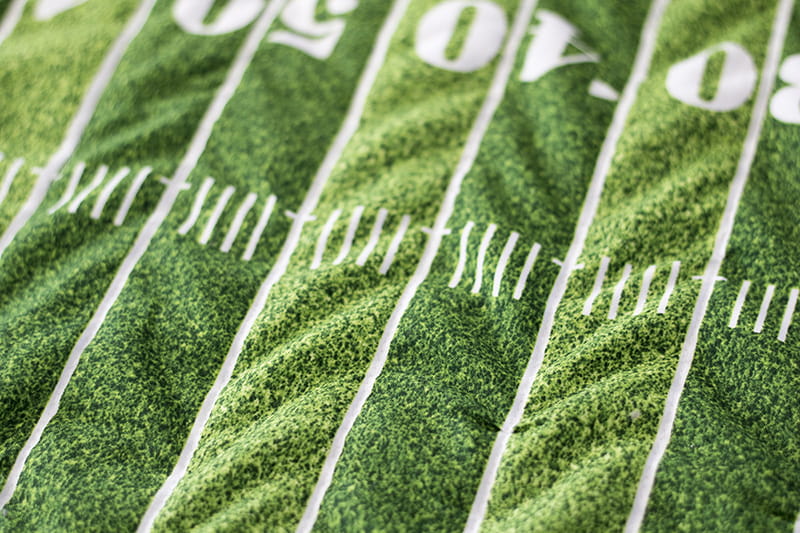
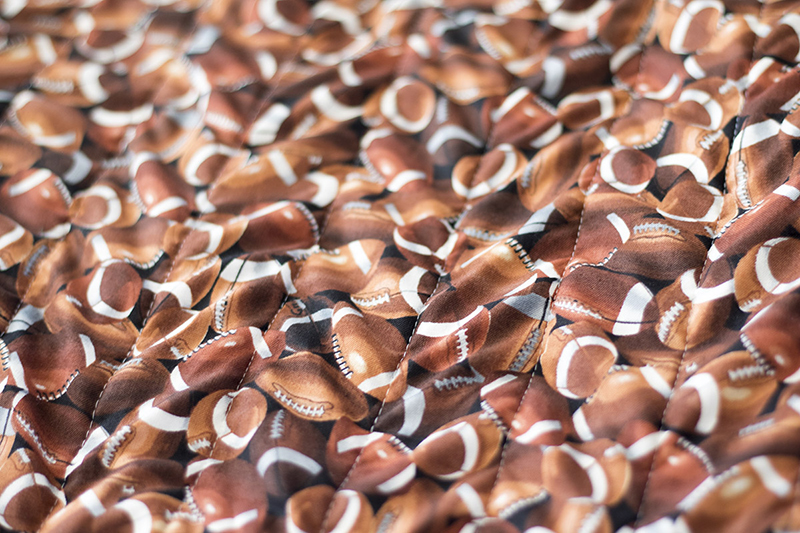 You did it! Touchdown!! You now have a fun football table runner to serve tasty snacks on during your Big Game party. This is a great afternoon sewing project with fun results and I hope you get the chance to try it out!
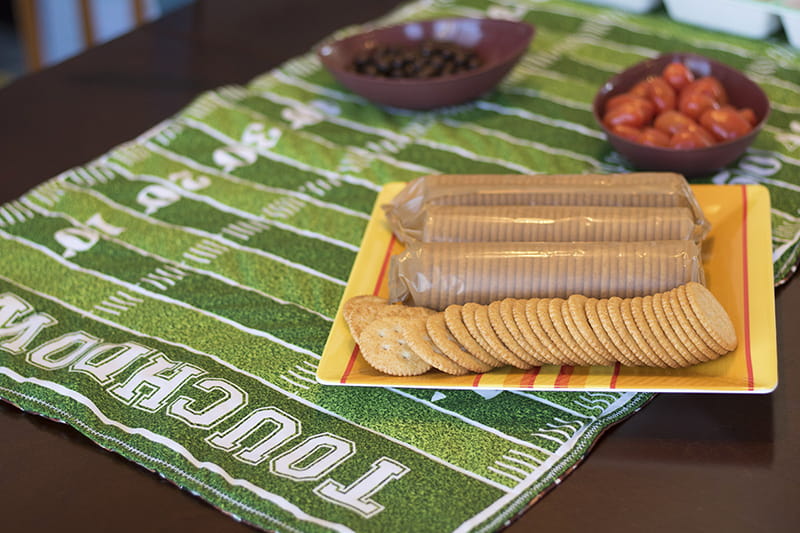 Are you all set for the big game?
- Start sewing where the opening was then continue all around the perimeter of the runner. I used a decorative stitch on the Brother NS1750D

