Geometric Jewels Sampler Quilt Along: Week 1 – Gathering and Cutting Fabric

Hello! This is Wendy of The Weekend Quilter, and I’d like to welcome you all to the first week of the Geometric Jewels Sampler quilt along (QAL)! This week is all about gathering your fabrics and cutting into them. Referring to the Geometric Jewels Sampler quilt pattern, we’re focusing on pages 2, 3 and 18. The pattern is a FREE download from here, if you haven’t got yourself a copy yet.
In this blog post we will cover a few tips on how to prepare, read quilt patterns and cut fabrics for your next quilt project. This blog post is one of six blog posts for the Geometric Jewels Sampler QAL. Each week of the QAL duration (starting from February 27, 2024), there will be a new blog post every Tuesday based around the tasks that will need to be completed for the QAL. Some of the tips in the blog post are geared towards the Geometric Jewels Sampler quilt pattern. But with that said, you can take the fundamentals from that and apply it to other future quilt projects.
To receive updates about the new blog posts as well as weekly QAL tasks, be sure to sign up for the weekly newsletter here. They will be sent via. The Weekend Quilter and only for the 6 weeks of the QAL*.
For more information on what the QAL entails (schedule, tools and supplies, etc.) please check out the previous Geometric Jewels Sampler QAL blog post here. The QAL officially starts on February 27, 2024. You’re more than welcome to join at any point and work at your own pace. You could also follow the same schedule as outlined in the first blog post with all the QAL info at a later date.
We’ll be keeping all our weekly tips, tricks and recommendations at the one location for reference here. So you may want to bookmark this one.
*By signing up for the Geometric Jewels Sampler QAL updates, you also agree to sign up to be on The Weekend Quilter and Brother International email newsletter list. We will not sell your email or spam you.
Supplies and Tools:
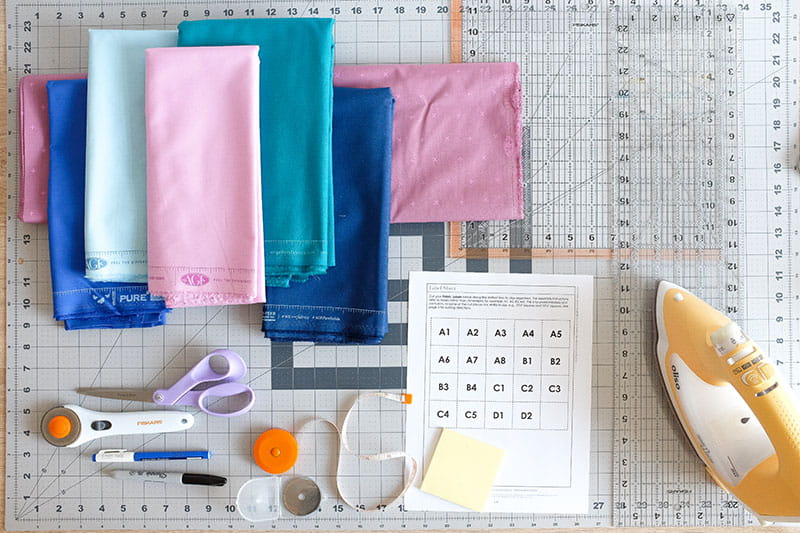
This week is all about gathering and cutting fabrics. You’ll need the following items for this week’s task:
- Download the Geometric Jewels Sampler quilt pattern for FREE from The Weekend Quilter’s website here.
- Printer to print out fabric labels (optional)
- Printer paper (if you’re printing the fabric labels); paper or sticky labels (if you’re not printing the fabric labels)
- Pen or marker to write out labels (if you’re not printing the fabric labels)
- Iron and ironing board or wool pressing mat
- Fabric starch (optional)
- Rotary cutter
- Quilting rulers – preferably a long ruler (i.e., 6in x 24in) to cover longer cuts and a medium size ruler at least 12in square size and with 45-degree angle guide to trim / square up the quilt blocks.
- Cutting mat
- Fabric scissors
- Paper scissors
- Fabrics, quilting cotton – Fabric requirements are based on 42in width of fabric:
Quilt Top- Fabric A (background, medium blue): 2¾ yards (252 cm)
- Fabric B (purple): 1 yard (92 cm)
- Fabric C (dark blue): 1⅝ yards (150 cm)
- Fabric D (light blue): ⅝ yard (58 cm)
Quilt Binding: ⅝ yard (58 cm) - Measuring tape (optional)
- Fabric pen or pencil (optional)
- Spare rotary cutter blades (optional)
Fabric Labels
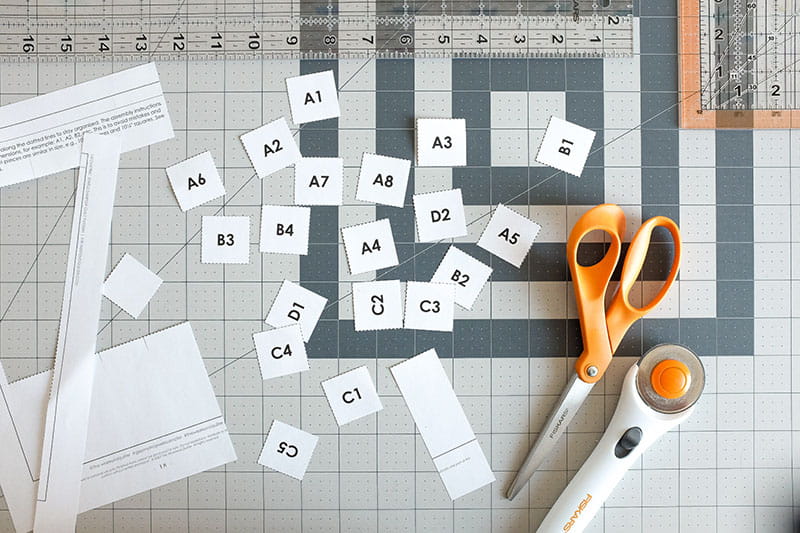
Before we jump into the nitty gritty stuff around prepping and cutting into fabrics, turn to page 18 of the Geometric Jewels Sampler PDF quilt pattern. Then print the fabric labels and cut on the dotted lines. If you don’t have a printer, draw out a four by five grid or on 19 sticky notes, write out the fabric labels outlined on page 18.
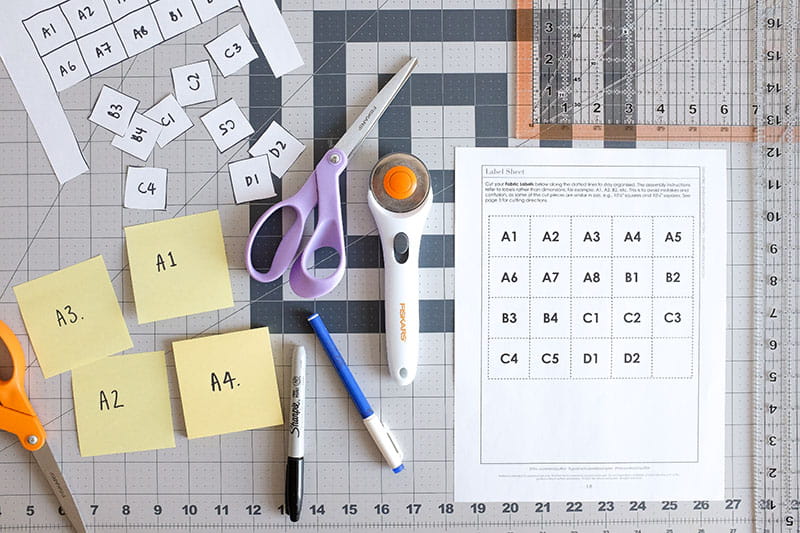
These fabric labels are going to help you stay organised throughout the quilt making process from cutting to assembling the quilt project. The assembly instructions in the quilt pattern refer to labels rather than dimensions of the cut fabric, for example: A1, A2, B3, etc. This is to avoid mistakes and confusion, as some of the cut pieces are similar in size, e.g., 10½in squares and 10¼ squares.
When you’re done creating your labels, set those aside for the meantime and we’ll bring them back into the picture when we start cutting.
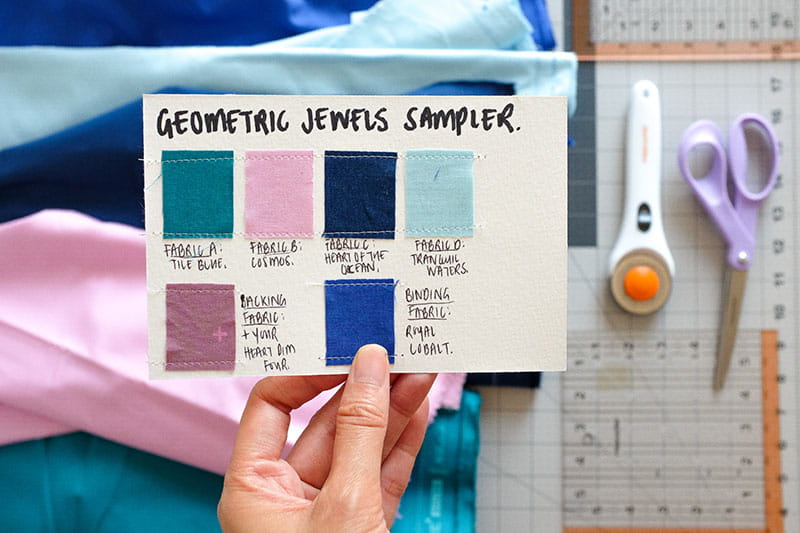
If you’d like to go the extra mile, you can also create a fabric key (or swatch) card. With this card, you glue, tape or sew down little square or rectangle swatches of the fabric you’ll be using throughout the project. I like to use a heavier cardstock for my fabric key cards like watercolour paper, so it keeps shape as I’m moving it around in the sewing room. Then write down the corresponding fabric label, for example, Fabric A, Fabric B, etc., and refer to it whenever you are uncertain or don’t remember which fabric is which. Other information you could include on the card is the fabric’s name, colour, designer and / or manufacturer, and use it as a reference card if you need to purchase more of a certain fabric for a future project or save it as a keepsake. Now, let’s move on to the fabric prepping. You can watch a quick Instagram Reel by yours truly on how I made my own swatch card for another project I completed recently here.
Preparing Fabrics for Cutting
So, you’ve picked out all your fabrics and you’re ready to get cutting. But before we do that, we need to get the fabric prepared. This initial preparation is going to ensure accurate cutting, which then leads to accurate piecing and everything else coming together neatly to form the quilt.
- First things first, prewashing. There are pros and cons to it. Prewashing ensures that you identify any fabric shrinkage and bleeding before you wash your completed quilt for the first time. Some people also opt into prewashing before they cut into their fabrics to avoid the ‘antique’ or crinkled look after washing their finished quilt. If you do decide to prewash your fabrics, make sure that you do it to all the fabrics used in the project and not just to some of them for consistency.
Personally, I don’t prewash my fabrics. I’m too impatient and just want to get started right away. I don’t want to deal with the following steps of waiting for the fabric to dry, refolding and ironing. I also find that the fabric gets a little limp after its wash, making it a little finicky to work with when cutting and piecing. The only exception is when I’m unfamiliar with the brand or feel uncertain.
Then when it comes to washing my quilt projects for the first time, I like to throw in a few colour catcher sheets in the washer in case any of the colours run. - Secondly, ironing. Always iron out any creases in the fabric. Sometimes this may mean ironing both sides of the fabric, depending on how it is stored. Getting rid of the creases in the fabrics helps with making accurate cuts and piecing.
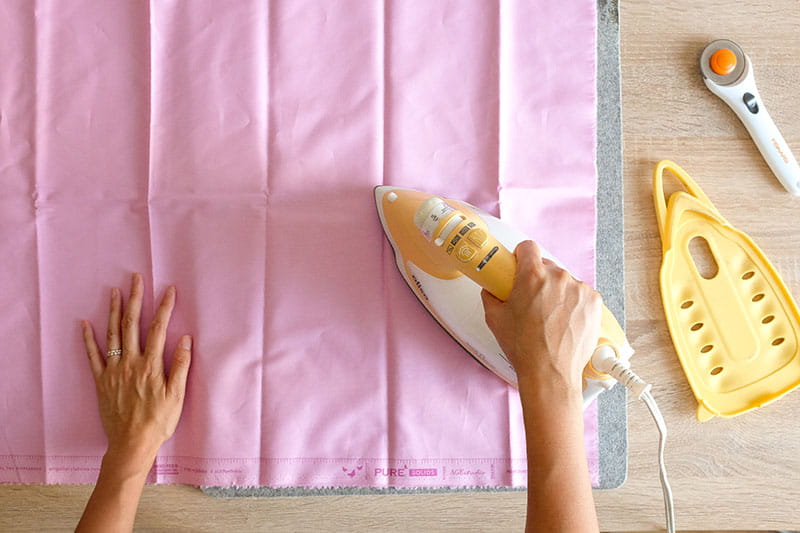
Quilting cotton has a little natural give and stretch, but nowhere as near as a knit fabric. At this step of the fabric preparation, you could also spray fabric starch to make the fabric more stabilised while you’re cutting. This is entirely optional. I personally find ironing alone is sufficient.
Understanding and Reading Cutting Directions
How cutting directions are written out are going to vary from writer to writer, pattern to pattern. It is important to read all the instructions before starting. That way you could get the lay of the land, understand what to anticipate throughout the project, and identify any certain tools or materials that you may need along the way, for example, specialty rulers or different ruler sizes to make cuts of certain lengths and widths.
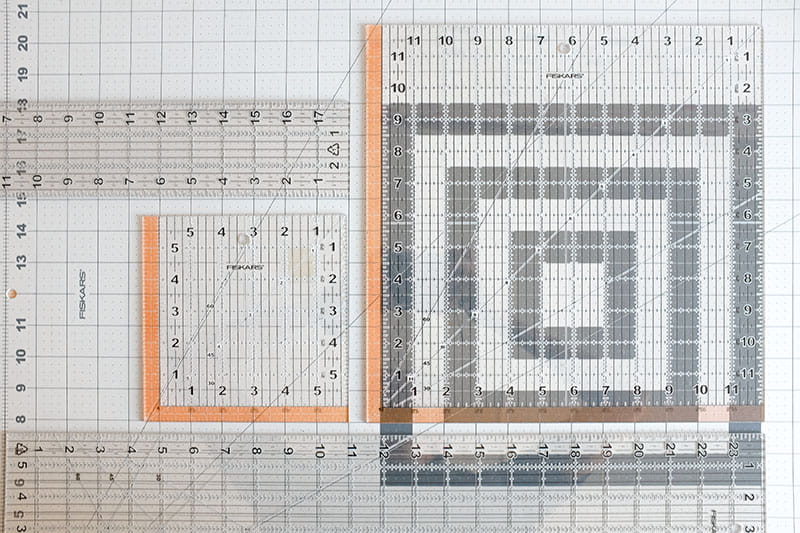
What you’ll find in common in all quilt patterns and rulers are the units are all in inches. That is because quilters work in inches. This might be a little weird if you’re used to operating with the metric system. However, please do not convert the provided measurements in centimetres or millimetres. This could lead to inaccurate piecing, pieces of fabric and seams not matching up when it comes to assembling the quilt. Designers have spent hours and done all the hard work in figuring out how much and the size of each cut should be so that you don’t need to. All cutting directions in the pattern include ¼in seam allowance.
Secondly, two other quilting terminologies that pop up frequently in the cutting directions in a quilt pattern are: width of fabric (WOF) and sub-cutting. WOF refers to the distance from selvedge to selvedge. When working with quilting cottons, the width of fabric typically comes in 42in to 44in – 42in being the most common WOF. Sub-cutting means to cut smaller squares or rectangles from a larger piece of fabric that is already cut.
More specifically, the cutting directions in the Geometric Jewels Sampler quilt pattern provides two additional pieces of information in bold text:
Fabric labels (for example, A1, A2, etc.) are used throughout the pattern to avoid mistakes and confusion, since some of the pieces are similar in size, and which cut pieces belong with which piecing technique. For example, SP for strip piecing, HST for half-square triangle, QC for quick-corner, etc. With the various techniques explored in the pattern, this second piece of additional information will help keep your fabric pieces organised.
Using the cutting directions from Geometric Jewels Sampler quilt pattern on page 3 for fabric A as an example:
The first paragraph says:
1 strip, 3½in x WOF
(for strip piecing), A1, SP
Essentially, this means:
Cut 1 strip that’s a 3½in x 42in rectangle. This cut will be labelled as A1 in the assembly instructions and used in the strip piecing (SP) section of the pattern.
In the second paragraph, it asks you to cut:
2 strips, 11in x WOF, sub-cut:
- 6 squares, 11in, A2, HST
- 6 rectangles, 2¾in x 5in, A3, QC
What this means:
You’ll need to cut 2 strips that are each 11in x 42in rectangle.
Then from the 2 strips, you’ll need to cut 6 squares that are 11in x 11in. Then label the squares as A2 and they will be used in the half-square triangle (HST) section of the pattern.
From what is left over from the 2 strips that measure 11in x 42in rectangle, cut 6 rectangles that are 2¾in x 5in. Label these rectangles as A3 and they will be used in the quick-corner (QC) section of the pattern.
Cutting Fabrics
The fabric is prepared, and you’ve got some idea on how to read the cutting directions. It’s now on to the cutting! Here are a few tips and things to keep in mind for your safety:
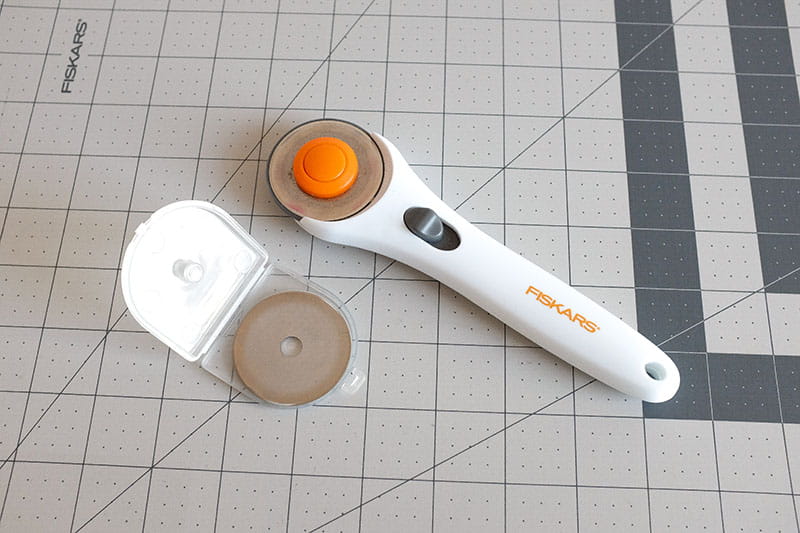
- Having a sharp rotary cutter is another important component in accurate cutting and piecing. A dull rotary cutter can slow down the cutting process and damage the fabric. A good indicator of when a rotary cutter is in need of a replacement is when you’ll need to run the rotary cutter on the same spot more than once because it is skipping some of the fabric fibers.
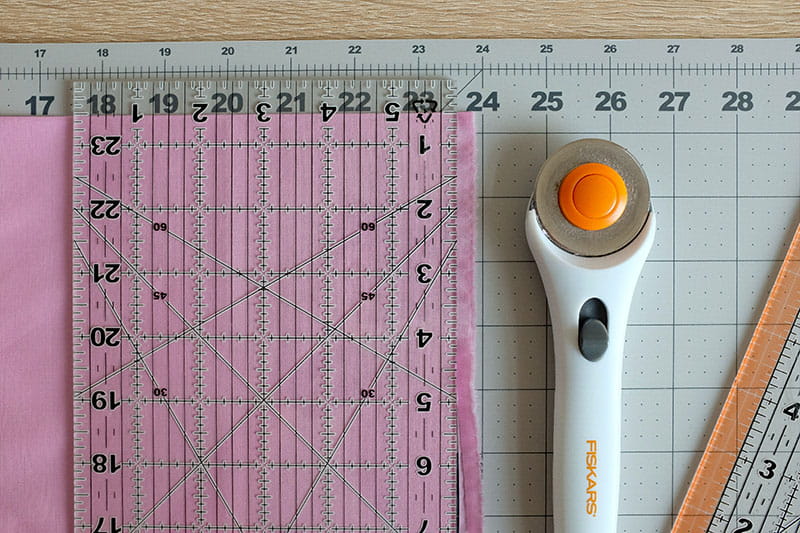
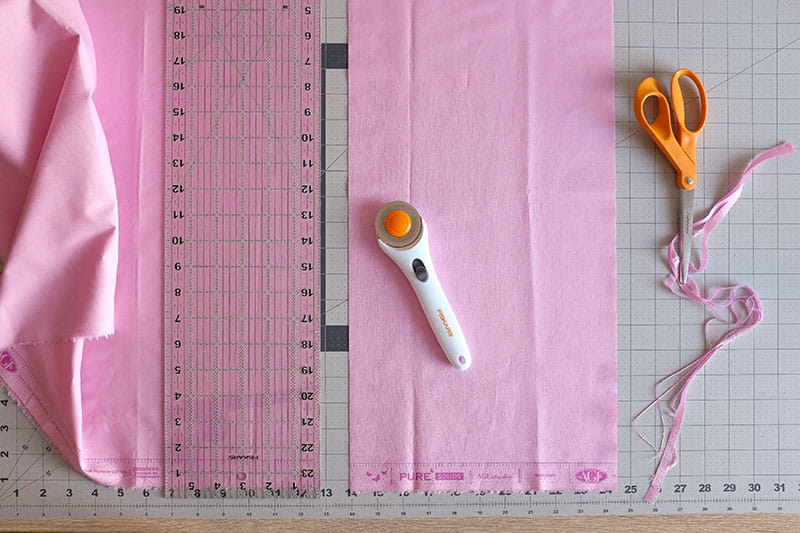
- The naked eye can play tricks on you. Before any actual cutting is made, it is important to remove any jagged or uneven edges. To do this, use the long edge of the ruler to push out any air bubbles in the fabric. Then line up a horizontal guide on the ruler with the folded edge of the fabric, and remove the jagged edge that is perpendicular to the fabric fold.
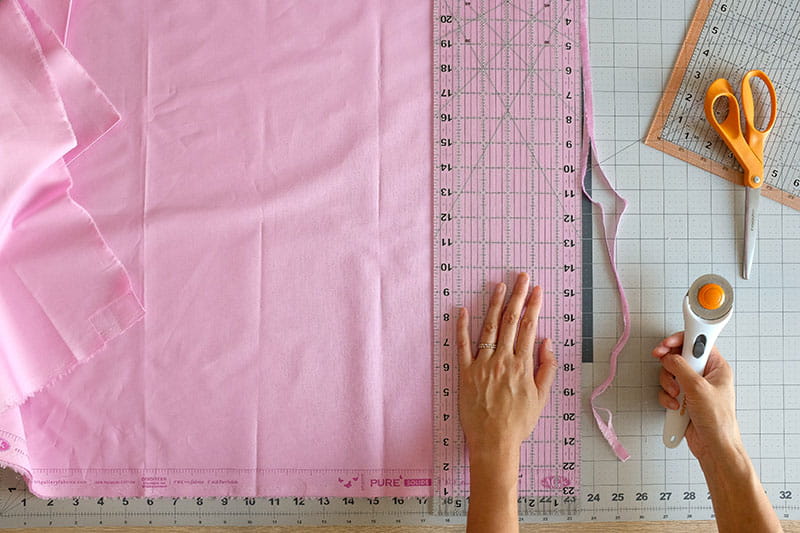
- Cut away from the body, and not towards yourself
- Stand up when cutting and do not cross your arms one over the other while cutting. The rotary cutter should be in your dominant hand and the opposite hand should be applying pressure on to the quilting ruler and fabric to prevent them from sliding around while cutting. For example, if you are right-handed, use your left hand to secure the ruler, hold the rotary cutter in your right hand and cut the pieces of fabric from right to left; and vice versa for left-handed quilters. This allows you to also achieve accurate cuts.
- It is important to stay focused while cutting. The process can get pretty gruesome if you do not pay attention and your fingers are in the way of the cutting blade. I’ve seen it happen many times from personal experience and it looks like something out of a horror movie.
- Measure twice, cut once. Double-check that your ruler is aligned correctly and that you have carefully read the cutting directions. Cutting the wrong size of pieces can stop a project in its tracks.
I’m going to leave you one more tip that’s a little more geared for the Geometric Jewels Sampler quilt pattern. But you can still apply this to projects with similar cutting directions… You’ll notice some of the strips required are wider than the standard long quilt ruler (6in x 24in), for example, 11in x WOF, 10½in x WOF. To make those cuts you’ll need two rulers. One that is 6in x 24in or covers the length of the WOF folded in half, and a ruler that is at least 12in wide.
Assuming that the jagged or uneven edges are removed (refer to the second bullet point under ‘Cutting Fabrics’), measure the desired width of strip with the ruler that’s at least 12in wide (wider ruler) from the trimmed, straight edge. In this example I’ll be cutting 10½in x WOF. Therefore, I’ll be measuring 10½in from the trimmed, straight edge. Apply pressure on that ruler with your non-dominant hand.
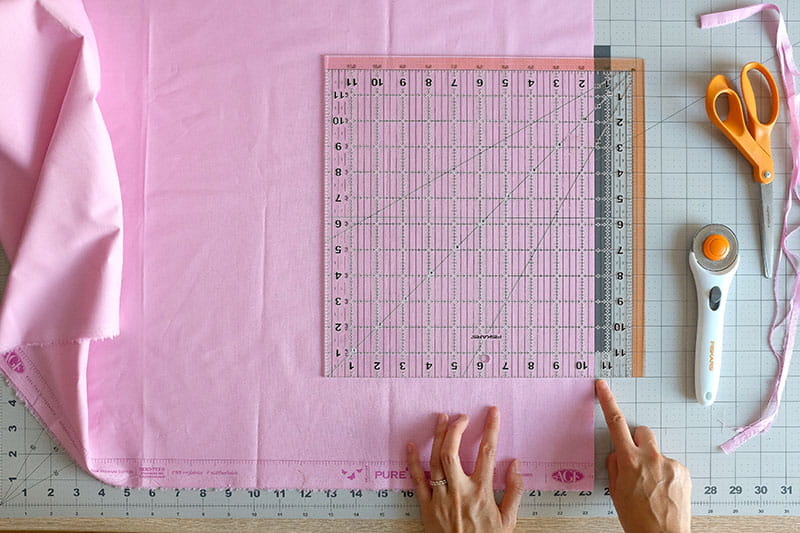
Then take the longer ruler that covers the length of the WOF folded in half (or 6in x 24in ruler), butt on the ruler against the wider ruler.
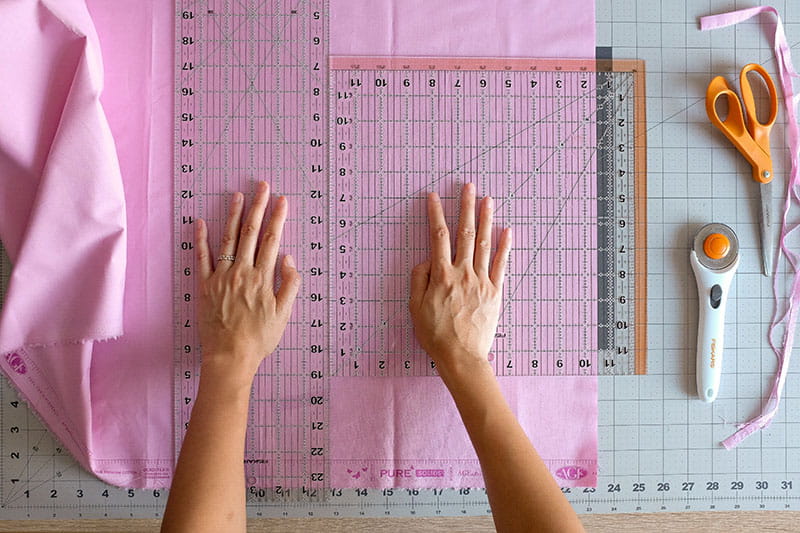
Apply pressure on the longer ruler. Then carefully remove the wider ruler without moving the longer ruler. At this point you may need to reposition your body and hand to cut the strip. Personally, when I’m cutting, I’d like to move my desk away from the wall so I could walk around either side of my desk. This allows me to make cuts without tampering with the fabric or ruler, which leads to accurate cutting and piecing.
If you happen to accidentally shift the longer ruler by accident, or you’re second guessing yourself, feel free to repeat the previous steps until you feel confident to cut the strip.
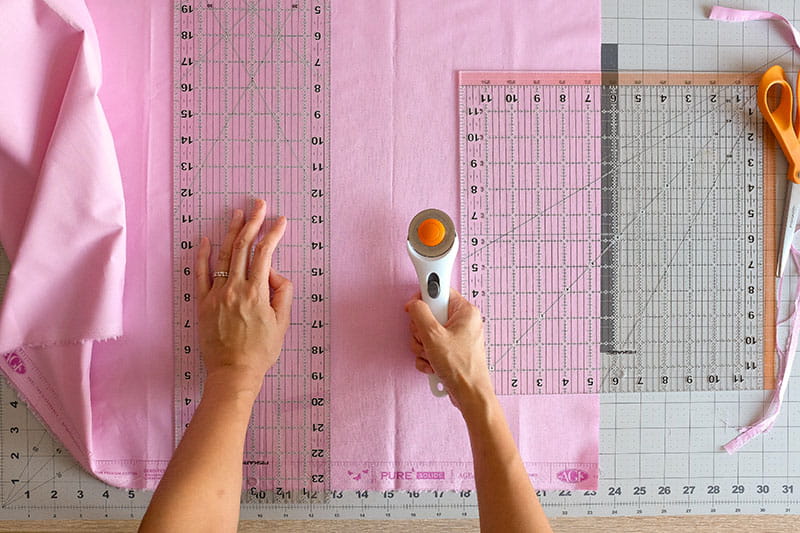
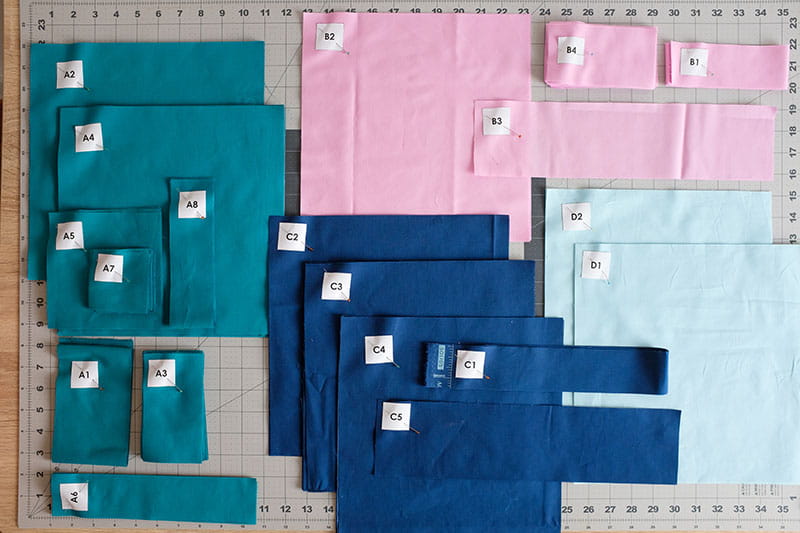
When you’re done cutting all your fabrics for the Geometric Jewels Sampler quilt project, don’t forget to keep all the same fabric colors and cuts in the same piles, and use the fabric labels to stay organized and avoid confusion throughout the project.
Seeing your work brings us so much joy. Be sure to also share your works-in-progress on social media by tagging Wendy @The.WeekendQuilter and @BrotherSews and using the #GeometricJewelsSampler #BrotherSews hashtags.
Till next time, happy sewing!

