Handmade Holiday: Cathedral Window Ornament
One of my favorite things about this time of year is making handmade ornaments. I generally use fabrics that aren’t holiday specific so that I can keep them up year-round, creating decor for the entire house and not just for a tree. And with this Cathedral Window Ornament, there’s the option to turn it into a pin cushion, which makes it not only fabulous, but also super functional.
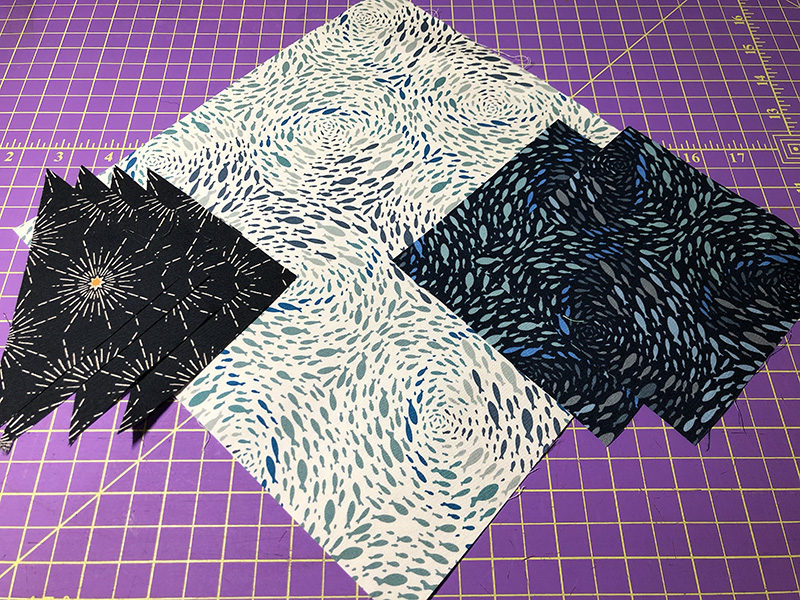
What You’ll Need:
- Main outline fabric: One 10” x 10” square
- Center inset & back fabric: Two 5” x 5” squares
- Perimeter inset fabric: One 6” x 6” square cut into quarters along the diagonals
- 6” string, yarn or ribbon for tie
- Handful of filling
- Button
- Yarn needle
- J Presser Foot & Button Sew-On Holder Foot
- Basting glue (optional)
- Product Used: Brother SE1900 (aka Alphonso)
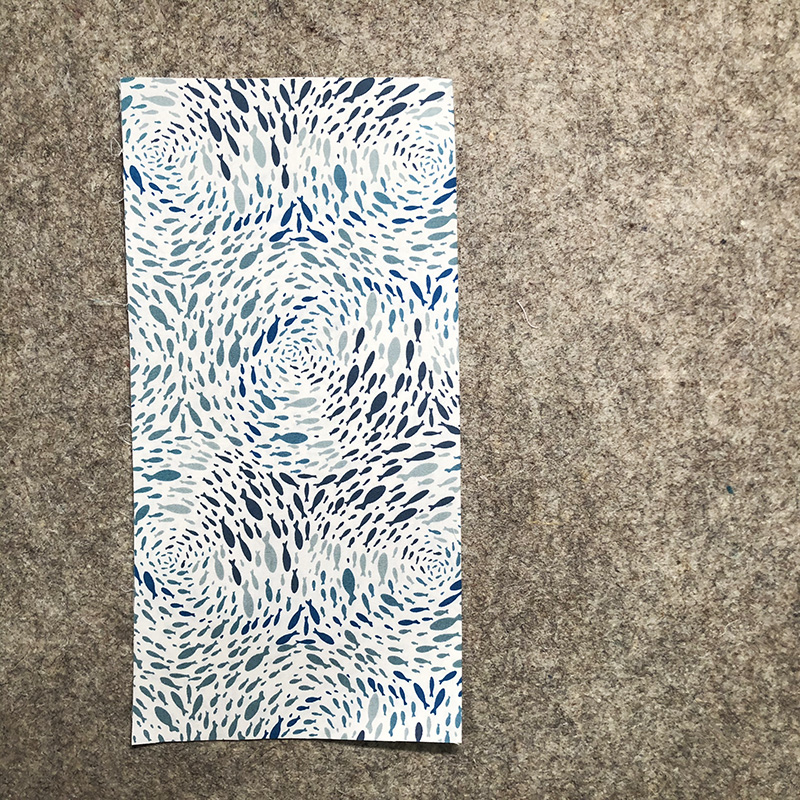
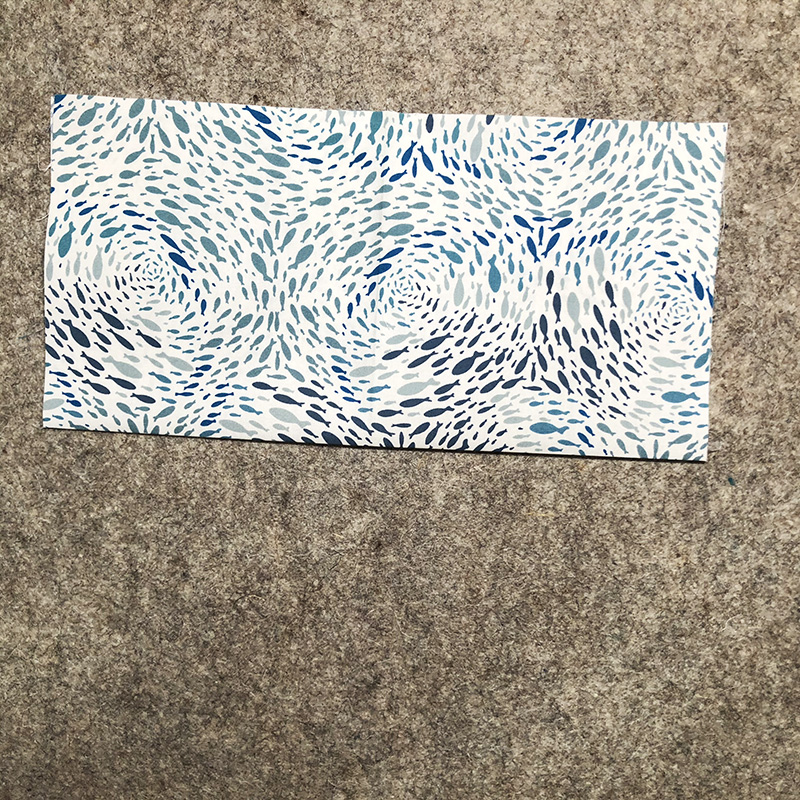

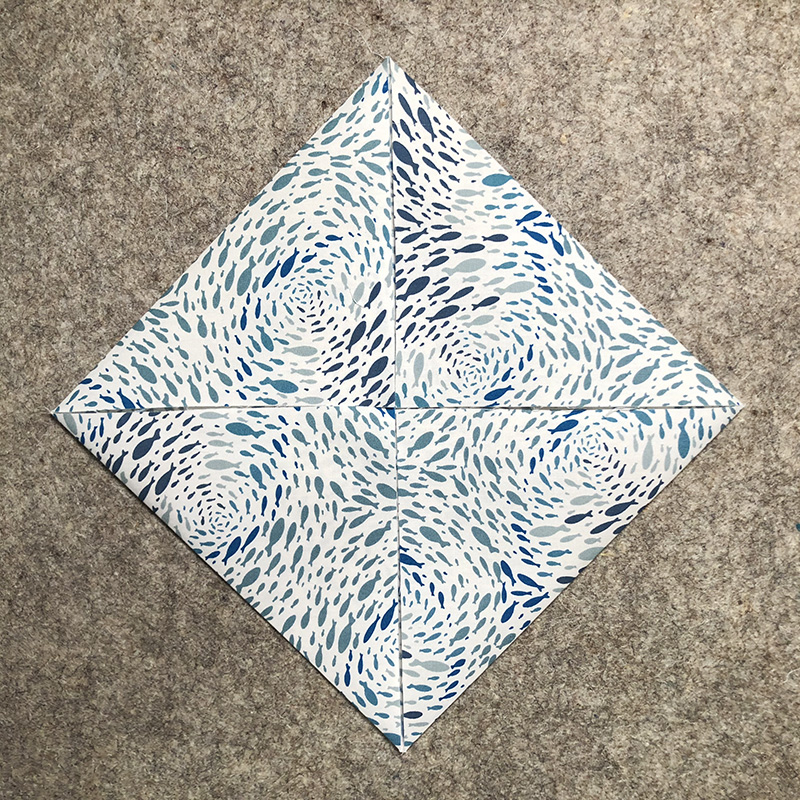
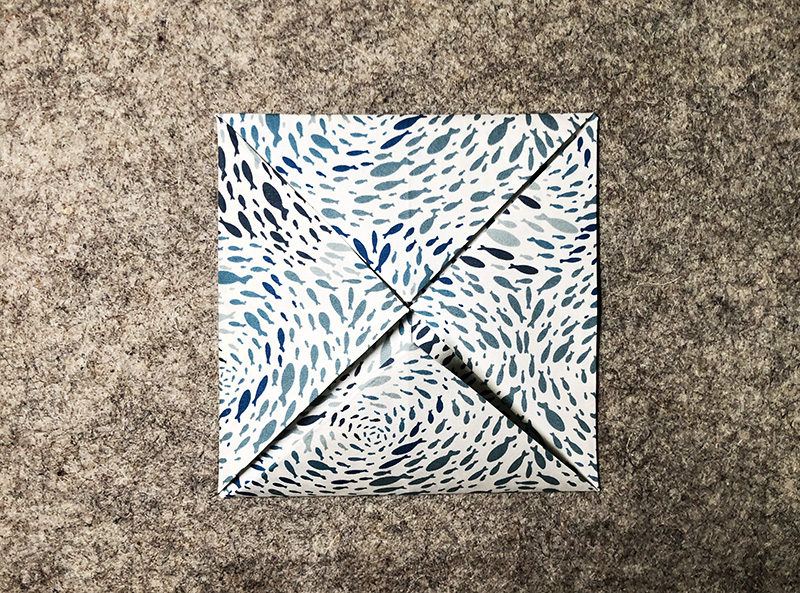
- The first part of this project involves some origami action with the 10” x 10” square. Fold this in half and press both vertically and horizontally to find the center.
- Open the square and fold each corner onto this center point and press.
- Fold each new corner onto the same center point and press.
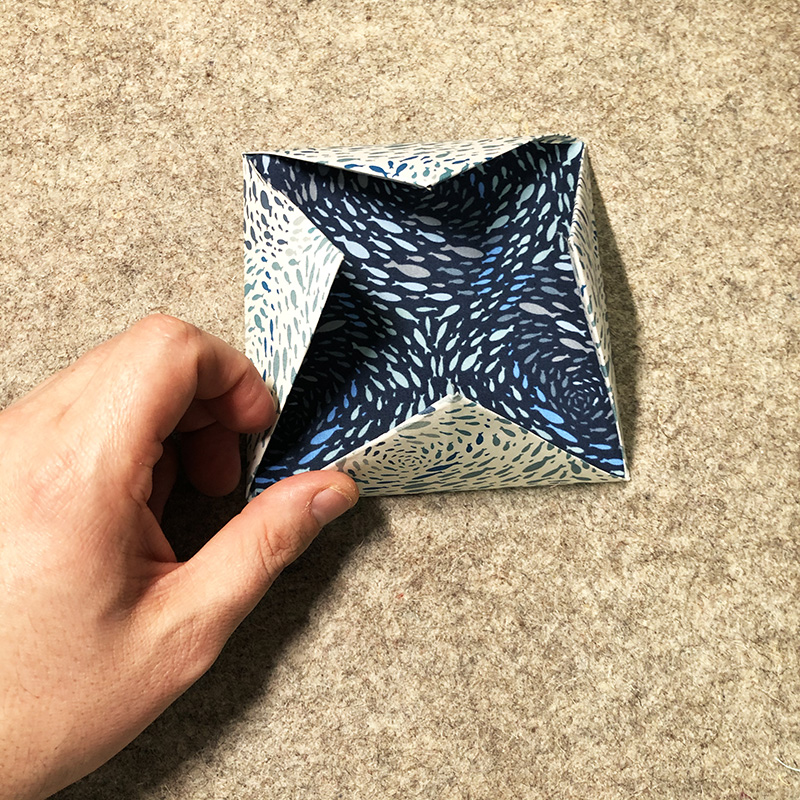

- Take one of the 5” x 5” squares and inset inside of the folds. It might be necessary to slightly trim this square so that it lays flat within the folds.
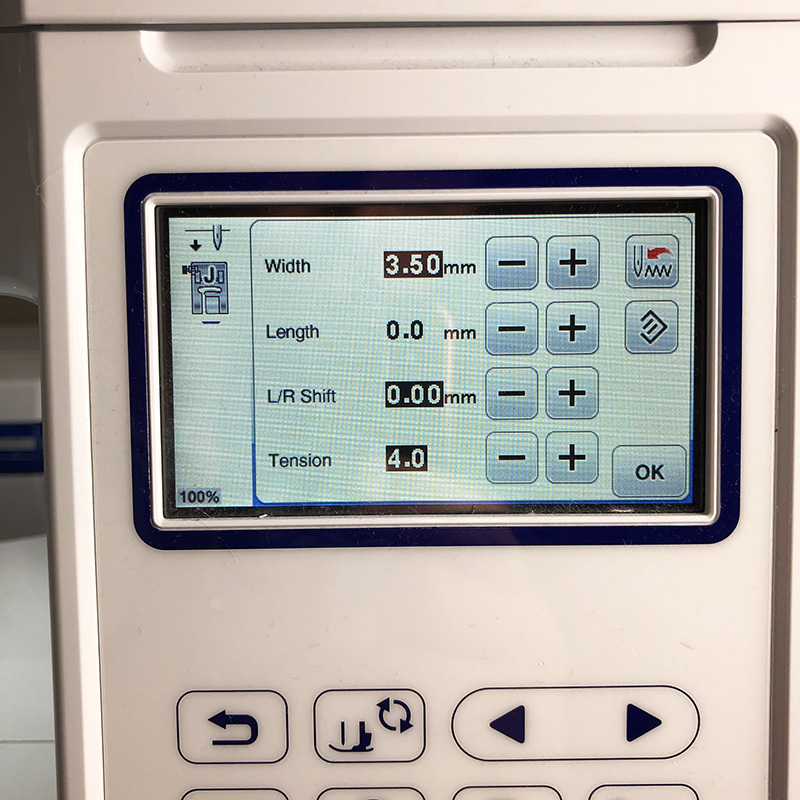
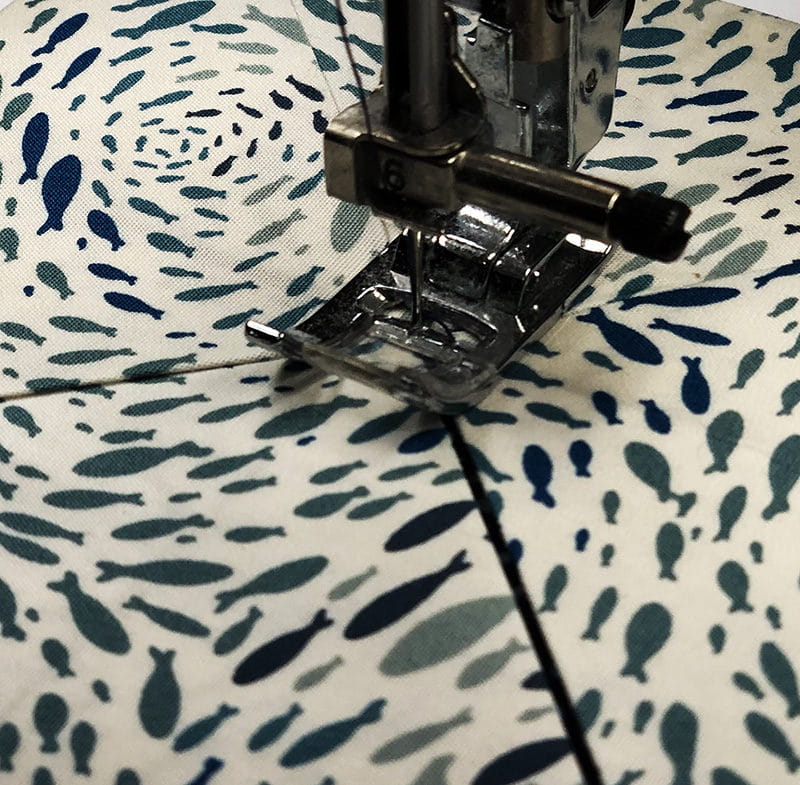
- Setting a zig zag stitch to 3.5 mm wide and 0.0 length, center to opposing inside corner under the foot and tack those two corners down. Follow the same process with the remaining opposing corners.
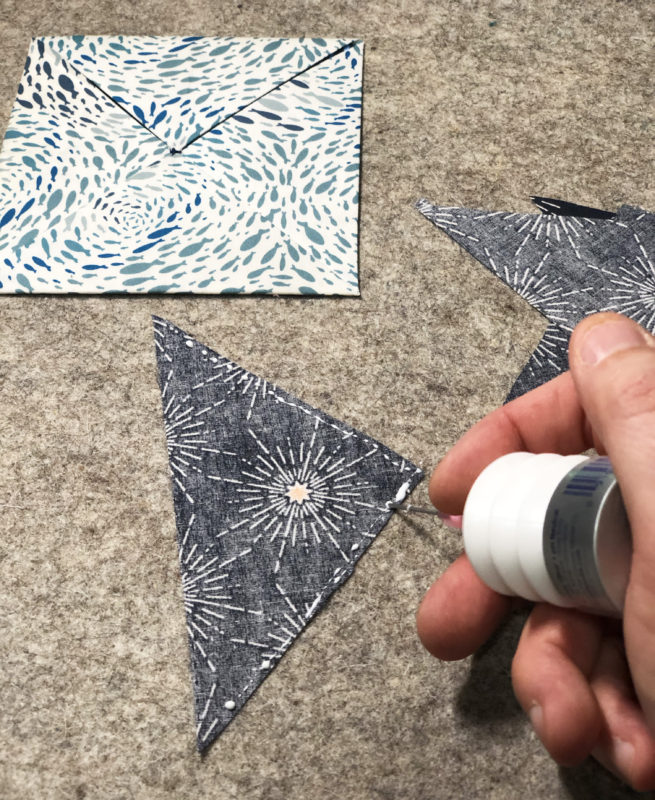
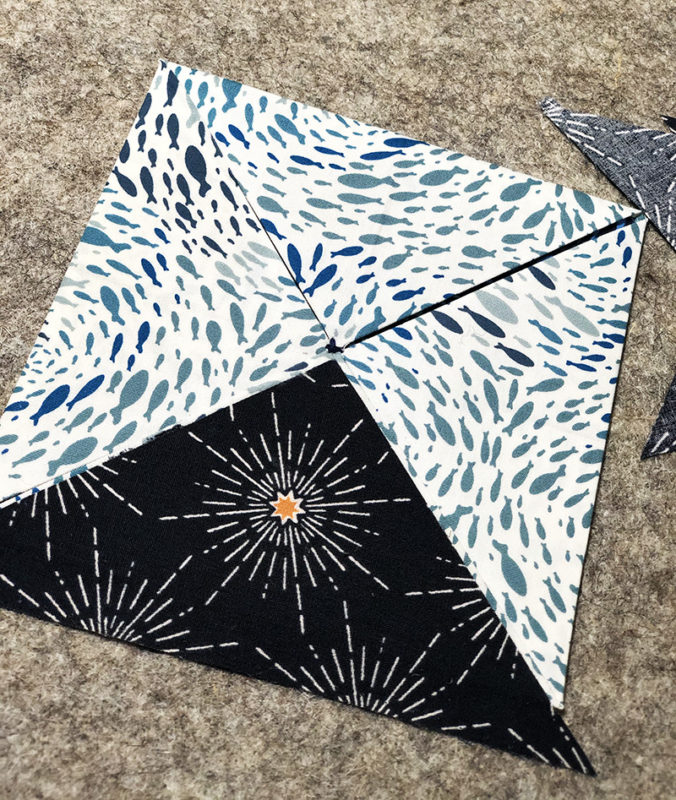
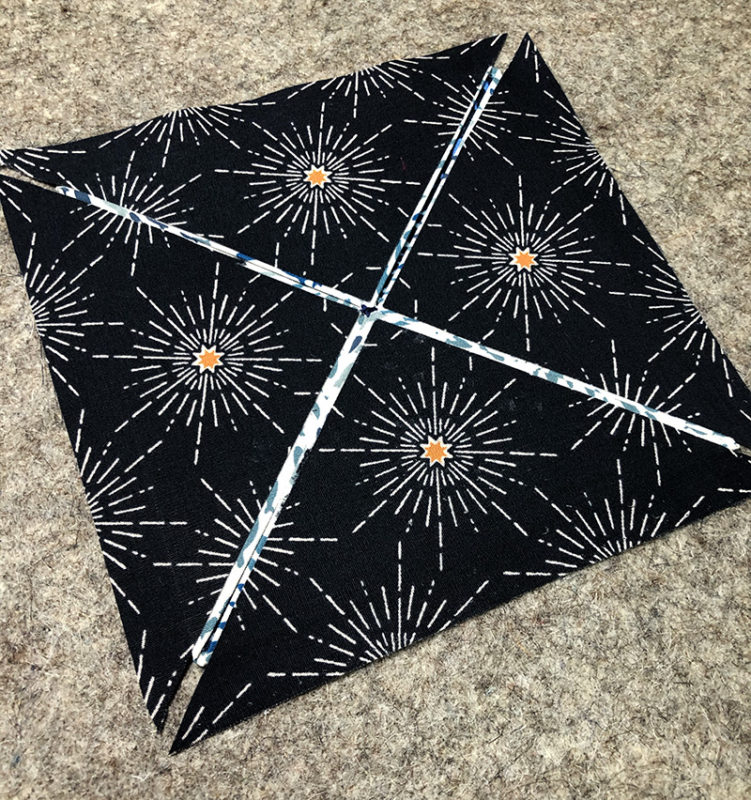
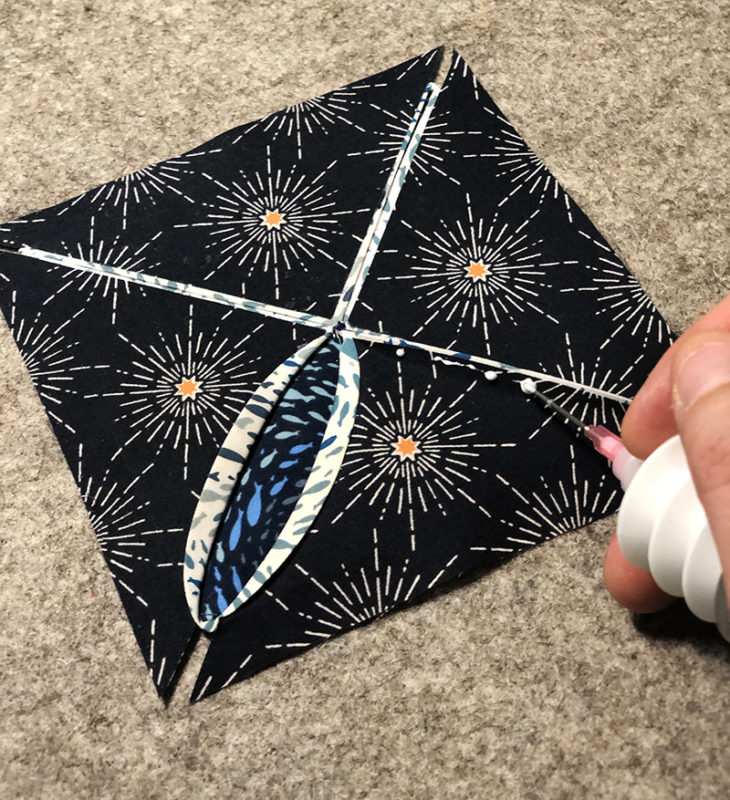
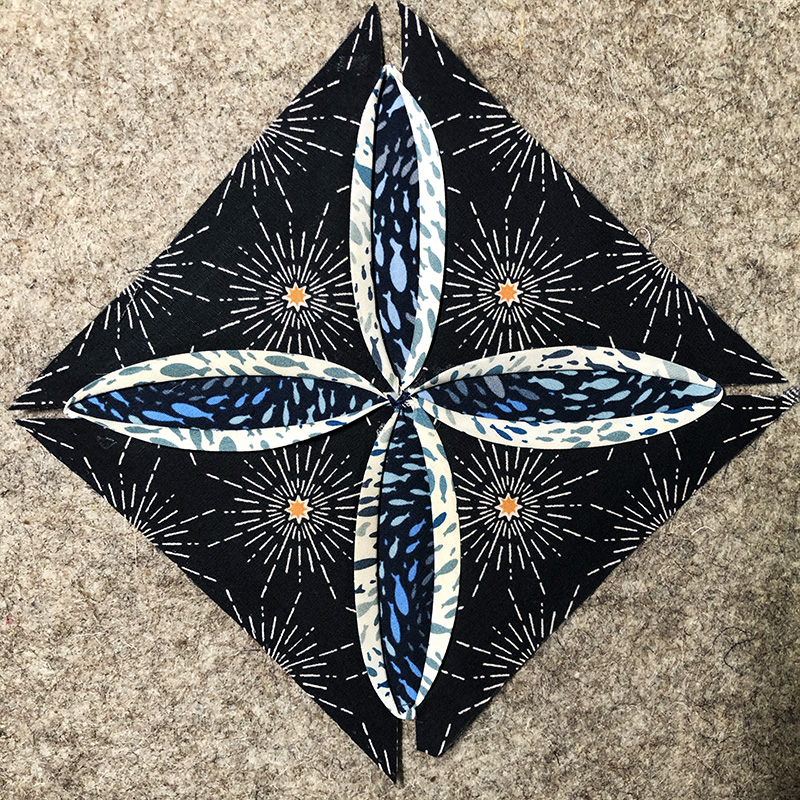
- Place each triangle 1/16” from the edge of each folded triangle. Glue basting and heat setting each triangle in place will make the next step much easier. Each triangle will extend beyond the main fabric folded square. Leave as it for now.
- Creating a natural curve, frame each triangle by folding over the main fabric onto the four basted triangles.
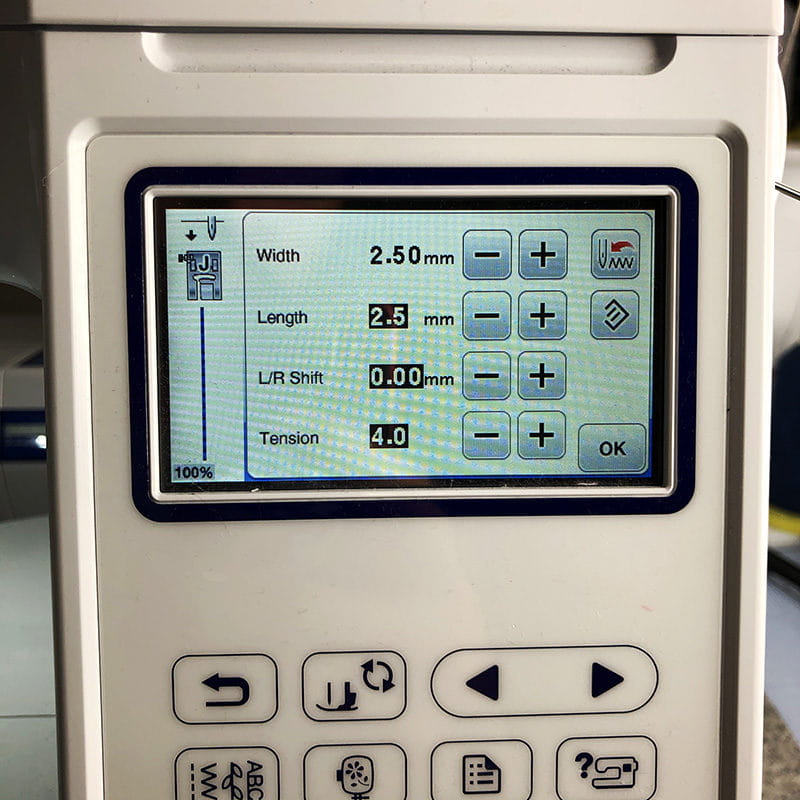
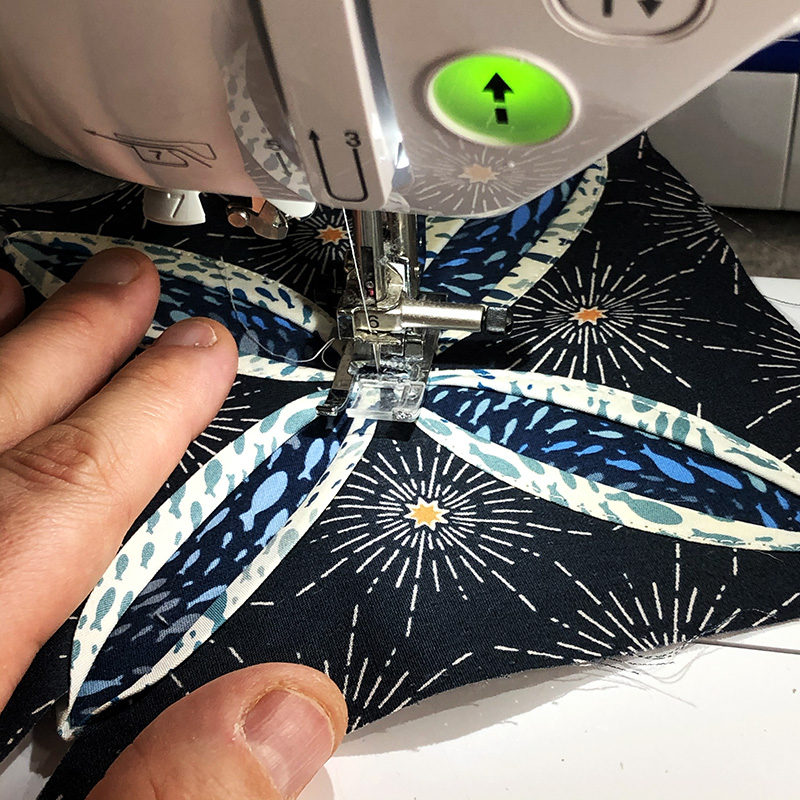
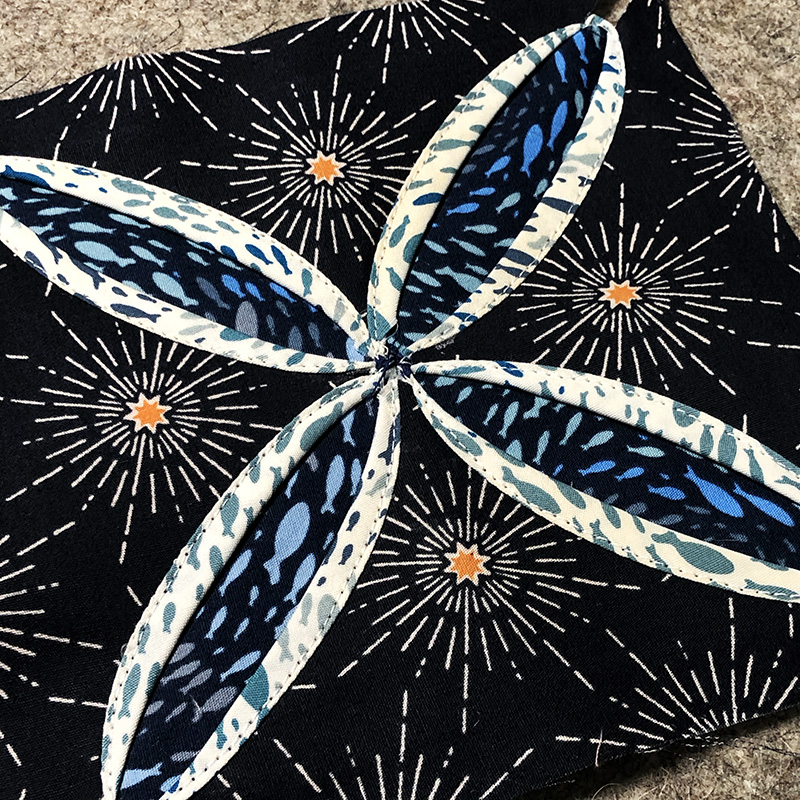
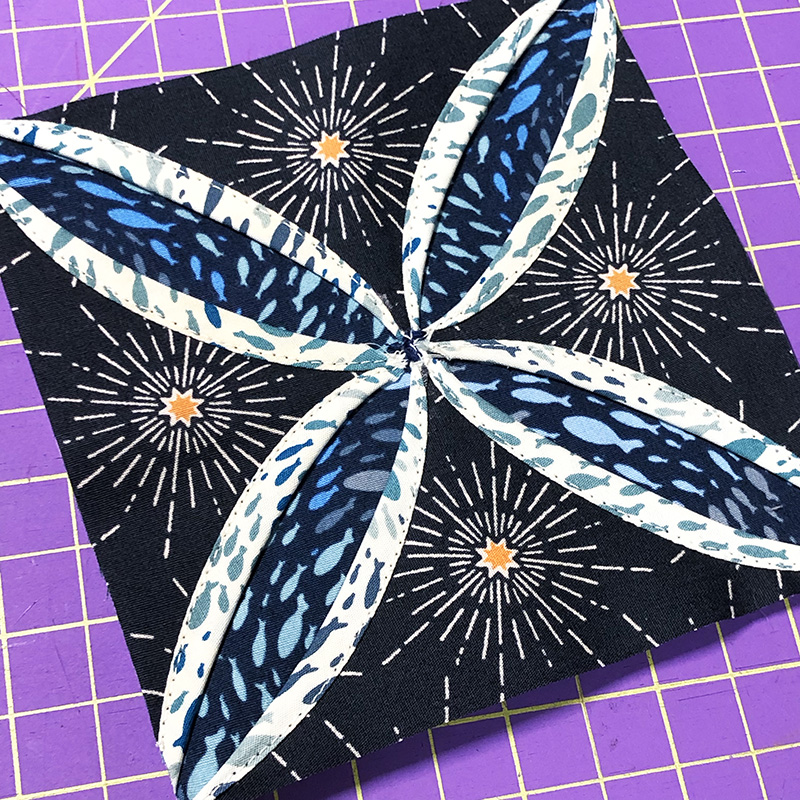
- With the needle at 2.5 mm and the length at 2.5, use the center line of the J foot to edge stitch the fold of each curve.
- Trim the excess triangle fabric to create the original 5” x 5” square.
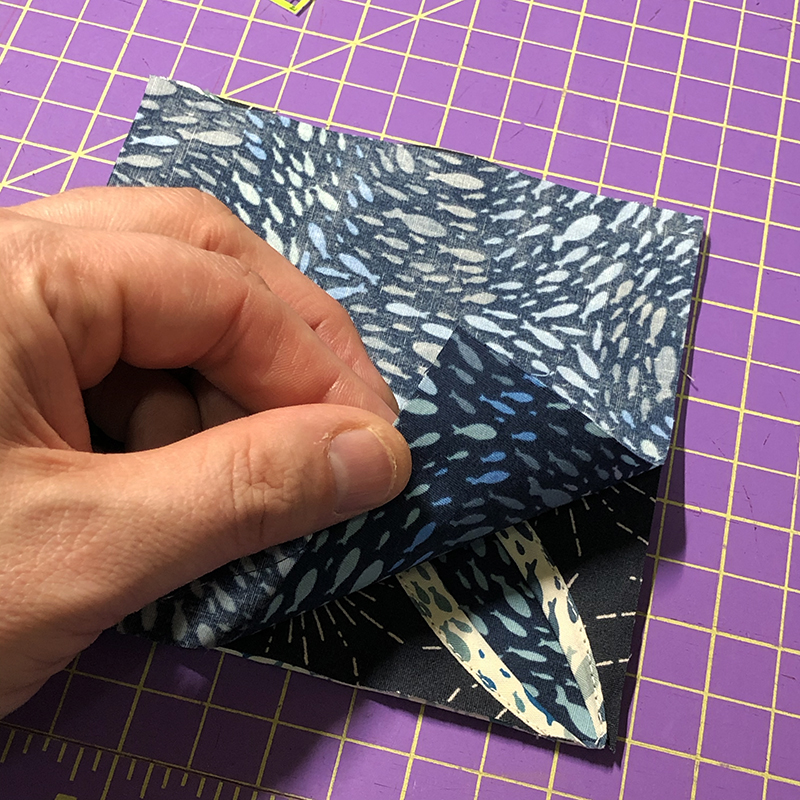
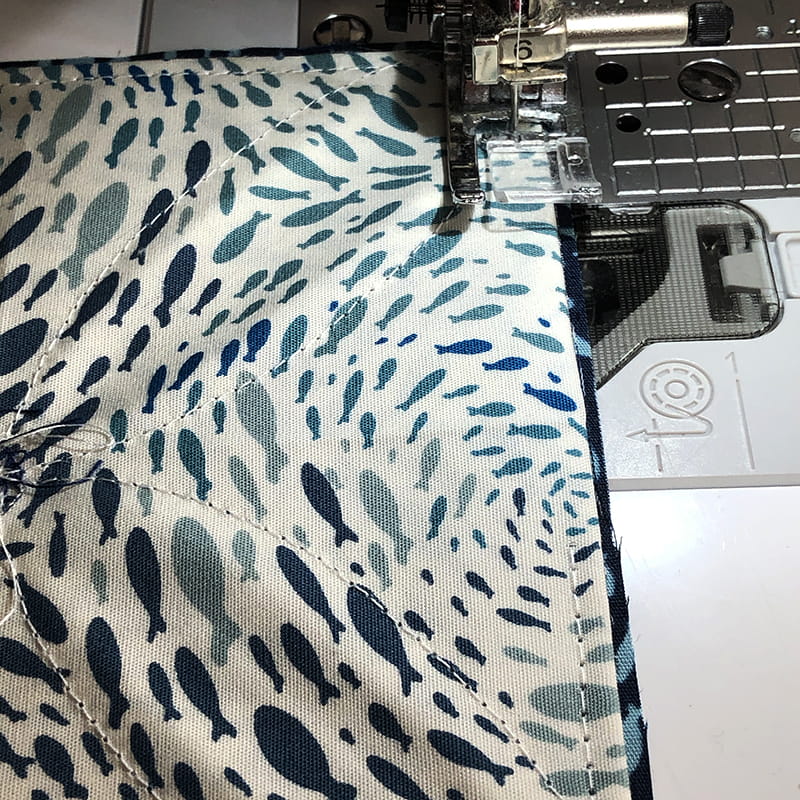
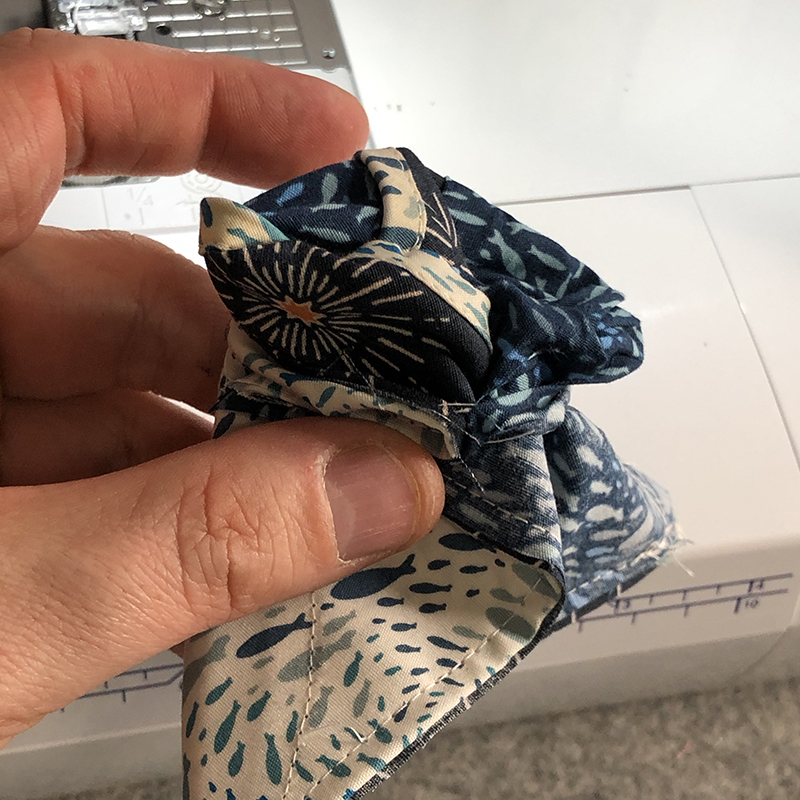
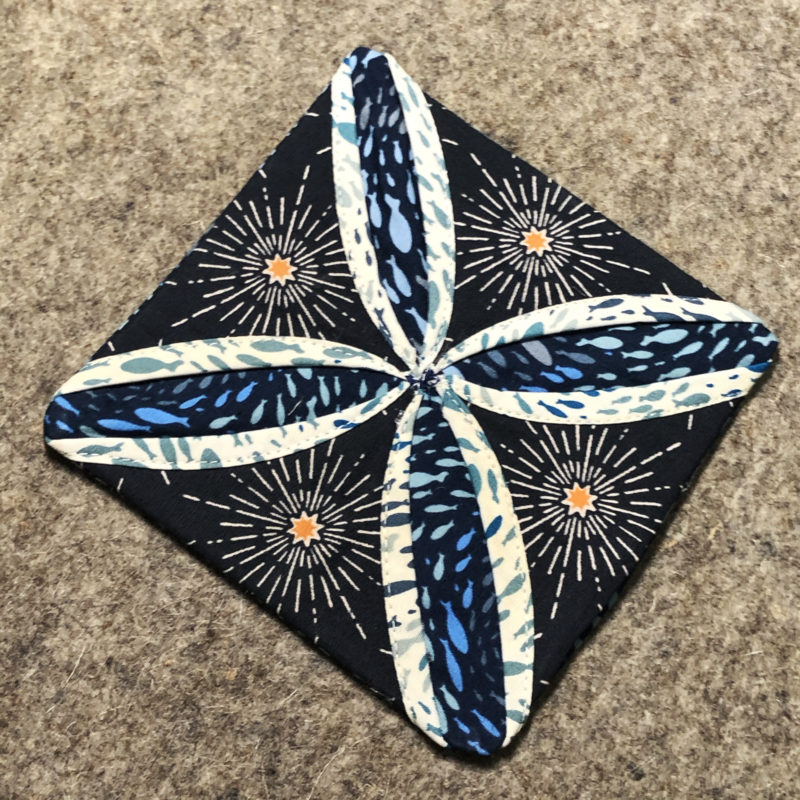
- Right sides together, place the final 5” x 5” square on top of the ornament front lining up the raw edges.
- Using 1/4” seam allowance, stitch around the perimeter of the square, leaving a 2 - 3” gap in the stitching.
- Turn right side out and press. Make sure that the natural fold extends through the gap.
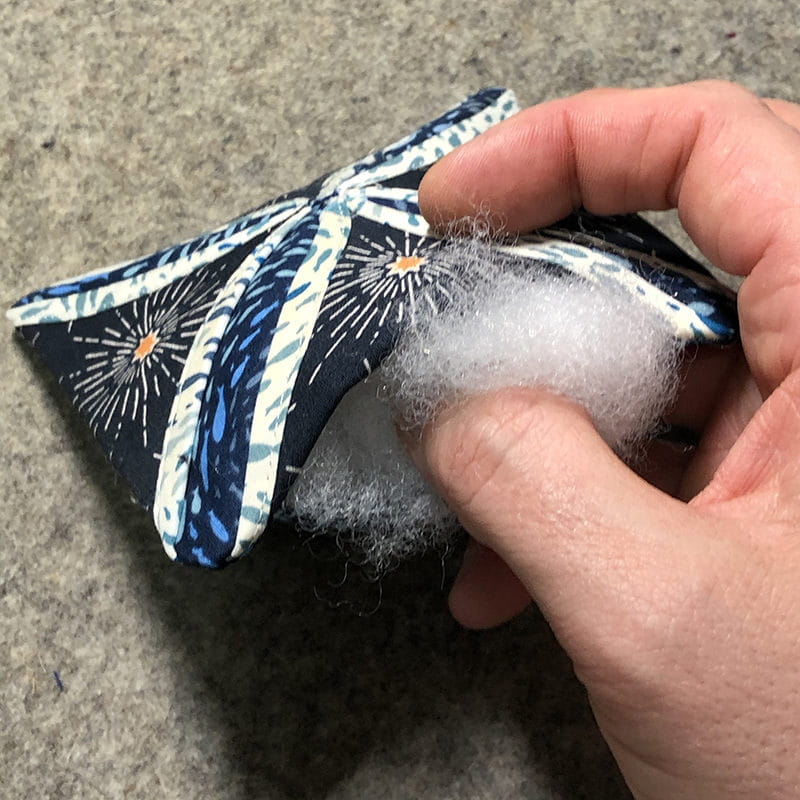
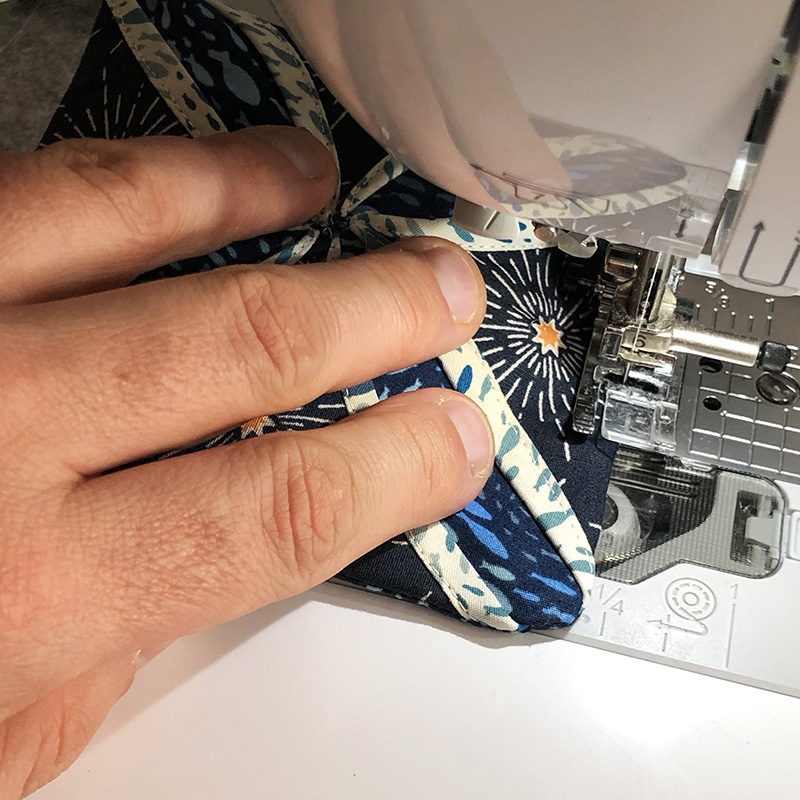
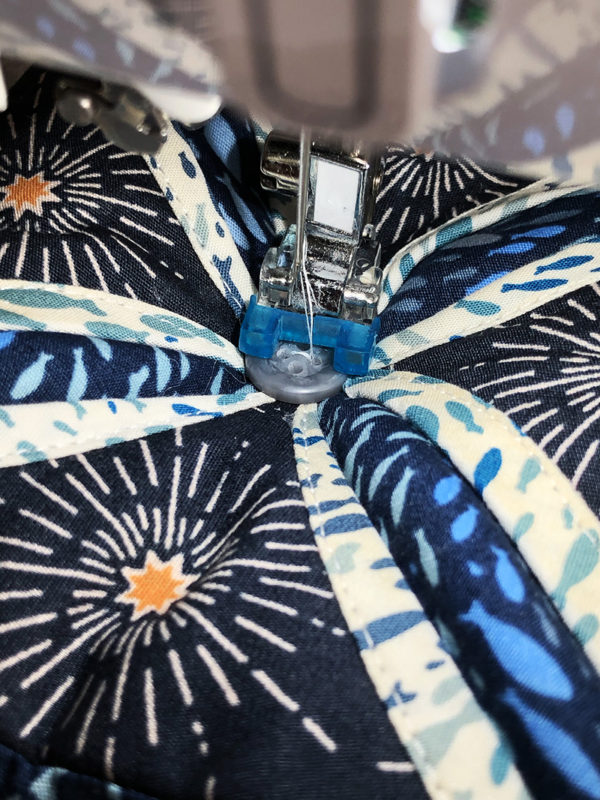
- Insert the filling into the gap and evenly disperse. For the ornament, it doesn’t need to be super full, just enough to create enough full.
- Either machine edge stitch or hand stitch the gap closed.
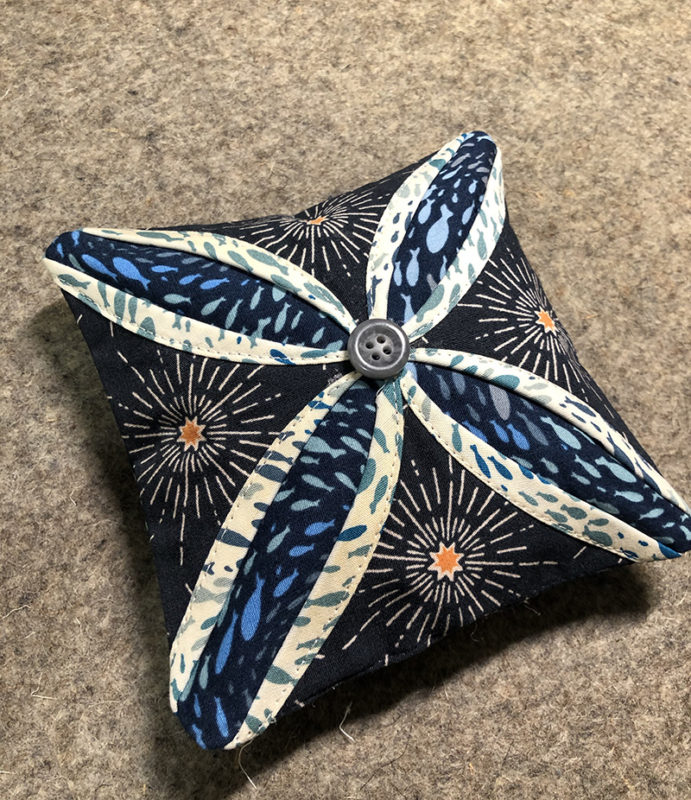
- Glue baste the button in the center of the ornament.
- Switch to the button sew-on presser foot and shimmy the ornament to where the holes of button are properly centered on the edge of the foot. For the button I used, I used a zigzag stitch with a 3.5 mm width and 0.0 length. Hand crank the needle to test out the width of the button you are using. Stitch button in place and move to the other two holes of the button if using a 4-hole button.
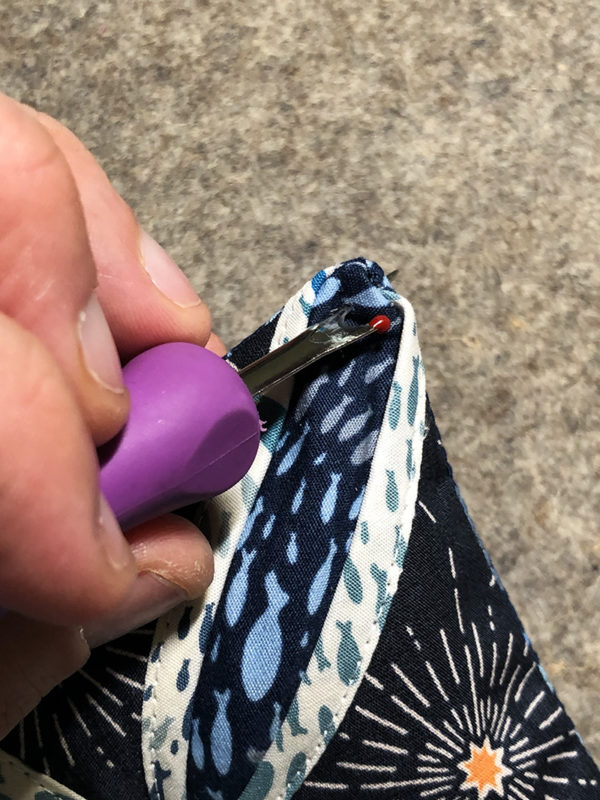
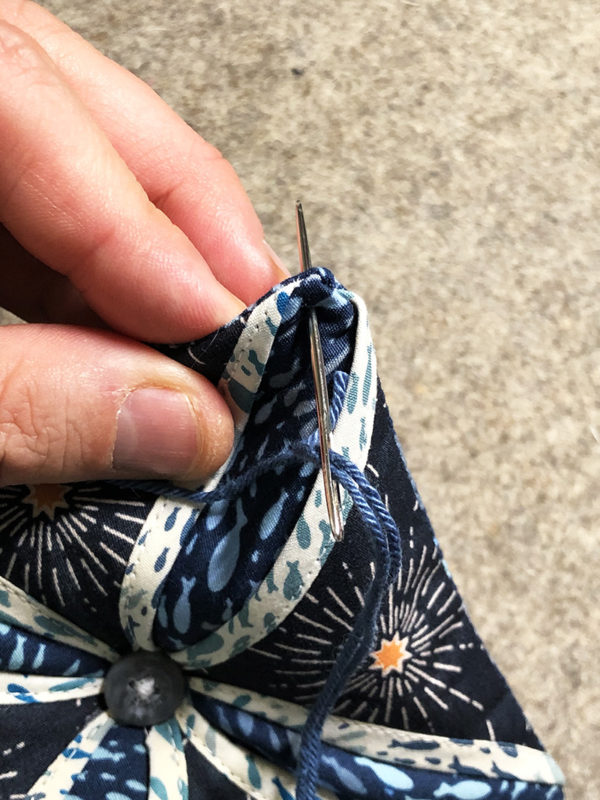
- Using a seam ripper, poke a hole 1/4” from one of the corners of the ornament.
- Thread the yarn or ribbon into the yarn needle and thread through this hole.
- Tie off and enjoy.
