How to Make a Mini Skirt
SUPPLIES
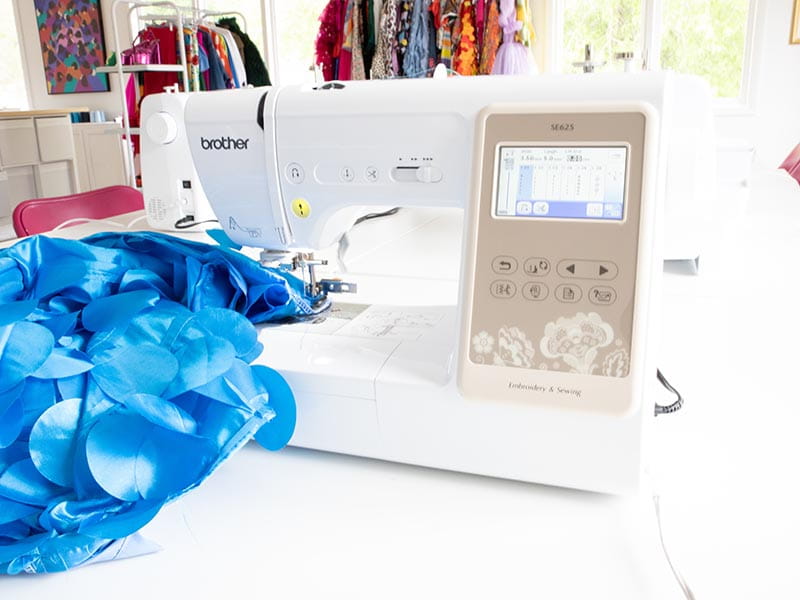
- Brother SE625 Sewing machine
- Brother Serger 1034DX
- Fabric of your choice
- Lining
- Pattern Paper or Kraft Wrapping Paper
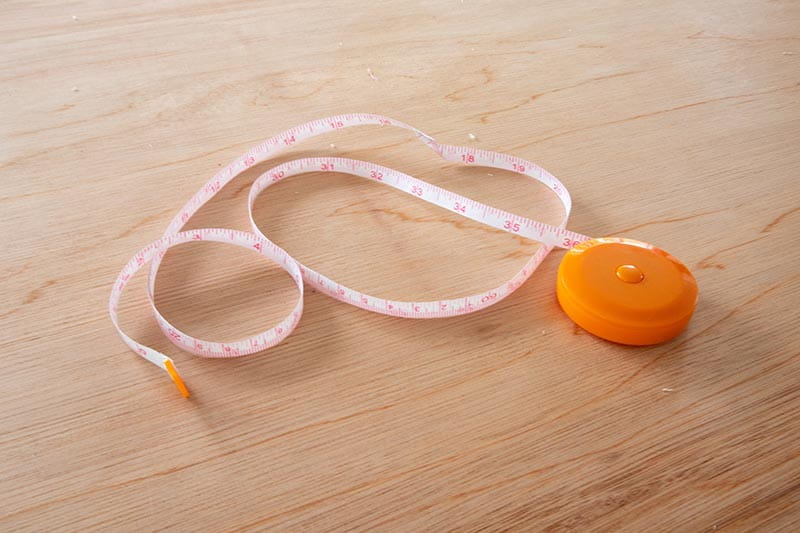
- Measuring tape
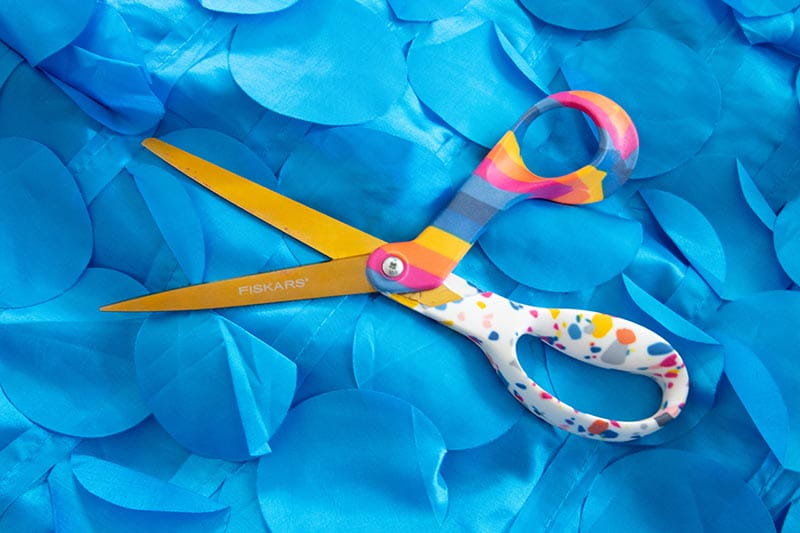
- Scissors
- Pins or Fabric Clips
- Iron and ironing board
- Zipper Foot
- 9” Zipper
- Take measurements. Measure your waist, hips, and the desired length of your skirt. Write these measurements down.
- On the pattern paper, draft the skirt pattern. Using your measurements, draft a pattern on a piece of paper. Here's how to do it:
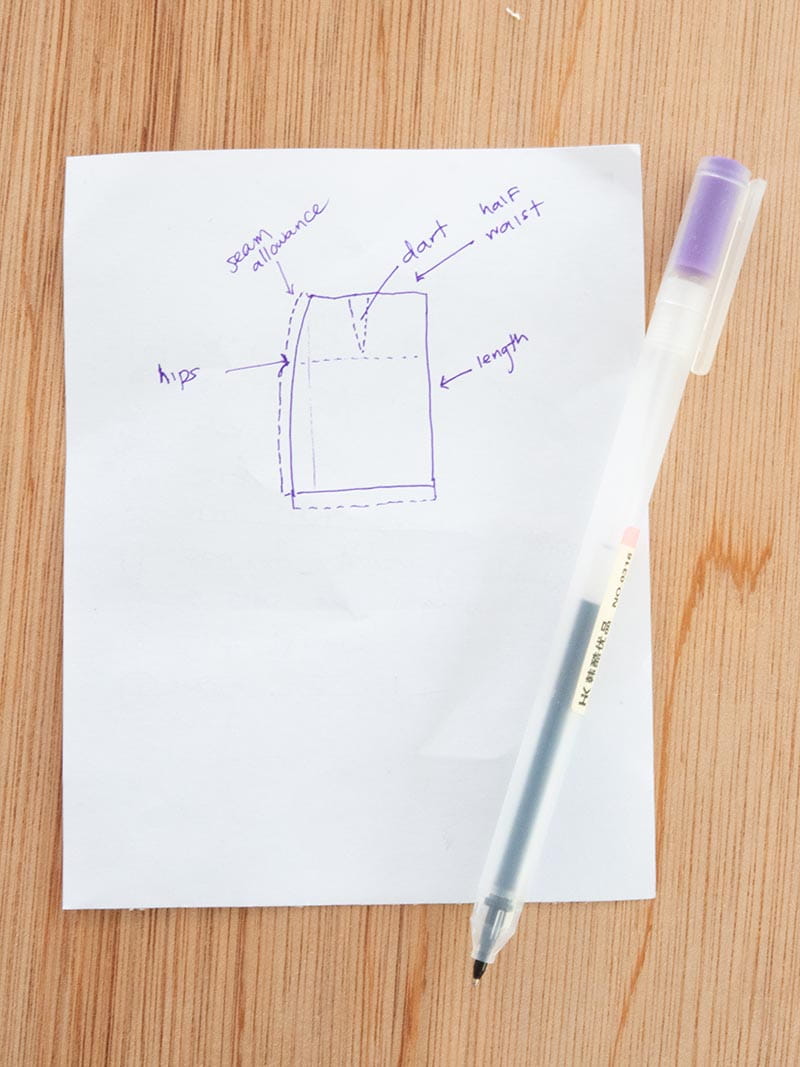
- On one side of the paper, draw a straight line that measures the length of your skirt.
- At the top of the line, draw a perpendicular line that measures ¼" of your waist measurement + 2” (darts) + ½” seam allowance.
Example: If my total waist measurement is 30”, the formula would read:
7.5+2+½= 10 - 5” below this line, add your hip measurement. Draw a line parallel to the waist line that measures ¼” of your hips.
- From the waistline, draw a lightly curved line to the end of the skirt line.
- Add another line ½” next to this one. This will be your seam allowance.
- At the top of your skirt, add 1 dart which will be 1” wide and 3” long. This will give your skirt shape.
- At the bottom of the skirt line, add a hem allowance of about 1”.
- Repeat steps 2-3 on the other side of the paper for the back of your skirt.
- Once your skirt pattern is created, create a facing by tracing the top half of your skirt. The length of the facing will only be 3”. The facing will help with finishing the waist of your skirt.
- Cut the fabric. Using your pattern, cut 2 pieces of fabric for the front and back of your skirt. Make sure to cut them on the fold so you have a complete front and back. Don’t forget to transfer the markings for your darts.
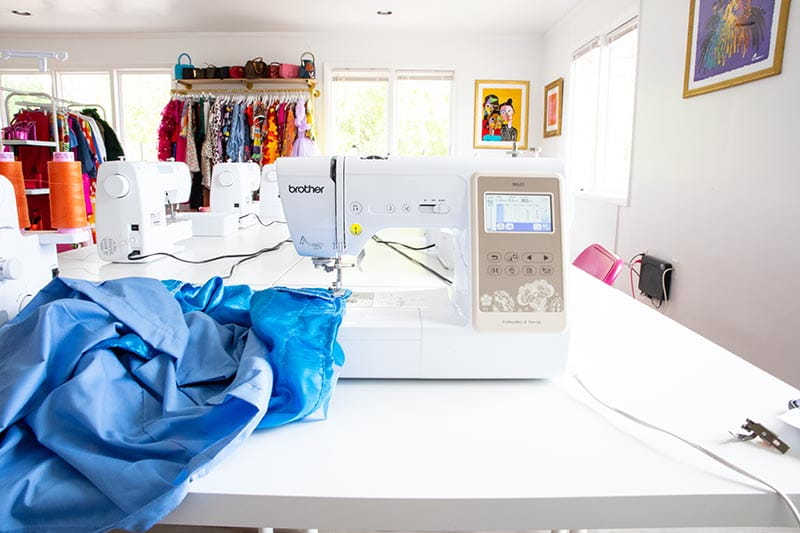
- Sew the Skirt.
- Add a zipper at the side seam. Place it along the side seam, and sew it in place, before sewing the side seams.
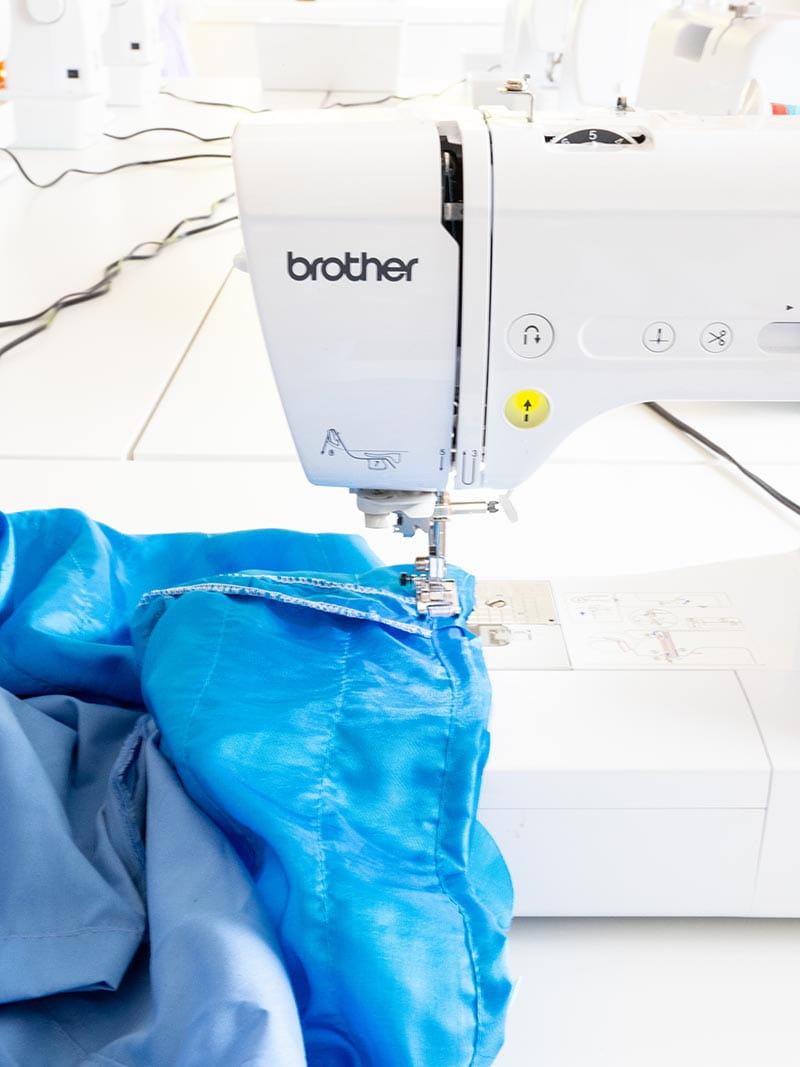
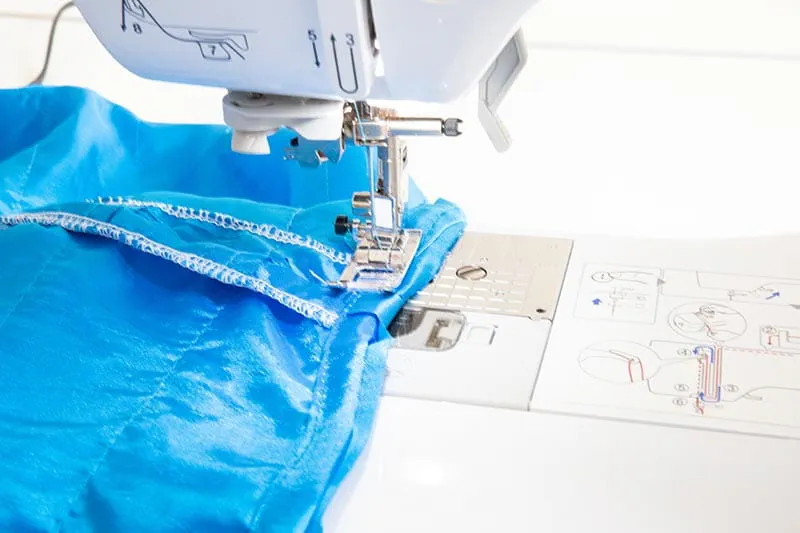
- With right sides together, pin the front and back pieces of the skirt together at the side seams. Sew the side seams with a straight stitch, leaving about ½" seam allowance.

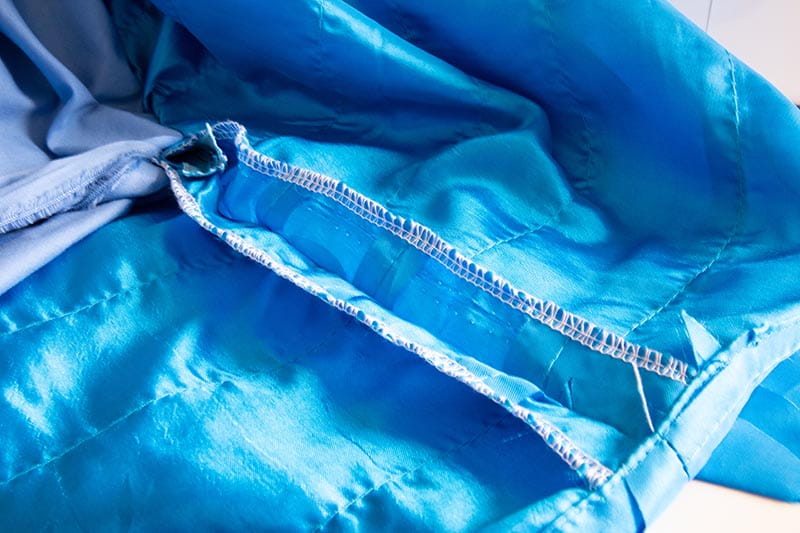
- Finish the raw edges with a zigzag stitch or serger.
- Attach the facing to the waist of your skirt right sides facing. Sew in place using a ½” seam allowance.
- Hem the Skirt. Fold the bottom edge of the skirt up by ¼" and press with an iron. Then fold it up another ¾" and press again. Pin in place and sew the hem.
- Finish the Skirt. Press the seams and hem with an iron to give the skirt a finished look.
And that's it! Your mini skirt is complete. You can also add pockets or other embellishments to personalize it to your style.
Related Projects
Stay Connected
* Required fields