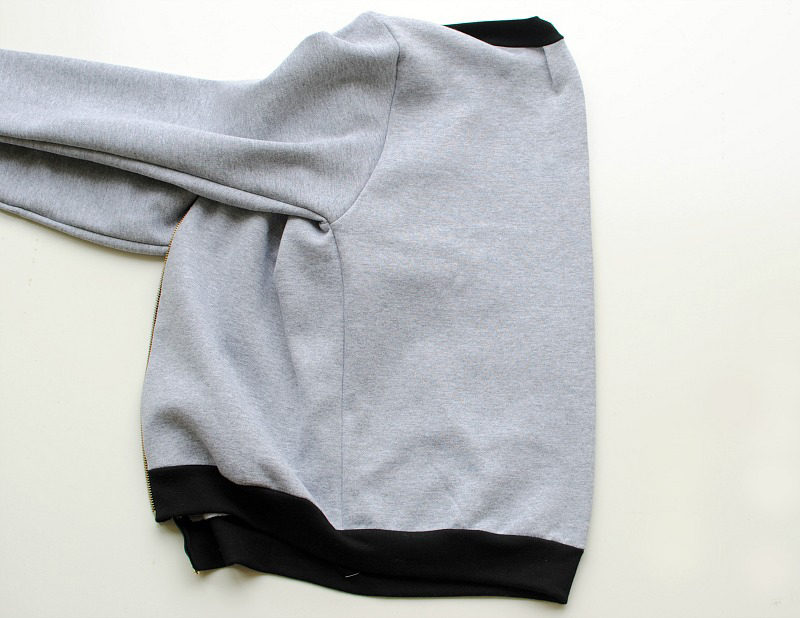
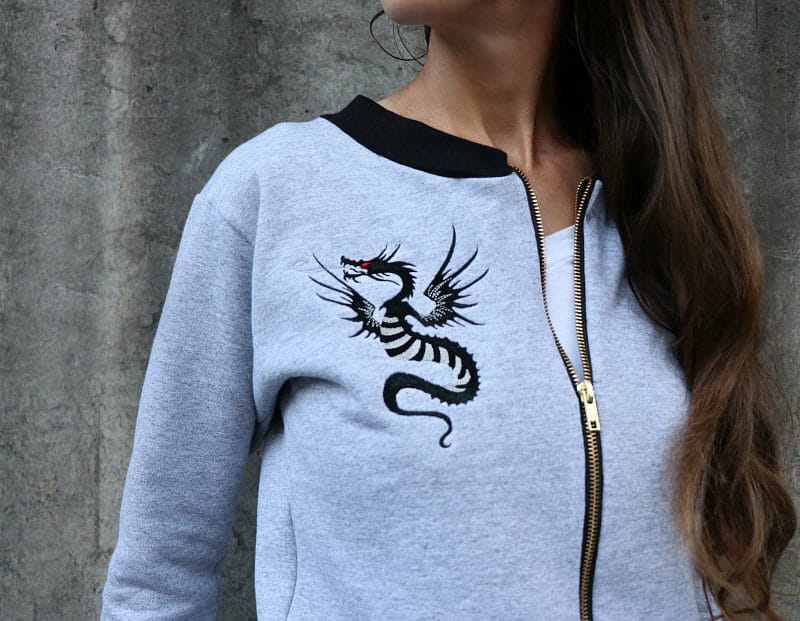
Part 2: Refashion Sweatshirt to Bomber Jacket
After sewing my bomber jacket in Part 1,
I wanted to add some of the built in designs the Brother SE1900 Sewing and Embroidery Machine
offers on the back and front to jazz it up a bit. There are plenty of designs to choose from and for this one I went with the large dragon. It’s cool and something my boys could even wear if they wanted too. Get the details below on how to embroidery a bomber jacket!
Supplies:
- SE1900 Sewing and Embroidery Machine.
(Also can be done with the Brother PE800
) - Cut away stabilizer
- 5 x 7” hoop
- Hoop Template
- Embroidery Thread
- Generals sewing and marking tools
- Find the center back of the jacket by folding in half. Press with an iron to create a line down the center. This is a good way to keep your design even when doing machine embroidery. If you’re concerned about a pucker happening, use a fabric marking tool.
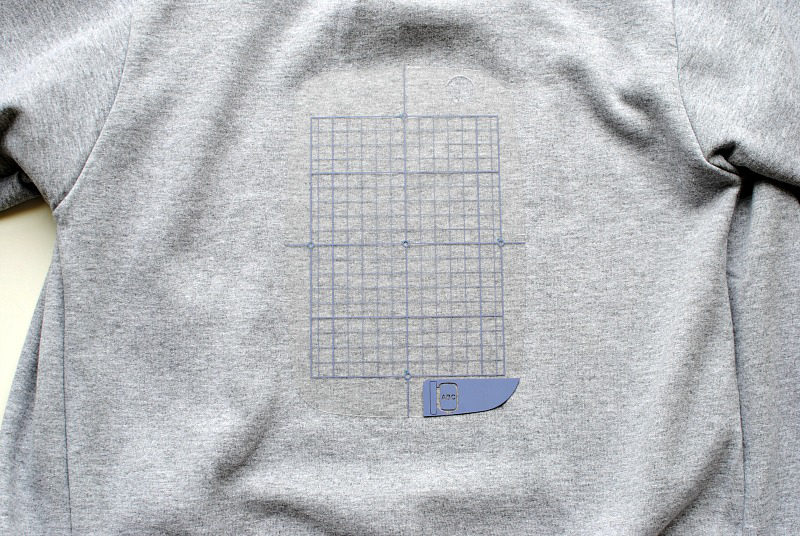
- Use your hoop template to determine where you’d like the embroidery to be placed and mark with a fabric marking tool.
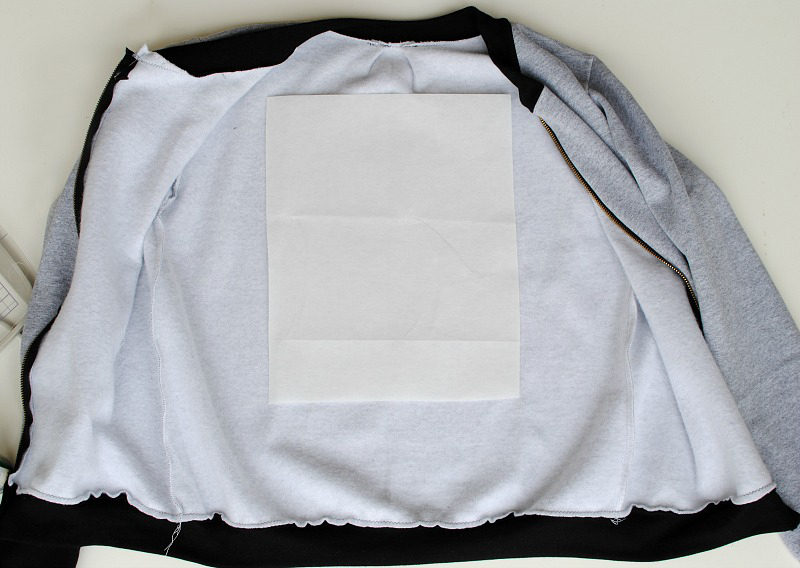
- Stabilize the back with a cut away stabilizer. Make sure the stabilizer is large enough to be hooped with the jacket. I usually cut the stabilizer to have a 2” perimeter around the hoop.
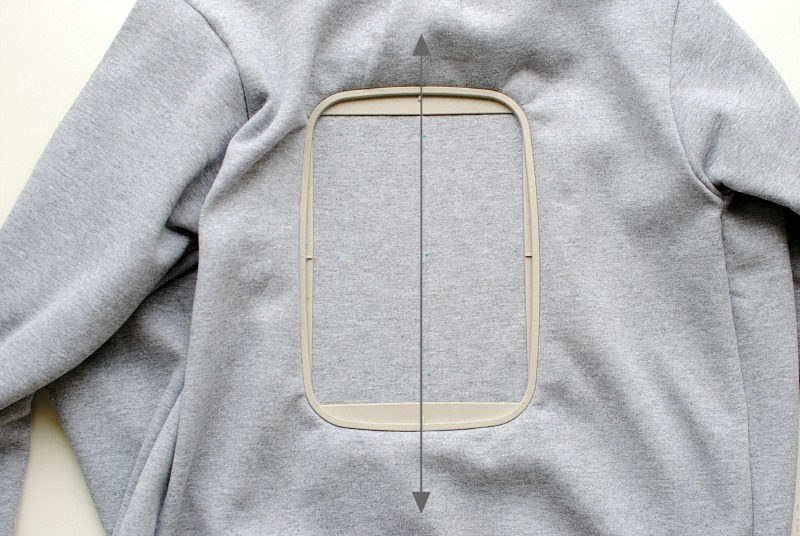
- Hoop the jacket making sure the hoop center marks line up with the center back line.
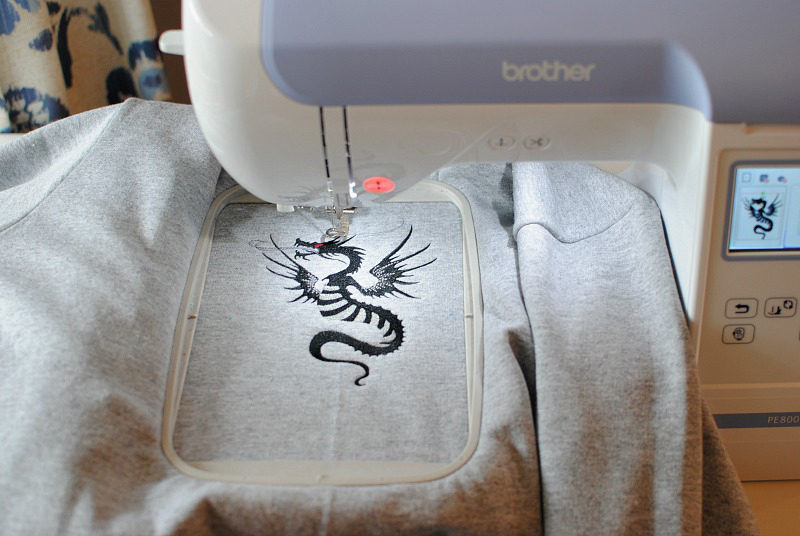
- Set up your machine to embroider. From here, the Brother SE1900 Sewing & Embroidery Machine
makes it easy to enlarge and move the design. I use the center line and align the center of the built-in design along it.

- You can repeat this for the front as well or even add lettering with the many different built in fonts offered.
Related Projects
Stay Connected
* Required fields