Custom Stitch D Ring Belt
Hello Everyone, Laura here from Trash to Couture!
I recently started exploring the Custom Stitch Feature on my Brother SE1800 Sewing and Embroidery Machine.
It's another way as a designer to customize my projects and create my own decorative stitches. It takes a bit of practice and some testing but once you learn this feature you will be designing your own decorative stitches in no time. Below I show you how to use this feature and add it to a DIY D-Ring Belt.
Supplies:
- SE1800 Sewing & Embroidery Machine
- 1 yard of trim
- Set of D-Rings
- Embroidery Thread
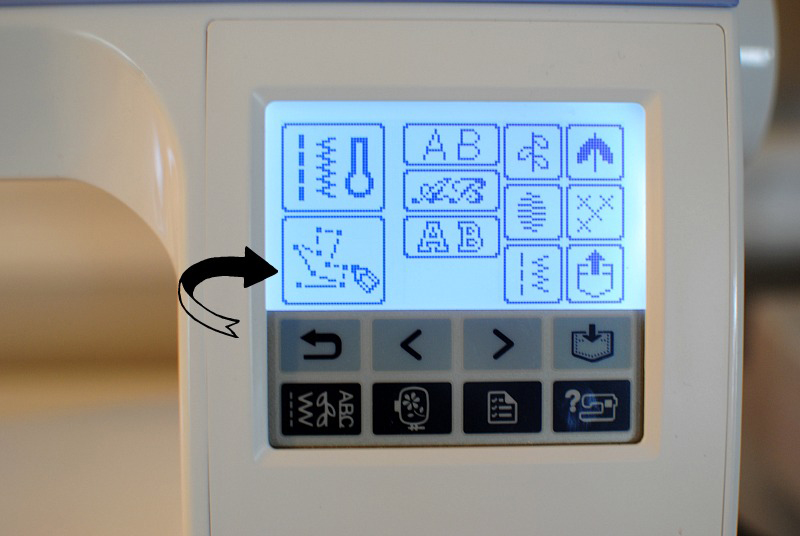
- Using the touch screen go to the image with the pencil and lines.
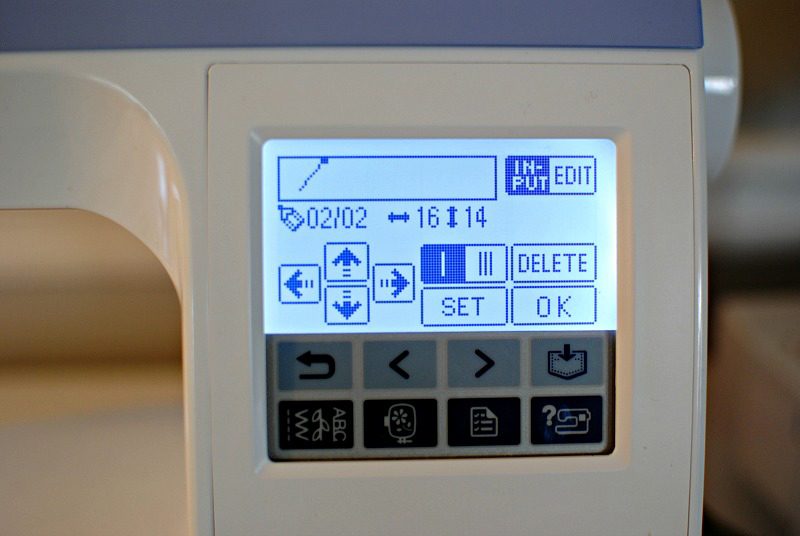
- From here you will begin the creation process. It is set in stitch lengths so to do curves you will want to do small up and down motions. Every time you are ready to move to the next stitch or you have the line length you want you will want to press set. Then move onto the next set. It's easy to delete if you make a mistake and then it will go back to the previous portion to re-do any stitches you'd like.
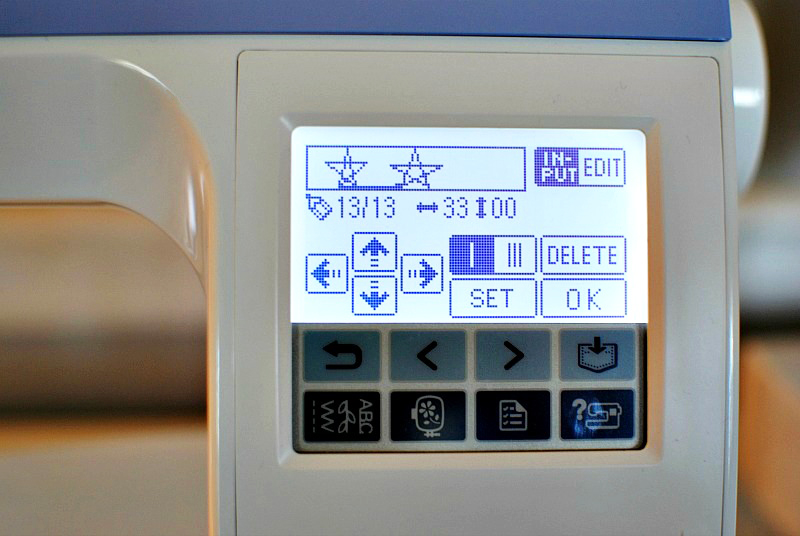
- I started with a star. I wanted it to appear like when you draw them so I did that with the arrows. I had to practice and you can adjust the lengths and widths as well. It reminded me of that magnet pad game in a way.
- Once you have finished the design you will want to save it so you can use whenever you'd like.
Tip: Test the stitches on similar scrap fabric before the final project as it can appear differently from the screen.
DIY D-Ring Belt:
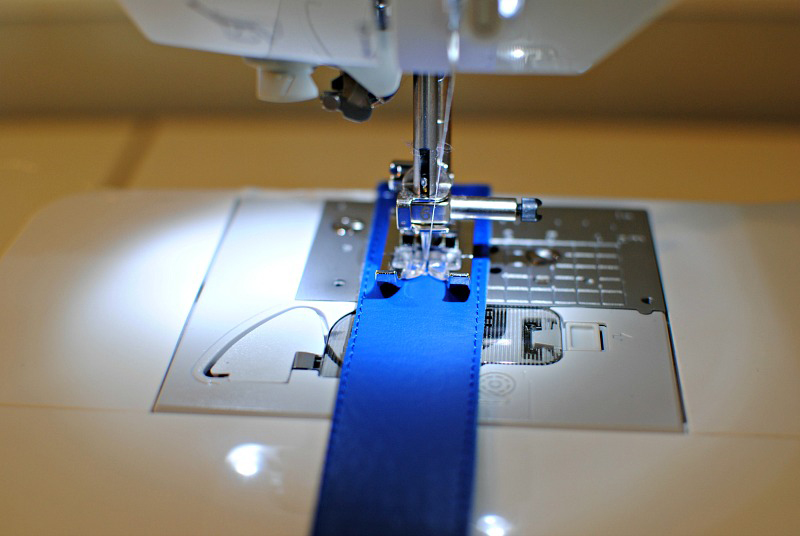
- To make the belt I cut a strip of vinyl fabric the size of my waist + 7". The width was based on my D-Ring set I was using which was just shy of 1".
Note: I chose vinyl because it's nice medium weight fabric that does well with decorative stitches. You can use trims, cotton webbing, ribbon, etc., for these as well. I also use a metallic embroidery thread for the stars.
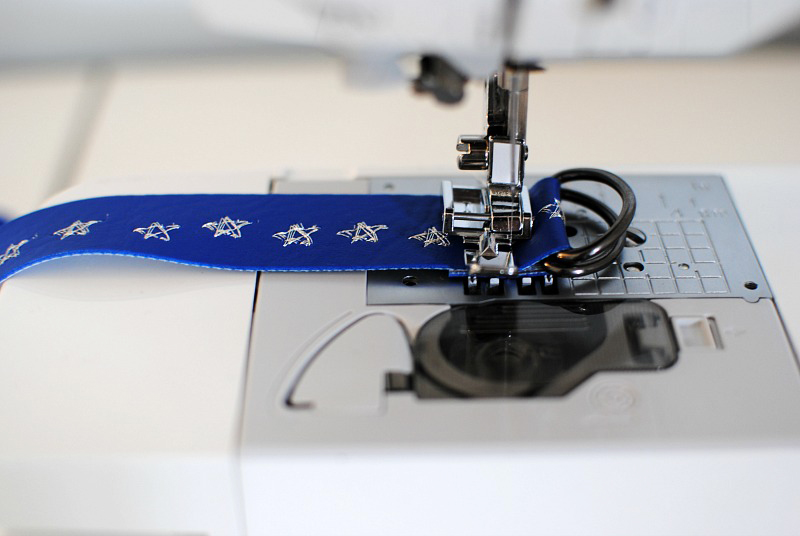
- Use the N foot and sew your decorative stitch down the middle of the belt (top side). It helps to slow down the stitch speed to keep everything even. Or let the decorative stitch appear like a wave of stars like I did.
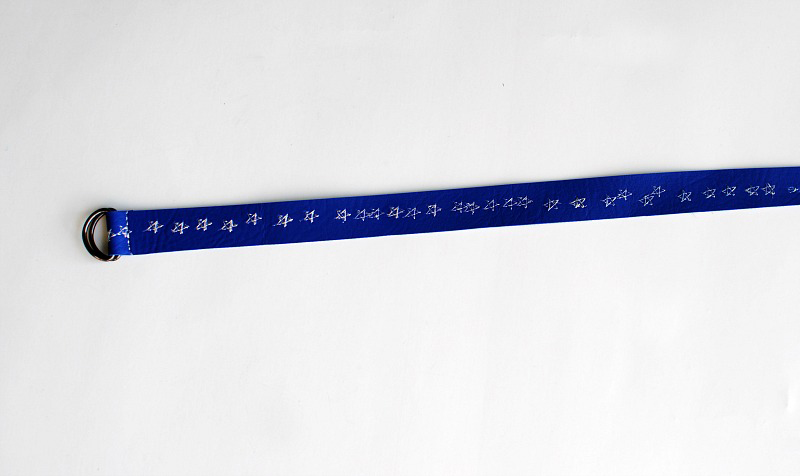
- Fold the strap over the D-Ring set so ¼" is hanging over and sew into place. Tip: Use the zipper foot to get close to the rings.

