Patient Pillowcases
 When our loved ones have to spend time at the hospital, we want to shower them with attention and care - as well we should! The question is, what’s the best gift to brighten someone’s day? Flowers are sometimes forbidden and candy and homemade treats are often disallowed by dietary restrictions. That’s when it’s time to start crafting. Special luxurious pima cotton pillow cases sewn and embroidered on our fabulous Brother machines
with a message of love, can add comfort and cheer to any room. You can create an adorable birthing pillow to celebrate a friend’s latest addition, or craft a cozy patient pillow that Grandma can proudly show off to nurses and fellow patients alike! Not only do these useful beauties bring extra nurses in to see the unique linens, they remind your loved one that you are thinking of them. Best of all, your loved one will be able to bring their pillow home with them to treasure for years to come. These embroidered pillow slips are easily and quickly made. Make your family member or dear friend smile, and let them know how special you know they truly are. As an added benefit, you might learn a new technique for an enclosed hem treatment (not the burrito trick). So let’s sew! Note: These were made on my Brother Dream 2 in the 8 x 12 frame. It also could be made in the 5 x 7 frame by rehooping. Requirements for each queen size pillowcase ~~ finished size 21 x 30” NOTE: Apparently, my pillows are extra fluffy as stuffing them into a 20” case is a struggle. I prefer to make pillowcases 21” wide so these instructions reflect that preference. If you require standard sizes, adjust measurements accordingly.
SUPPLIES:
- Pima cotton 29” along selvage x 43-45” (width of fabric) to be folded vertically to 28” x 21 1/2 “ -22 ½”
- Extra pima cotton for design practice
- Gingham hem border 7 x 43” (width of fabric), blue for John, pink for Miranda
- Solid blue trim for JOHN pillowcase 2 ½“ x 43-45” (width of fabric)
- Solid pink trim for MIRANDA pillowcase 2” x 43-45” (width of fabric)
- NOTE: At time of construction, the folded width of the pillowcase will be trimmed to 21 ½ “. Until then, all measurements are taken from the fold.
- Water soluble stabilizer Brother SA540
water soluble stabilizer - Notions: heat erasable or water soluble marking pen, thread: embroidery and sewing, optional: monofilament
- Embroidery designs: FREE DOWNLOAD CLICK HERE
and file from BES4
Software used below (similar alternatives from ibroidery.com
or your personal design library) - Brother Dream Machine or another Brother Embroidery Machine
- Feet: J multipurpose foot, edge stitch foot, optional: side cutter or overcast foot
- Seam allowances are ½” except where otherwise noted.
- Prewash, starch and press all fabric.
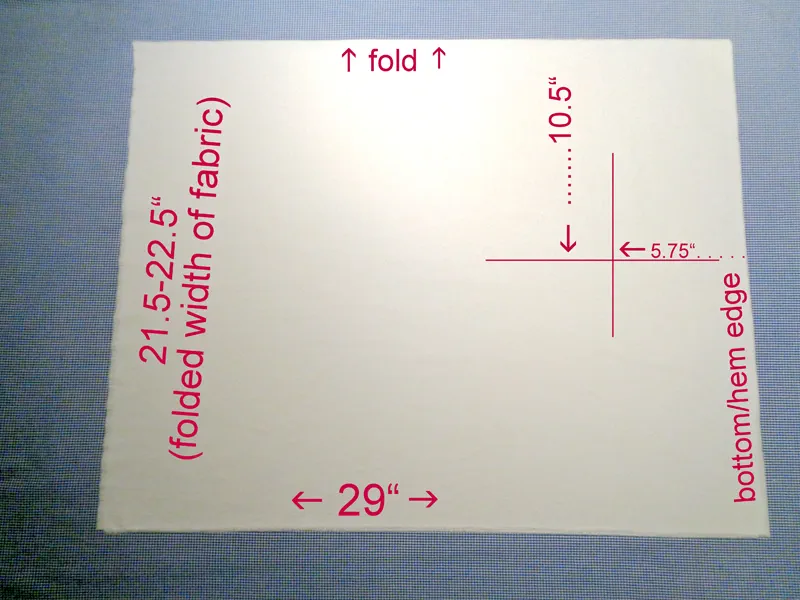
- Fold pima in half vertically and press, rendering each piece28 x 21 ½“ x 22 ½ “.
- Fold gingham in half horizontally, rendering each piece 3 ½“ x 43”. NOTE: It is helpful to baste the raw edges together to prevent slippage when joining
- Fold trim in half horizontally, rending each piece 1 ¼ “.
- Embroider a “design rehearsal” on the fabric to be used for the actual patient pillowcase.On my “practice” piece on quilting cotton, both the John and Miranda designs were perfect. But when stitched on pima cotton, they puckered and required reduced tension adjustment.
JOHN’S PILLOWCASE
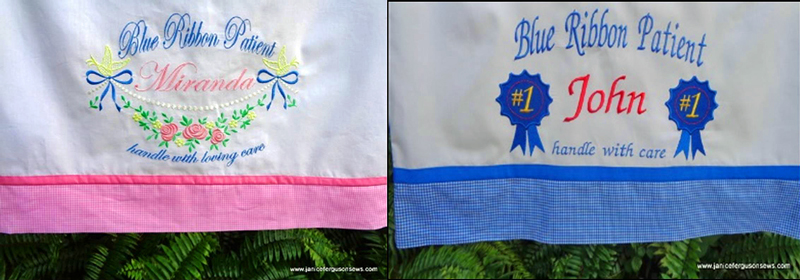
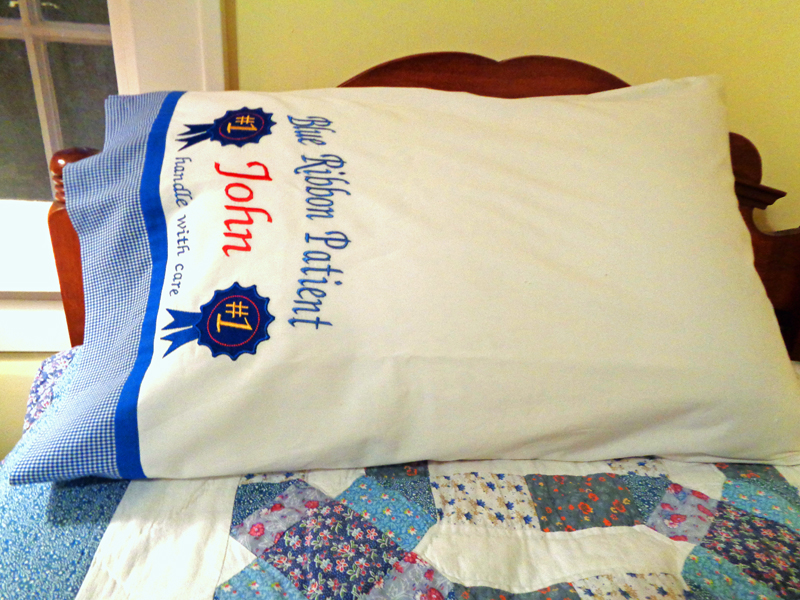 Blue ribbon design #144 from BES4
NOTE: Embroidery foot height must be adjusted to .80 to avoid hanging up on satin stitch surrounding medallion part of ribbon. Text from PE-Design
- Create text in PE-Design. Add blue ribbon design and #1. Save design.
- Load design into machine as shown.
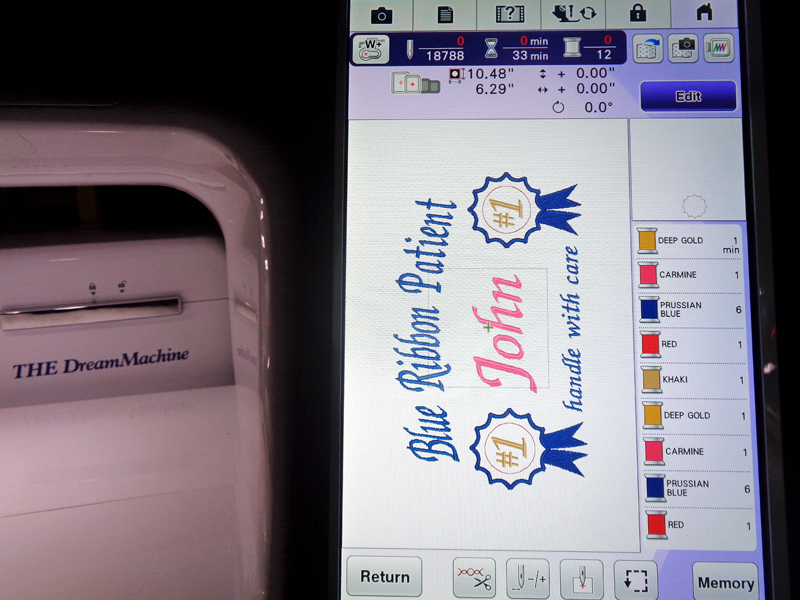
- Hoop 2 layers of Brother SA540 water soluble stabilizer and pima cotton vertically . Center design 10 ½“ from fold and 5 ¾“ from bottom raw edge.
- Embroider design. Remove fabric from frame, cut away excess stabilizer and soak to remove remainder. When dry, starch and press.
- Trim 1” from hem edge. NOTE: An extra 1” was added to the length in order for the fabric to be long enough to hoop. After trimming away 1”, the fabric is 28” along the selvage.
- Stitch folded gingham to bottom of raw edge, with right side of gingham to wrong side of pima cotton WITH ¼‘ SEAM . Press seam toward pima cotton so seam is exposed on right side of pillowcase.
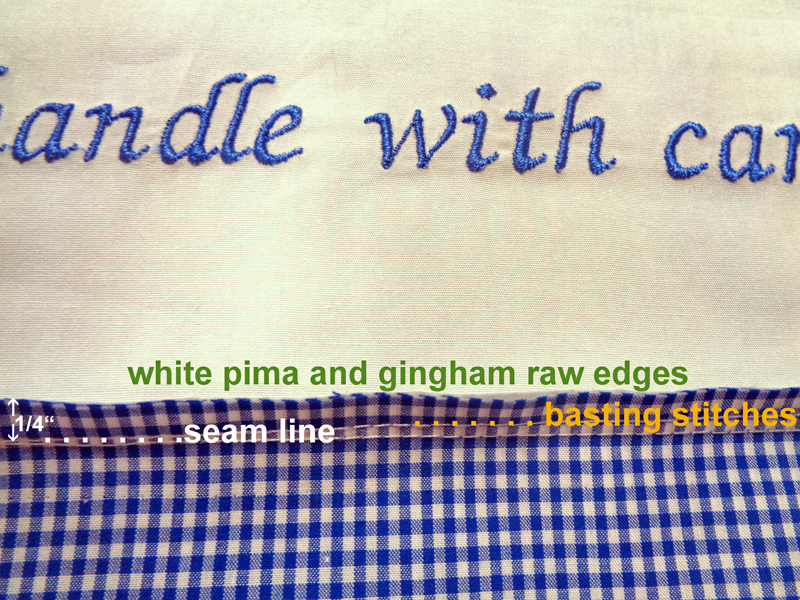
- Stitch folded trim to gingham raw edge WITH ½” SEAM. Press up toward pima. Grade seam.
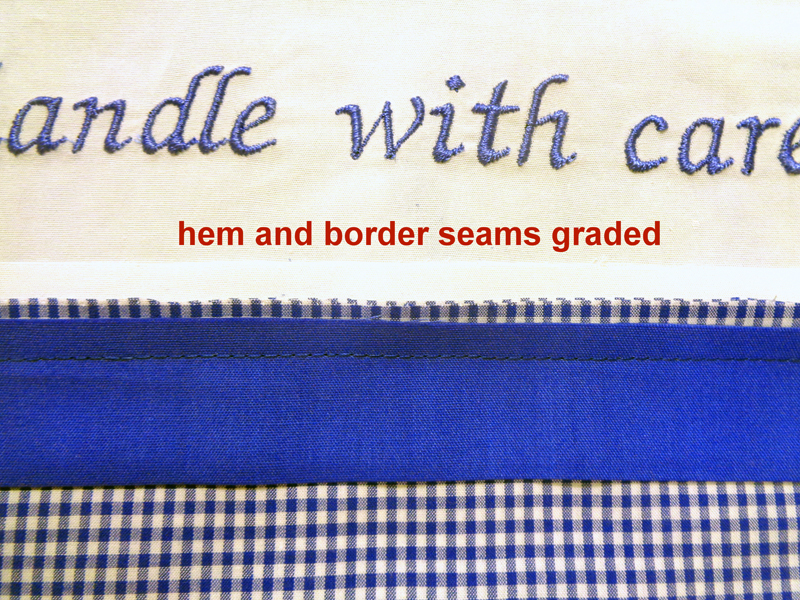
- Use edge stitch foot to stitch trim in place. Use a straight stitch or tiny zig zag. Press completed hem.
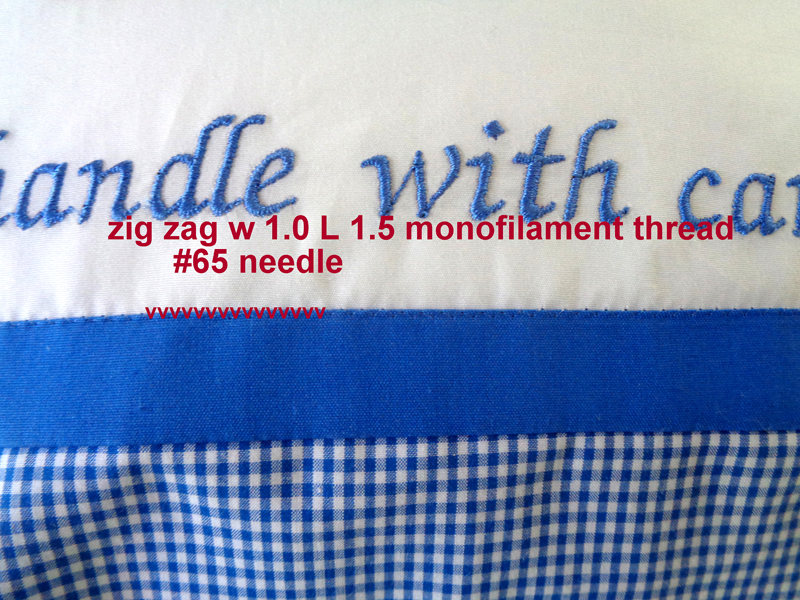
- Begin stitching side seam at hem. Stitch top edge. Finish both seams with zig zag or serge.
- Press seams flat and press entire pillowcase.
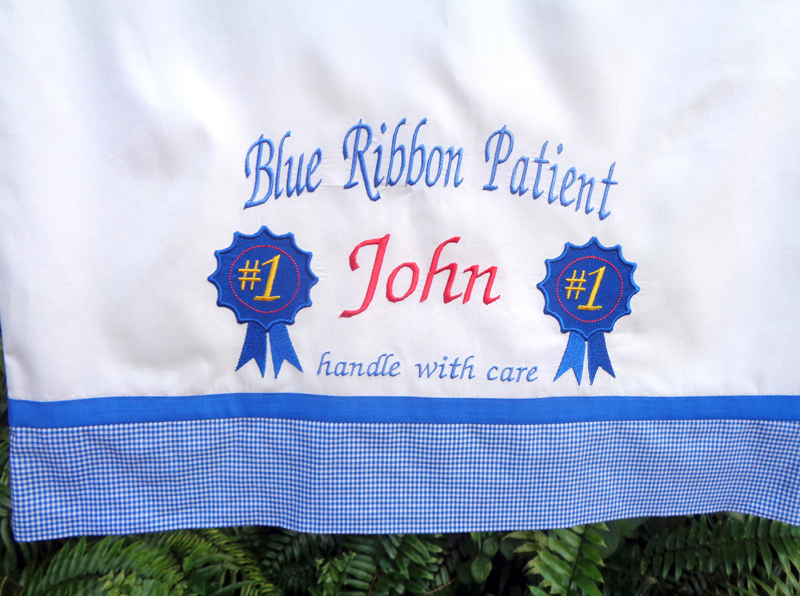
MIRANDA’S PILLOWCASE
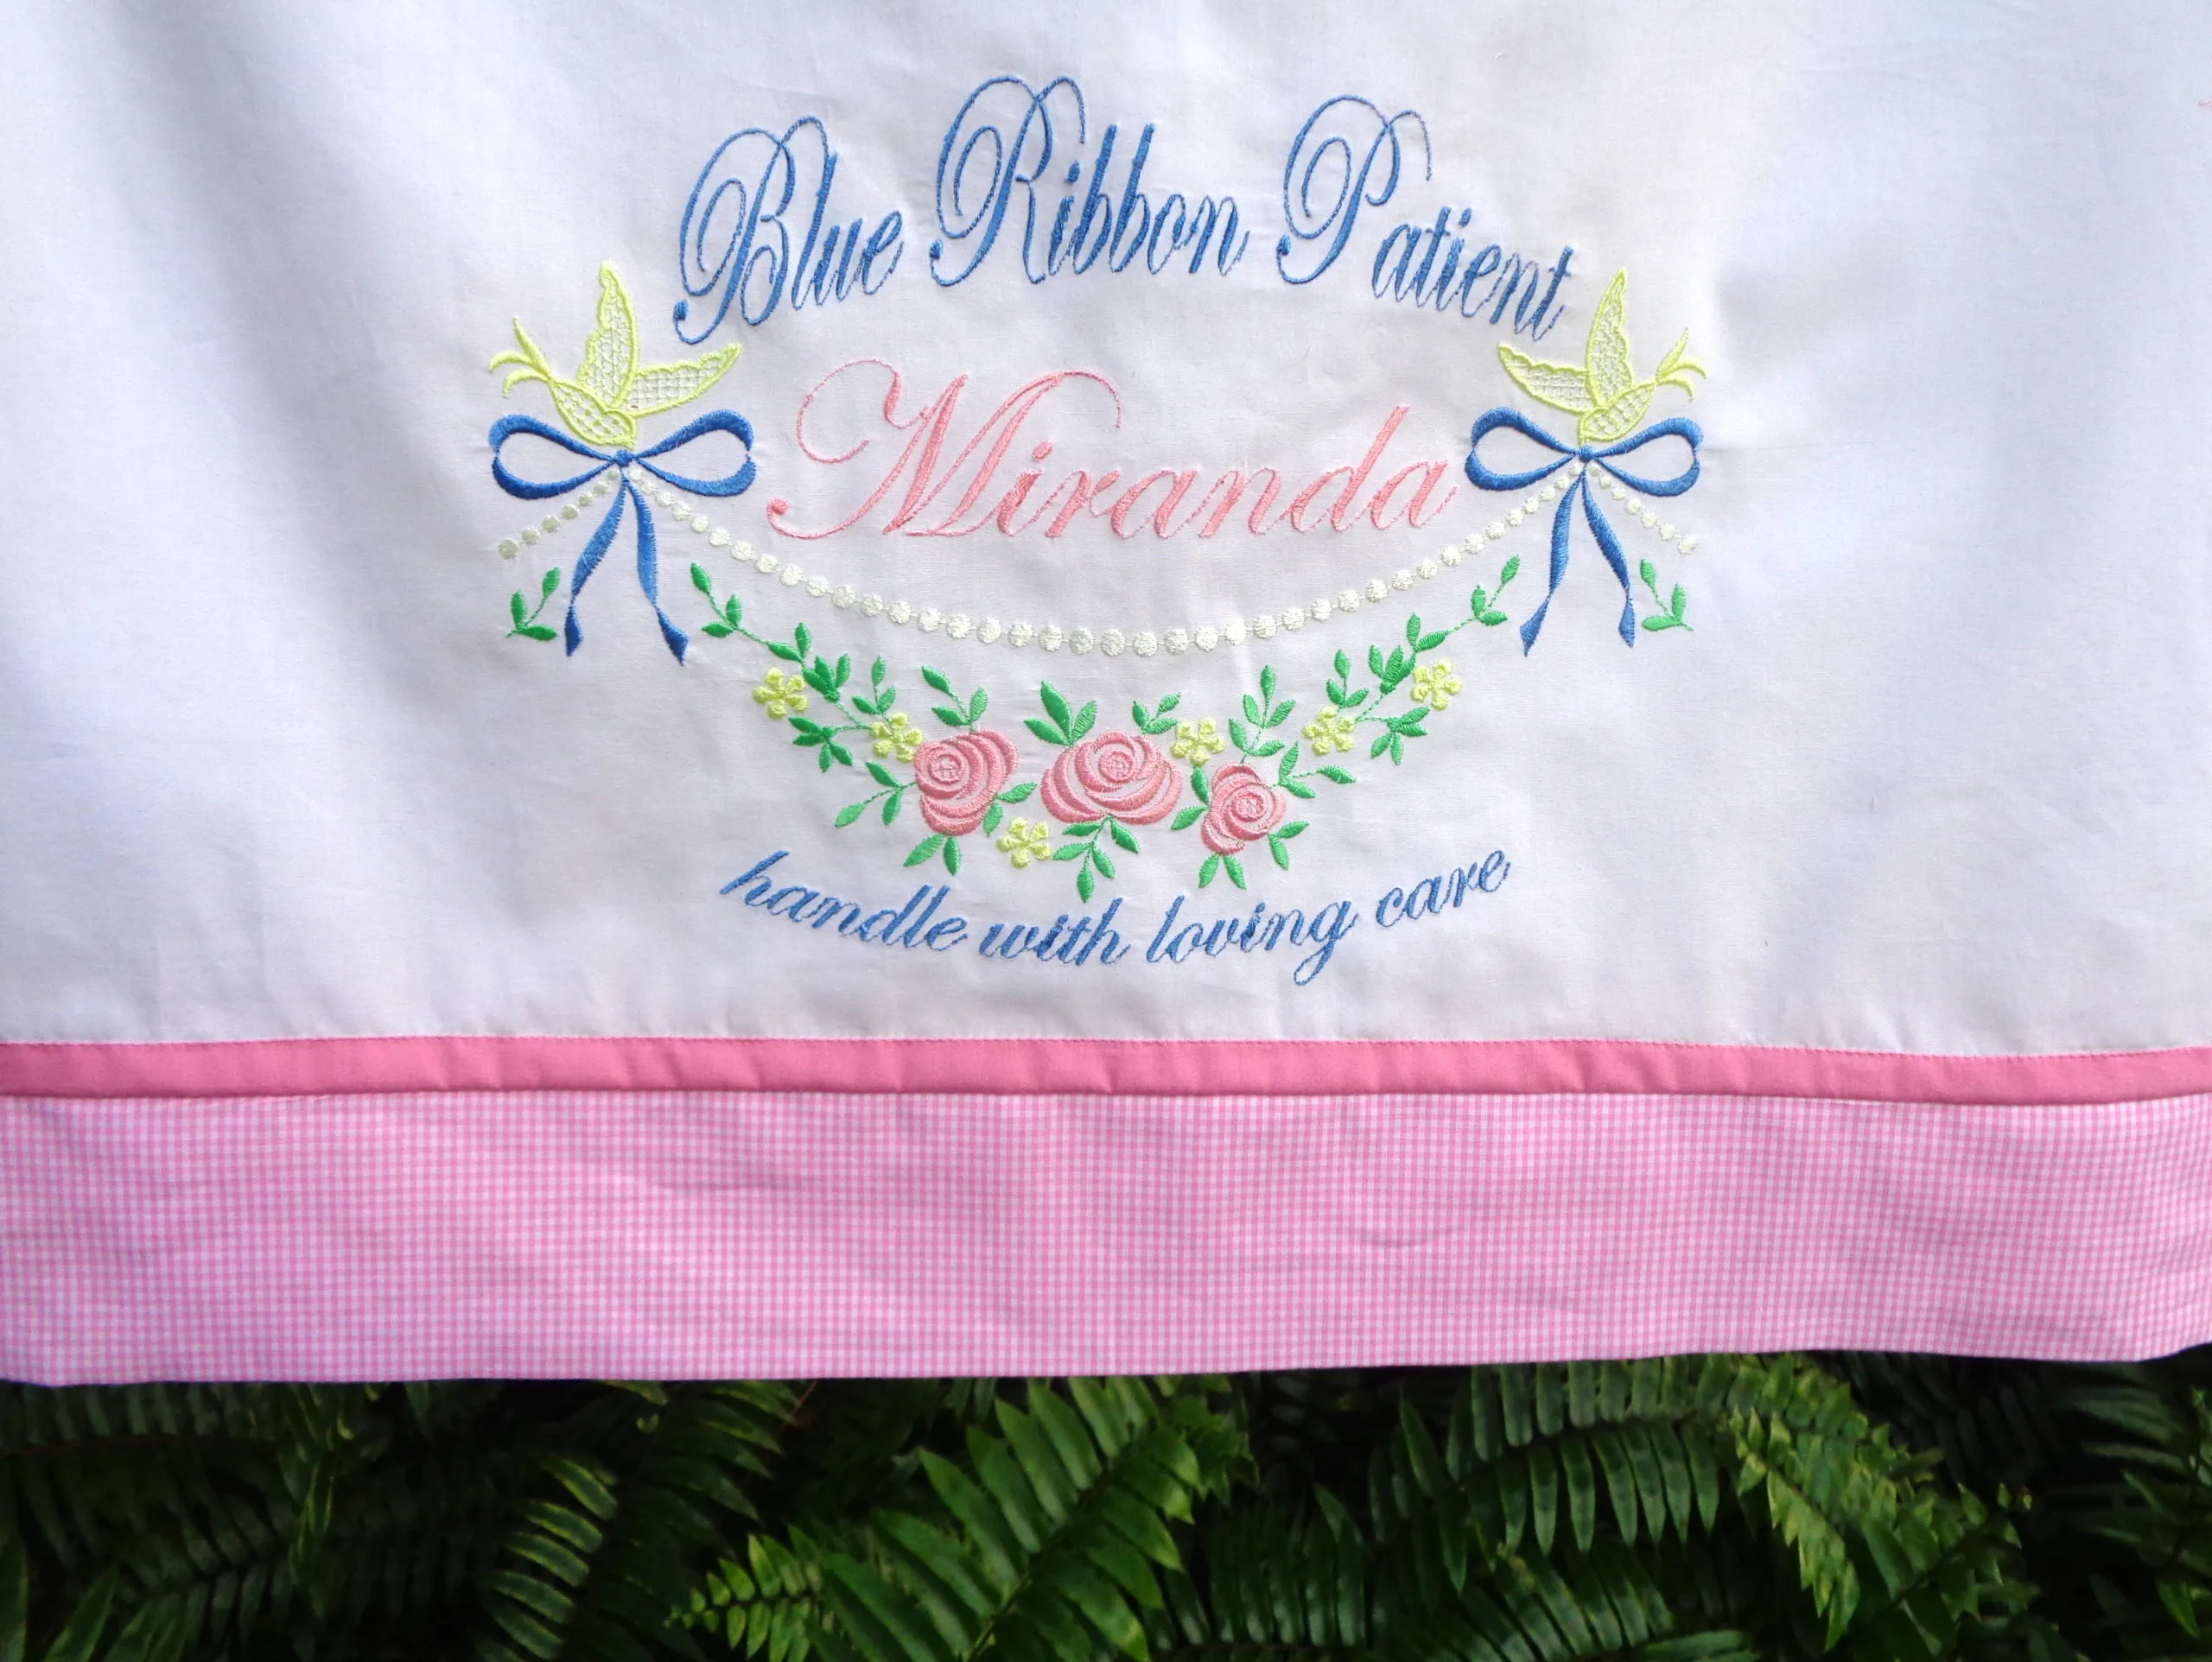
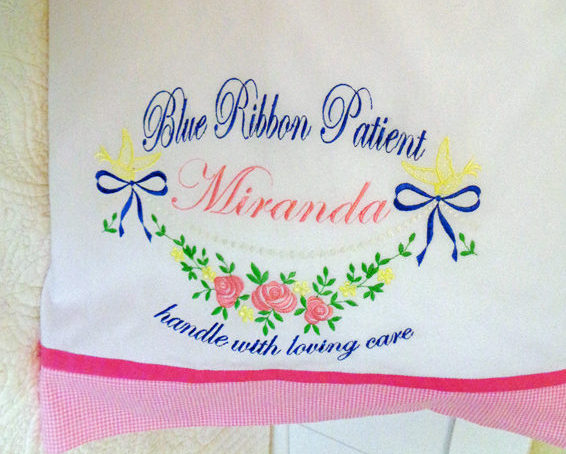 Floral Swag design: BES4 Morango category, BF008.
Text from PE-Design
- Mark pima cotton as before except center design 10.5” from fold and 7” from bottom raw edge. NOTE: Miranda’s design is approximately 1 ½” deeper than John’s design so the center must be placed higher than John’s.
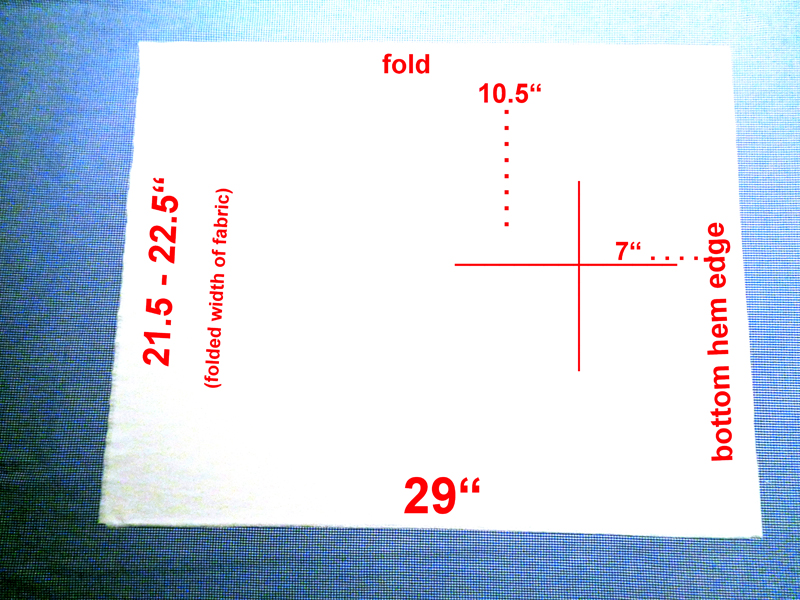 2. Load floral swag design and text into machine as shown.
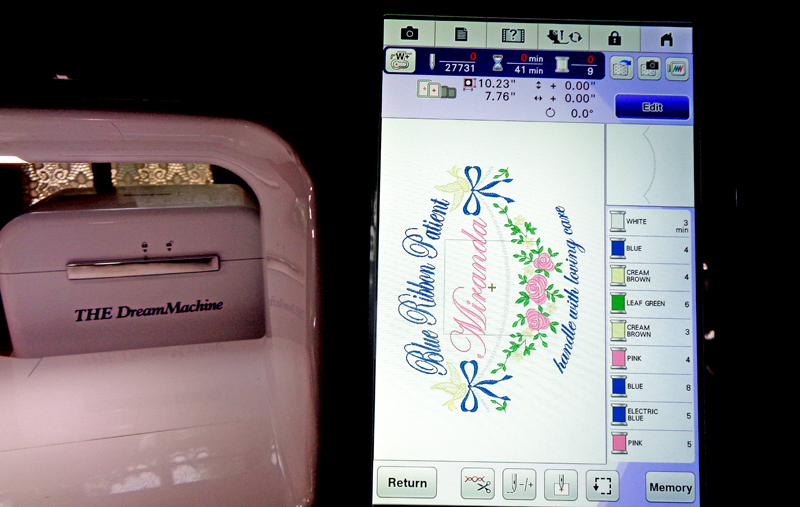 3. Hoop pima cotton vertically with 2 layers Brother SA540 water soluble stabilizer. Embroider design.
4. Remove embroidered fabric from frame. Cut away as much stabilizer as possible. Soak to thoroughly remove stabilizer, air dry, starch and press.
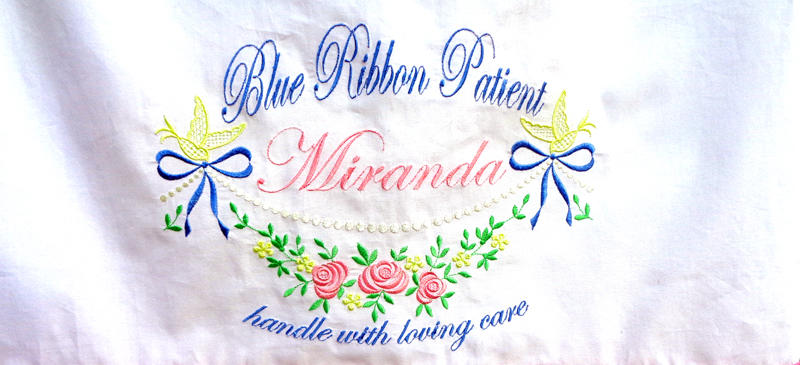 5. Trim 1” from hem edge, reducing length to 28”.
6. Seam gingham hem border (see step #3 at top in INSTRUCTIONS FOR BOTH CASES) to wrong side of pima with ¼ “ seam allowance.
7. Continue as John’s pillowcase Steps #9 through completion.
It’s hanging on the clothesline. Soon, peaceful rest, Miranda!
