Quick Tip – Overcasting with the Triple Zigzag Stitch
~Joanne Banko, Brother Sews Ambassador
This multi-purpose stitch has been a favorite of mine for many years. It’s called an elastic zigzag stitch. While it is ideal for sewing elastic, that’s a topic for another day. Since it’s not actually in the category of overcasting stitches it often gets overlooked for this purpose. However, I have found it to be one of the most versatile overcasting stitches in my sewing repertoire. You’ll find this stitch on most Brother sewing machine models.
Before we explore this stitch, let’s start with a quick definition of overcasting. In generic terms, you’ll often see sewing instructions telling you to clean finish a fabric edge. Clean finishing raw or unfinished edges keeps fabric from raveling during the life of the project. Without finishing seams and raw edges, you run the risk of losing part of the garment with subsequent wearing and laundering. Using a stitch that wraps over or overcasts the raw edge keeps the edges intact. Depending on the fabric, you may see a few stray threads, but the fabric will be kept from continuous raveling. Clean finishing with an overcasting stitch also keeps your seams looking neat on the inside.
The width and length of this stitch are highly adjustable for a wide range of sewing effects. The stitch is made with three small straight stitches forming in each left and right swing of the zig and zag of this stitch.
Ideal for fabrics ranging from fine to heavy, simply customize the stitch length and width, fine-tuning it for different weights and thicknesses of fabric and fabric layers. When using this stitch, be sure to line up the raw edge of the fabric so the furthest right hand swing of the zigzag falls just off the raw edge of the fabric. Below are examples of stitch settings for three different fabrics: lining material, linen, and heavy denim. Samples were stitched on a single layer of fabric.
Figure #1a and Figure #1b: Lining Material:
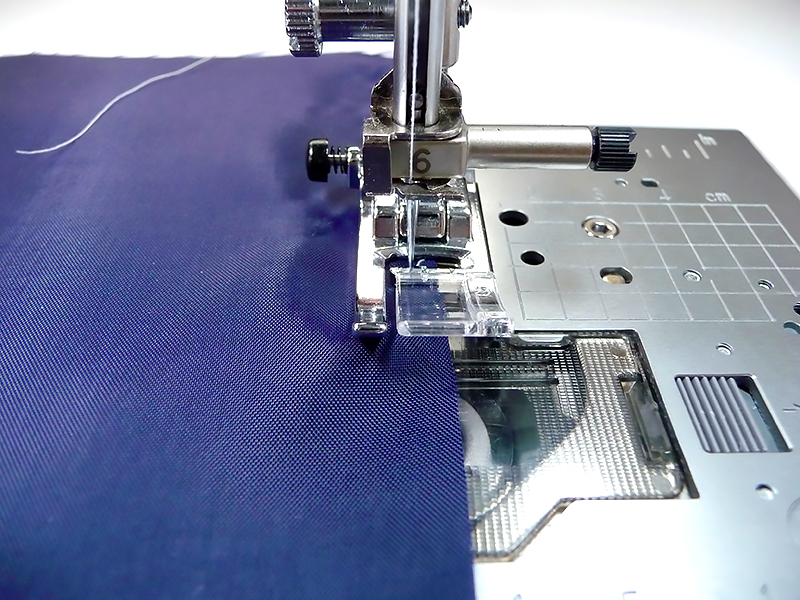 Figure #1a
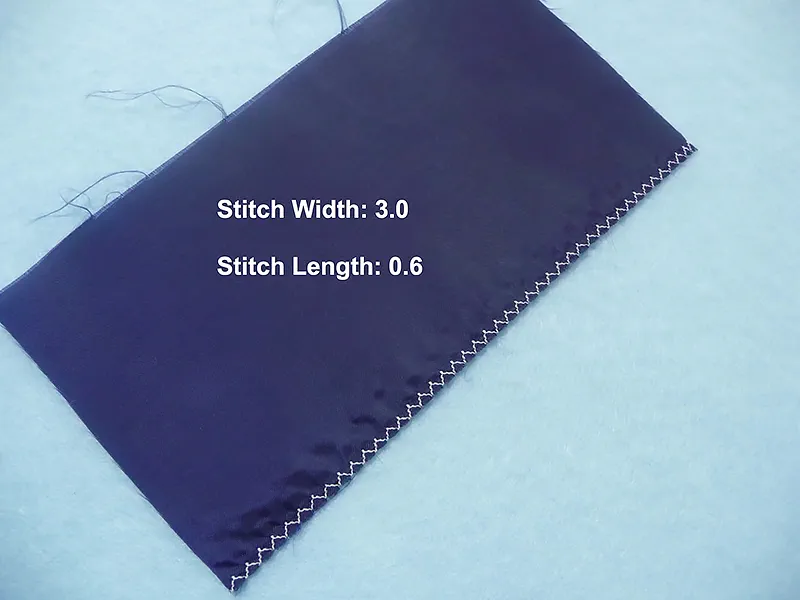 Figure #1b
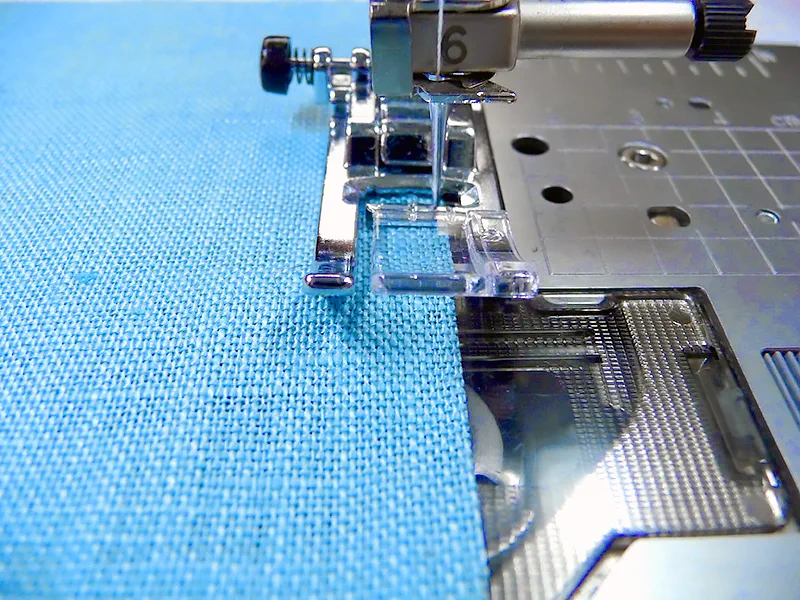 Figure #2a
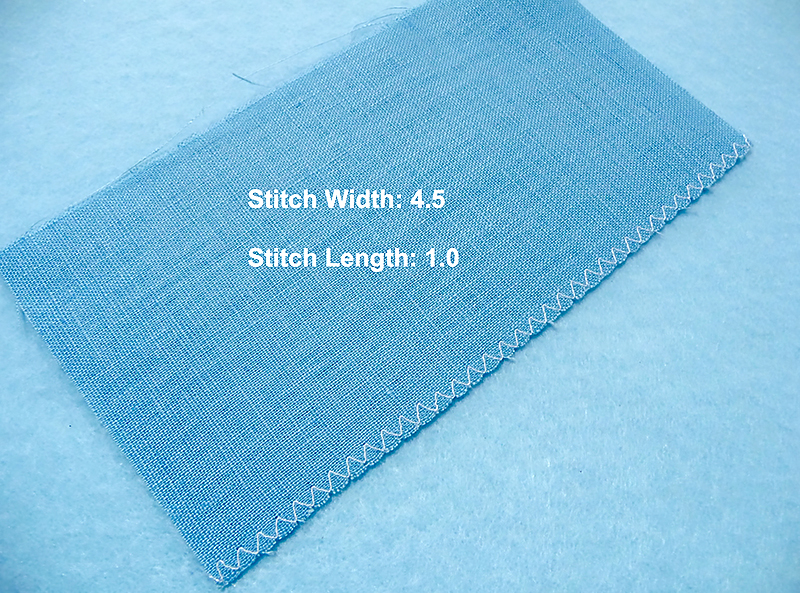 Figure #2b
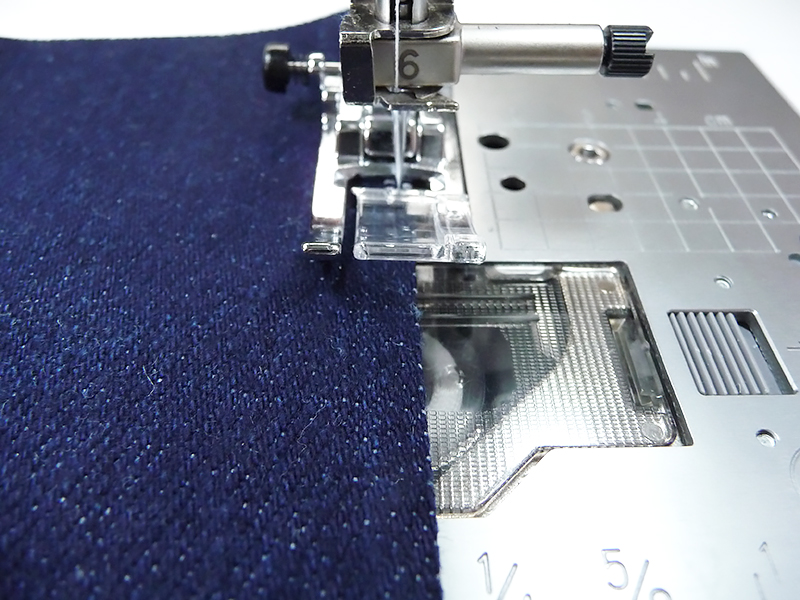 Figure #3a
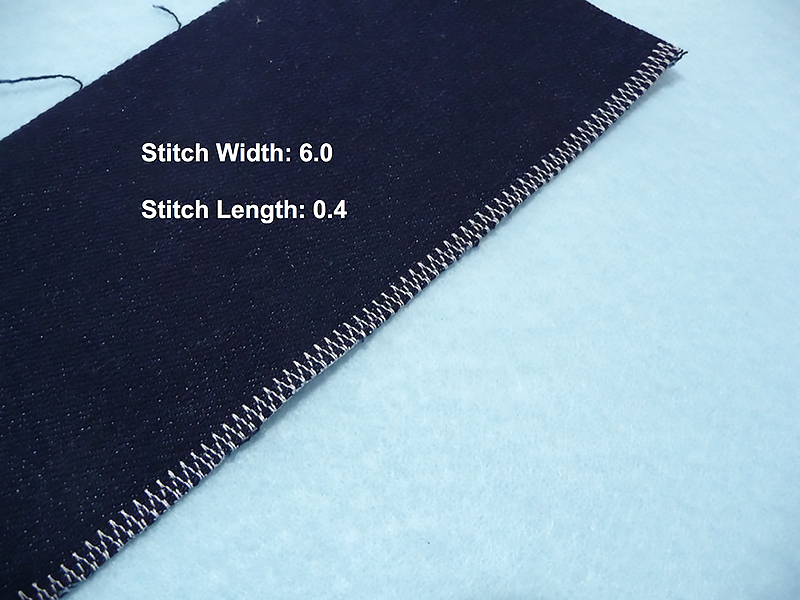 Figure #3b
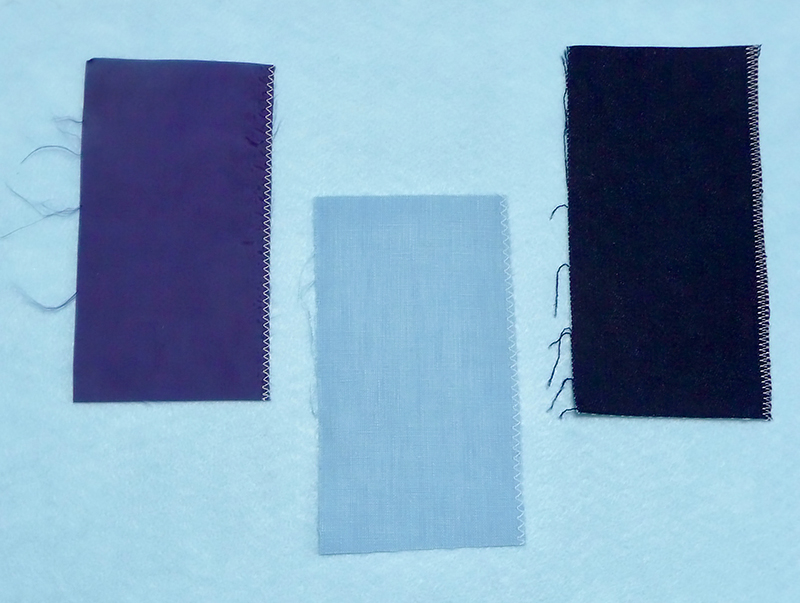 Figure #4
 Figure #1a
 Figure #1b
 Figure #2a
 Figure #2b
 Figure #3a
 Figure #3b
 Figure #4
