Raglan Shirt Tutorial
If you want an easy clothing item to start sewing with, a raglan shirt is a great place to start. The construction is easy and the seams are generally pretty straight. I love my free raglan pattern over on Life Sew Savory and today I’m going to use that pattern as the base for the pattern hack. Since raglan shirts are so easy to make, they are also super easy to use for variations. Today I’m going to show you how to add cute trim in the shoulder seams of your shirt.
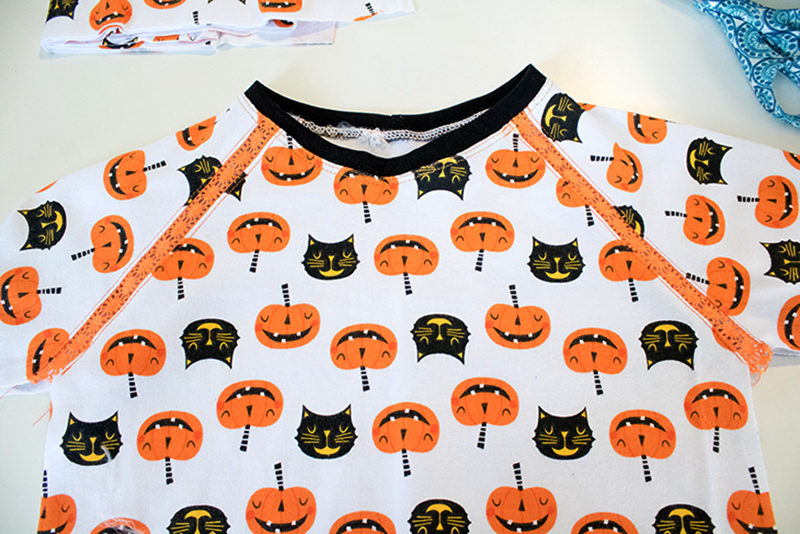
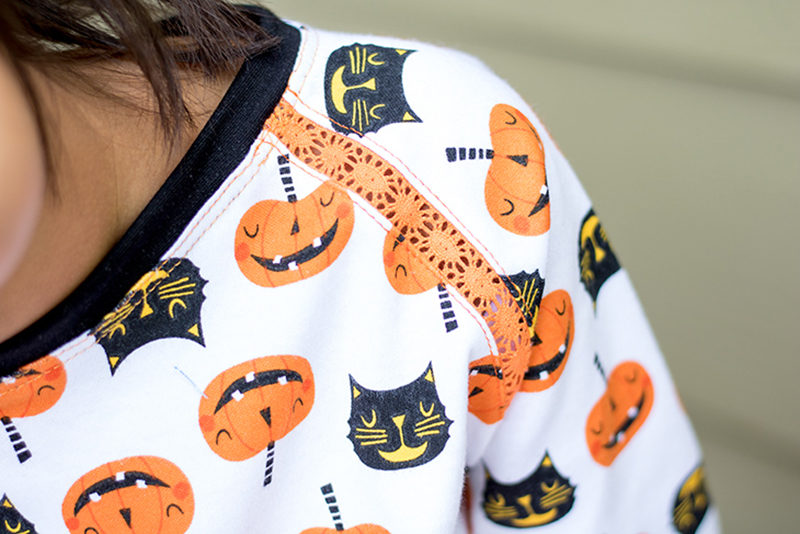 It makes a basic shirt into a super cute tunic with a fun little flare at the top.
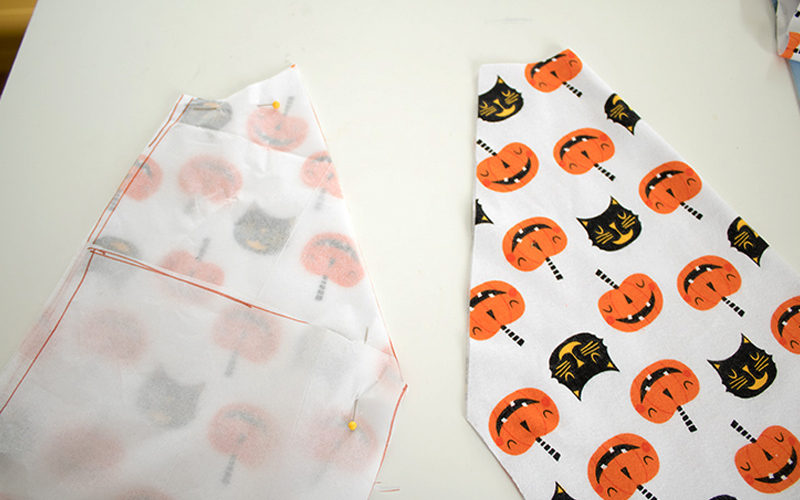
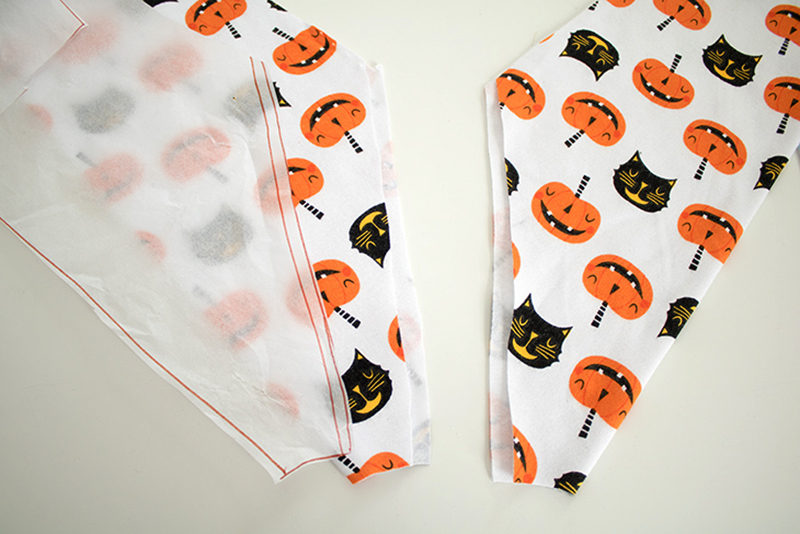
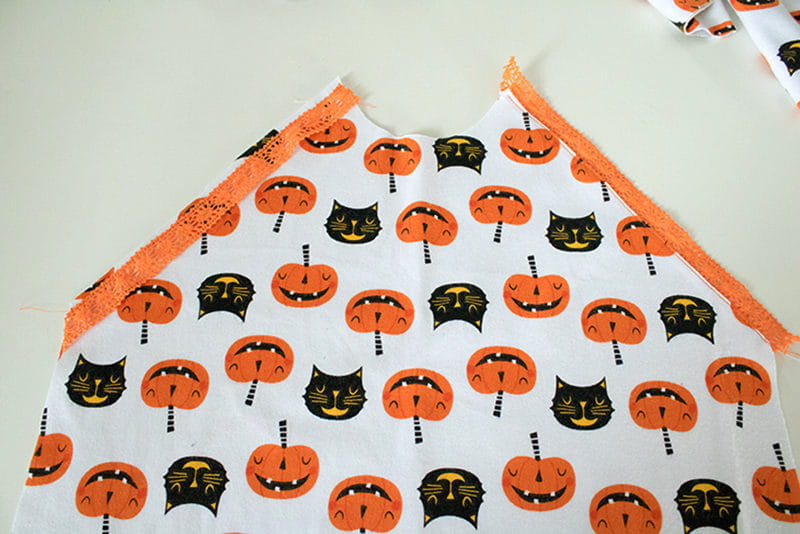
 Cut out your pattern pieces as directed on your raglan pattern. On the front side of the sleeves and the front of the shirt, trim off some fabric. The amount cut will depend on the trim width. If your trim is 1” you will need to cut more off. Mine is just ½” so I cut off just the seam allowance ⅜”. You want your shirt to still be the same size as the pattern.
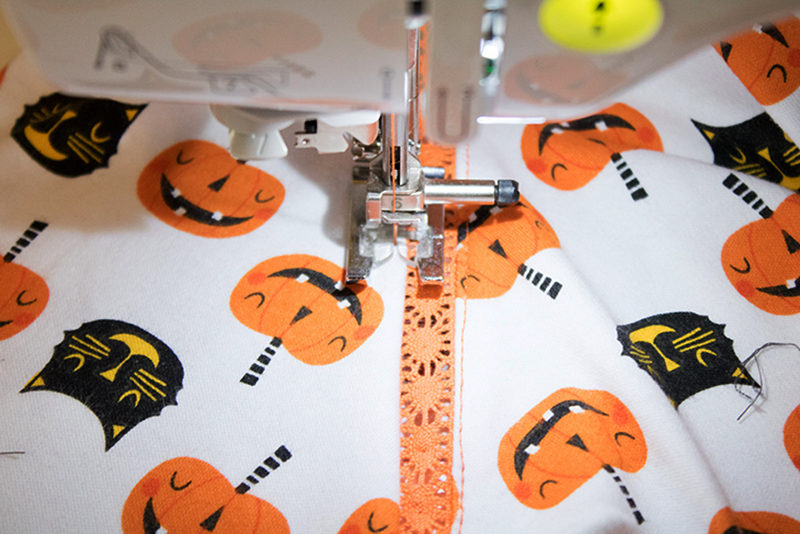
 Start with the shirt front right side up. Sew the trim to the shoulder seams, right sides together. Open up the trim and top-stitch.
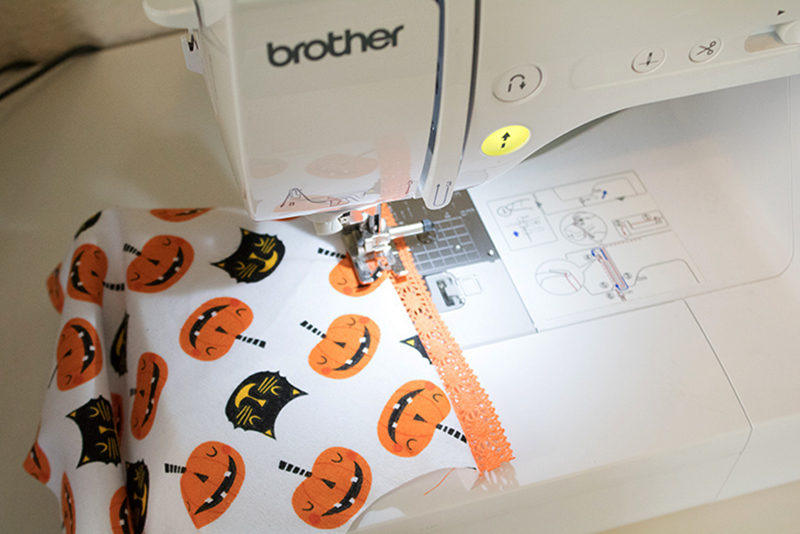
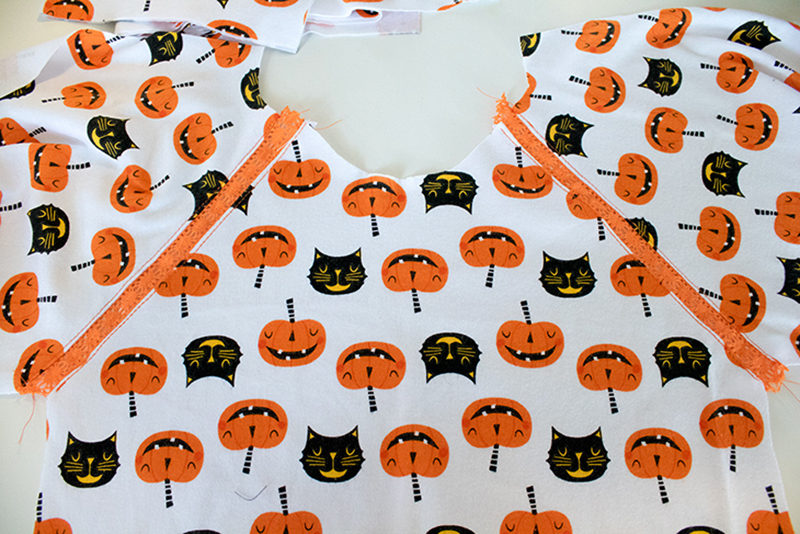
 Place the sleeves on either side of the shirt front. Matching the front of the shirt to the trim on the shirt. Sew and then open and top-stitch.
 Continue sewing the rest of the raglan as directed.
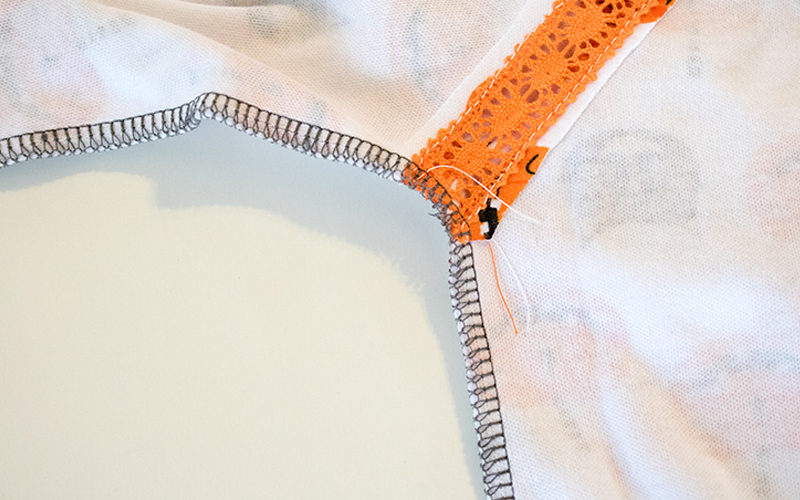
 Make sure when sewing up the side seam that you catch the trim in the underarm seam.
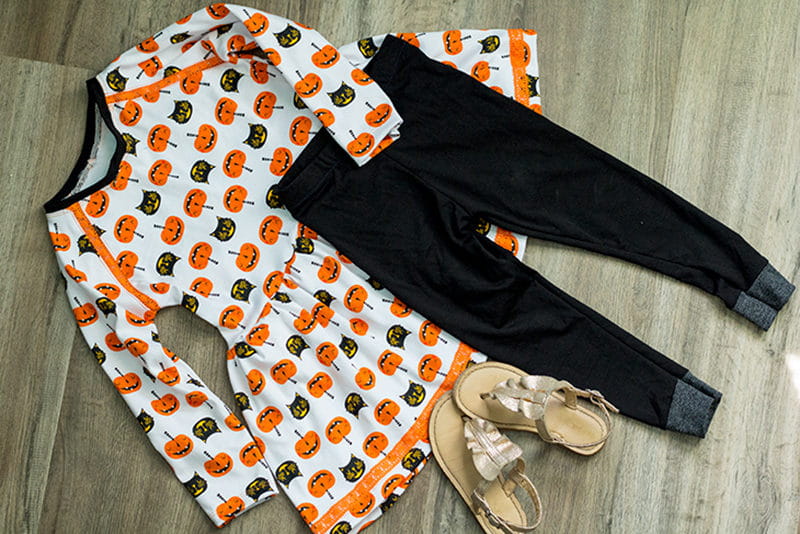
 I shortened my top and added a short skirt for a cute tunic. Perfect for wearing with leggings and perfect for fall with this cute pumpkin print.

Related Projects
Stay Connected
* Required fields