How to Create a Scrunch Headband
-Brother Sews Blogger

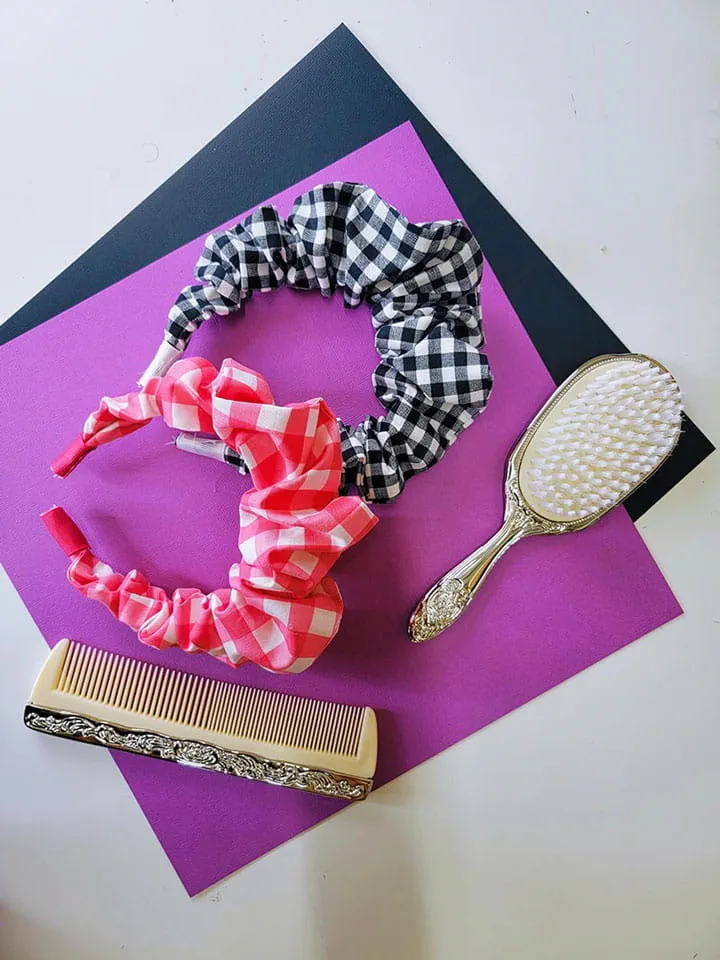
Headbands are having a moment, aren’t they? I have been paying a lot of attention to designer style headbands. Because I find pleasure in DIYing things for myself, I find it very fascinating how designers price products so high. Headbands priced over $100 really do exist. But how? I am intrigued at the materials used to create the final product. Does it equate to the price a consumer would pay for the product. Is it worth the money? If I can recreate it for a fraction of the cost, the price of the designer item wouldn’t make sense to me. So allow me to show you how to create one of my favorite styles; The Scrunch Headband.
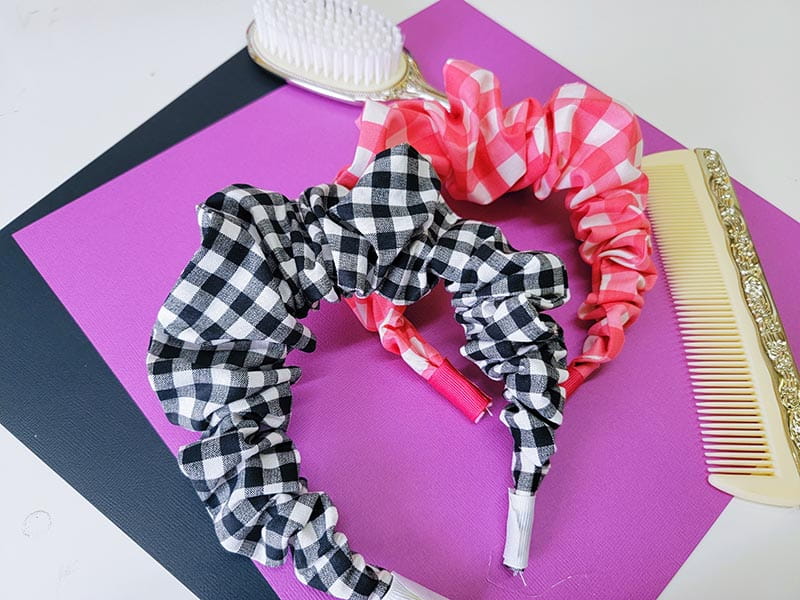
Let’s talk about fabric options. When it comes to customizing this headband we can go casual or luxe. The casual options are always cheaper but they have the most prints. For a casual look, go for a quilted cotton or broadcloth. I like these fabric options not only because I love a good print, but because these type of fabrics hold their shape so well. If you want to go luxe, a velvet or satin would be absolutely gorgeous. Again, both of these options are a medium weight type of fabric and hold their shape beautifully. Now, if you find a fabric that catches your eye that may be on the lighter side, don’t allow that to stop you. Simply grab some apparel interfacing and iron it onto the back of the fabric and create the project as you normally would following each step. The interfacing gives the light weight fabric some stability. It's an extra step, but in the end, you can get the look you want.
Supplies and tools:
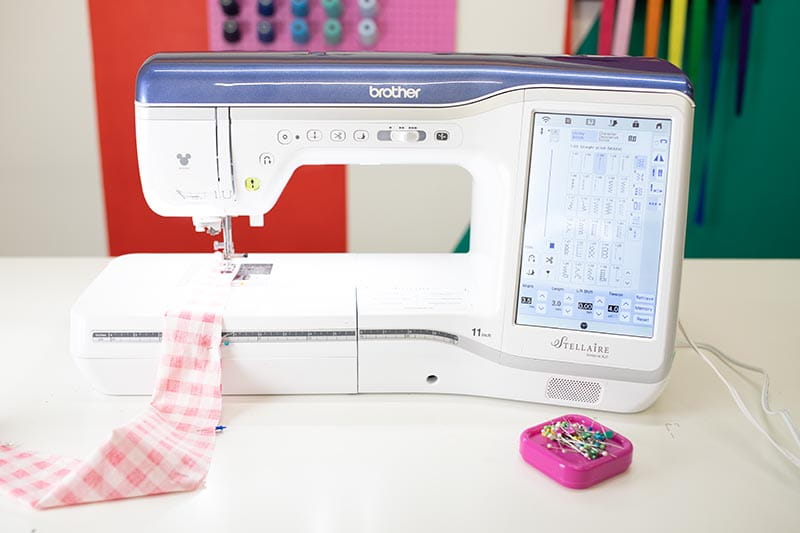
- Brother Stellaire XJ1
- Medium Weight Woven Fabric
- Matching thread
- Headband (avoid large padded headbands for this project)
- Hot Glue and Hot Glue Sticks
- Measuring tape
- Scissors or Rotary Cutter
- Iron and Ironing Board
- 1” wide Grosgrain Ribbon
Instructions:
- Take your woven fabric and cut out a rectangle measuring 7” x 24”.
- Fold the fabric in half hamburger style.
- Then, fold the fabric in half hot dog style.
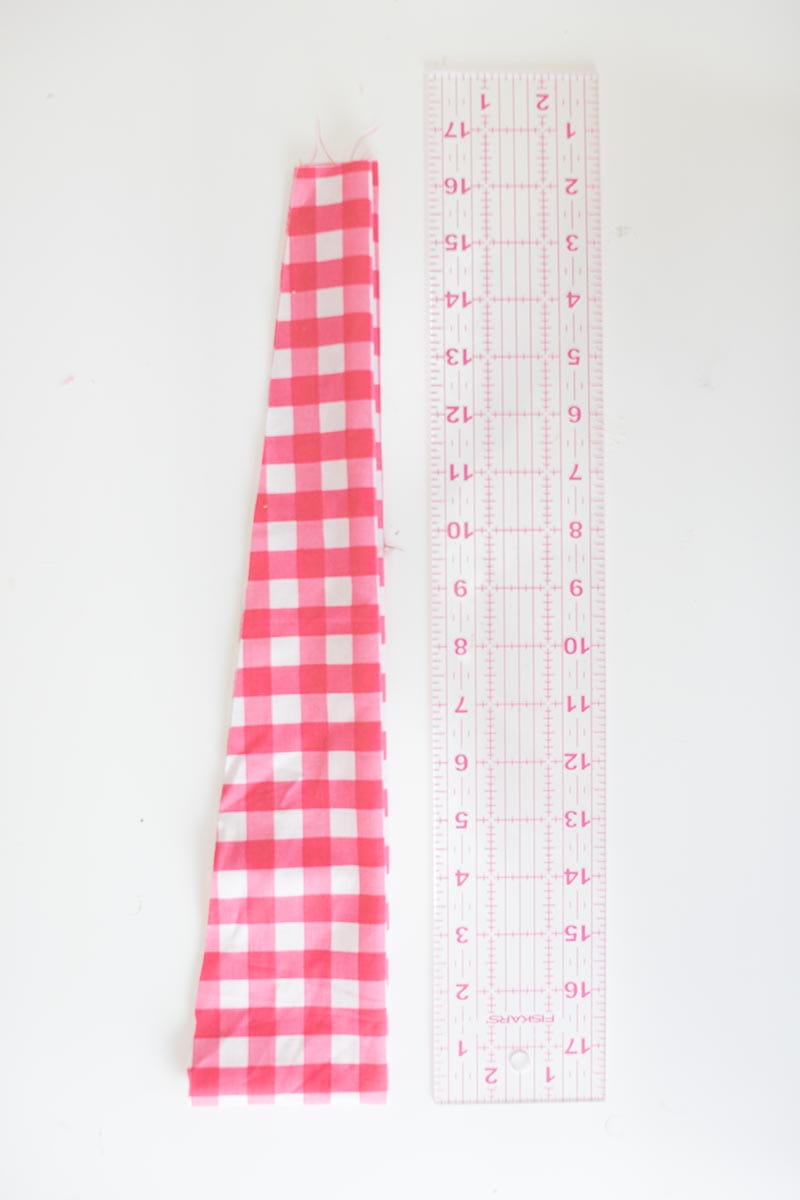
- Starting on side of the fold, create a cut that gradually gets smaller towards the end of the fabric. Do not allow the cut at the end to be shorter than 1.5”
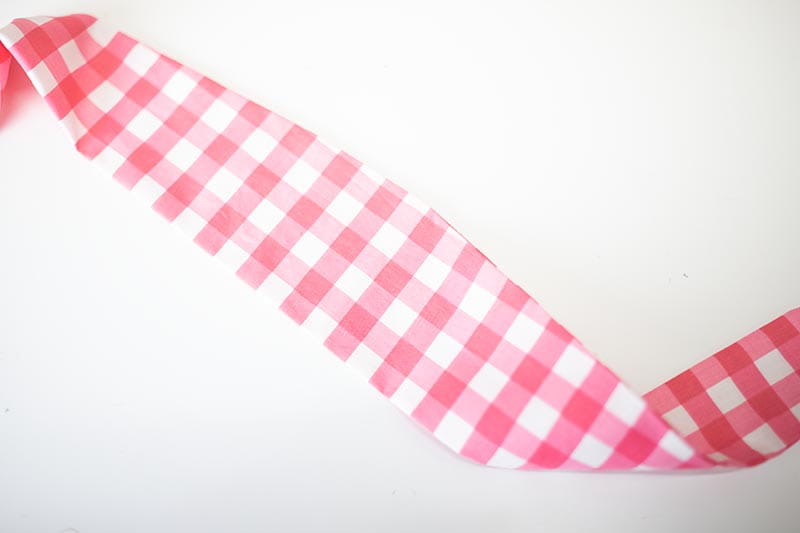
- Open the fabric and fold your fabric again, right sides facing in hotdog style.
- Using a 5/8” seam allowance, sew across the top edge leaving 3 inches of top center unsewn.
- Turn fabric right side out using the unsewn top center of the fabric.

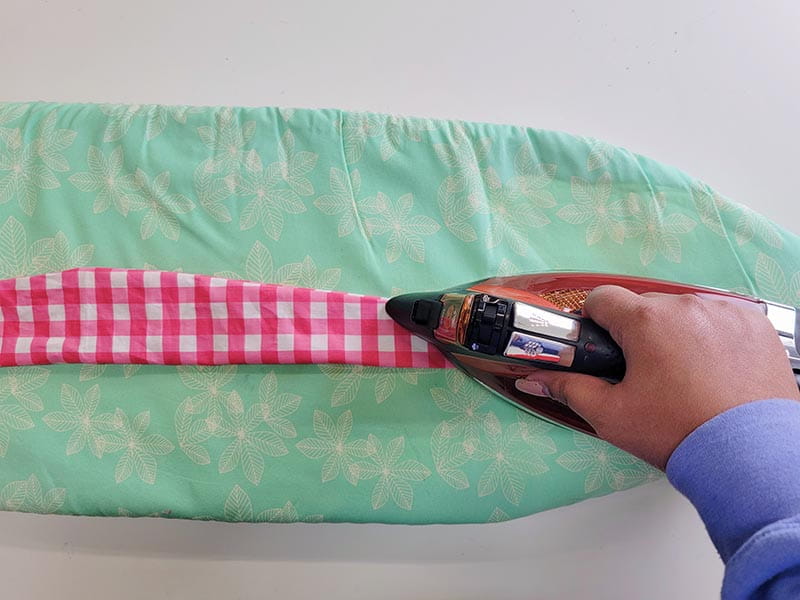
- Take your fabric to the ironing board and press out your seams. Your fabric should resemble a rainbow. A pretty wide rainbow, but you get my jist.
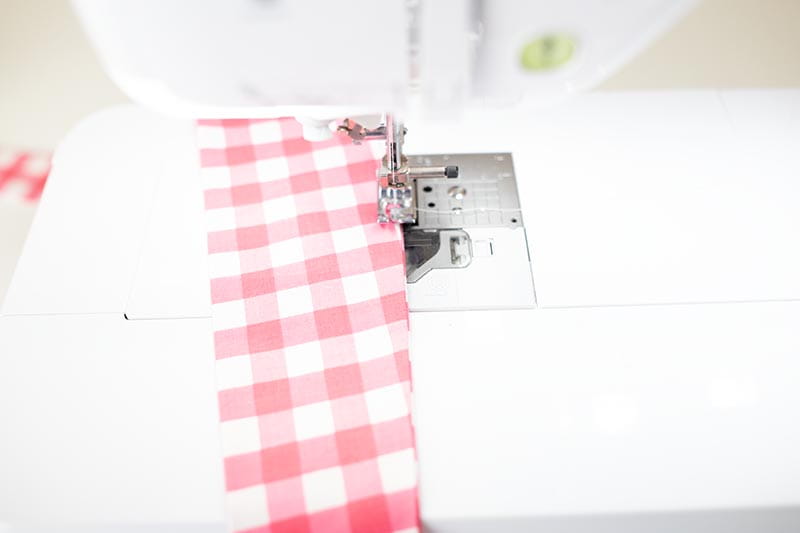
- Now we need to sew the opening at the top of your fabric closed. Take your fabric to your sewing machine and sew as close to the edge as possible.

- Snip away any loose threads.
- Take your headband and slide it through the side openings.
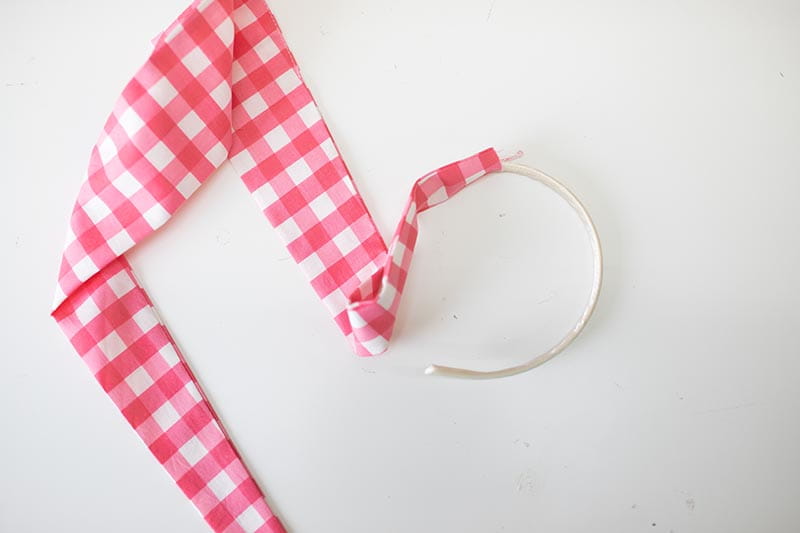
- Hot glue the ends of your fabric to the ends of your headband.
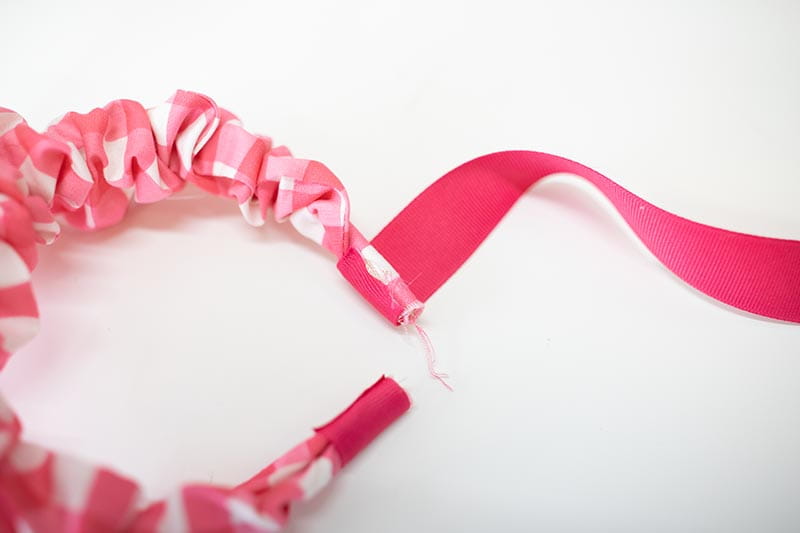
- Hot glue grosgrain ribbon to cover ends of fabric. This will create a more neat and finished look.
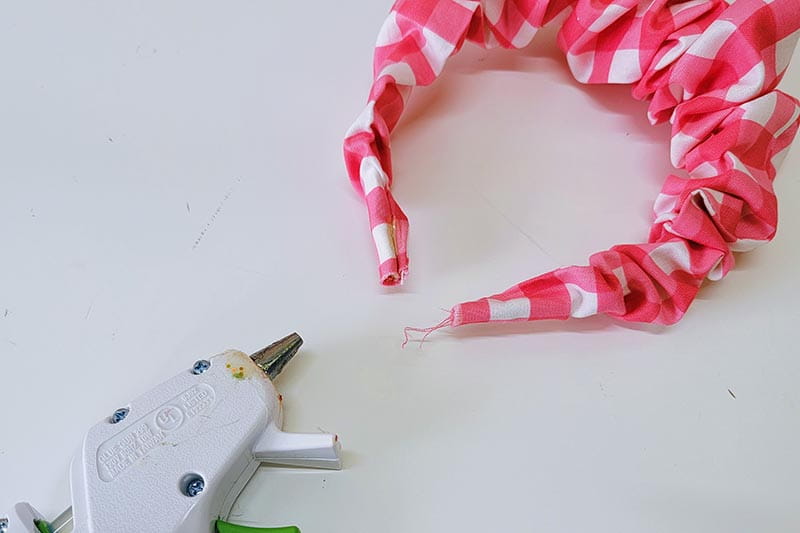
That’s it! Now that you see how easy that was, create another one for yourself and create one for your fashion loving friend. Have her wondering whether or not its designer.
