6 Lessons I Learned Sewing for 20 years
Hey there, Brother Sewing Ambassador Laura here and I wanted to share a few of my top sewing tips with you. I’ve been sewing for 20 years now and here are a few lessons I learned along the way.
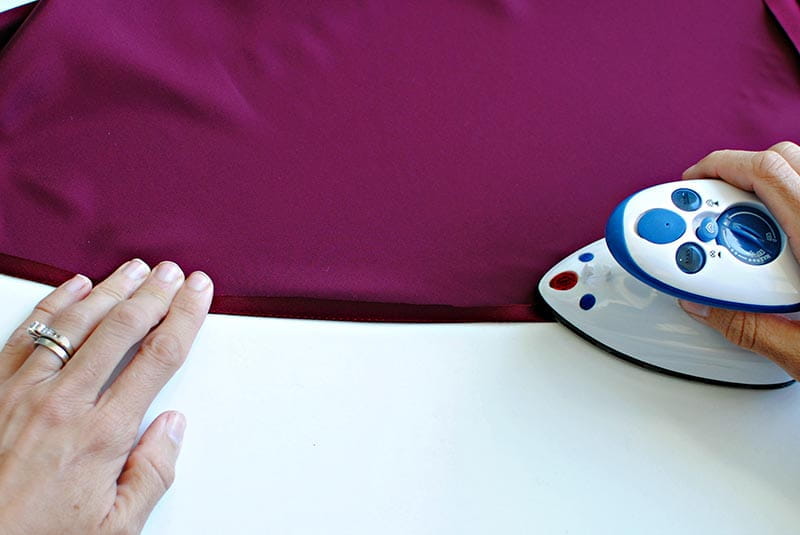
Don’t skip the small steps: I used to rush through projects, skipping the tedious in-between steps I deemed unnecessary, such as pattern markings, pressing, stabilizer, interfacing, etc. Unfortunately, ignoring these steps left me with several lackluster projects. Sewing is about the process of creating, so there is no need to rush through. Plus, you’ll be much happier with the result if you take the time.
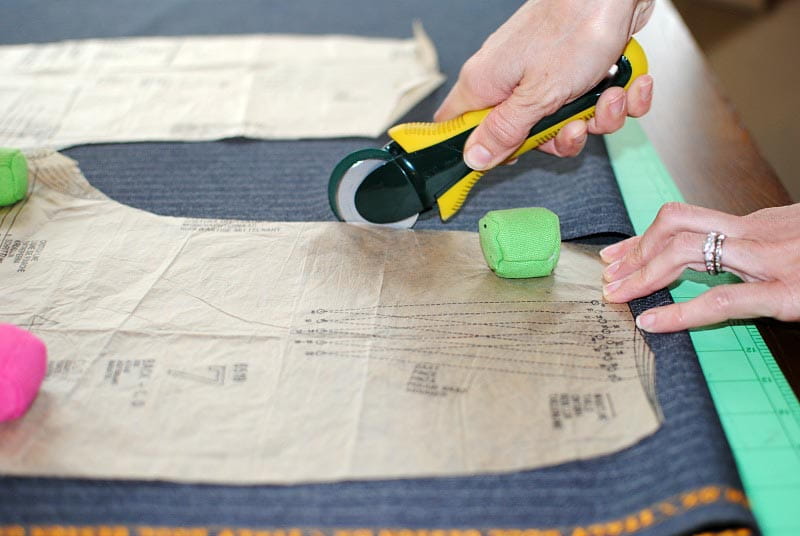
Proper cutting supplies: Even beginners quickly learn scissors from your kid's pencil box will not work for cutting fabric. So instead, ensure you have some quality textile scissors, rotary cutters, and mats. It's a game changer when it comes to cutting out patterns and quilting. Also, make sure they're labeled "Fabric Only" for those that don't understand they're not for cardboard.
Clean your sewing machine: It’s an investment, and we love our sewing machines. I recommend every 2 weeks if you sew often. You may need to clean your machine after a day of sewing if you use fabrics with a lot of lint (fleece, Sherpa, minky, etc.).
You don’t have to follow the rules. Sewing is an art, after all. I learned so much from trial and error. It wasn't always the "accurate" way, but it worked for me. There are no set rules when it comes to creating. If you have a process that works best for you or if there is a fabric you want to try a pattern with but not it's not suggested… go for it!
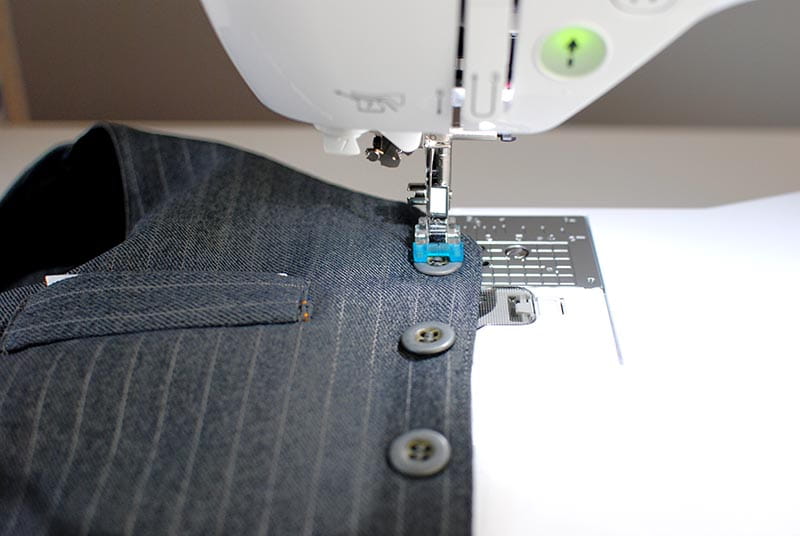
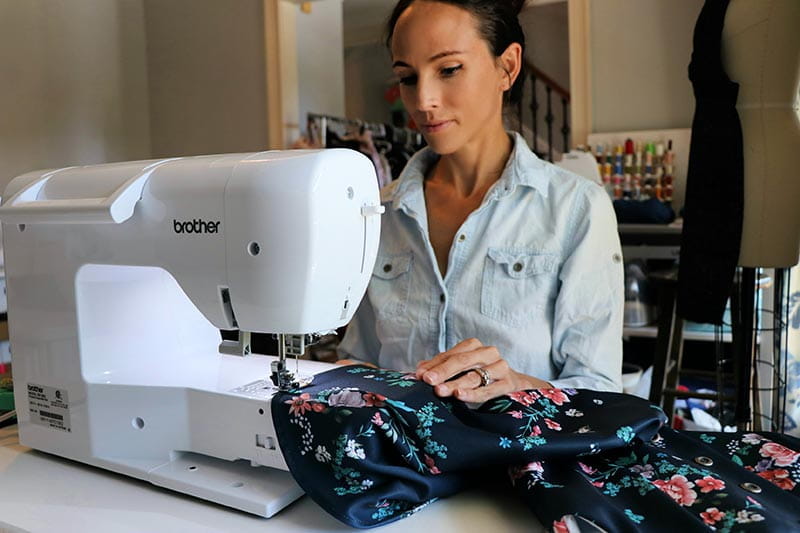
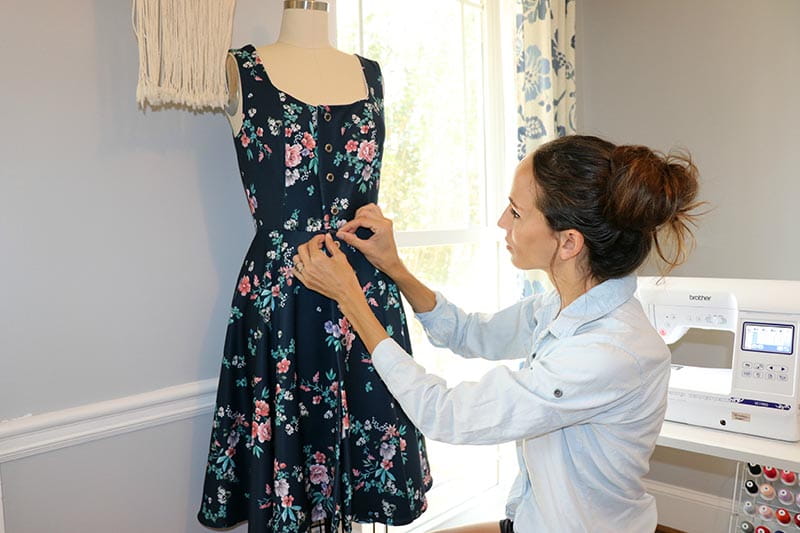
Learn your machine: I used to avoid specific projects or steps that had finishes like buttonholes or zippers, mainly because I didn’t know how to do them on my sewing machine. Thankfully, Brother Sewing machines make steps like buttonholes simple to do. However, it still takes a bit of practice and getting to know your machine. Take some time to go through the manual, look up how-to videos, and practice the steps with scrap fabric. After some practice and testing, it’s much easier than you think.
Buy enough fabric the first time: Double-check your pattern or project and how much fabric you need. I used to buy on the underside, and the next thing I knew, I was always going back to the fabric store, sometimes 2-3 times, to buy more. What if they don't have the fabric anymore? It is always better to get a ½ yard or more extra for my projects as a just-in-case. Plus, this may give you some scraps for other upcoming projects! Also, remember that some projects may need a lining, zipper, buttons, etc., so it's good to plan for that as well.
Related Projects
Stay Connected
* Required fields