How to Make a Travel Cord Organizer
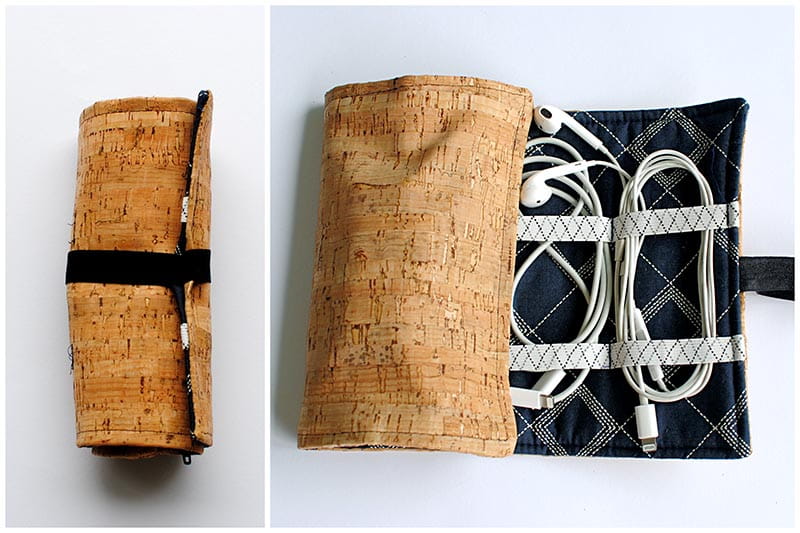

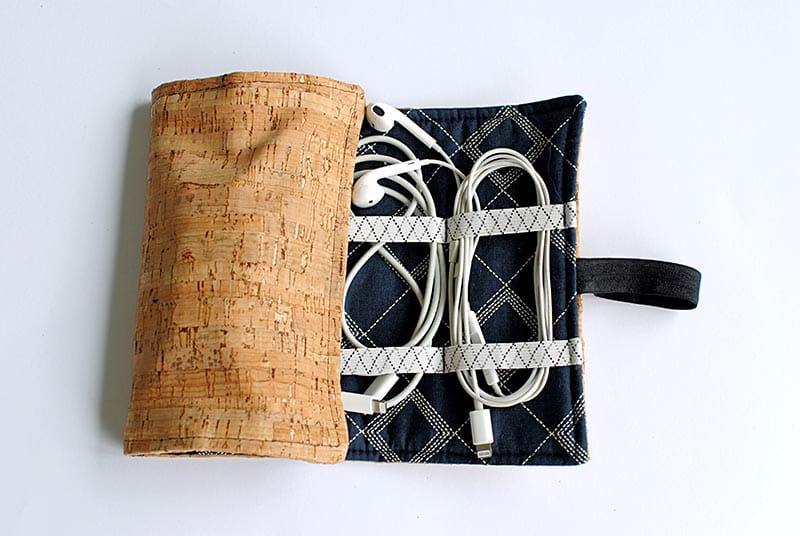
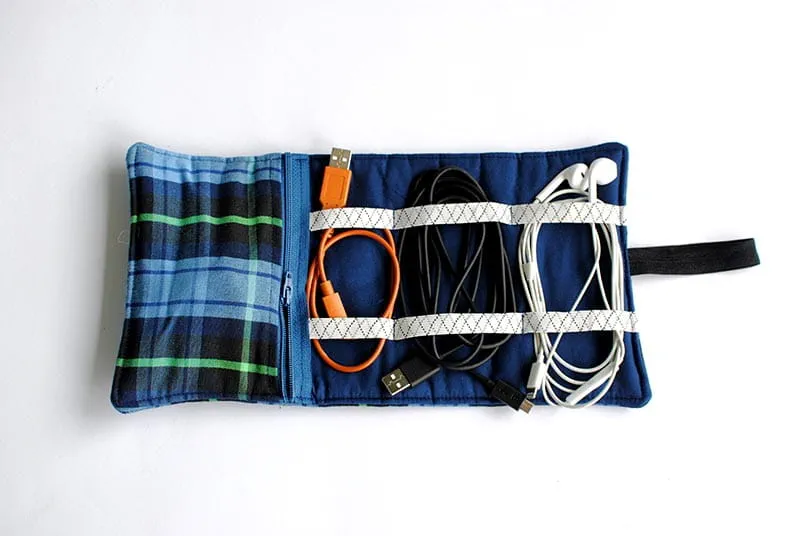
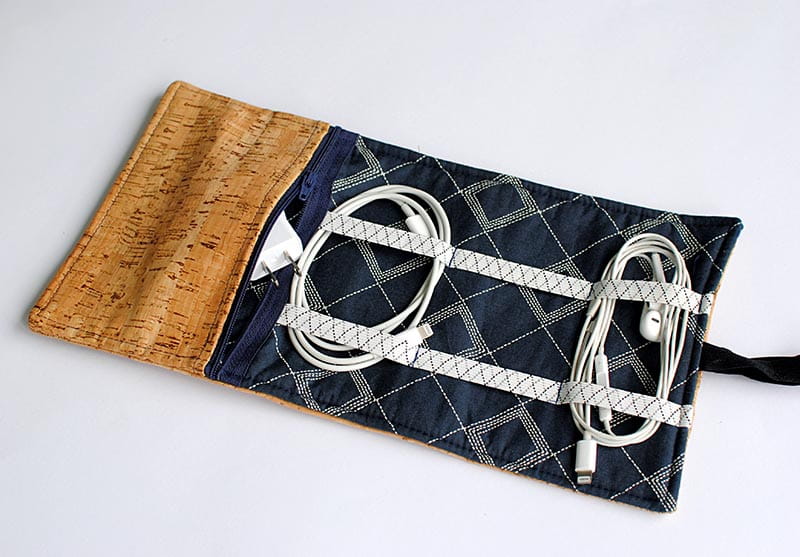
With Father’s Day around the corner, I wanted to sew something the kids and I could make together that he would benefit from. My husband travels often for work and always with a stack of tangled cords. I thought this Cord Organizer roll would come in handy not only for travel but for the desk as well. Complete with a zipper pocket for air buds/charging blocks, and elastic sections to hold wrapped cords. This was such a hit my teen sons, both asked if I could make them one as well. Get the details below on how to sew your own Cord Organizer Roll.
Supplies:
- Brother SE2000
- Outer fabric (most fabrics will do, cork, suede, vinyl, cotton)
- Lining (cotton)
- Elastic (you can use any width I liked the 5/8”)
- Fold over elastic (6”)
- Fusible fleece
- Jeans needle if sewing with heavy duty fabric like I did
- Zipper over 8”
- General cutting/sewing notions
Step 1:
Cut out your materials:
Outer fabric: 7.5" x 13.5"
Lining: 7.5” x 13.5”
Fusible fleece 7.5” x 13.5”
Pocket exterior/liner 4.5” x 7.5”
5/8” Fold over elastic 6”
1/2” Elastic for lining (cut when laid out) around 20” total
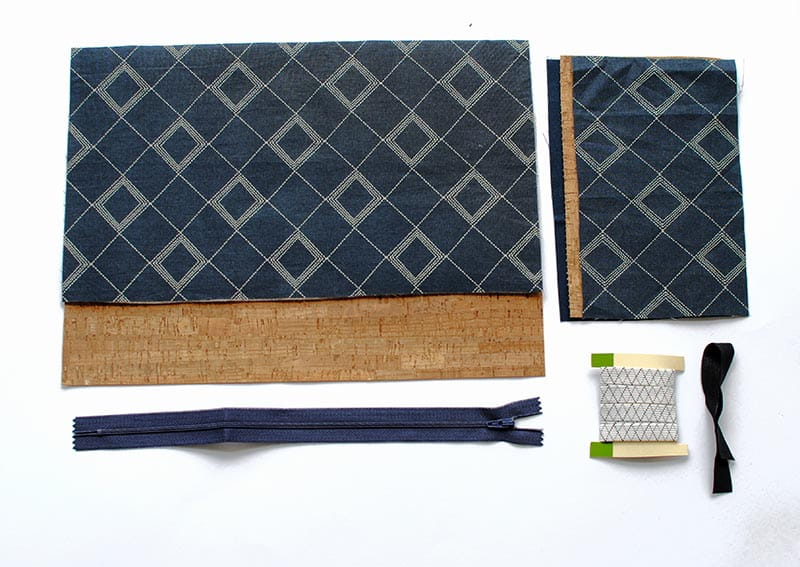
Step 2:
Fuse the fusible fleece to the lining. Tip: if using cotton on both front and back use fusible fleece for both layers.
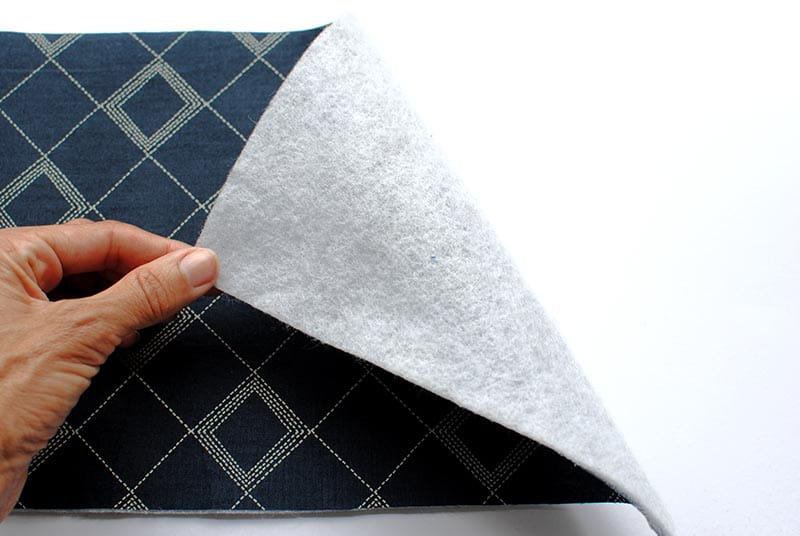
Step 3/Step 3b
Zipper pocket: (note the cork fabric I used for the tutorial mainly for contrast in the photos, if you’re worried about it being too thick to sew through all layers you can use cotton fabric, however it was fine just sew slowly on the corners and use a heavy-duty needle (jeans needle)).
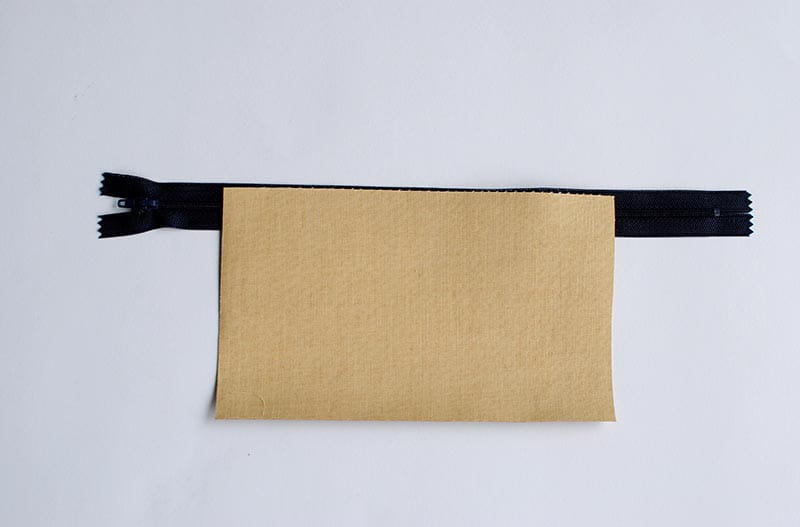
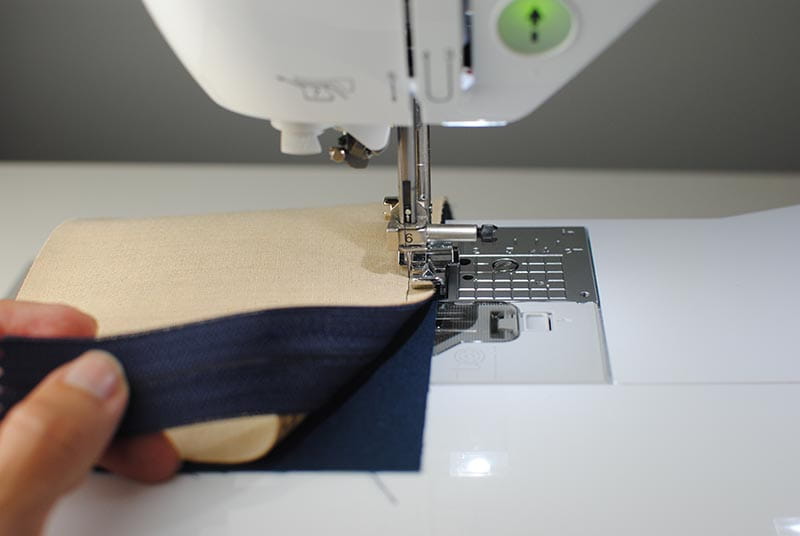
Step 4:
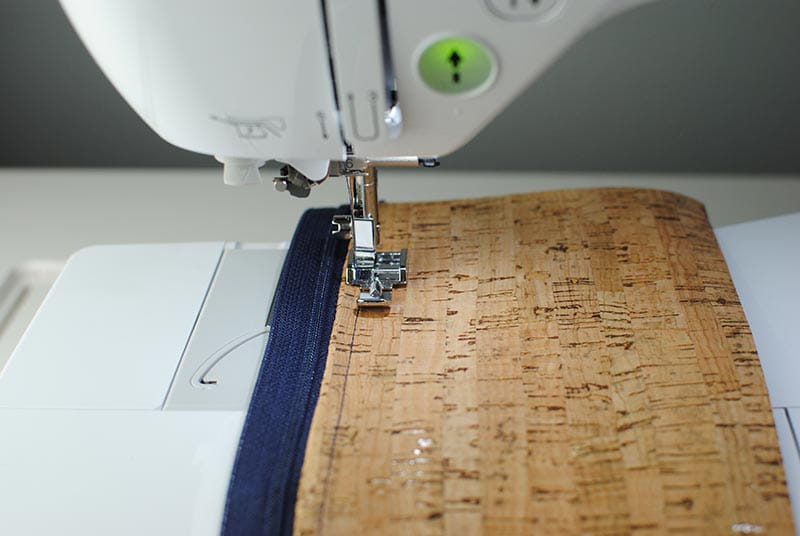
Press flat and topstitch along the edge.
Step 5:
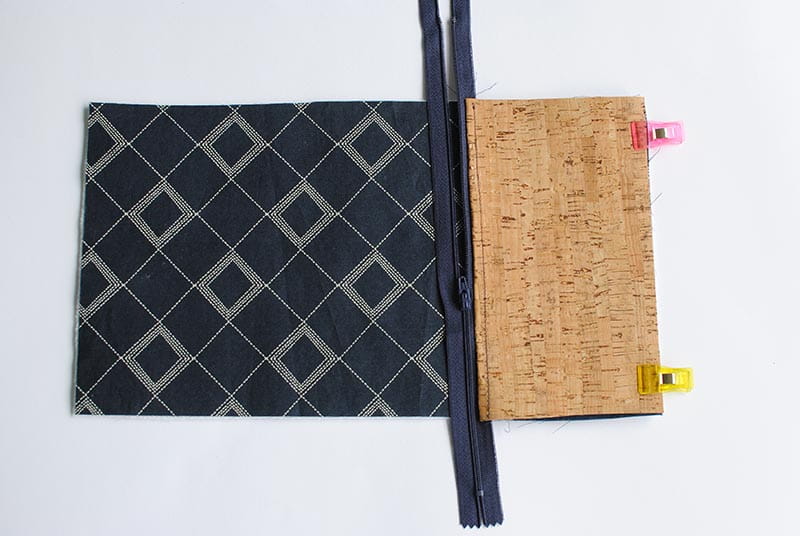
Lay zipper pocket over outer fabric so edges are matching and clip into place.
Step 6:
Add elastic:
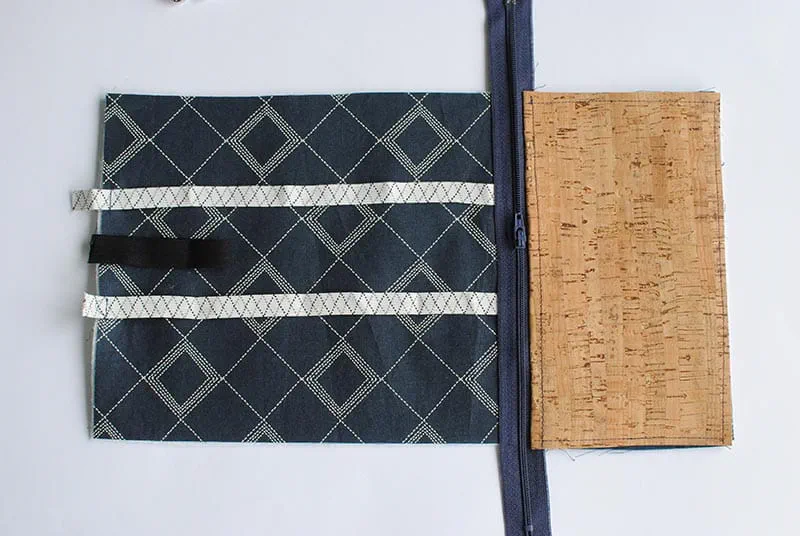
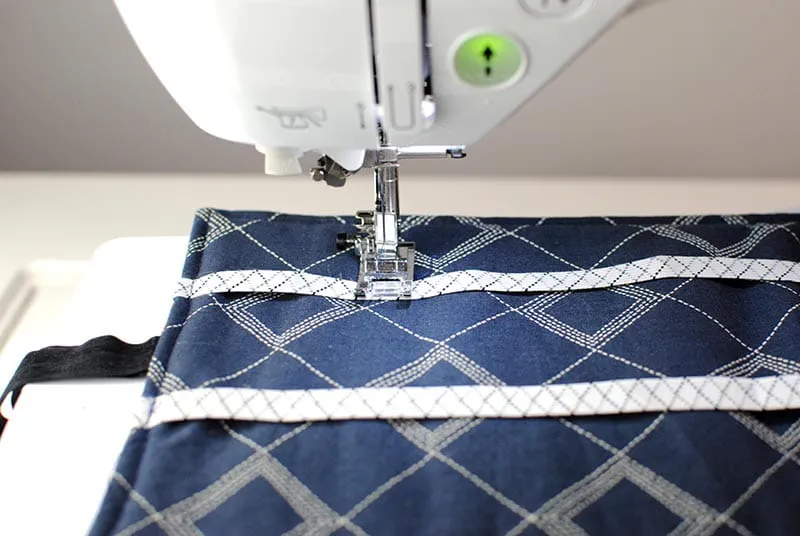
It helps to use a cutting mat for measuring purposes. Lay elastic out so it connects with the left side of the zipper, pin where it will be just under the zipper and stitch. I placed the elastic 2” above and below each edge. You don’t want them too far apart in the middle. Mine were exactly 2” apart from edge to edge of elastic. I suggest pinning and seeing how far/wide you want them prior to sewing.

Step 7
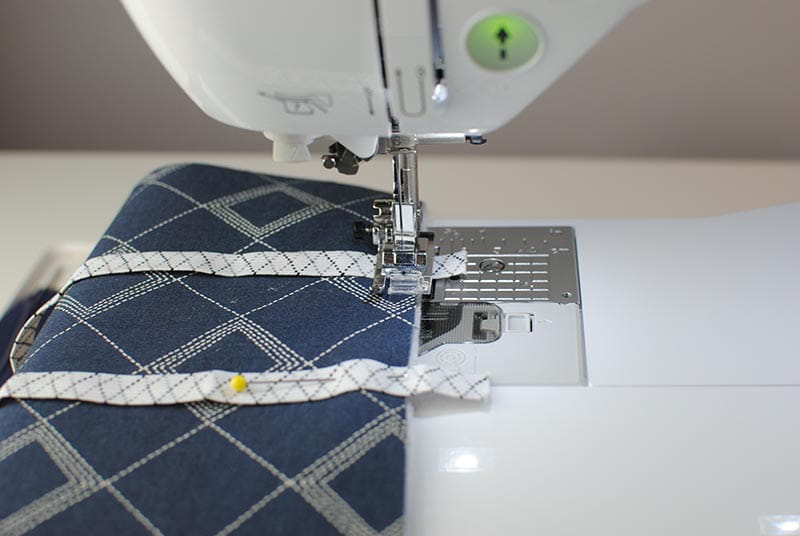
Edge stitch the elastic so it doesn’t move on the other end as well.
Step 8
Topstitch the exposed zipper from one end to the other making sure you sew through the elastic as well.

Step 9
Place your fold over elastic in the center right sides facing and edge stitch.
Open the zipper so it’s halfway.
Step 10/10b
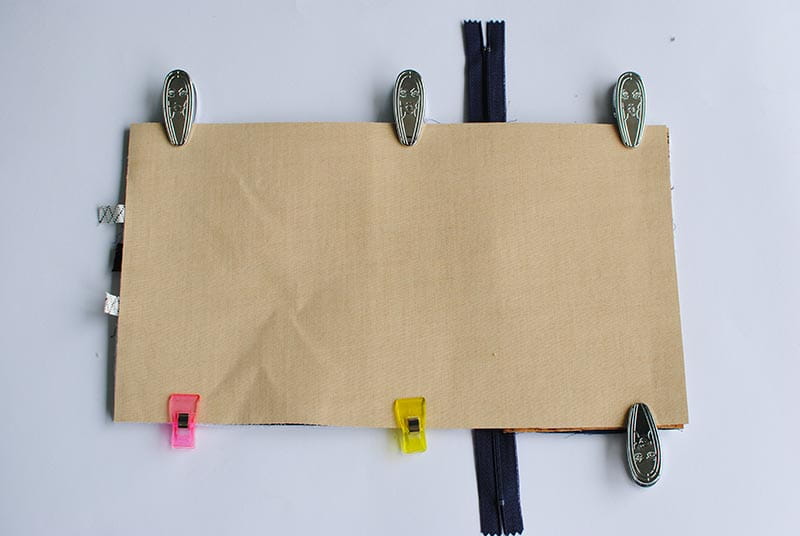
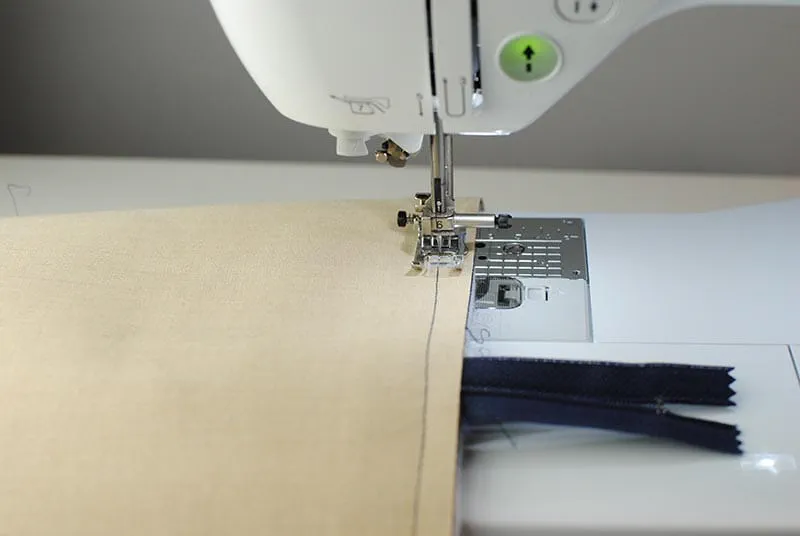
Place outer fabric over lining right sides facing. Stitch with a 5/8” seam allowance all the way around leaving a 3” opening on the bottom center.
Step 11
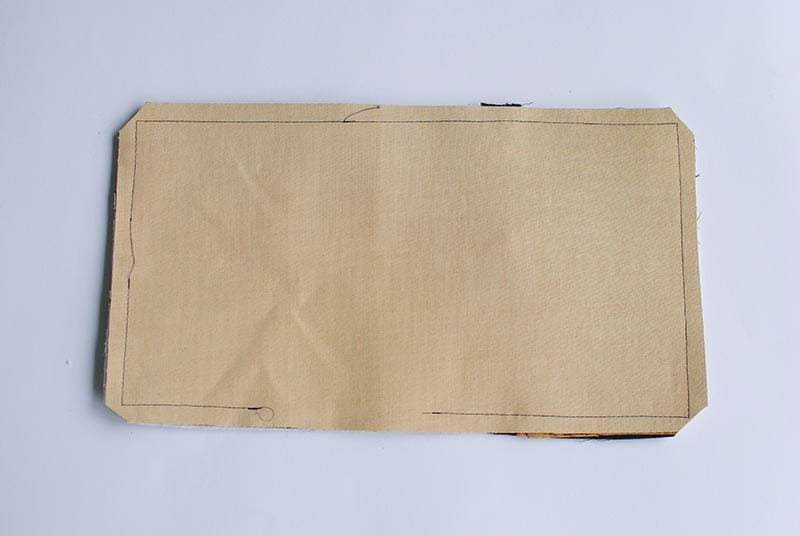
Clip edges and excess zipper material.
Flip the right sides out through the opening.
Step 12
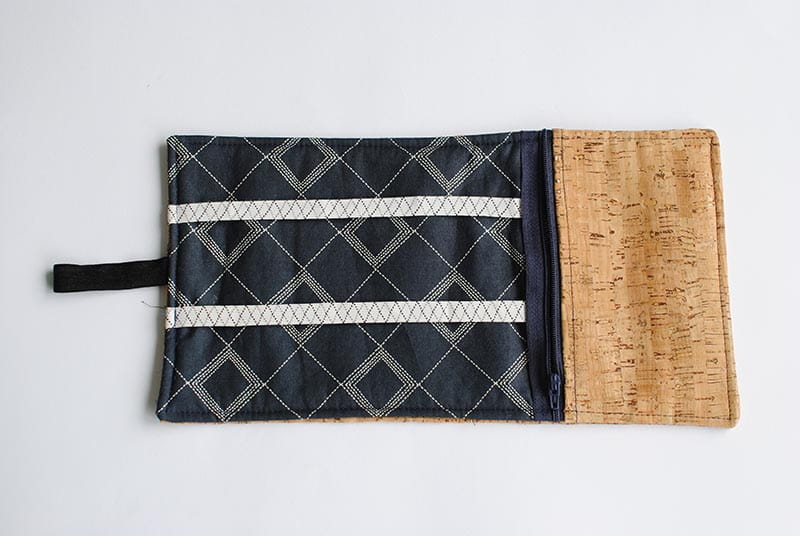
Press. Topstitch all the way around enclosing the opening.
Step 13
Stitch elastic pieces into place. I did mine 2, 2.5, 2.5” apart and repeat the elastic below so it’s even. You can make these as small or wide as you’d like once you find what works for you. Use pins and see how wide you’d like them to be and go from there. If you have a long cord a 2.5-3” may work best. If you have short cords 1.5- 2” will do.
Step 14
Another option is with cotton fabric.
