Sewing with Faux Fur: Part 1
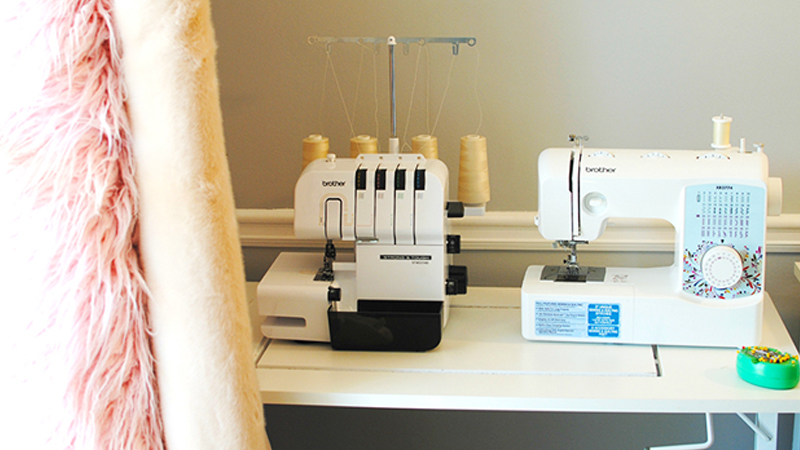 The last time I worked with faux fur was a couple of years ago when I made a Chewbacca costume for my son. It was a learning experience working with this messy textile. Although it may require some additional steps, once you get the hang of it you will enjoy working with this material.
Faux fur can bring instant elegance and detail to your projects. Add it to a collar, use it for accent pillows, costumes, or trims. There is plenty of fun to be made but also plenty of mishaps. So to spare you from a clogged vacuum, fur in your nose, and or a hack-job, I've put together my go-to tips for sewing with faux fur.
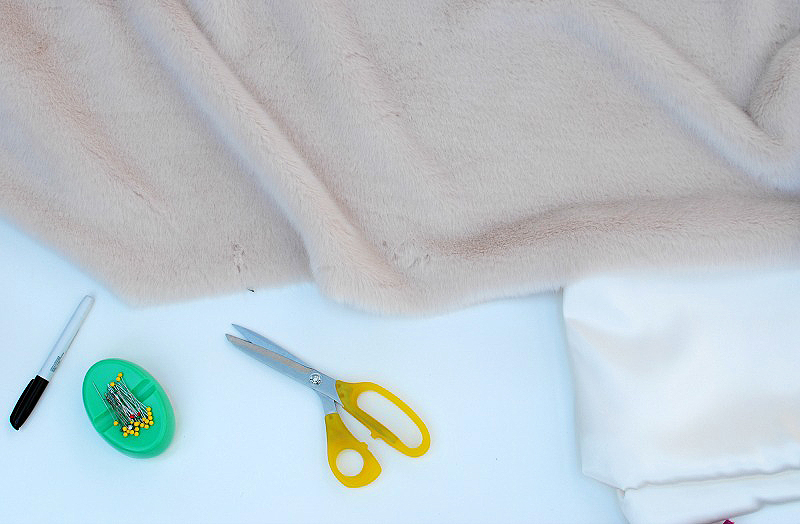
Supplies:
- Brother Strong & Tough Serger
- Brother Sewing Machine
- Faux Fur
- General sewing supplies
- Razor blade
- Permanent marker
- Sewing pattern
Sewing with Faux Fur:
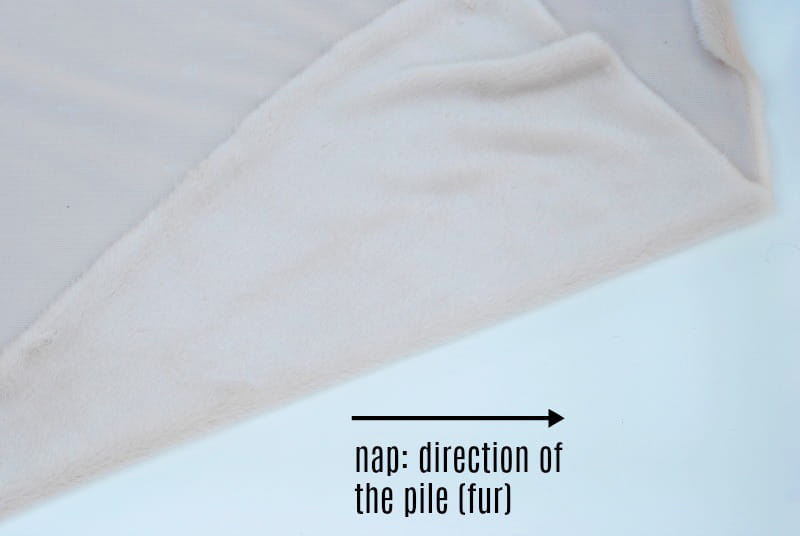
Before beginning, it's important to understand this material. The hair of the fabric is known as the pile, the direction the pile goes is the nap. You will want to keep this in mind when planning your project.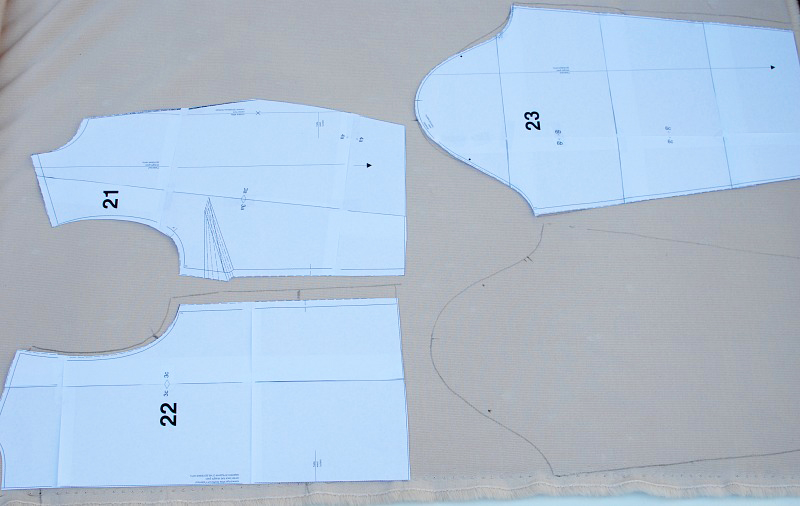
Pattern:
When picking the pattern, look for a simple silhouette with minimal closures. Once you've found the pattern or project you want to make, you will want to keep in mind which direction the pile is going. You most likely will want the nap going down toward the bottom hem. When you place your pattern pieces down you will be working on the wrong side of the fabric. It is best to work with one (1) layer of fabric instead of folding it in half like you'd typically do with other fabrics.Tip: Use a pattern with a simple silhouette, the faux fur is already a dramatic addition.
Place your pattern pieces on the wrong side of the fabric. Use a permanent marker and trace the pattern into place. Be sure to mark the pattern markings as well (notches, etc.).
Cutting:
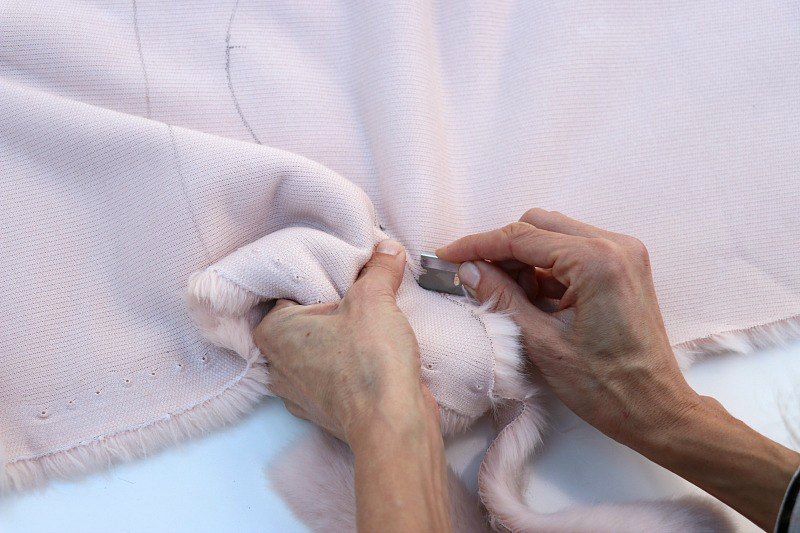
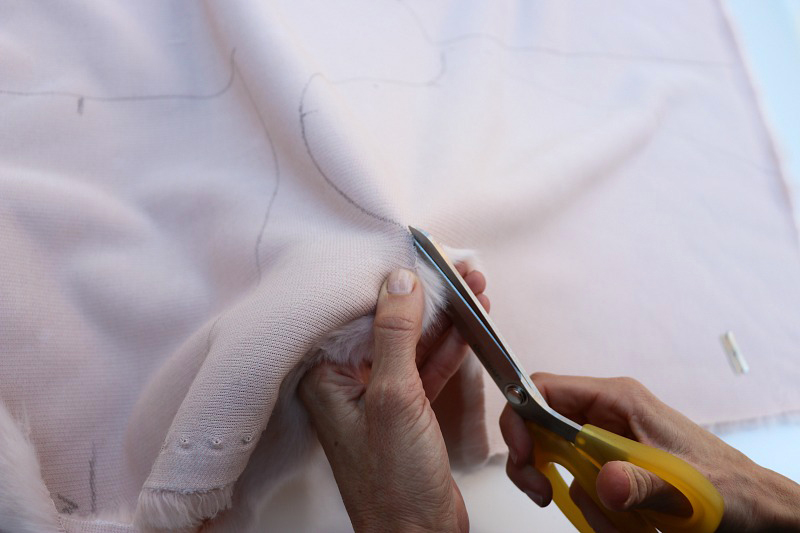
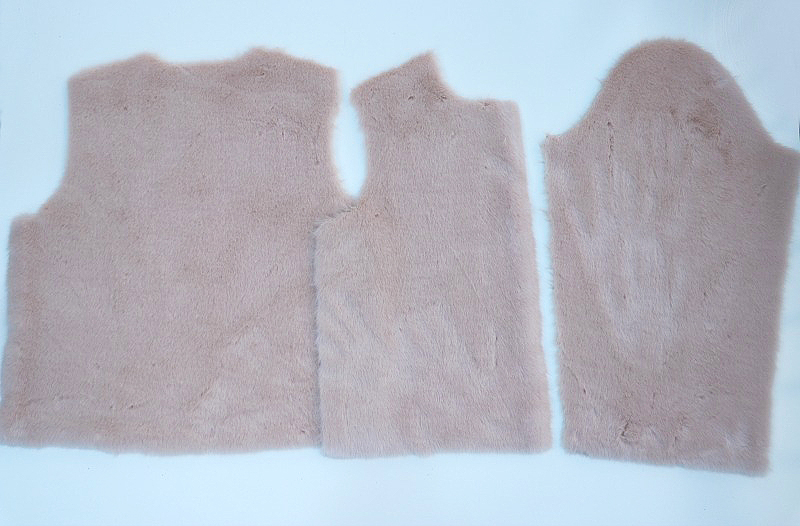
When cutting you will again be working on the wrong side of the fabric. You won't cut through faux fur like you typically do with other fabrics. You will only want to cut through the backing. This is easiest to achieve when using a razor blade. Simply pierce through the backing and removed each pattern piece. If you don't have a razor blade, scissors will do but you will use just the tips of the scissors and cut short little snips which can take a lot longer than a blade.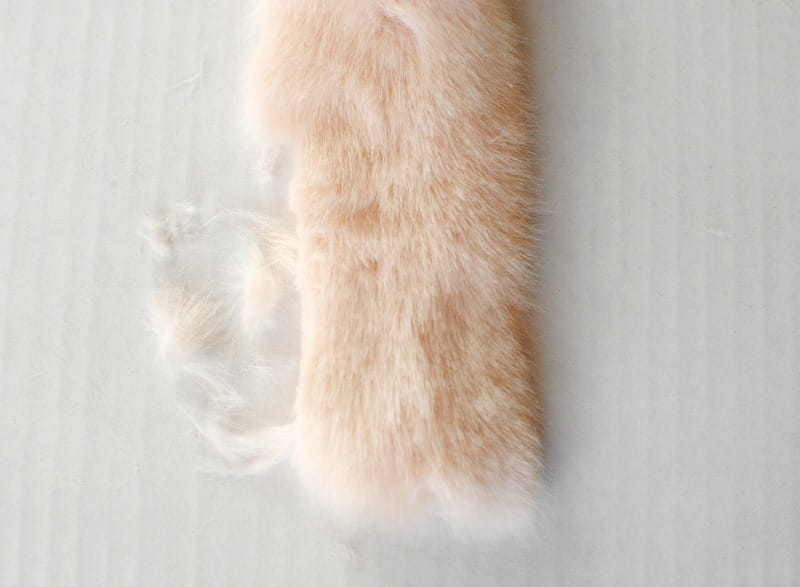 This not only helps with the mess but it keeps the natural length of the pile rather than a short haircut look along the edges like the above image shows. The left was cut with scissors and how you'd typically cut fabric, the right is using the razor blade.
Construction:
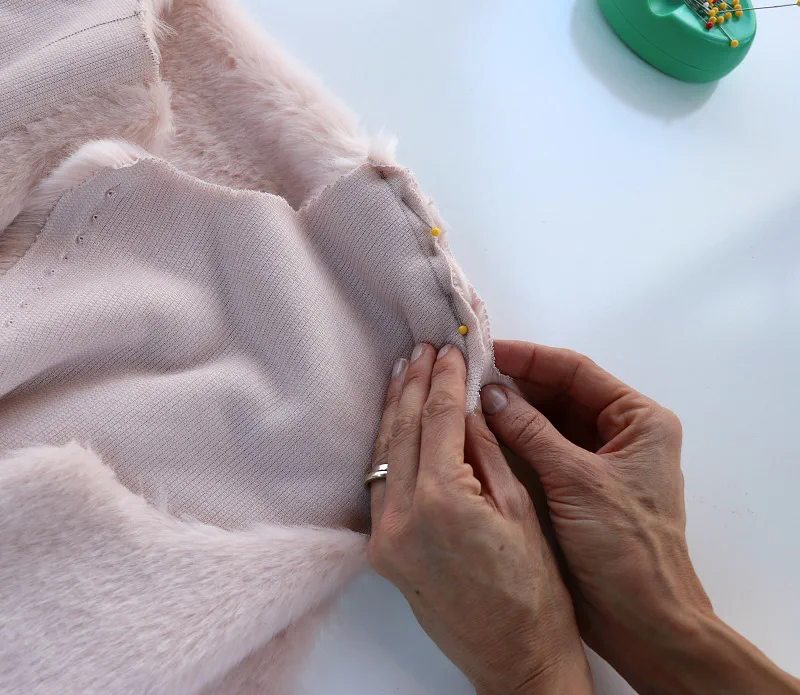
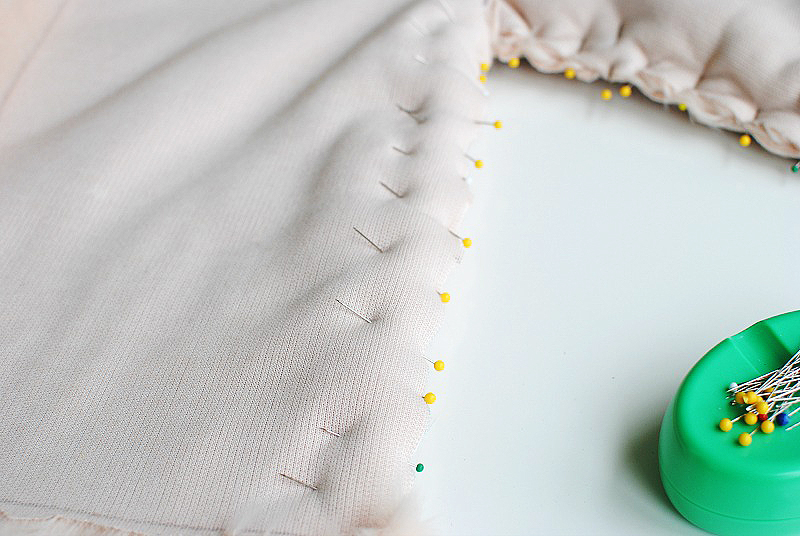
When pinning your fabric together you will want to tuck the fur inside as you pin. This will keep the fur from getting caught in the stitches. You will want to pin generously to keep the fur in place. This also will depend on how short or long the pile is. Mine was about ½" so It was a lot of pinning to keep the fur down.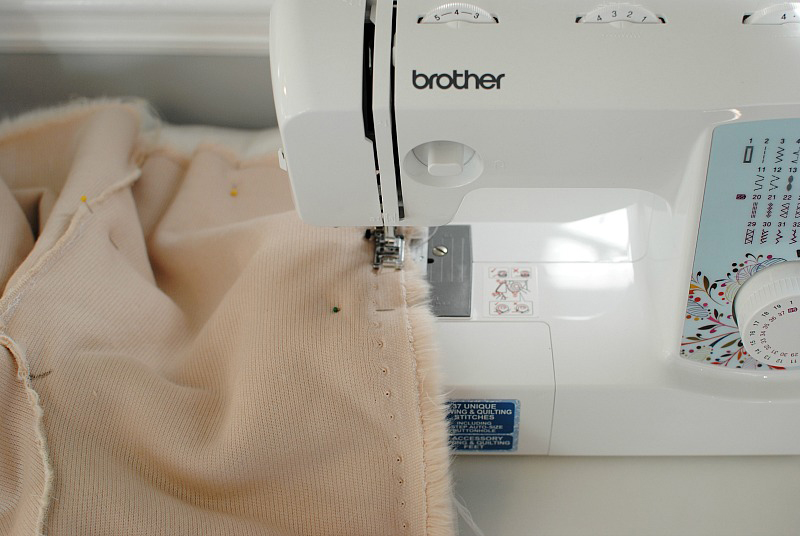 I suggest sewing the seams first. You will want at least a ¼" seam allowance. I also increase my stitch length to a 3.
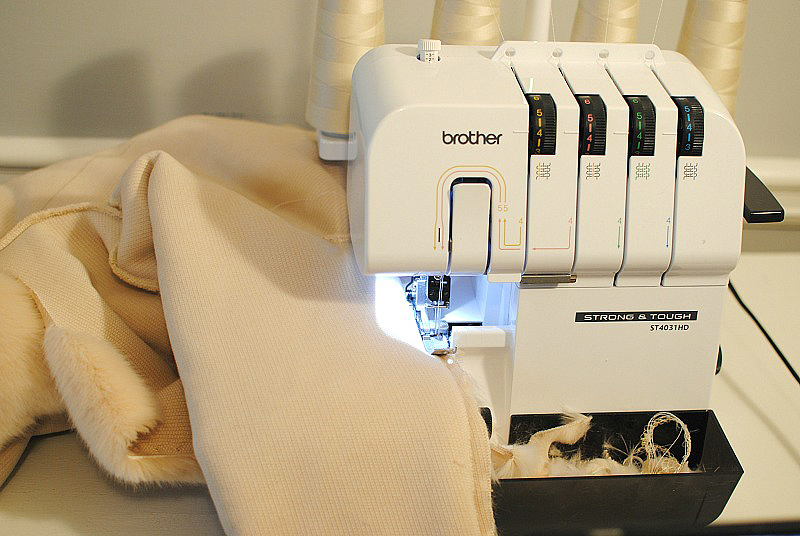
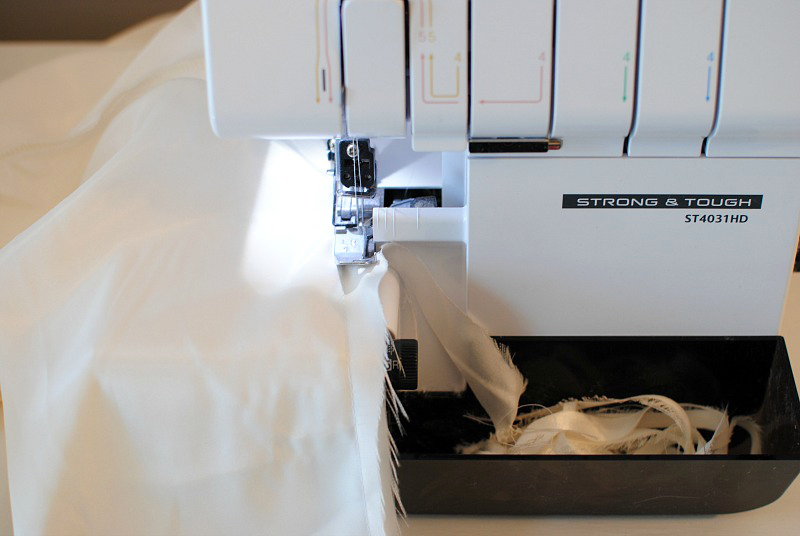
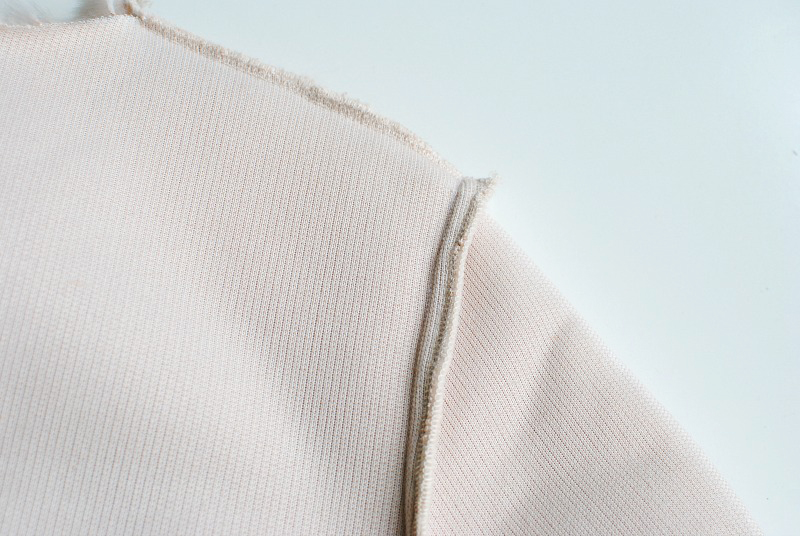 Once the seam is sewn, I then use the Strong & Tough Serger
to trim and clean up the seam allowance, which can look a mess with all the fur poking out. If you don't have a serger try a zig zag stitch instead.
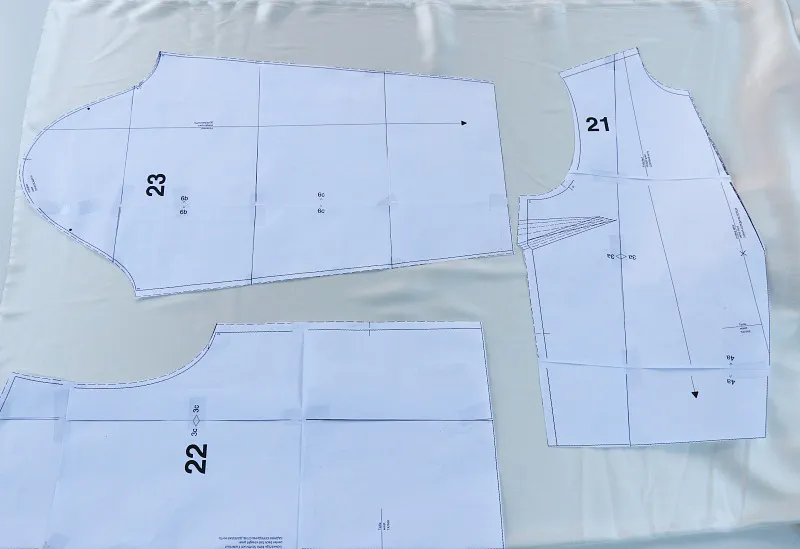
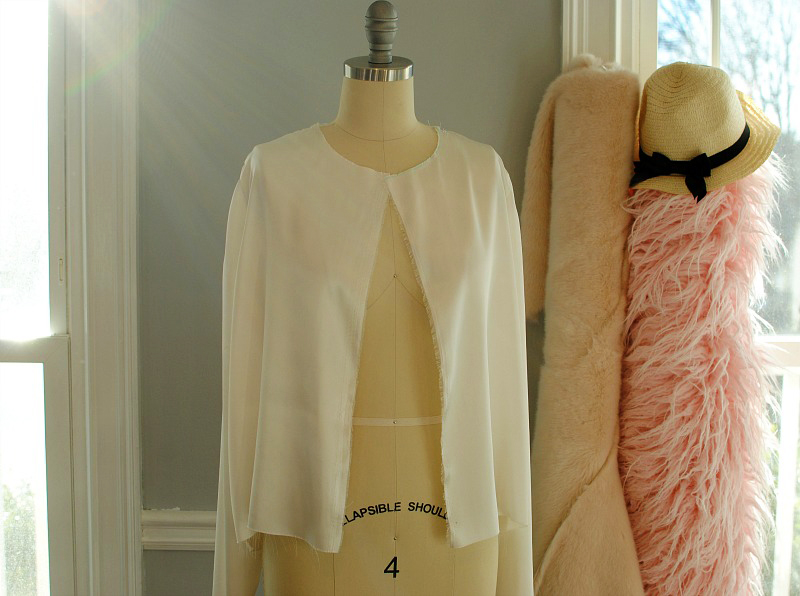
A quick note about the liner: Faux fur backing has a rough texture, and it's hard to finish the edges without seeing stitch marks in the fur. I always suggest adding a liner. You will want to use a lightweight material like satin. Not only will it look nice it will also feel nice against the skin.
These are my go-to tips for sewing with faux fur. Once you get the hang of it you will want to include this in your winter sewing. I will be using these tips for an upcoming project and something I've always wanted: A faux fur jacket, so stay tuned for Part 2.
See more in the video below!
[youtube id="Sb7rsoetWXs"]

