Three Step Mug Mat for Fall
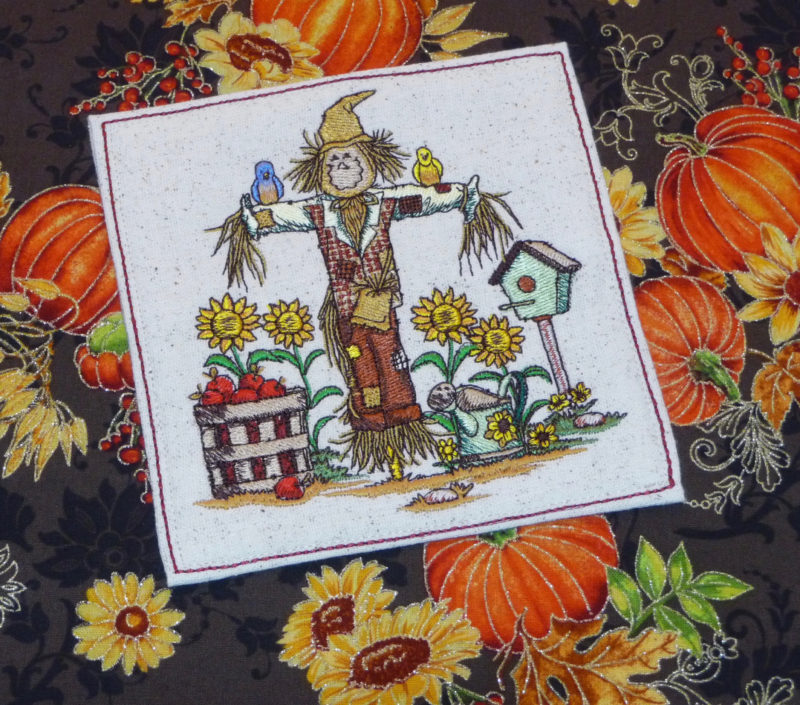
Call it a mug mat or call it a coaster, resting your “cuppa” whatever on this mat will make you smile. Generously sized, it finishes at about six inches square. I chose a delightful scarecrow scene to help celebrate this colorful season. I think this has the potential for the start of a great gift package, don’t you? Add an attractive cup filled with a few goodies, wrap it up and give it to someone you care about as a special ‘thinking-of-you’ gift. And, you can make this in three simple steps. Once the embroidery is finished, this mat goes together super quick with just two stitching steps to finish it off. Are you ready to make one of your own? Let’s go sew!
Materials and Supplies
- Brother Sewing and Embroidery machine.
- SA448,
the 6-inch X 6-inch hoop is featured in this project. Please see list of options at the end of these instructions for smaller hoop sizes and additional options and ideas. - Brother Embroidery Thread and bobbin thread.
- Embroidery needle for embroidering.
- Sharp, curved tip scissors for trimming batting.
- Overcast foot “G”, included with most machines.
- Basic sewing notions including thread to match fabric.
- Rotary cutter, mat, and ruler for evenly trimming fabric.
- One 13-inch square of neutral colored cotton fabric for mug mat.
- One 13-inch square piece of thin cotton batting for padding inside mug mat.
- Embroidery design to fit within a 5 ½-inch square. Featured design is shown below. This design is available for purchase on iBroidery.com,
the Brother embroidery design download site.
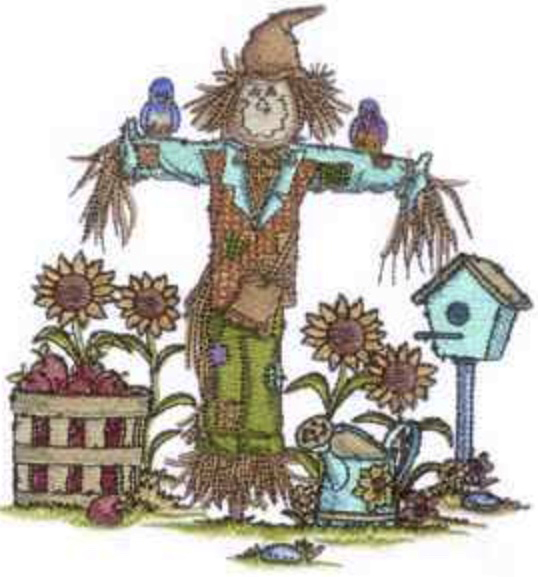 Scarecrow BIC-MTGACL008
- Width: 5.00 inches / Height: 5.30 inches / Stitch Count: 39034 / Color Count: 25
Steps to Create Mug Rug
- Transfer design to the machine and get your thread colors lined up and ready to go.
Tip: When I select an embroidery design, I frequently change embroidery thread colors. I might choose this option because I want to use a specific color palette of threads or I want a brighter or more muted color scheme; I’m trying to match other colors in the decor or color scheme, etc. You can opt to change thread colors using embroidery software before you send the design to the machine, or if you have the ability to see colors on your machine, you can change them using the Edit mode. Below are a few tips for changing colors using Edit mode.
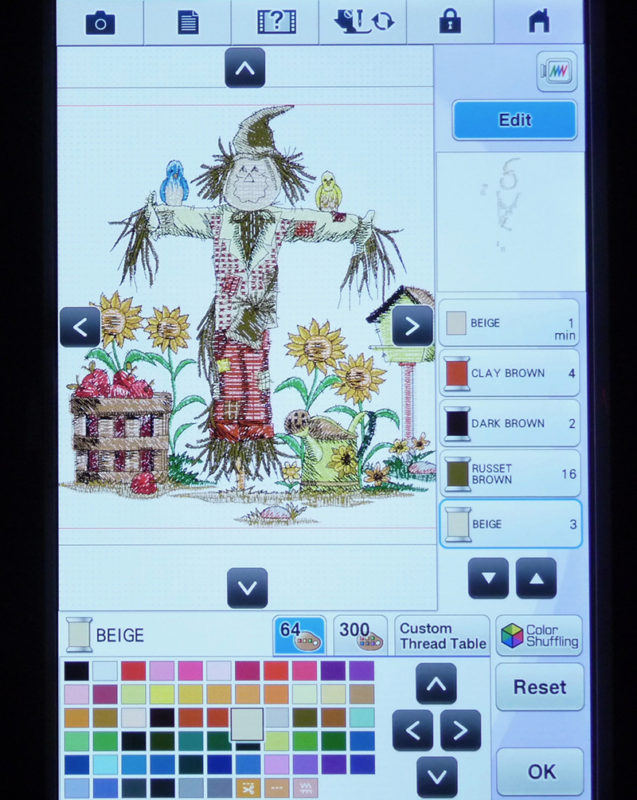
Tip #1: Scroll through colors and note the design elements you wish to change. Once you know where the element is located in the design it’s easy to change to an appropriate color using keys found in the color palette.

Tip #2: If you have a difficult time determining the specific element shown on the screen you can change it to a bold color to make it prominent. Here you can see that the shading on the face was temporarily changed to red. Now that I can clearly see the specific section I’ll go ahead and change to my desired color.
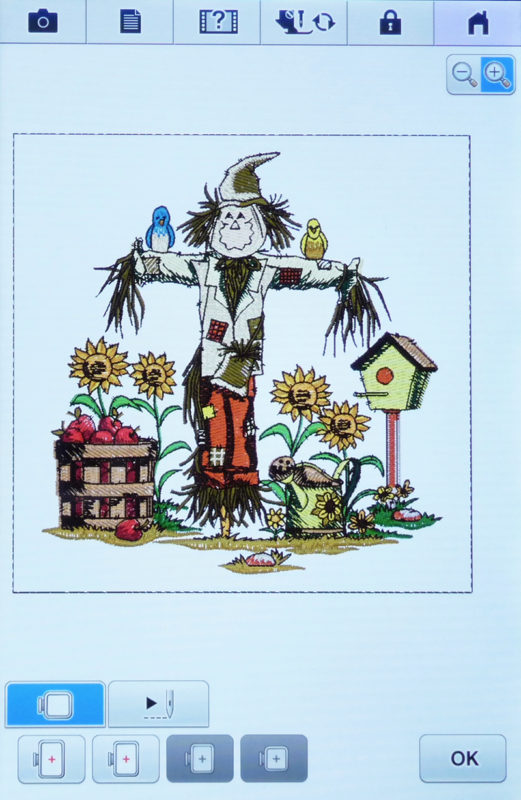
Tip #3: Use the preview function to check the entire design before stitching.
- Once you’re satisfied with your thread colors, add a square frame shape from the built-in menu and select the triple straight stitch option. See Figure #1.
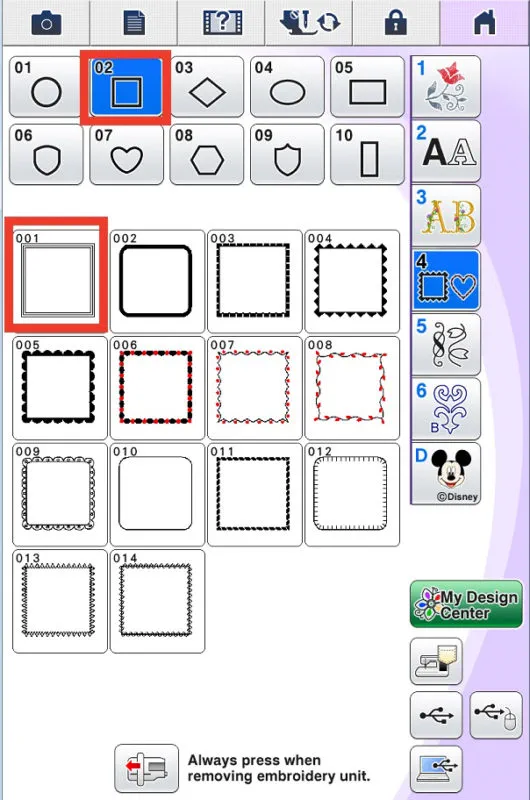 Figure #1[/caption]
- Re-size frame to equal 5 ¾-inches. See Figure #2. Layer fabric with batting and center it in the 6-inch hoop.
 Figure #2[/caption]
- Embroider design. See Figure #3.
Note: In this project the batting served as my stabilizer and the padded filling.
[caption id="attachment_17445" align="aligncenter" width="800"]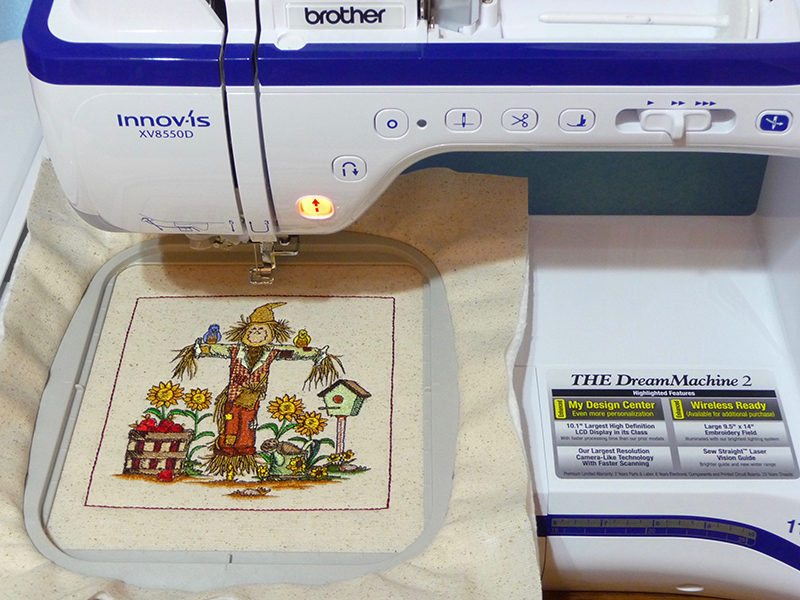 Figure #3[/caption]
- Remove from hoop, press, and then trim so piece measures 12 ½-inches square. Trim batting just outside the frame shape to eliminate bulk. See Figure #4a and #4b.
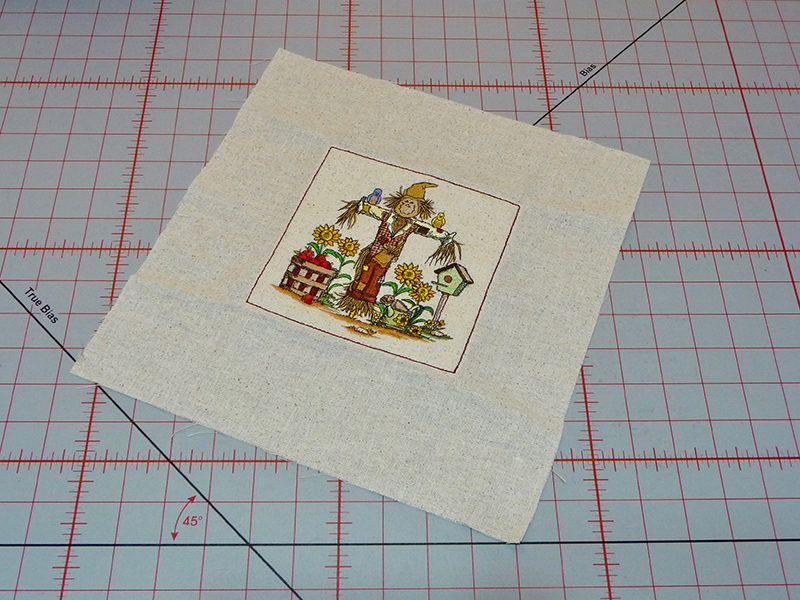 Figure #4a[/caption]
[caption id="attachment_17454" align="aligncenter" width="800"]
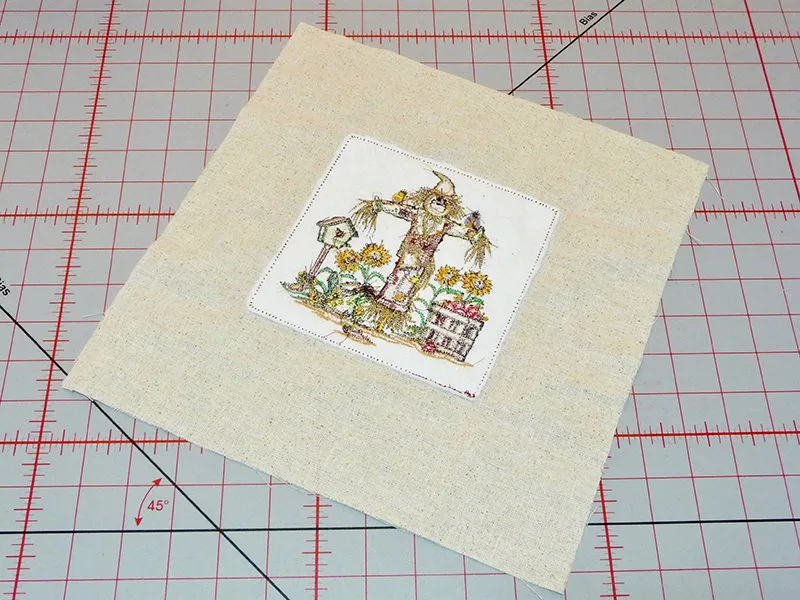 Figure #4b[/caption]
- Set up machine for sewing with the overcast foot and select overcast stitch shown in Figure #5.
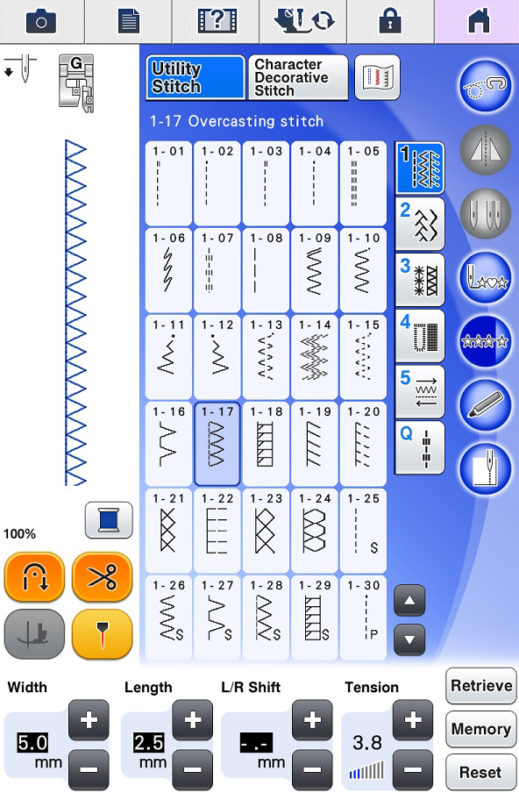 Figure #5[/caption]
- Fold piece with right sides together and top and bottom edges matching. Pin layers together. See Figure #6.
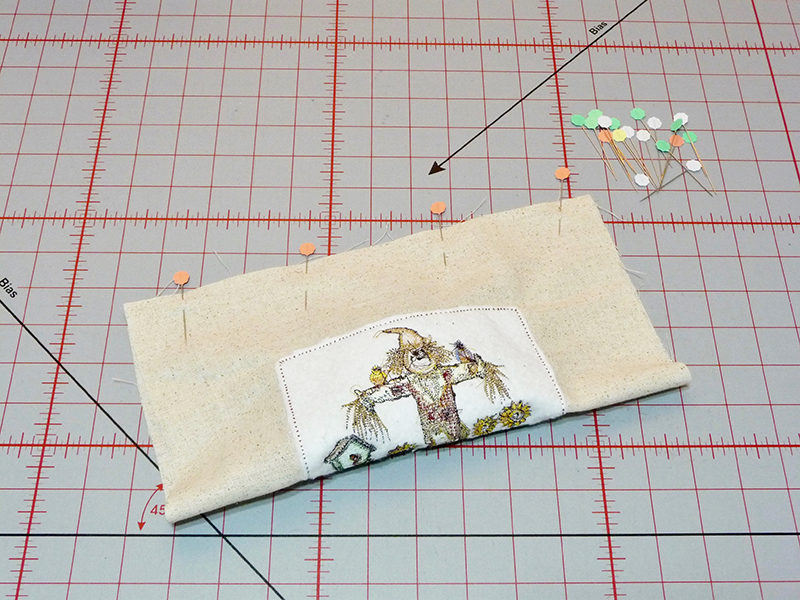 Figure #6[/caption]
- Sew a small seam using default settings for overcasting stitch. See Figure #7a, #7b, and #7c.
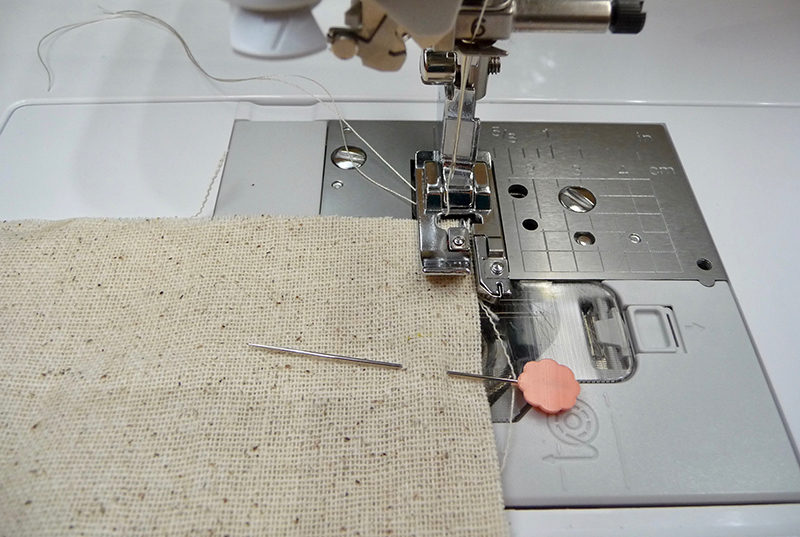 Figure #7a[/caption]
[caption id="attachment_17457" align="aligncenter" width="800"]
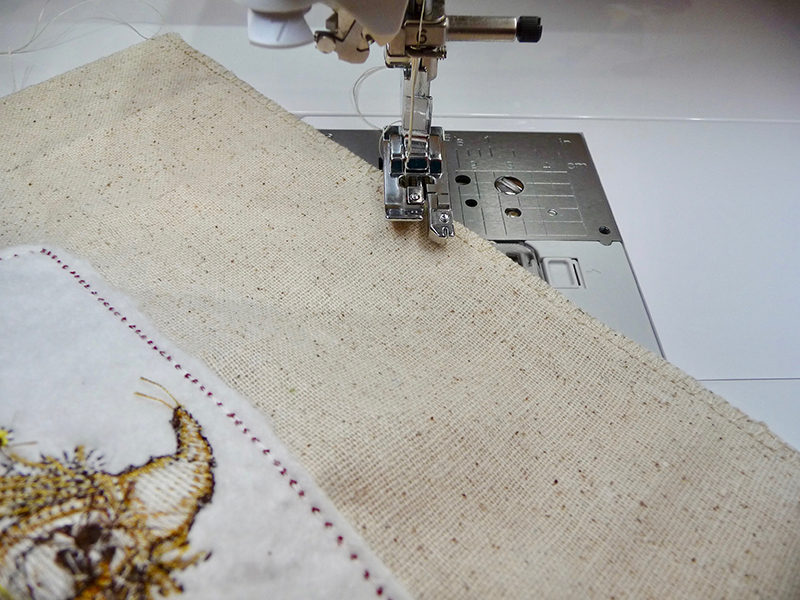 Figure #7b[/caption]
[caption id="attachment_17458" align="aligncenter" width="800"]
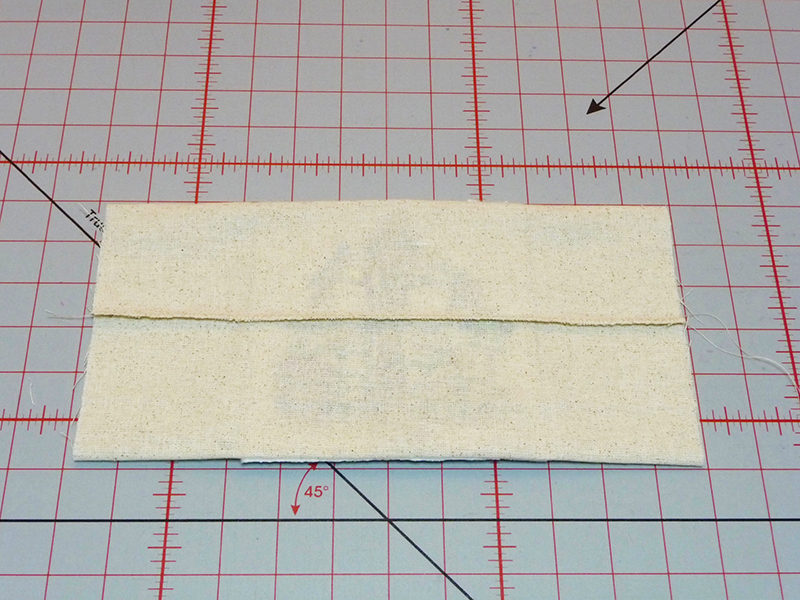 Figure #7c[/caption]
- Press seam flat. Note that seam is in the center of the back. Trim side edges just outside square frame, leaving a ½-inch seam allowance. See Figure #8a, and #8b.
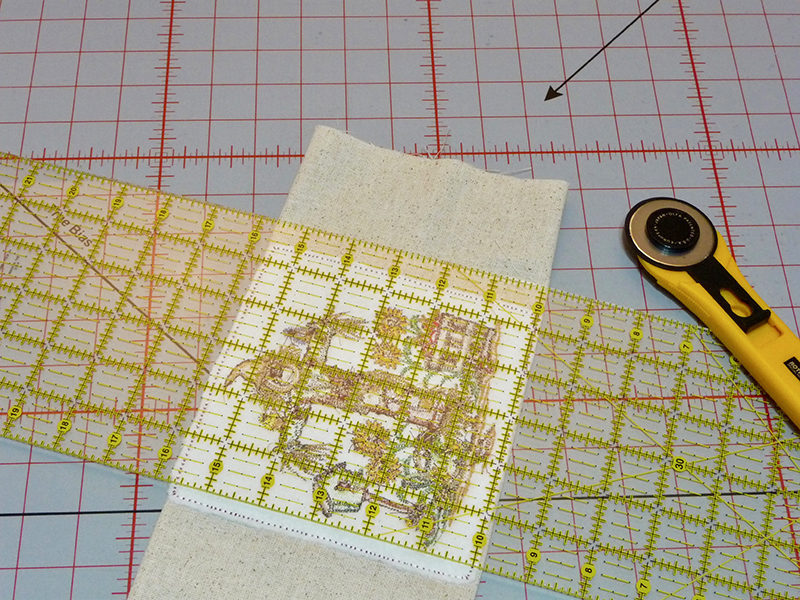 Figure #8a[/caption]
[caption id="attachment_17460" align="aligncenter" width="800"]
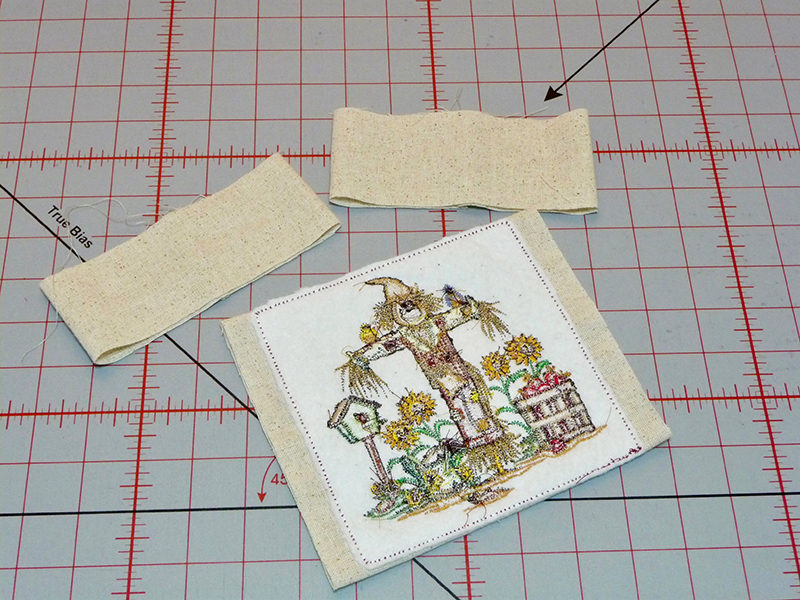 Figure #8b[/caption]
- Turn piece right side out. Turn the ½-inch seam allowance to the inside. Press and then pin folded edges so they match. See Figure #9.
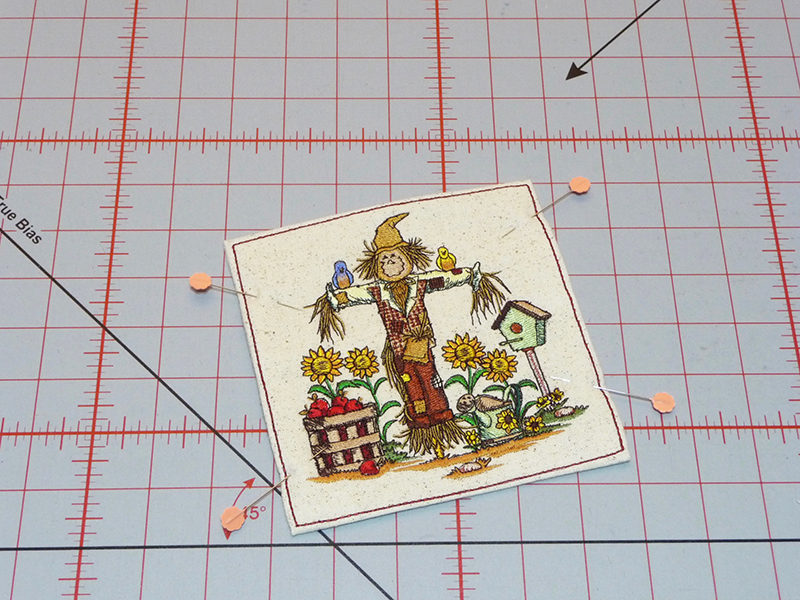 Figure #9[/caption]
- Place the standard sewing foot on the machine and sew just inside the square frame, closing side edges in the process. See Figure #10.
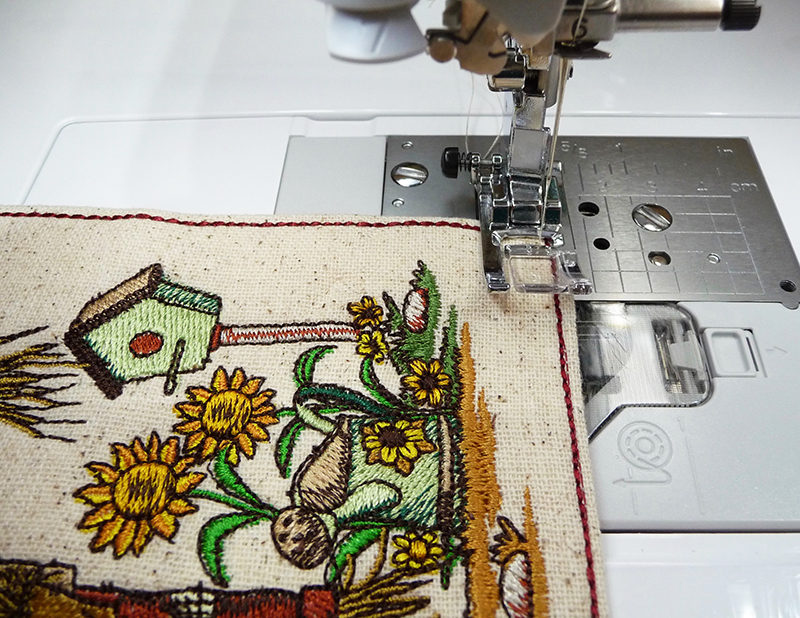 Figure #10[/caption]
Give the piece a good pressing. You are finished! See closeup of finished mug mat below. Enjoy!
Options and Ideas:
- If you have a smaller hoop size, you can choose an alternative design to fit your hoop and then use a marker to draw the 5 ¾-inch box around the design. Stitch the box using the triple straight stitch on your machine and complete the piece following steps 5 through 10.
- Add an extra layer of batting or insulating filler, cutting the piece slightly smaller than the square. Insert before top-stitching the square and be sure to catch the batting in your stitching.
- Make a larger version of this to use for a pot holder or trivet.

