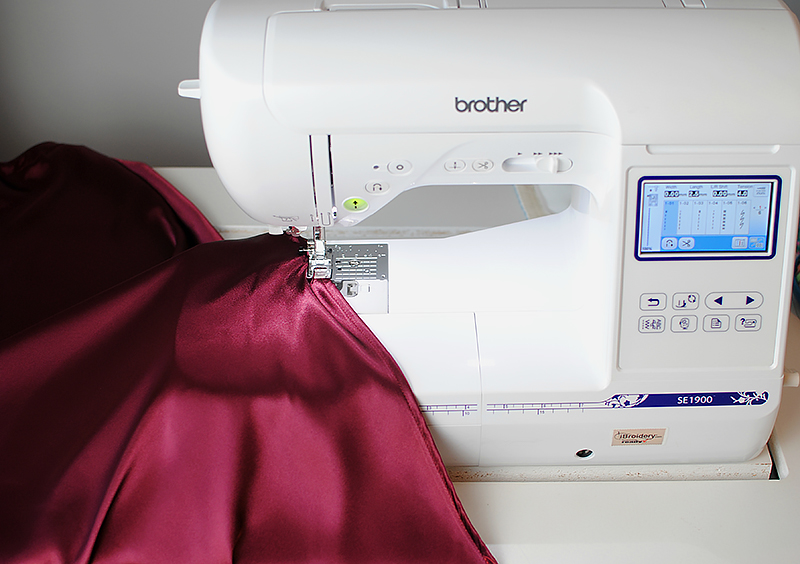
Tips for Sewing with Satin
Satin is a lovely fabric that I use to shy away from, but after lots of practice, I’m finally getting the hang of this lux material.
It’s a holiday favorite that you can use for everything from evening dresses, tops, and skirts, to pillow cases and accessories.
Despite its versatility, this fabric can be tricky to use because of its lightweight and slippery texture.
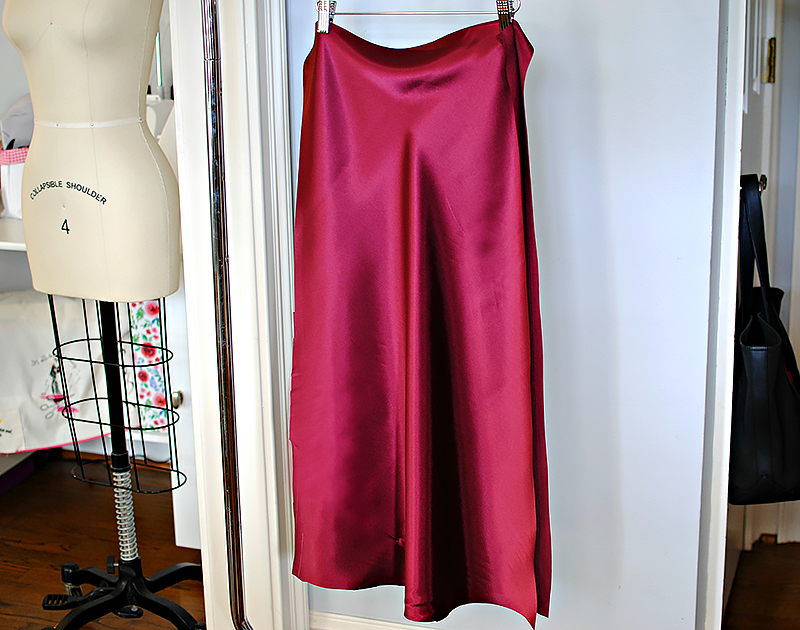
I compiled some of my go-to tips for sewing satin that I’ve learned, and shared a bias cut skirt along the way.
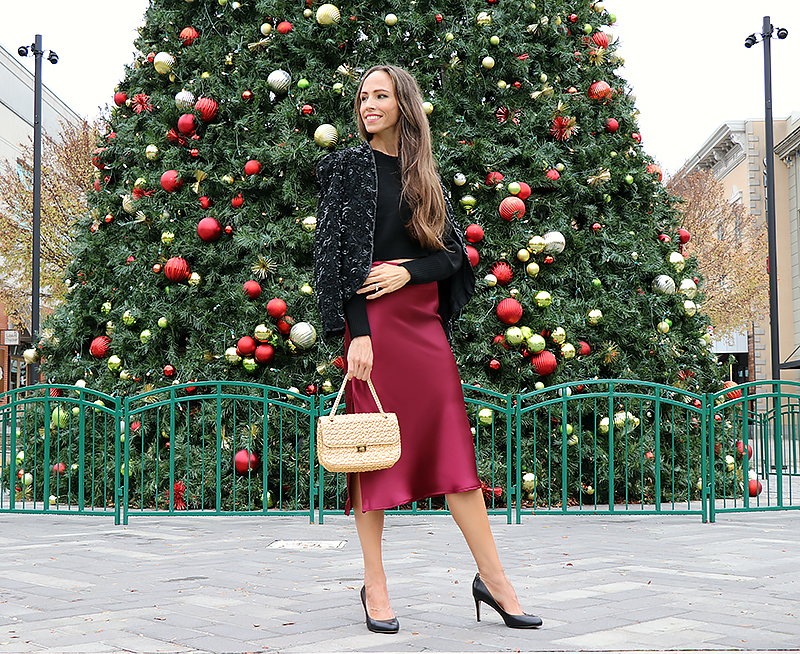
The bias cut skirt offers a classic silhouette that can go with all types of looks and occasions.
You can even dress it down with a sweater, or add a blouse for an elegant evening look.
What you’ll need when sewing with satin
When working on a satin project, certain sewing accessories in your kit will work better than others.
Here are some of the supplies you should have on hand.
- Pattern weights: Hold your pattern in place without making holes
- Rotary cutter: For cleaner, fray-free edges
- Tailor’s chalk: For visible markings
- Sewing clips: For holding satin pieces together without making holes
- Universal needles: Check for a fresh, sharp point, and swap needles if they start to dull
- Tear-away stabilizer: For protecting your fabric from the feed dogs
- Walking foot: Ideal for when satin is too slippery
- Iron or steamer with filtered water: Avoid staining with the cleanest water possible
How to choose the right fabric and pattern
Let’s start with the satin fabric. Choose a high-quality satin that drapes well but isn’t see through.
My standard pick is Shannon Fabrics*. They have a great selection of silky satins and all the colors you could want. For this skirt I used Burgundy 232.
Because of its light weight, you may want to create an underlining or slip to go with the garment you create.
Find a pattern that is appropriate for sewing with satin (think flowy dresses, skirts, etc).
You don’t want a pattern that has a lot of details if you’re new to sewing with satin, like pockets or complicated seams.
When it comes to satin, simplicity is best.
A simple bias cut midi skirt, circle skirt, or this Kate Skirt pattern from fellow Brother Ambassador Angela Wolf will show off your satin fabric to full effect.
While satin isn’t the most delicate fabric, it is one of the most slippery and can be unforgiving.
If you’re not used to working with satin, you should keep your pattern pieces simpler and more straightforward.
Work slowly to avoid having to rip seams or redo stitching. Satin shows needle marks and pin holes easily, so it’s always best to avoid making mistakes.
* Shannon Fabrics is a third-party brand and Brother International Corporation makes no representations or warranties regarding such products.
Press the satin properly

When pressing, avoid using steam when possible as satin is easily stained with water.
Water stains on satin can be very difficult to remove, because it’s not actually the water that does the staining, but the minerals in the water.
When you need to iron satin, use a steam-free setting. If you absolutely have to steam satin to remove wrinkles and creases, use filtered water.
This will reduce the amount of minerals, which can help prevent staining. Keep the steamer a good distance from the fabric, and always avoid working on the right side of the fabric.
I’ll never forget hemming a friend’s bridesmaid dress and steaming a huge stain in the center front.
I panicked, as you can imagine.
Luckily I was able to get it out, but for a moment there I thought I was in trouble!
I suggest pressing on the wrong side of the fabric and using a press cloth.
You will need to adjust your heat so it doesn’t glaze the fabric.
Then hang fabric pieces so you don’t have to constantly press.
Also, when creating a bias cut skirt, they typically recommend 24 hours of hanging prior to hemming to let “gravity shape the garment.”
How lay out and cut the pattern
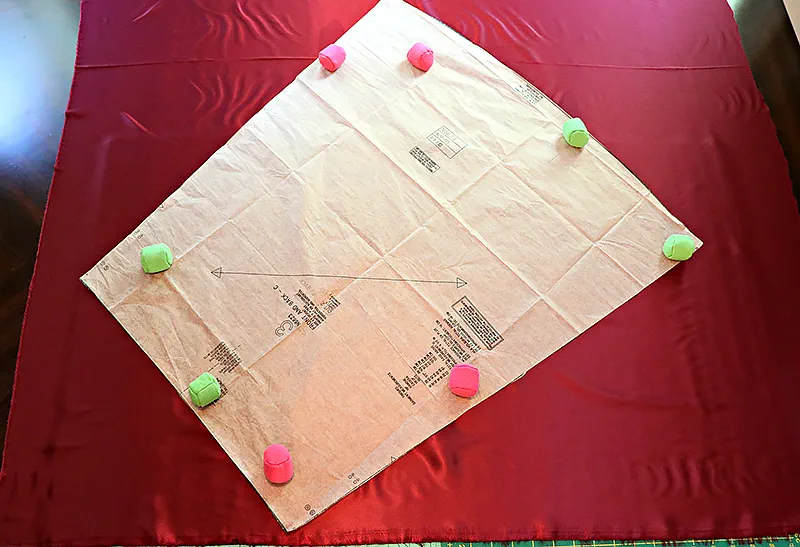
I typically lay out the pattern on the bias with satin fabric.
This not only will drape beautifully, but it will also help with reducing fraying along the edges.
Before you start cutting, align all the fabric pieces in the same direction so there aren’t any noticeable color or sheen variations in your finished product.
Cut one layer of fabric at a time to avoid slippage.
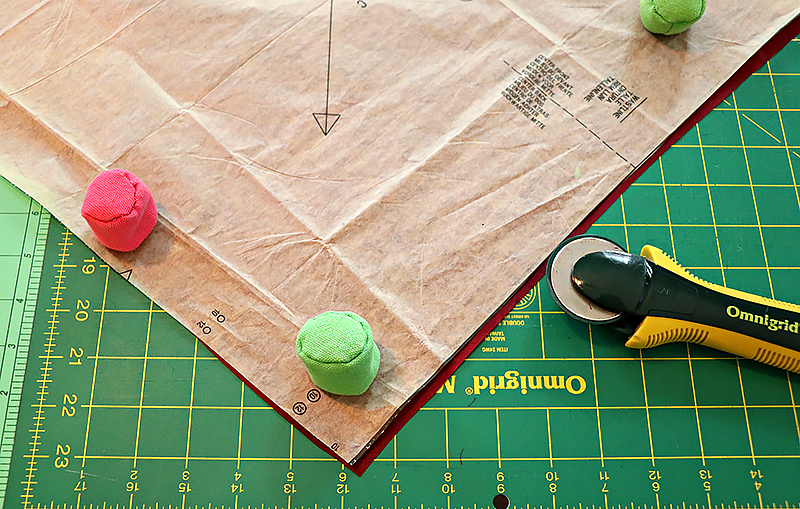
For cutting, I use rotary cutters and pattern weights. Fully support your fabric by the table instead of draping it over the edge.
Pins can poke holes in the satin. If I must use pins, I place them in the seam allowance.
The sharper the blade (scissors or rotary cutters), the better to prevent fraying.
With satin, chiffon, rayon, or any type of fabric that’s easily damaged, take your time when cutting out sewing patterns.
Rotary cutters are helpful because they give you a cleaner edge without causing the fabric to stretch or snag.
Even if you’re an experienced sewer, consider using a slightly larger seam allowance than you’d normally use for cotton fabrics.
If your satin frays, you’ll be glad to have the extra room to work.
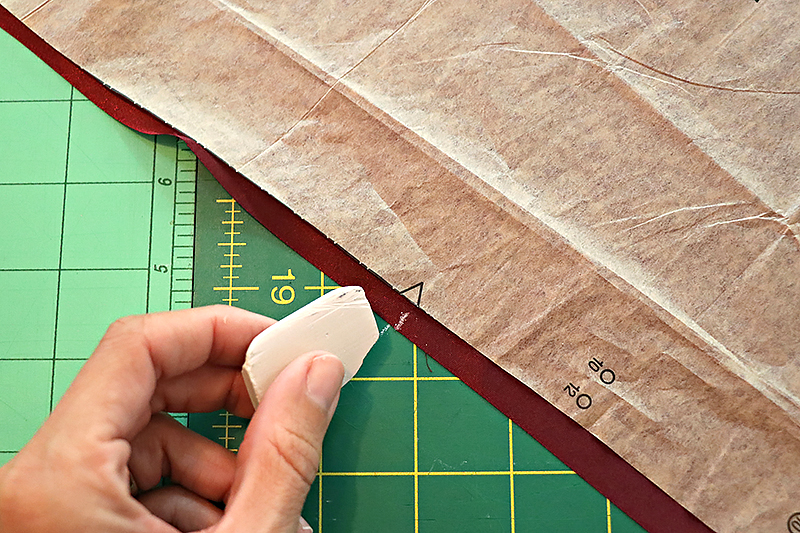
Use tailors chalk or an air-soluble marking pen for pattern markings.
Sewing and constructing
Raw ends do fray with satin.
At the same time, you don’t want a bulky seam allowance because it will show through the fabric.
I like to cut the pattern out and serge along the seam allowance.
Make sure to do a test piece first to get the tension dials correct. Try to select a medium-to long-stitch length to help prevent potential puckering issues.
You want the edges nice and flat. If you don’t have a serger, you can try a zig-zag stitch, overlock stitch, or cut the edges with pinking shears.
Needle knowledge you need to know
When sewing, use quality thread and an appropriate needle (I typically use a universal needle).
If you’re not sure how your satin fabric will respond to the type of sewing machine needle you’ve selected, you can practice a few straight stitches on a scrap piece first.
You’re better off using a thinner needle.
On larger projects you may even want to replace your needle a couple of times.
When you use a sharper needle, you’re less likely to snag your fabric. Check for sharpness but also inspect your needle for barbs.
Selecting a lighter weight thread will help you avoid puckers in the fabric or bulky seams, but choose one that's too light, and your thread may break.
If it does, you’ll have to rip out your seams and start over, which means leaving holes in your fabric. Stick to thin, yet durable, polyester thread or silk thread.
Attaching is necessary
Satin is slippery so you will need to attach the pieces together when sewing.
If you pin the pieces, do it in the seam allowance.
When it comes to pins, you get what you pay for.
Old, inexpensive, or off-brand pins often have blunted tips, or are thicker and less precise.
Protect your satin by investing in high-quality, ultra-sharp, very fine dressmaking pins.
Can I clip pieces together?
Another option is to clip the pieces together, which is the method I used.
Sewing clips won’t pierce or damage the fabric, but you should still clip within the seam allowance to prevent creases.
Remove each clip while it’s still an inch or so away from the presser foot.
If you wait too long to remove your clips, you can cause snags or get a wobbly line of stitches.
Hemming and finishing your piece!
Satin can be a pain to hem.
It helps to be patient with this part, especially if you did a circle skirt.
Because you're most likely going to have a curved hem, here is what works for me.

Begin the process by topstitching ¼” away from the raw edge.
This keeps the hem even and makes the hem easier to fold and press.


On the wrong side, press just along the stitching.
Once pressed, turn another ¼” over and press.

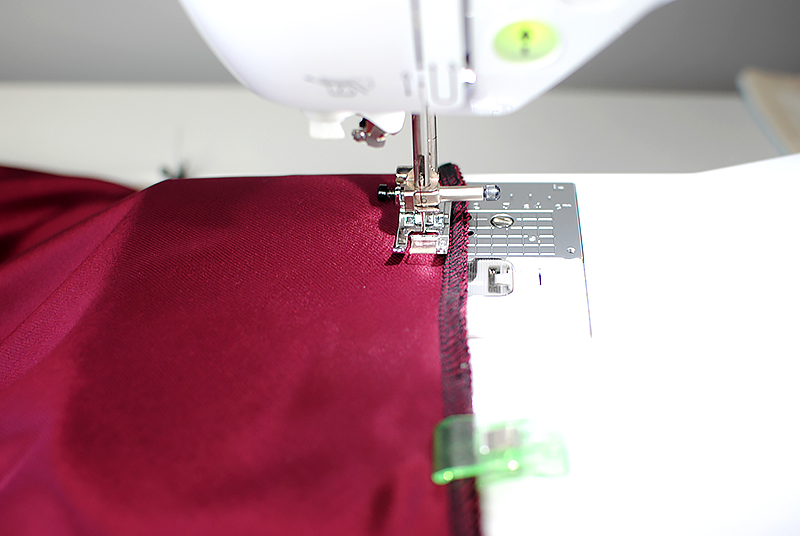
Topstitch just along the fold on the wrong side of the fabric.
Because you’re sewing the folded or rolled hem with the right side of the fabric facing down, you may want to sew with a piece of tear-away stabilizer under your project.
The stabilizer will protect the right side of the satin from your feed dogs and also prevent slipping as you work.
Finding success with satin
If you still find that you’re having trouble with your satin slipping as you sew, you can try using a walking foot to help grip the fabric and prevent slipping or puckering.
If you don’t have a walking foot, hold the fabric tightly both behind and in front of the presser foot.
Keeping the right amount of tension between your hands will keep your seams on track and prevent too much slipping.
I hope this helps in your next sewing project with satin!
I have a couple on my list, including machine embroidery on a satin scarf and pillow cases to try next.

Tags
Shop this Project
No sewing machine? No problem. We’ve got a range of easy-to-use, feature-rich machines so you can creat this project – and many more!

Sewing Machines
Related Projects
Stay Connected
* Required fields