Tutorial: Machine Binding a Quilt
~Written by Brother Sews Blogger
I do all of the binding for my quilts completely by machine, instead of finishing it by hand. Traditionally, binding is sewn by machine to the front of a quilt, turned around to the back and hand sewn. The technique that I’ve developed is a bit different than binding is traditionally done, because I sew the binding on the back of the quilt, flip it around to the front, and then top stitch it down to finish it. The result is a clean finished edge that is more secure than it would be if I had sewn it by hand, and it takes much less time as well. Here’s how I do it.
Materials:
- Brother PQ1500SLPRW
, with quarter inch foot and pin feed foot - Quilted quilt
- Fabric to make binding
- Rotary cutter
- Straight edge
- Cutting mat
- Coordinating thread
- Pins
- Hand sewing needle
- Pencil
- Chalk marker
- Iron
- Ironing board
- Optional: Brother Lock 1034D Serger

Square up your quilt and remove any excess fabric or batting with a rotary cutter and straight edge if necessary.
 Cut strips of fabric to create binding. I use strips that are 2 ½” wide.

Prepare to sew the strips of fabric together to create a continuous length of binding. Place one strip over another, right sides together, and overlapping perpendicular to each other.

Use a straight edge and a pencil to lightly draw a line between the points where the bottom strip meets the top strip.

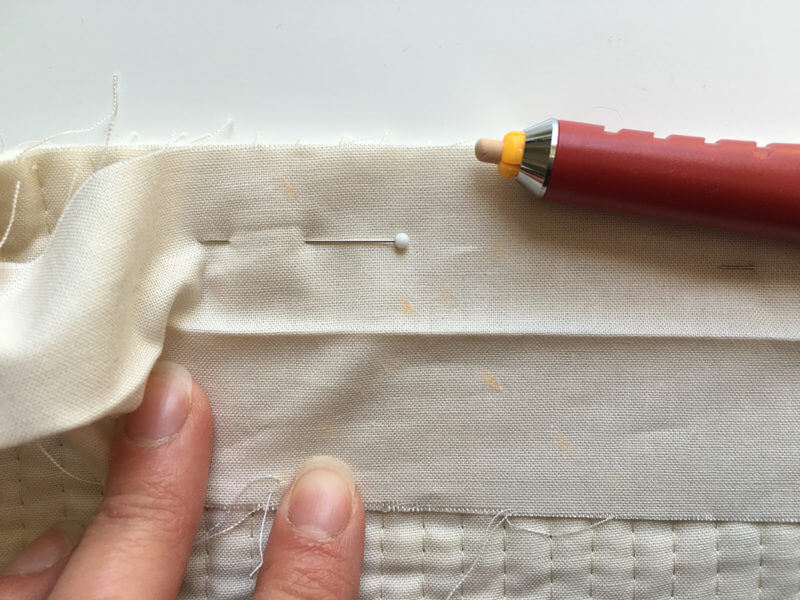
Pin the two strips in place.

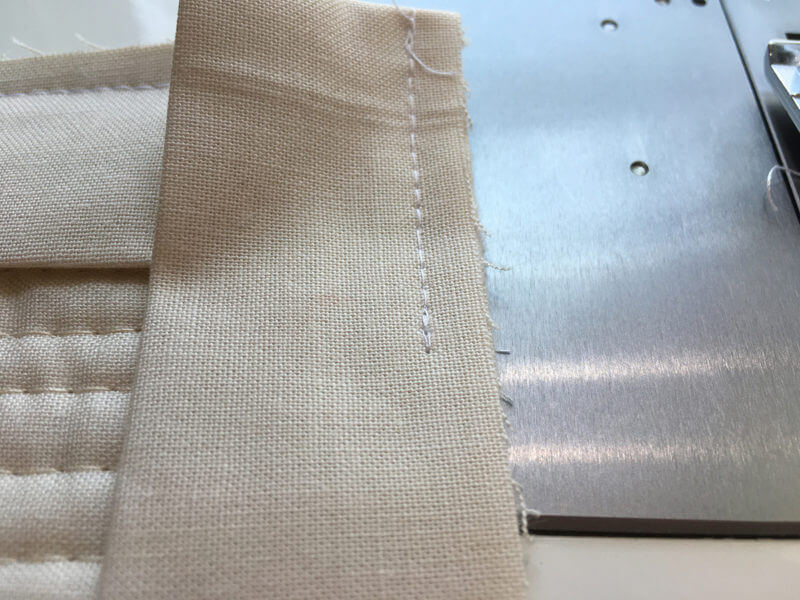
Sew the strips together, stitching directly on the pencil line, and backstitch at the beginning and end of the seam to lock the stitches.

Remove the strips from the sewing machine and remove the excess fabric with scissors, leaving a ¼” seam allowance.

Press that seam open with a hot iron.

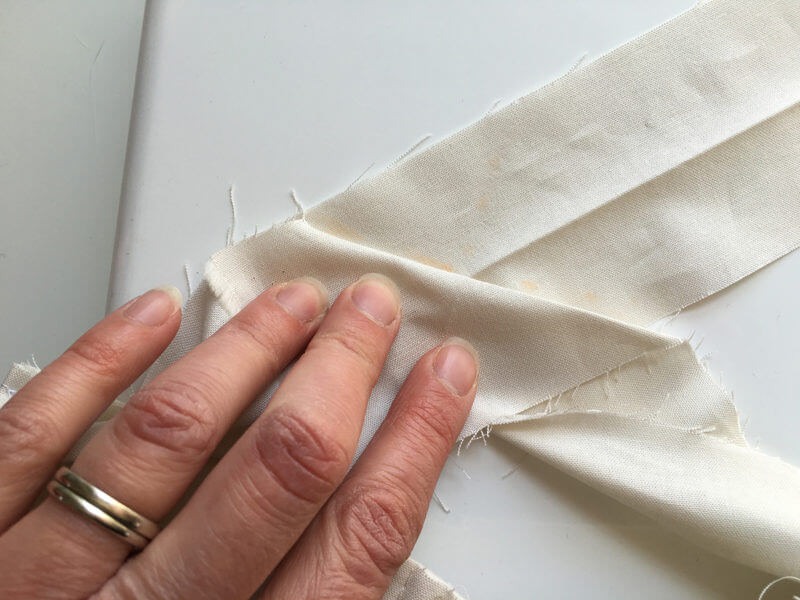
After all of the strips are sewn together, make a 45 degree fold in the strip by bringing the wrong sides of the fabric together to form a diagonal crease, about 1 ½” from the top of the binding.

Press the fold with a hot iron.

Fold the binding in half along its length, lining up the raw edges of the fabric, and press with a hot iron.

Once all of the binding has been pressed, I like to gather it up and fold it over itself into a neat bundle that I can place next to my machine as I’m sewing it to the quilt.
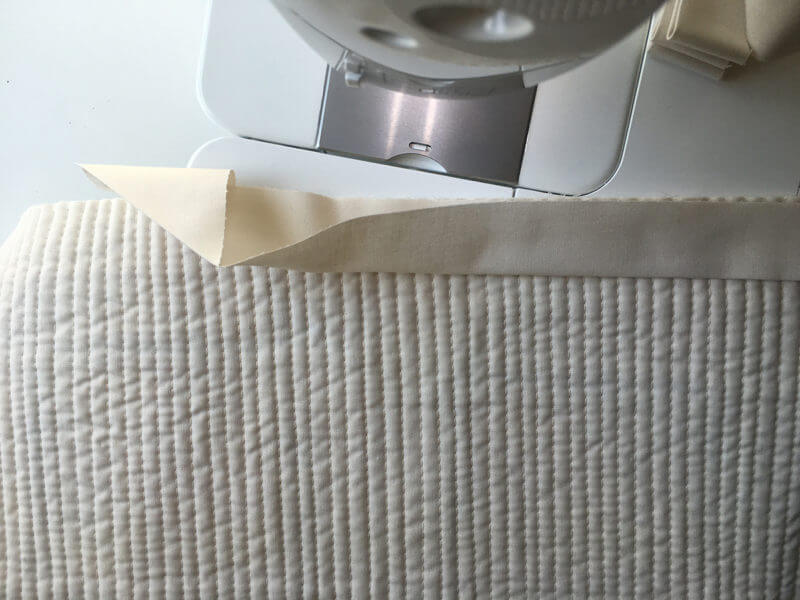
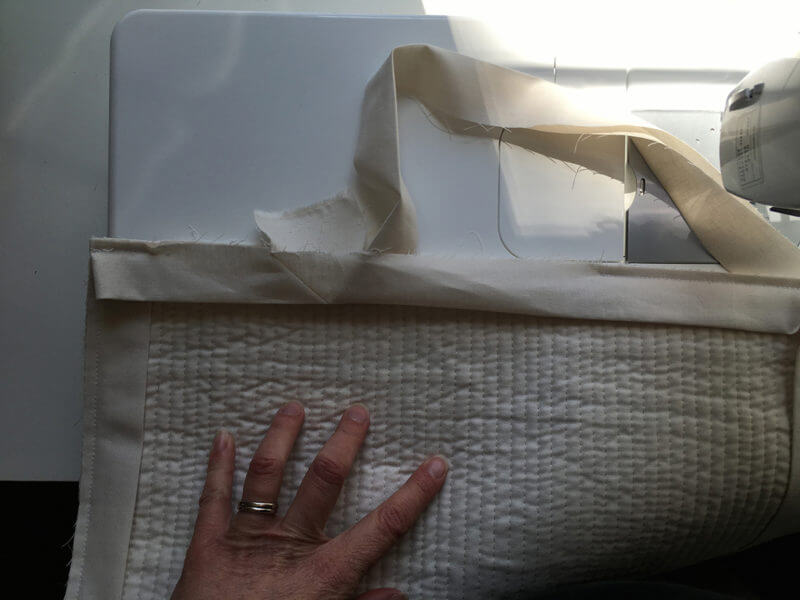
Place the binding along the back of the quilt. Start in the middle of one side, line up the raw edges of the binding with the raw edges of the quilt, leaving the top of the binding with the 45 degree fold and a few inches below it free.
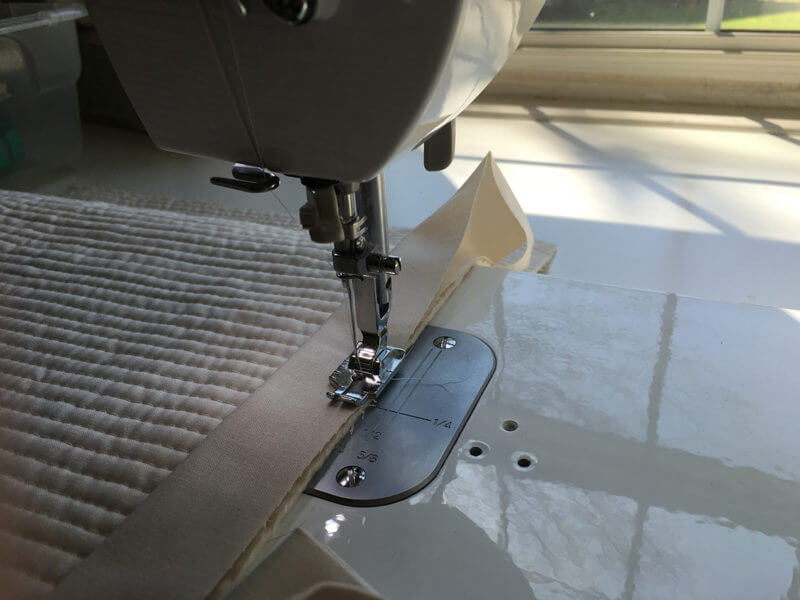
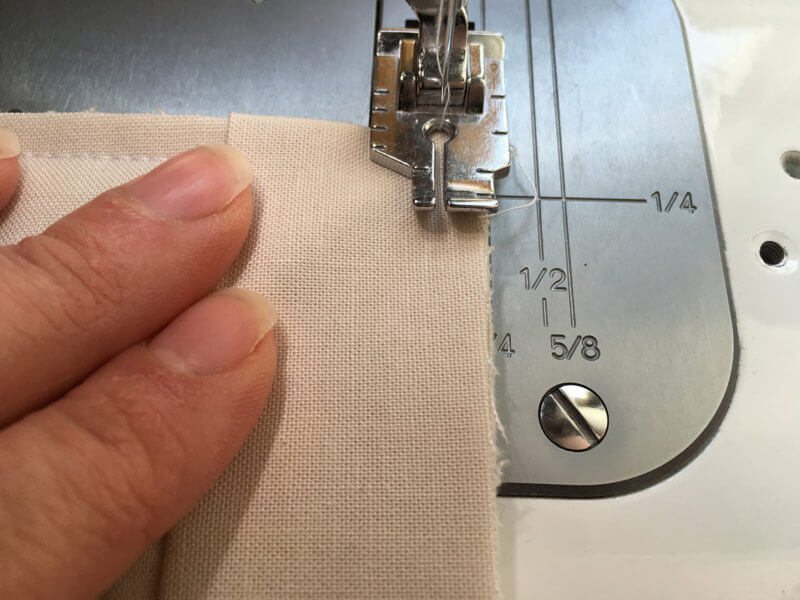
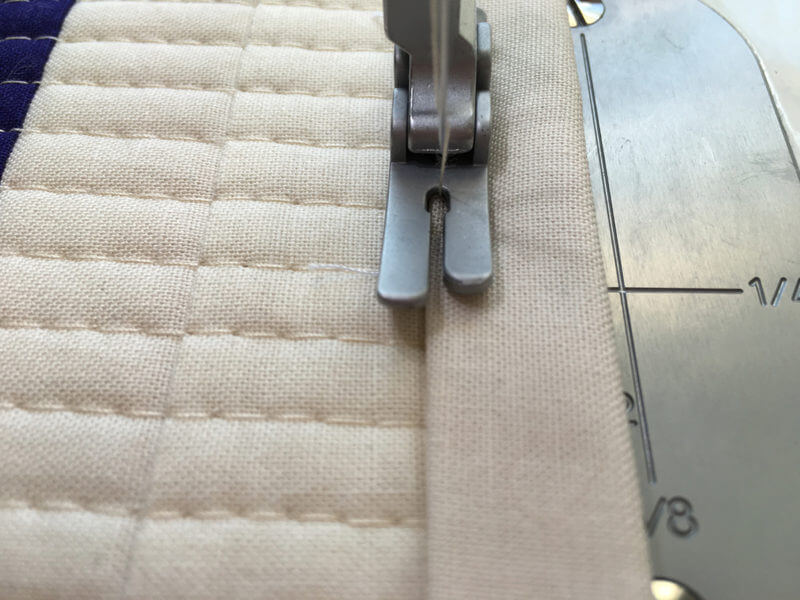
Using a ¼” seam allowance, begin to sew the binding to the quilt. Backstitch a few stitches to lock the seam.
Continue to sew along the edge of the quilt until you are about a ¼” away from the bottom. At that point, stop sewing and leave the needle down. Then backstitch to lock the seam, snip the threads and remove the quilt from the machine.
Rotate the quilt so that the edge that you just sewed is on the top.
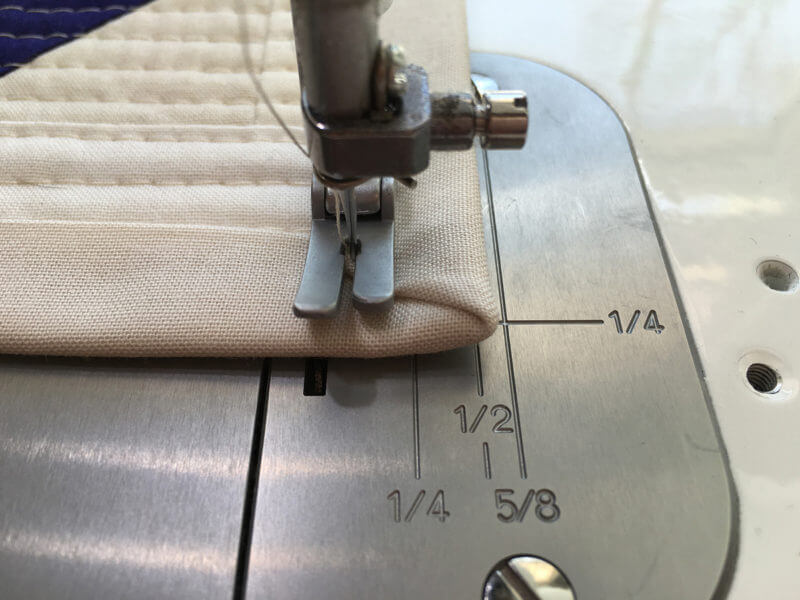
Fold the binding up toward the top, creating a 45 degree fold, perpendicularly on top of itself. Run your fingernail over the fold to create a crease.
Then bring the binding back down on itself along the edge of the next side of the quilt to create a mitered corner. Hold in place with your fingers or a pin if you prefer.
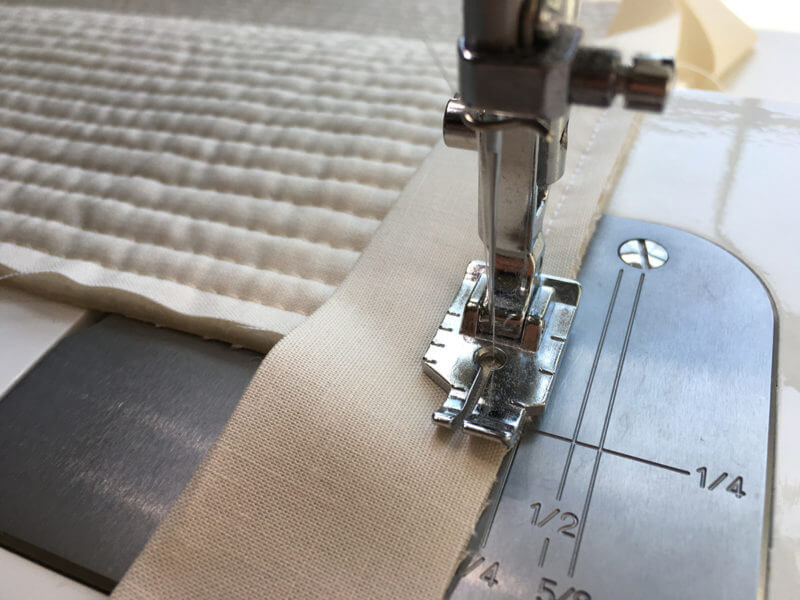
Bring the quilt back to the sewing machine and begin to sew the binding to the next side, starting at the top, and backstitching a few stitches to lock the seam.
Continue to sew the binding to the quilt, treating each of the four corners as we have above.
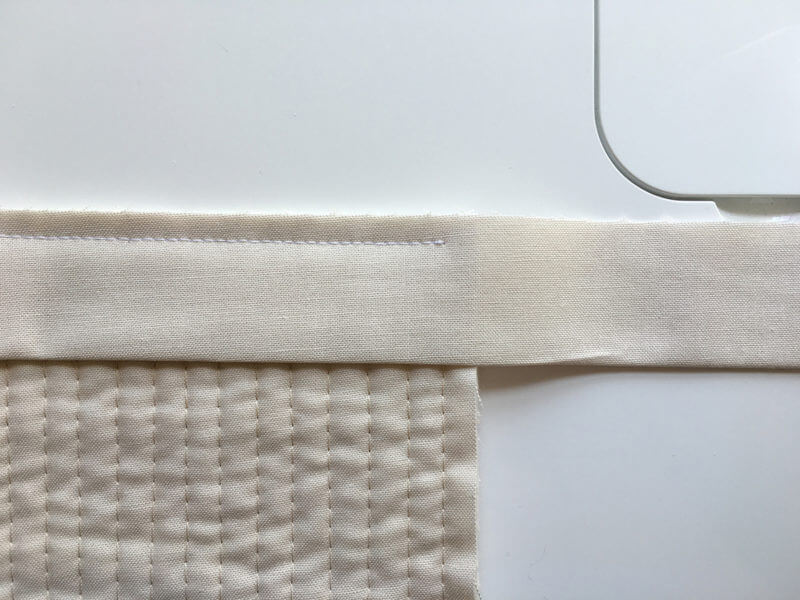
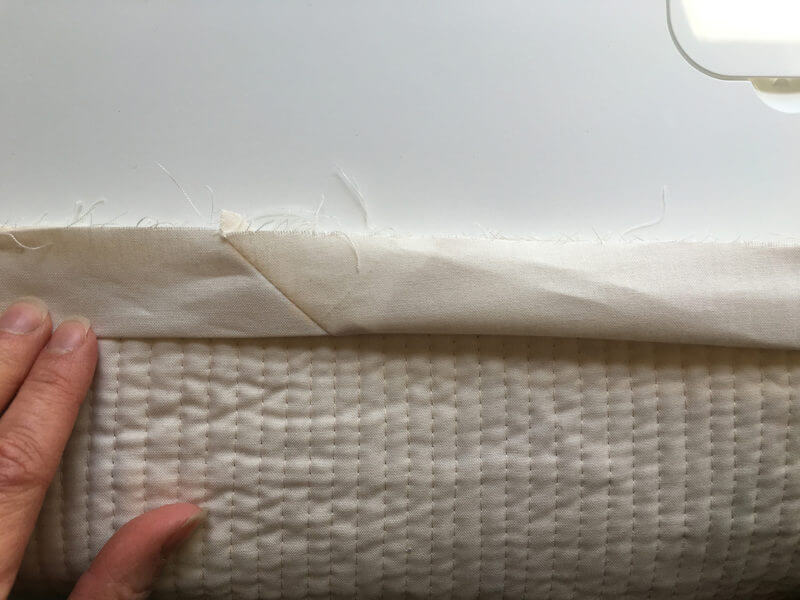
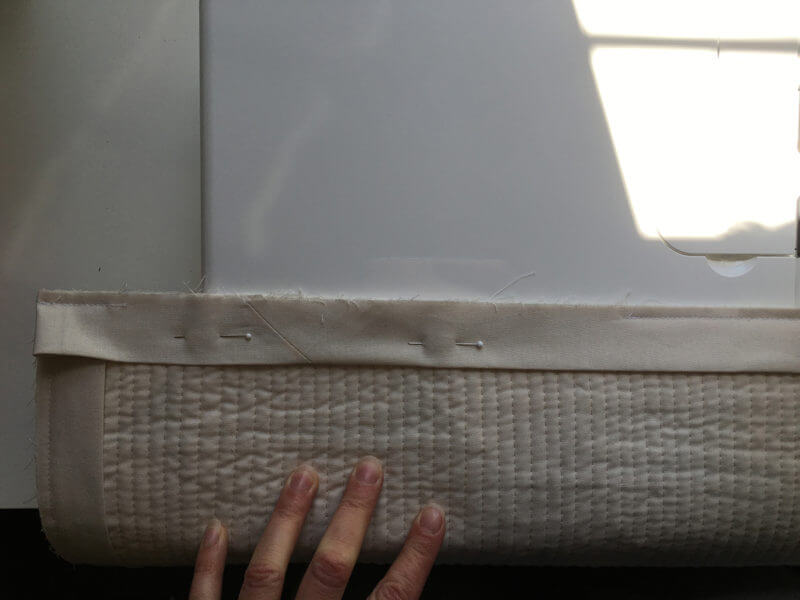
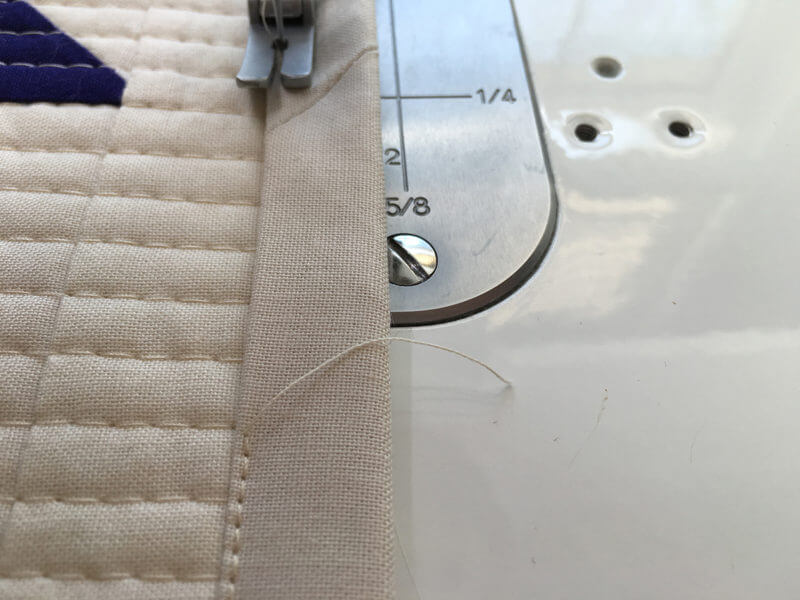
When you get back to the side of the quilt that you started on, stop sewing about 12 inches from where you started to attach the binding. Backstitch to lock the seam and remove the quilt from the sewing machine.
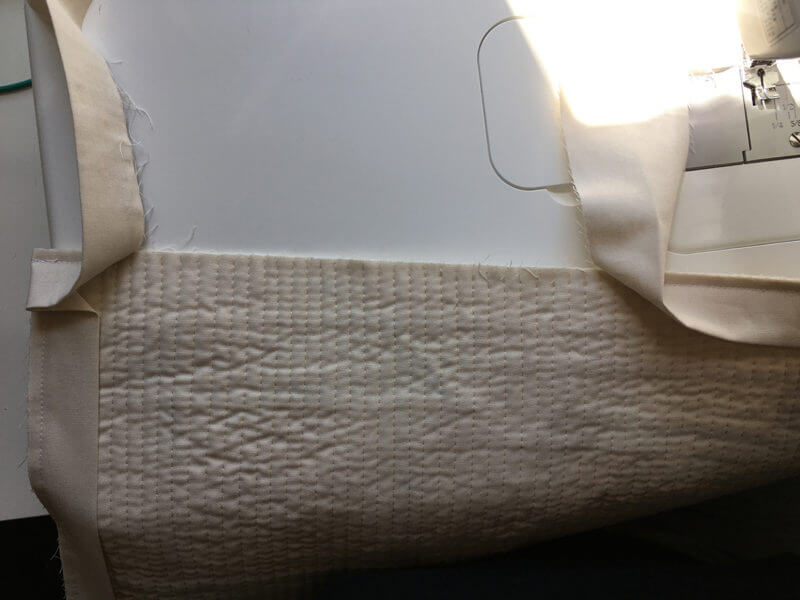
Here you can see how much binding is left unsewn.
Open the unsewn section of binding on the left hand side and place it so that the binding lays right side up along the edge of the quilt. Keep the binding taught and pin it in place.
You might notice that when the binding is pinned in place, that it will want to bring up the corner and edge the quilt. This is fine as the edge will lay down once the binding is finished.

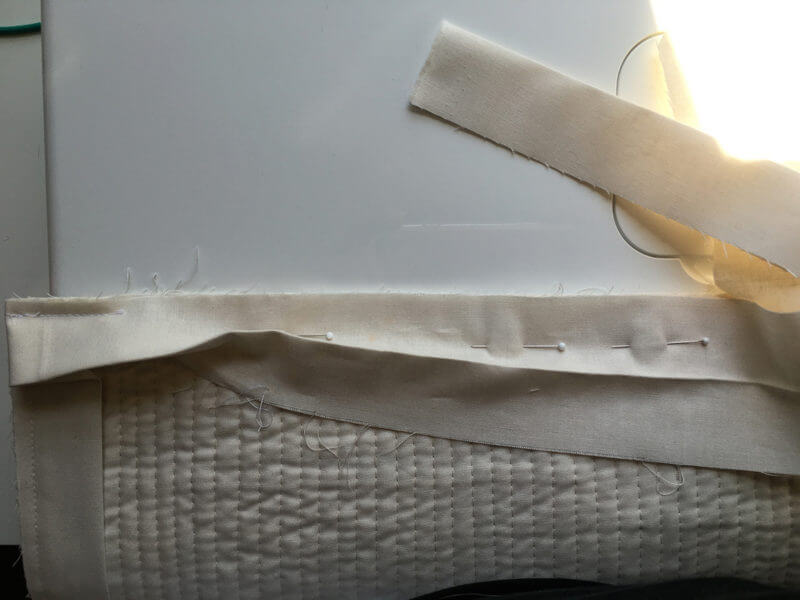
Bring the unsewn section of the binding that is to the right (the end that you started with) and lay it over the pinned end of the opened binding. Pull that end of the binding taut and mark a light line where the diagonal fold touches the end of the pinned section of binding.
Here you can see the dotted line that I drew with a chalk marker.
Unpin the binding and line up the two ends so that they’re perpendicular to each other, just as when you constructed the binding from the individual strips of fabric.
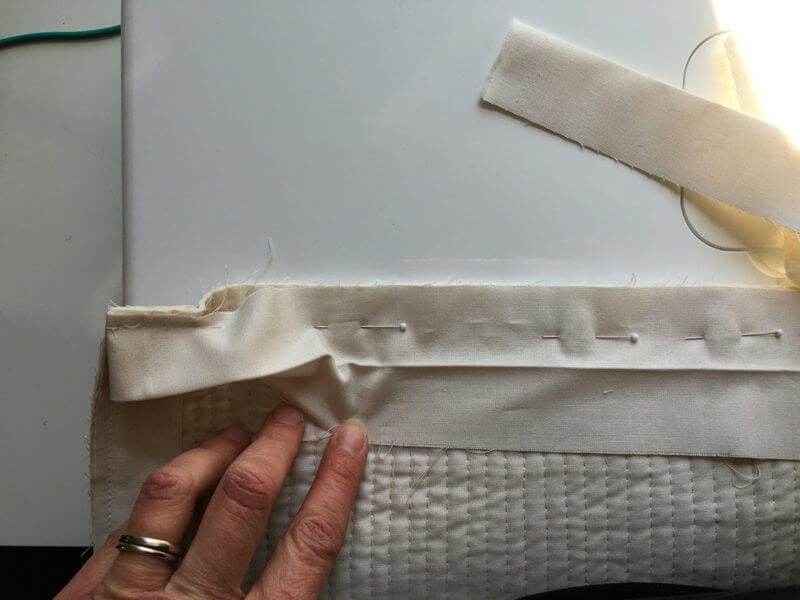
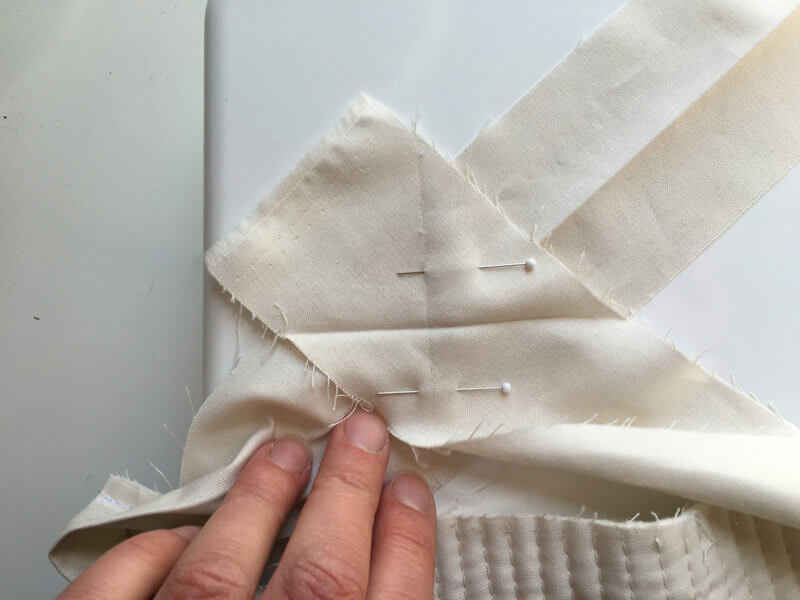 Pin the two sides together, placing the crease on the top edge directly over the line on the bottom piece that you just marked.
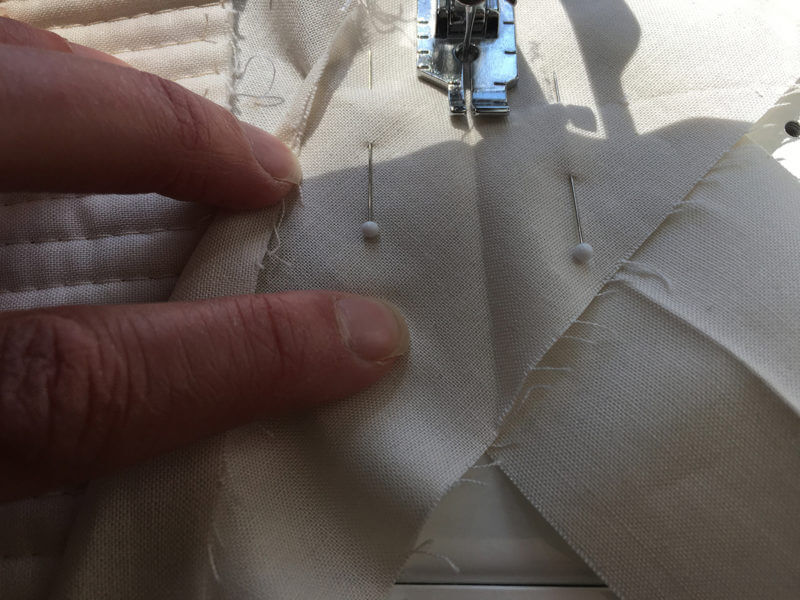
Bring the quilt back to the machine and sew the ends of the binding together, using the fold on the fabric as a guide, and backstitching at the beginning and end to lock the seam.
Remove the quilt from the sewing machine and lay the unsewn section of binding along the edge of the quilt to check that it lays properly along the edge and is the correct length needed to finish the quilt.
Pick up the unsewn section of the binding and trim off the excess fabric with scissors, leaving a ¼” seam allowance.
Press the seam open.
Then fold the unsewn section of binding in half and press with a hot iron.
Pin the unsewn section of the binding to the edge of the quilt, lining up the raw edges of the binding with the raw edges of the quilt.
Bring the quilt back to the sewing machine and sew the rest of the binding in place, backstitching at the beginning and end of the seam to lock the stitches.

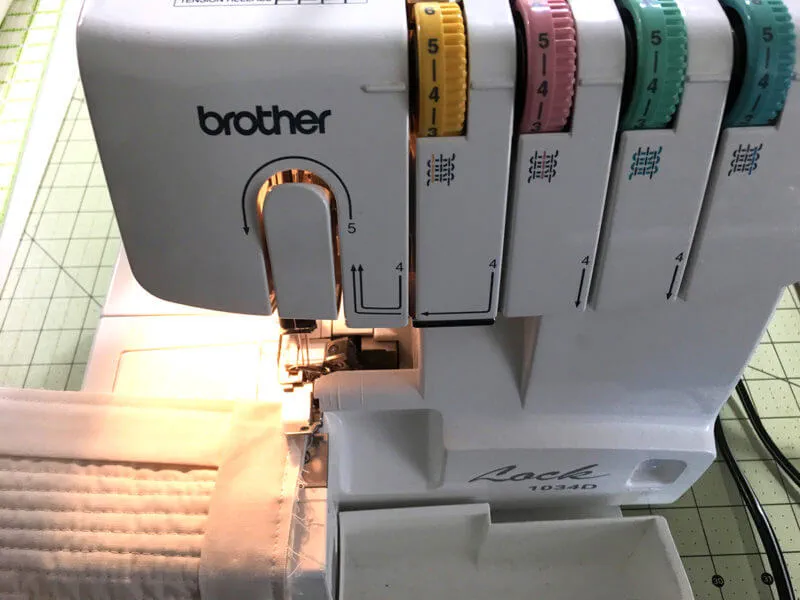
Optional: I use a Brother Lock 1034D Serger
to cover the raw edges of the quilt and binding. There are a lot of loose threads and by running them through the serger, everything is kept nice and tidy.
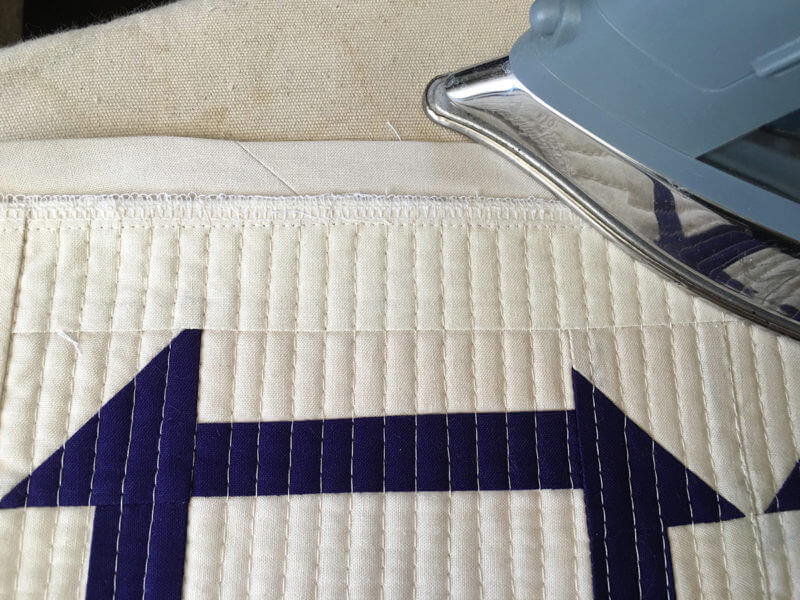
Turn the quilt over so that the top is facing up, and pull the binding up from the back so that it lays flat, extending beyond the edge of the quilt. Press in place with an iron.

Then fold the binding down over the raw edge of the quilt and toward the front of the quilt.
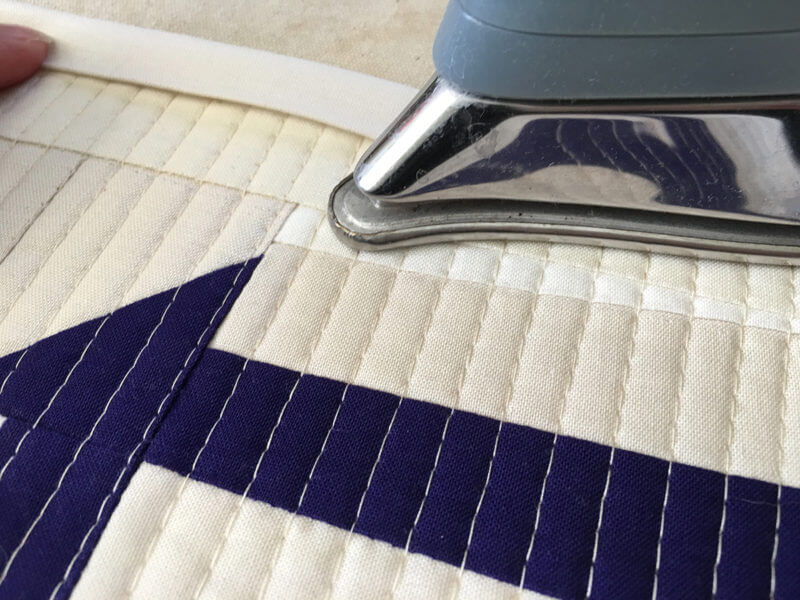
Press in place, and continue to do this all along the length of one side of the quilt.
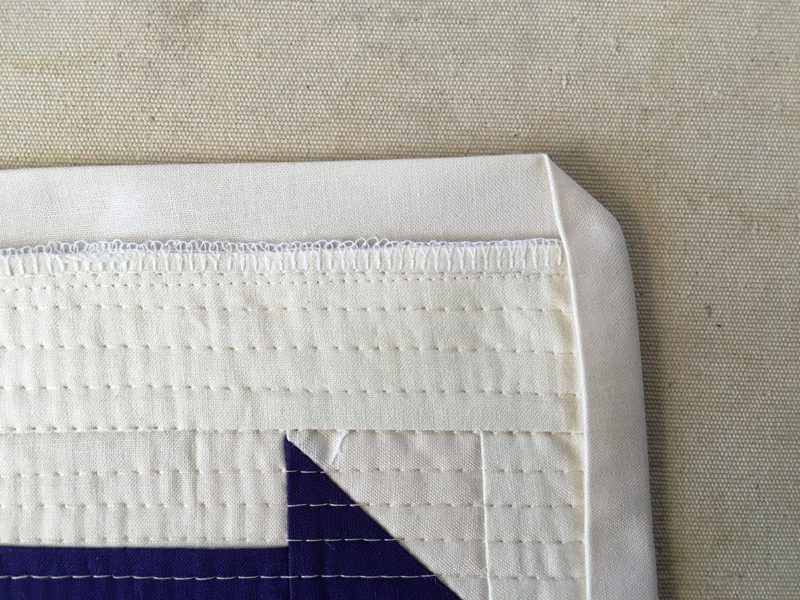
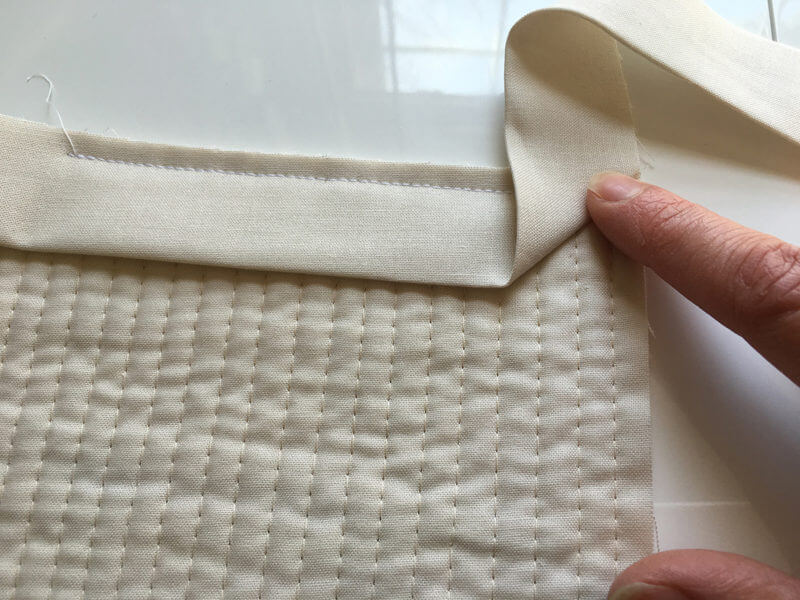
When you get to a corner, open it up and press with an iron.
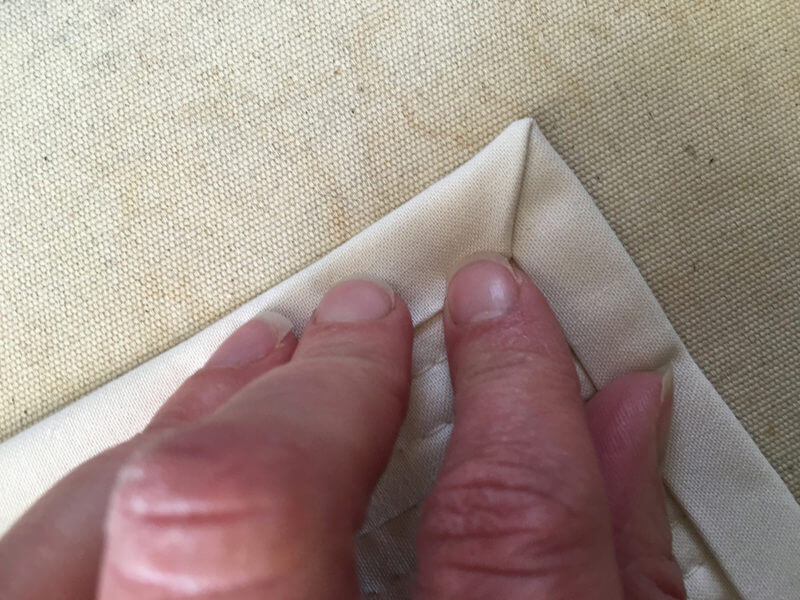
Fold the other edge of the binding so that it creates a 45 degree angle in the corner.

Press in place.

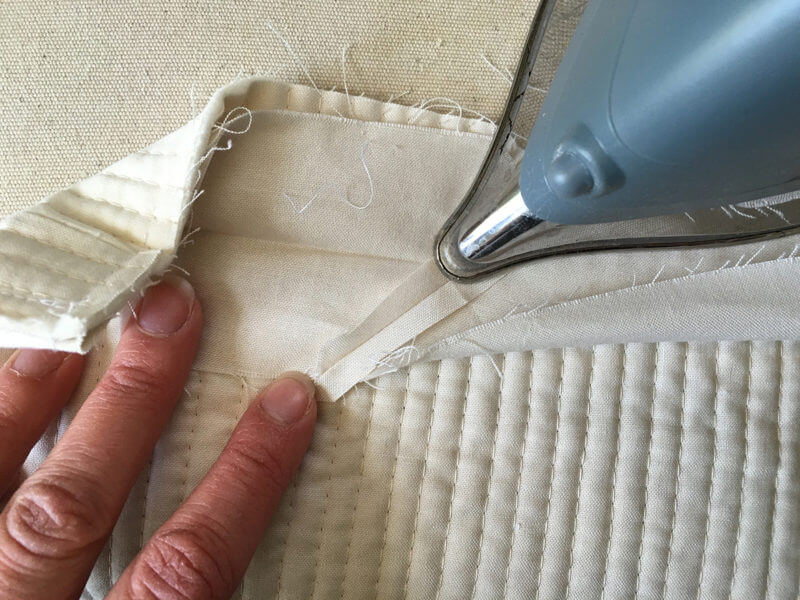
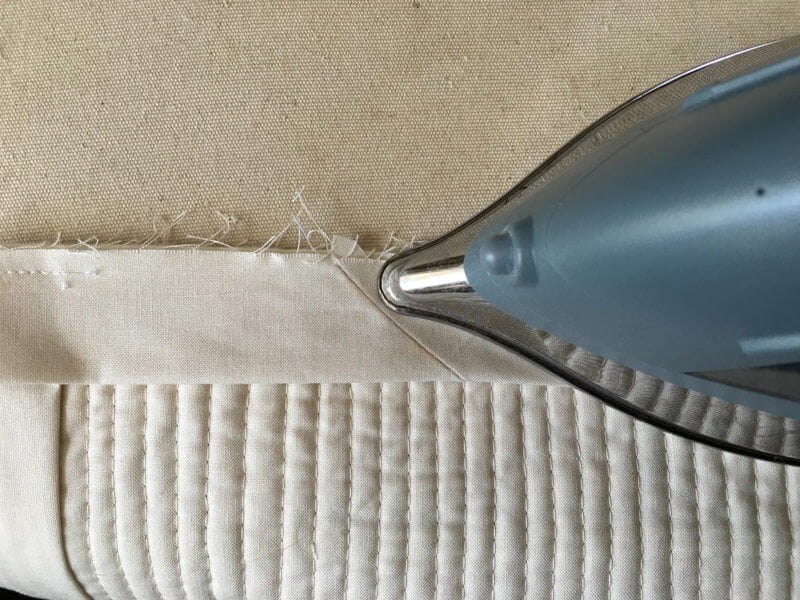
Use a thin strip of school glue to hold the fabric in place, once it is pressed towards the front. I run the glue along the threads from the serger, fold the binding over, and set with a hot iron.
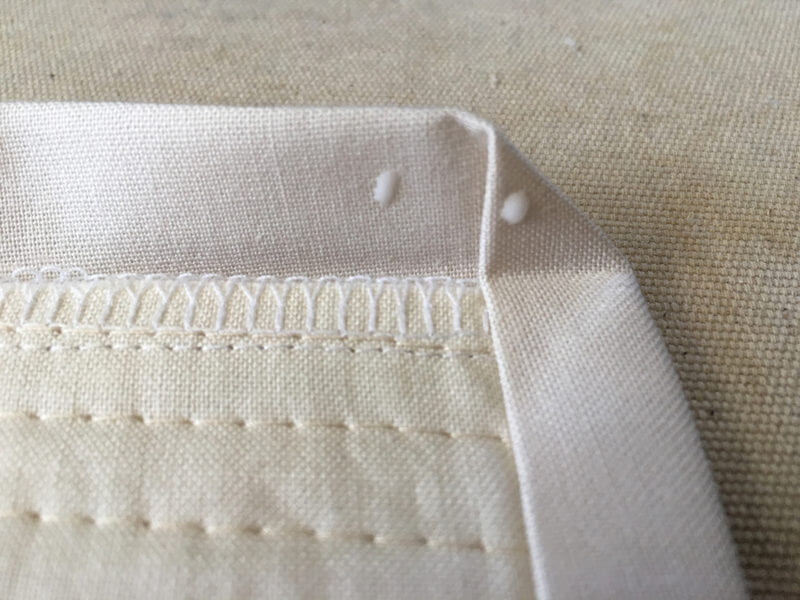
Use a couple of small dots of glue in each corner to hold them in place. Continue this process until all the remaining sides of the quilt are glued and ironed so that the edges and corners of the binding are secured in place
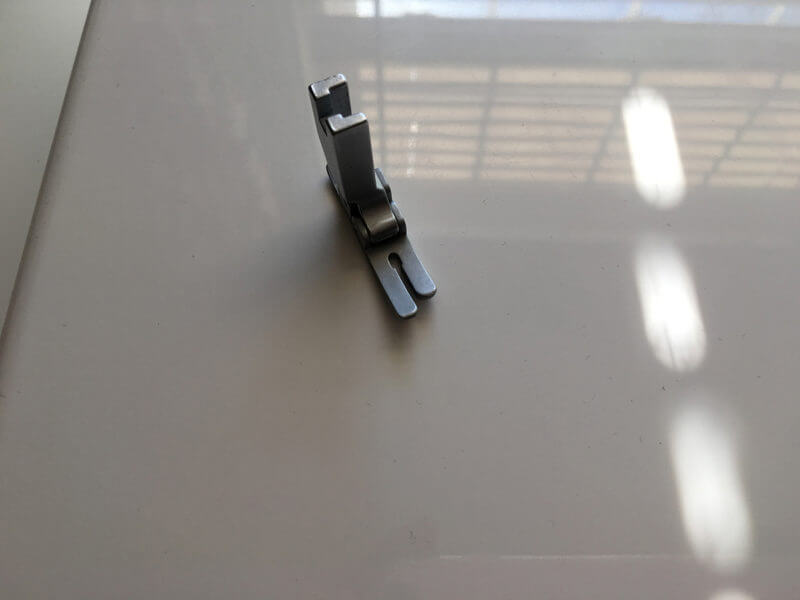
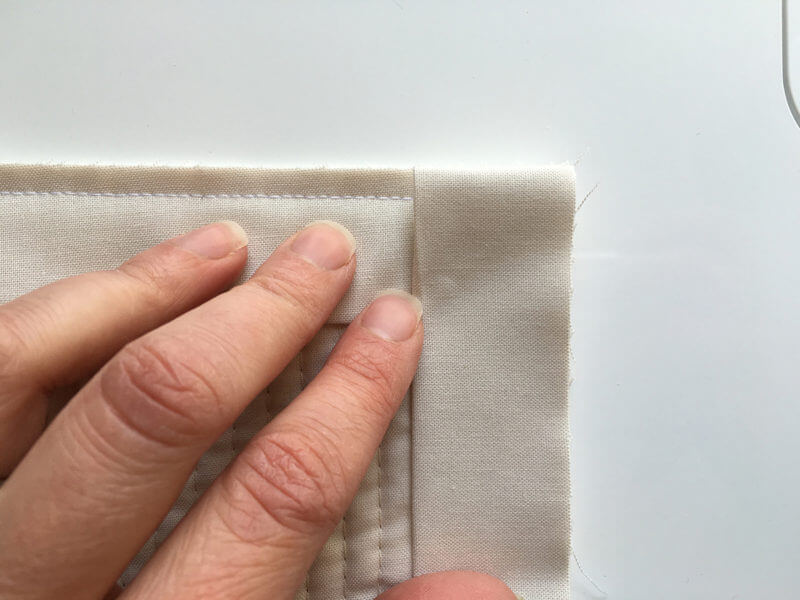
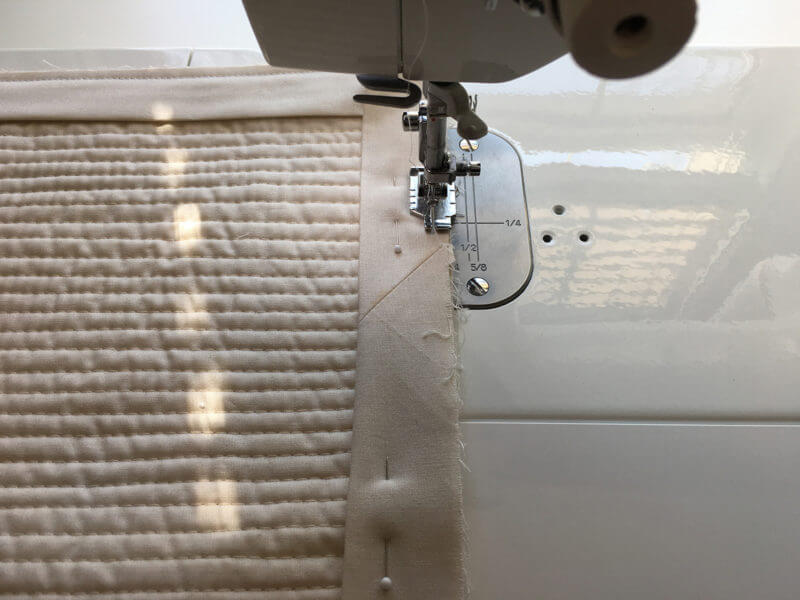
Remove the quarter inch foot and place the pin feed foot on the sewing machine. This foot helps move all layers of fabric and batting through the machine. Be sure to adjust the pressure of the presser foot as well as the feed dog level to the settings required for use with this foot, referring to the settings in the manual.
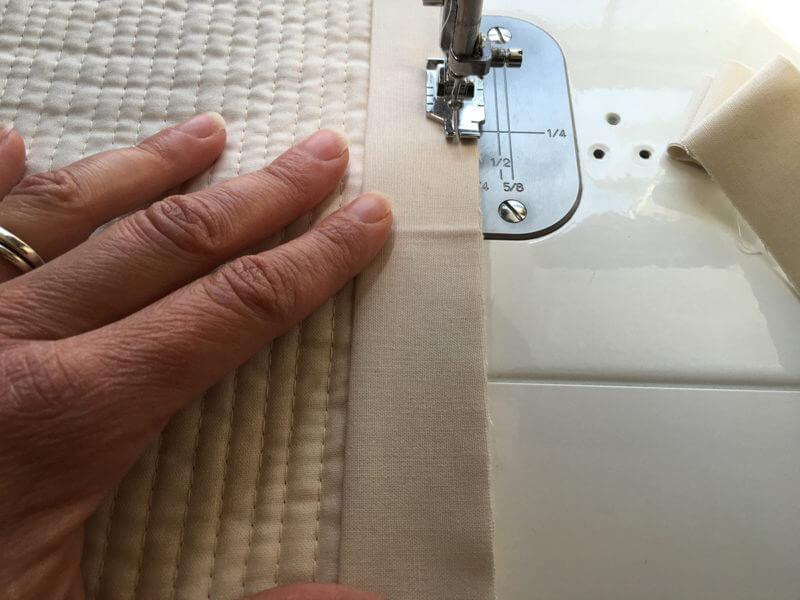
Top stitch along the edge of the binding, using the edge of the pin feed foot as a guide.
Once you get to a corner, stop sewing and leave the needle down, and pivot the quilt so that the mitered edge is facing you. Sew two more stitches into the corner.

Stop sewing with the needle down, lift the foot and rotate the quilt and sew back over those last two stitches, toward the next side of the quilt.

Pivot the quilt so that the foot is lined up with the next side of the quilt, and continue to sew along the edge of the binding. Treat each corner like you did above.
When you get back to the side of the quilt that you started on, sew over the first sew stitches that you made, back stitch a couple of stitches to lock the seam, and then remove the quilt from the sewing machine without using the automatic thread cutter.
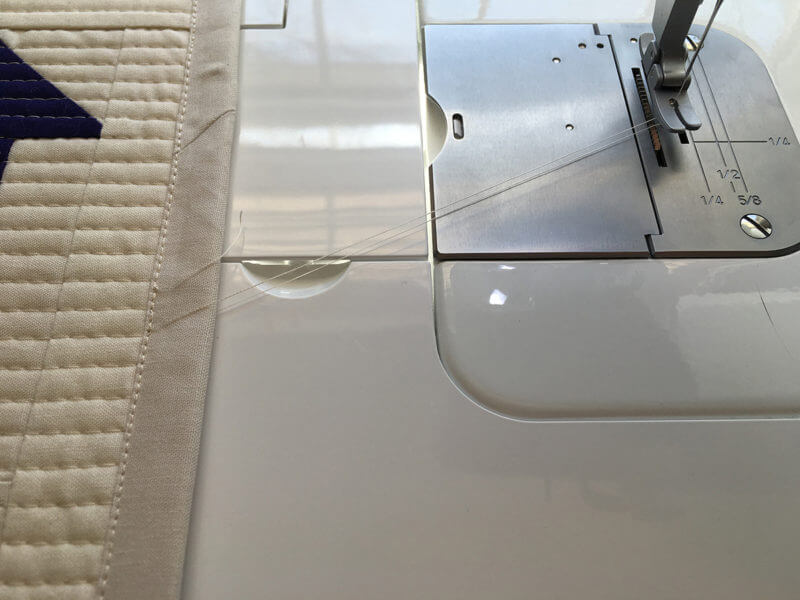
Pull the threads so that they are about 3 inches or sew and use scissors to cut them.

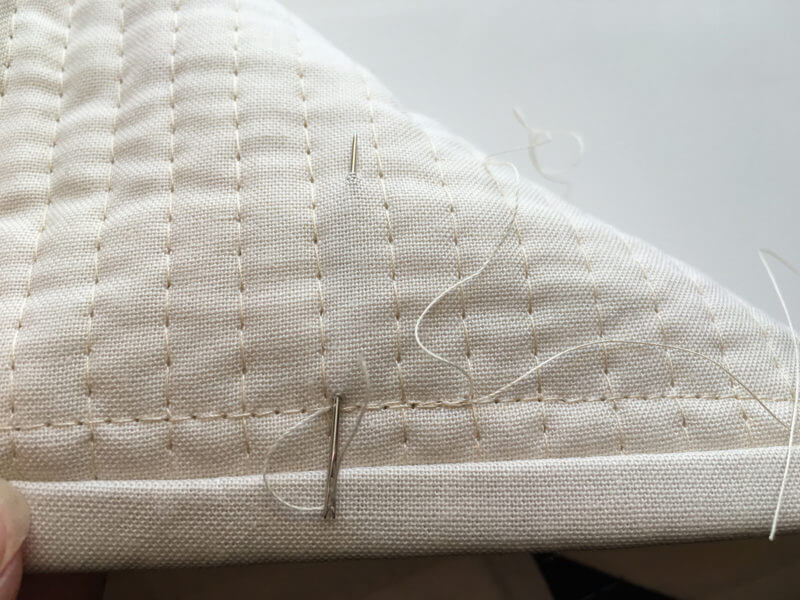
Use a hand sewing needle to pull all loose threads to the back of the quilt and burry them in between the batting and the back of the quilt.
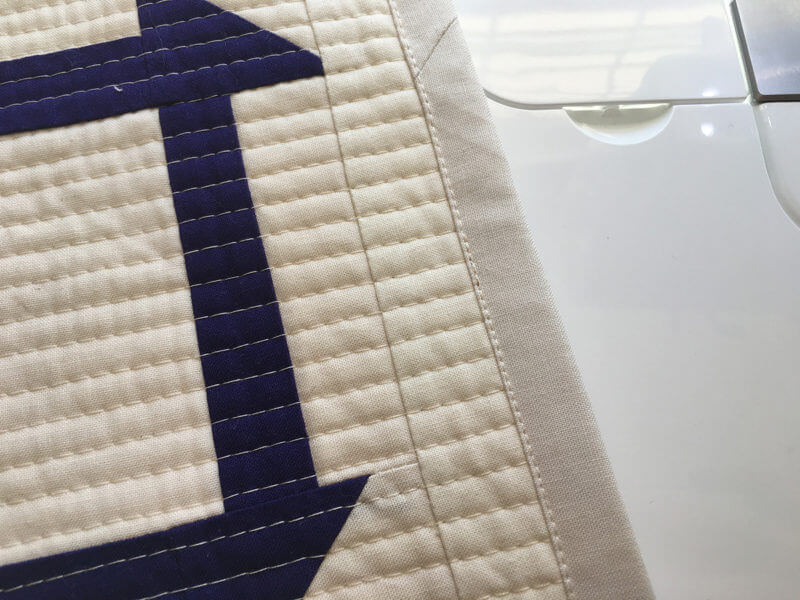
Your binding is finished! And your quilt is ready to go!
Here’s a closer look at a finished corner.
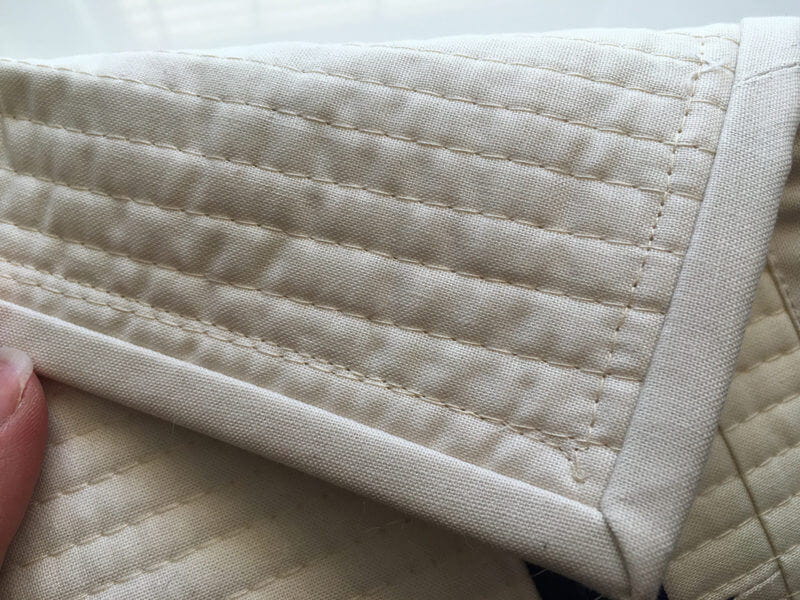
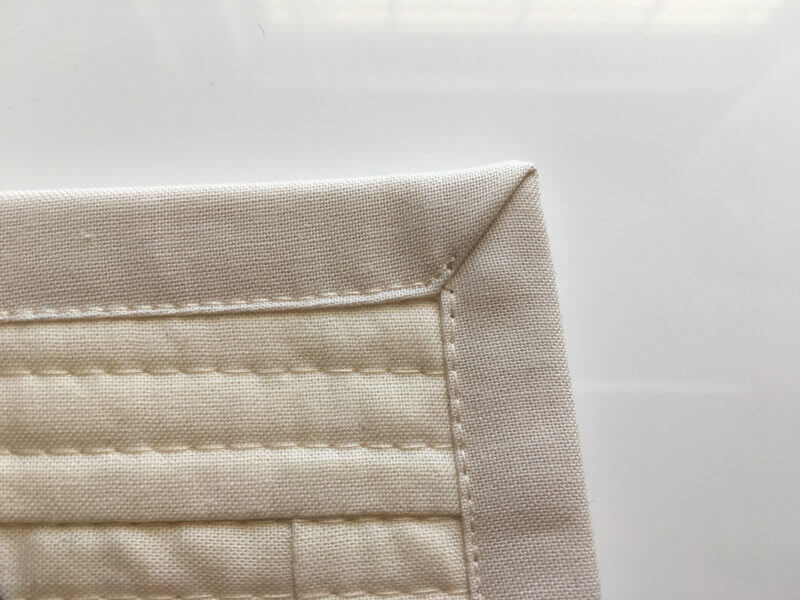
And here’s what it looks like from the back. This technique adds an additional line of quilting, as we aren’t trying to stitch in the ditch. I prefer to have that line of quilting on the back, which is why I sew the binding to the back and flip it to the front, rather than the reverse, which is how it is traditionally done.
Related Projects
Stay Connected
* Required fields