Valentine’s Day Dynamic Duo
Valentine’s Day is right around the corner. Yaaay! And while I show love all year long, one of my favorite things is to create neato projects and inspire others to go the handmade route. And whether you make this project for yourself or someone else, the technique behind this dynamic duo is sure to dazzle-dazzle.
What You’ll Need:
- Six 14” x 14” squares of one fabric (block one)
- One 14” x 14” square of fabric (block two)
- Six 9” x 9” squares of second fabric cut on the bias (block two)
- One 14” x 14” square of batting or fleece (block two)
Product used:
- Brother SE1900
(AKA Alphonso)
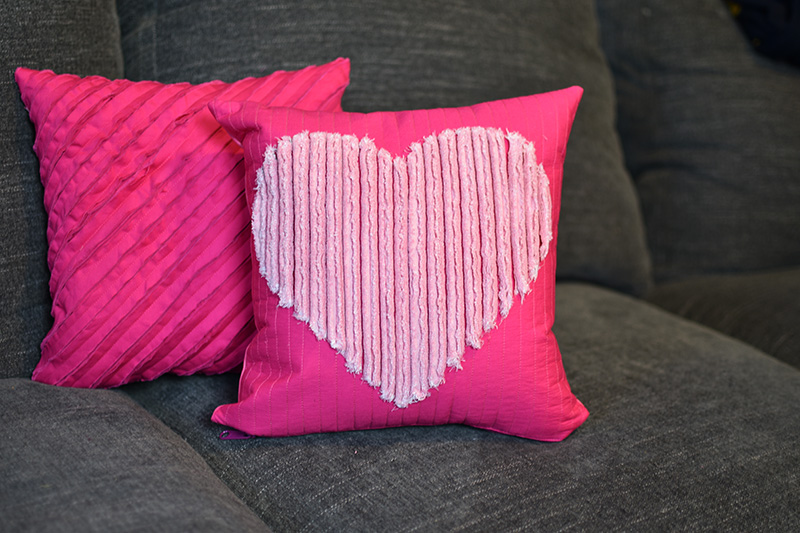
Note: I decided to focus this tutorial on the technique, instead of the finished pillows, so that I could share two different projects. If you wanted to turn these into pillows like me, there are pillow finishing posts on the blog here
that’ll totally help you out.
that’ll totally help you out.
Block One
For this version, the entire block will become an awesome texture that can have vastly different results depending on the fabric used. I used a high-quality solid quilter’s cotton that is tightly woven and has thin thread for both the warp and weft of the weave. The thicker the looser the weave of the fabric, the more separation that will occur in the process and the fluffier the end result. Stay tuned to understand better what I mean.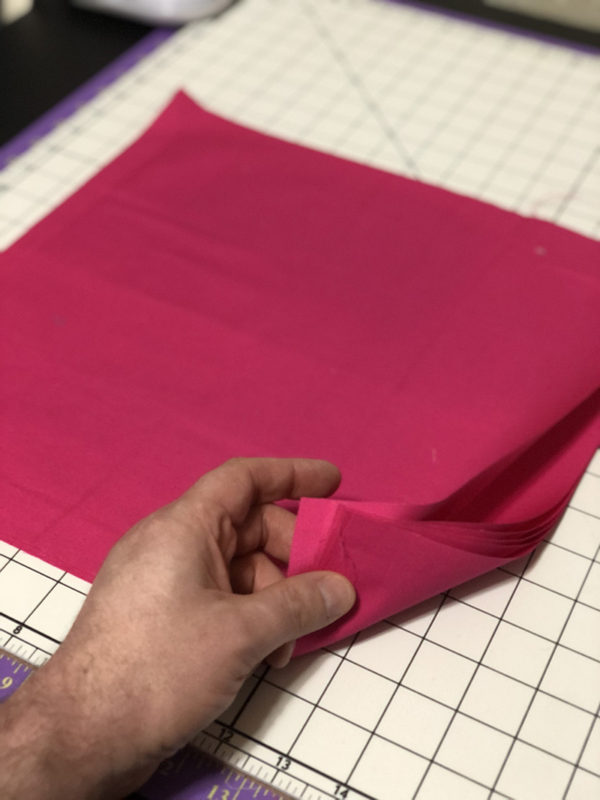
- Stack all six 14” x 14” squares on top of each other, lining up all the raw edges.
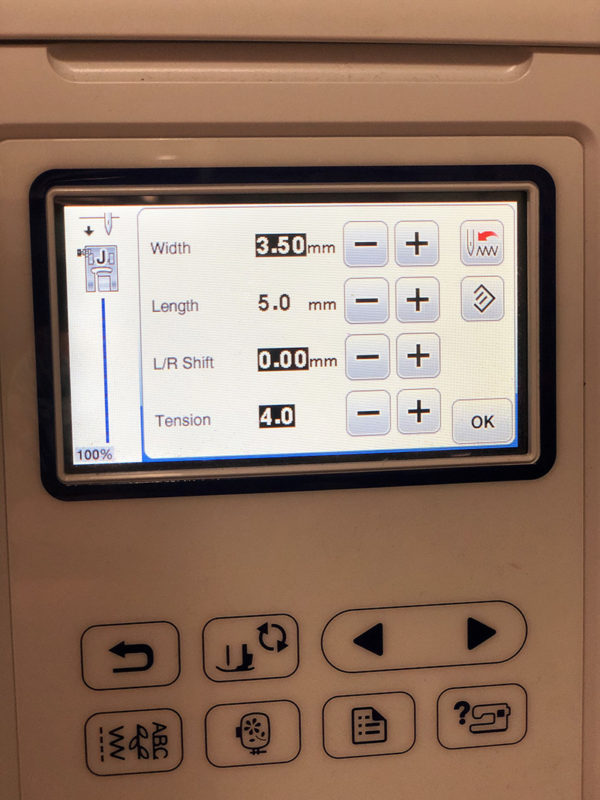
- Using a basting stitch of 5.0 mm length and 1/8” from the edge, sew around all four sides.
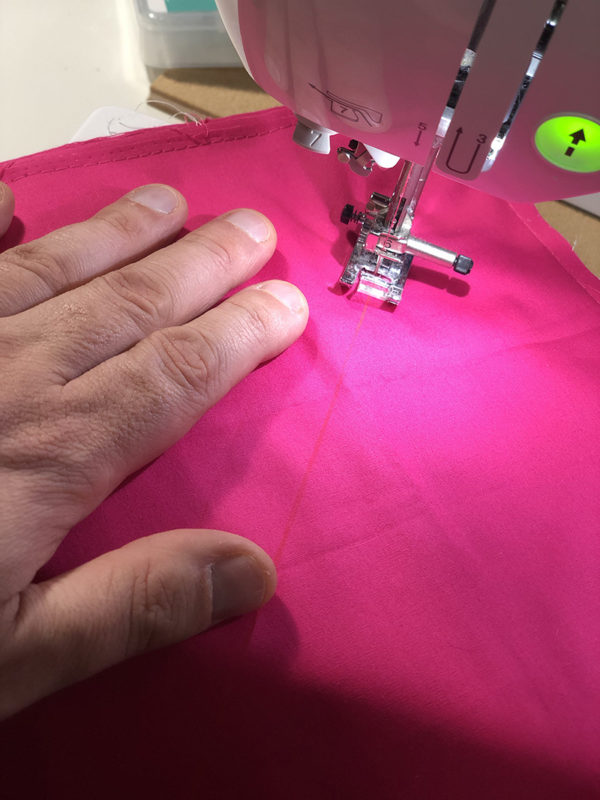
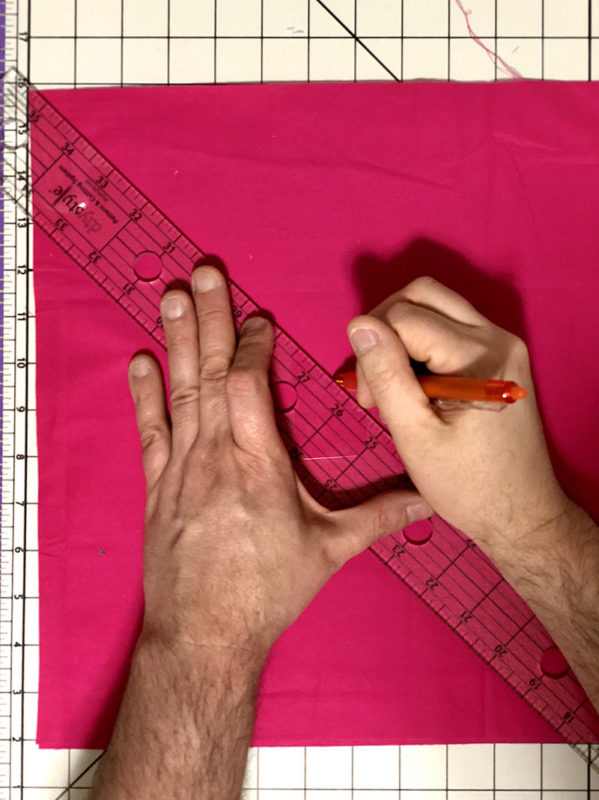
- With an erasable pen (or a tool that can make creases in fabric), draw a diagonal line from one corner to the opposite corner. Continue drawing diagonal lines parallel to the first one every 3/4”.
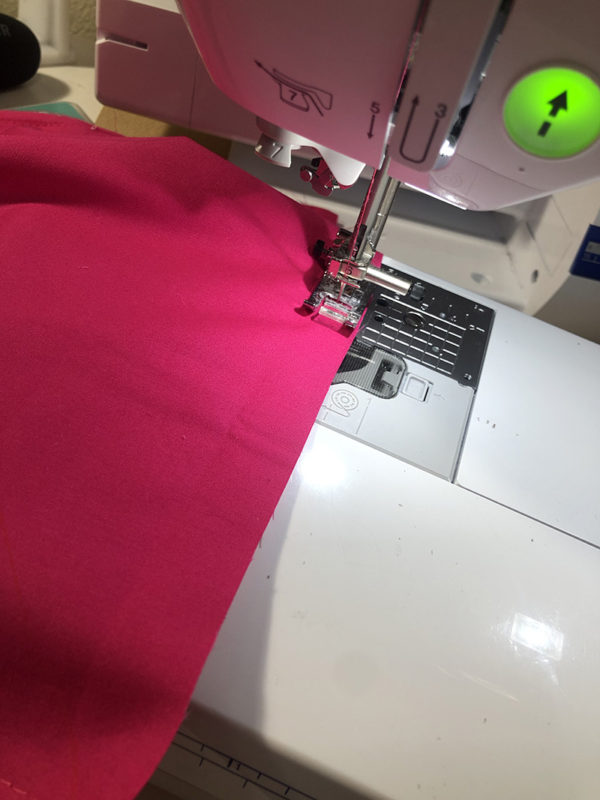
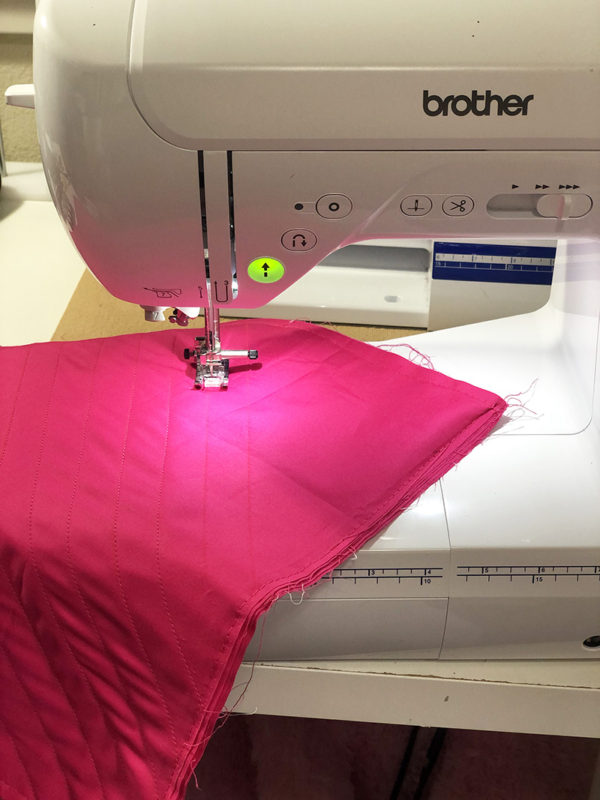
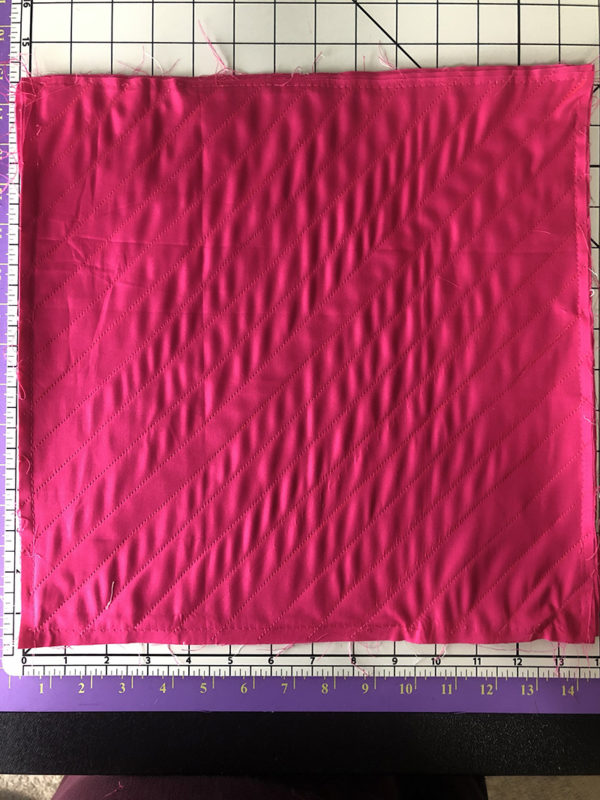
- Using a 2.5 mm stitch length, sew each diagonal line from edge to edge.
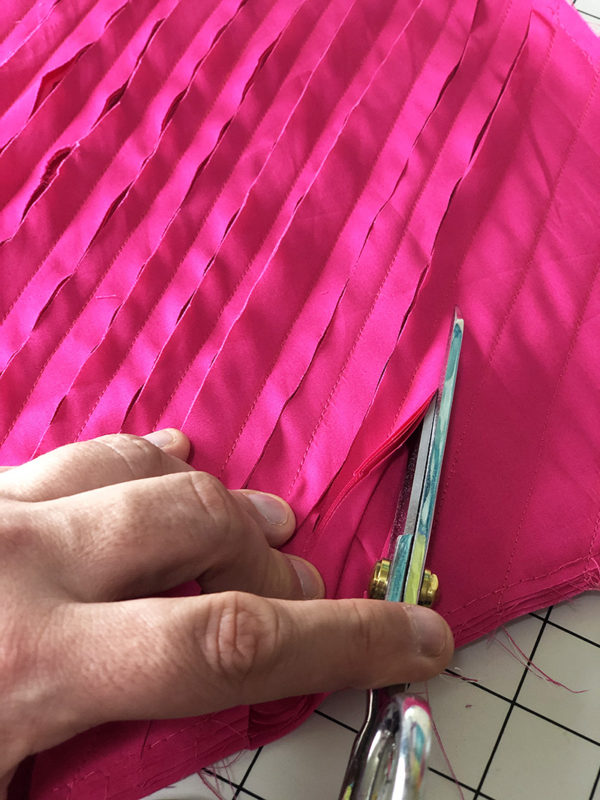
- Cut the top five layers in between each stitch line using scissors or a chenille cutter. Do not cut the bottom layer.
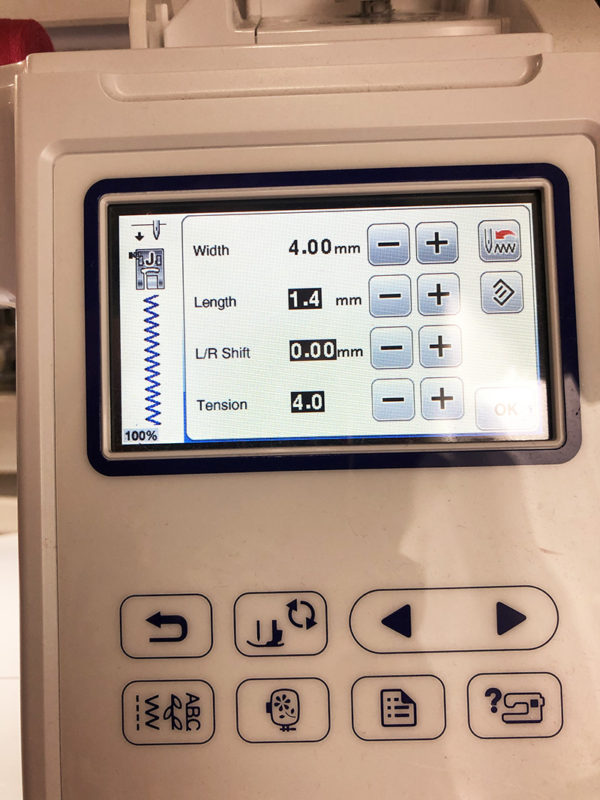
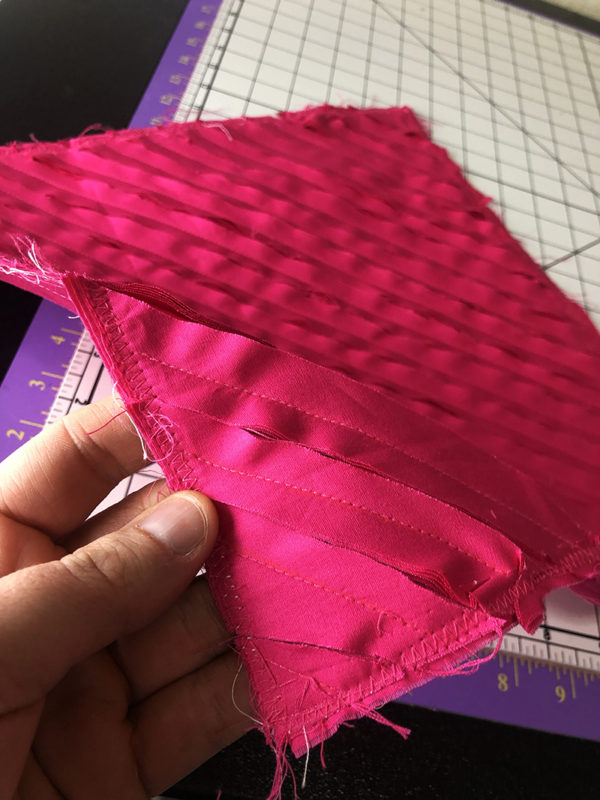
- Use a zigzag stitch with a length of 1.4 mm and width of 4 mm around the edge of the block.
- Wash & dry using recommendations for the fabric chosen. This will wear on the edges and create the fluff depending on the fabric chosen.
Block Two
For this version, I used a yarn dyed fabric for the heart, which will create a much-more fluffy result since the threads are thicker and the weave of the fabric is more loose. You will need to print out the Heart Template provided here.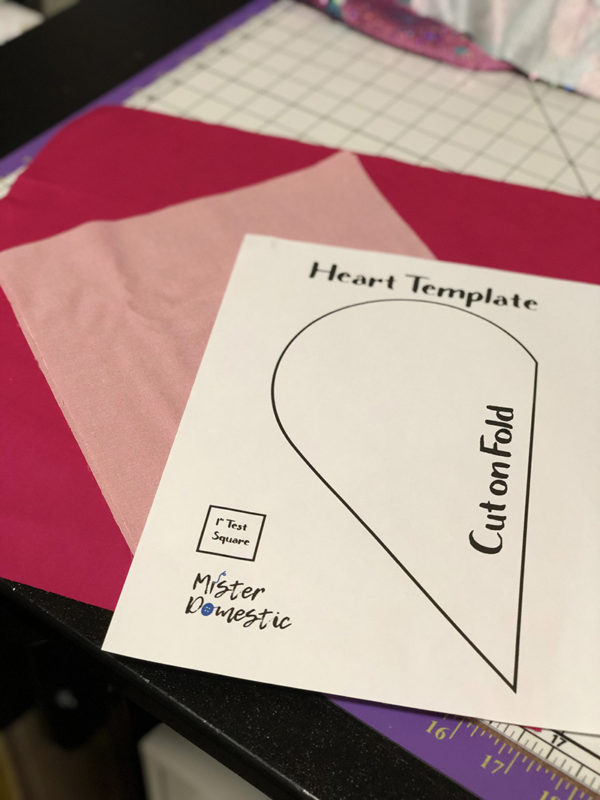
- As a reminder, make sure the six 9” squares are cut on the bias because that’s how the fluff happens.
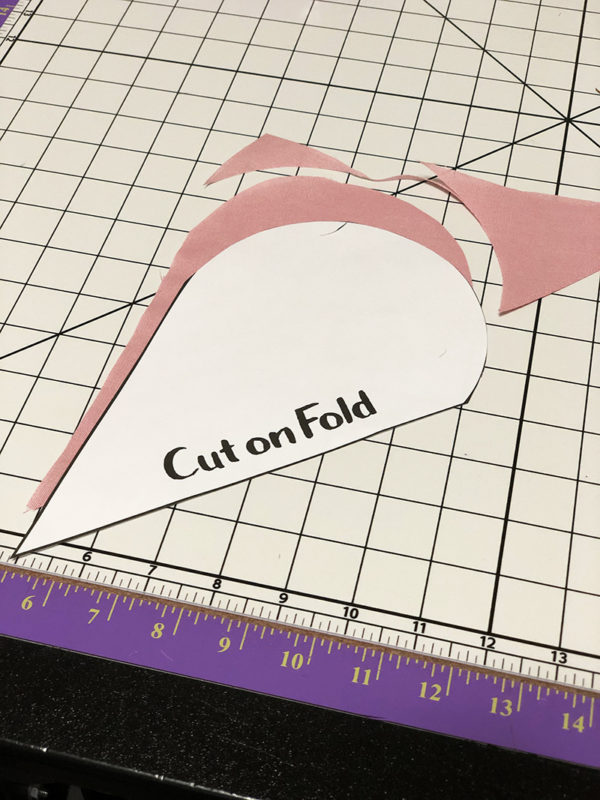
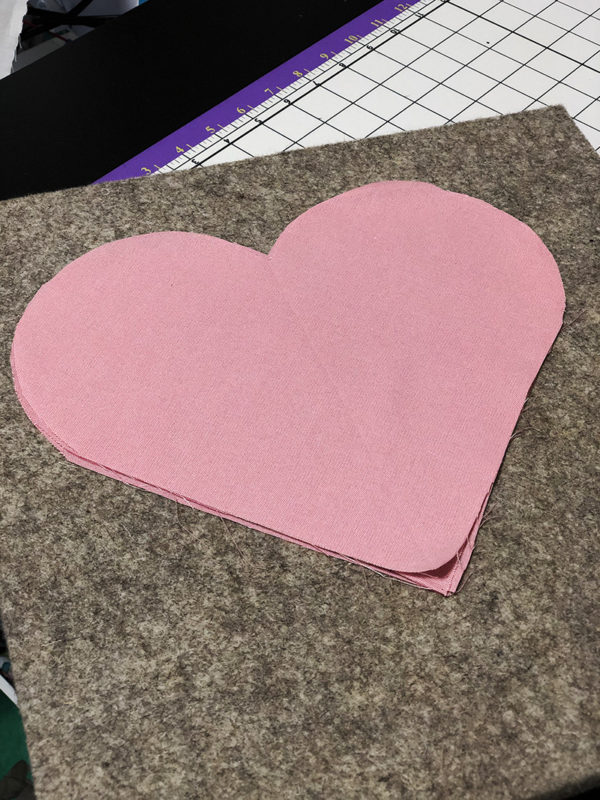
- Fold each of the six 9” squares on the diagonal and use the template to cut out the hearts.
- Stack all six hearts on top of each other, lining up all the raw edges.
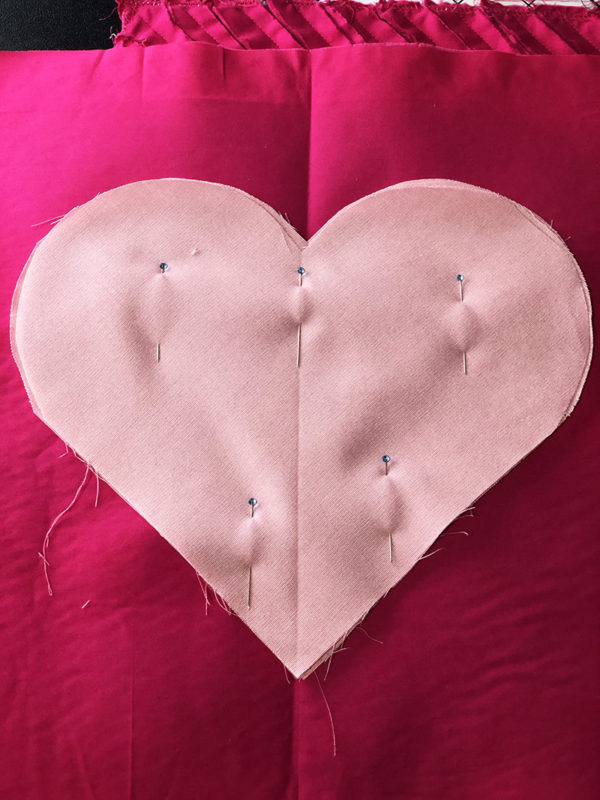
- Place the 14” x 14” square of fabric on top of the batting/fleece. Fuse if that’s an option.
- Fold to find the center vertical line. Center the stack of hearts onto the 14” x 14” square and pin all layers in place.
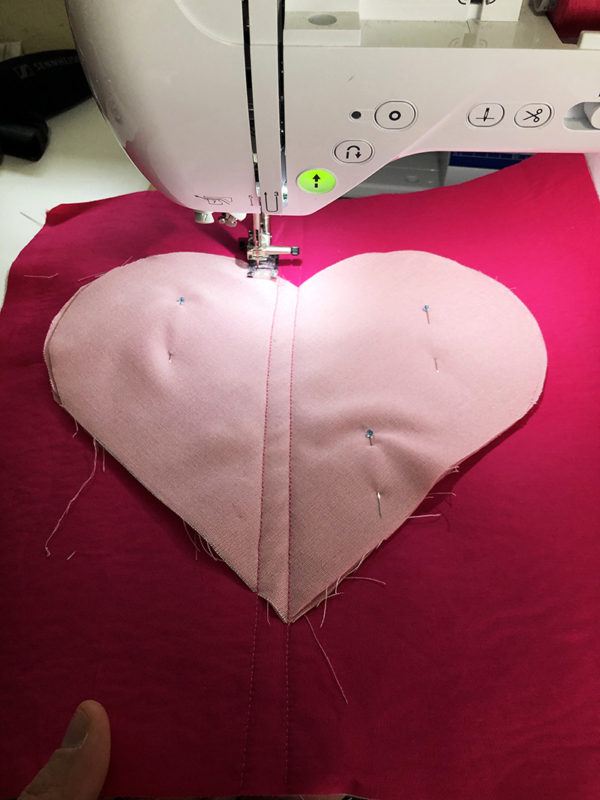
- With an erasable pen (or a tool that can make creases in fabric), draw a vertical line starting in the center. Continue drawing vertical lines parallel to the first one every 1/2”.
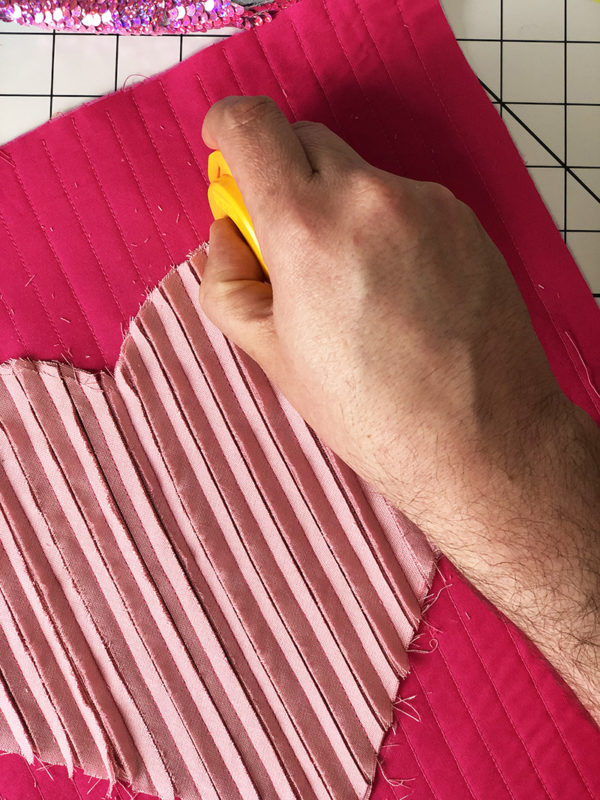
- Using a 2.5 mm stitch length, sew each vertical line from edge to edge.
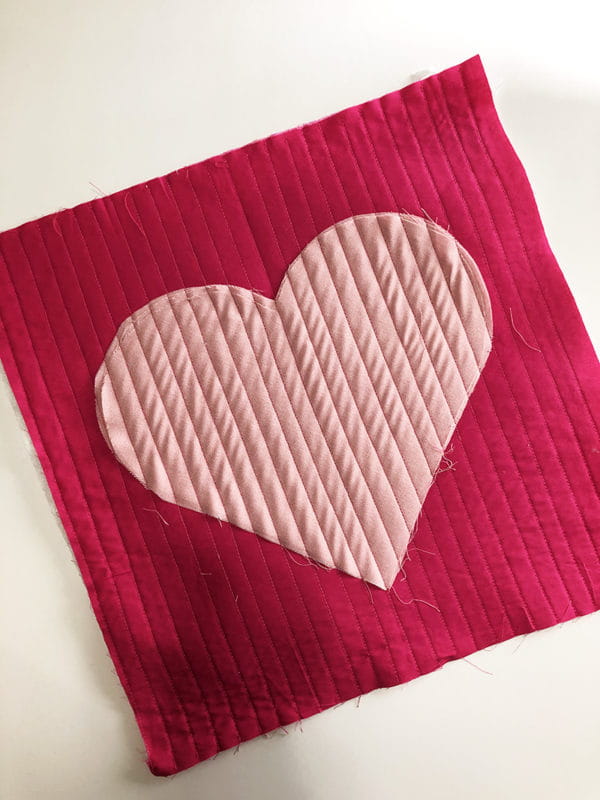
- Cut all six layers in between each stitch line using scissors or a chenille cutter. Do not cut 14” x 14” square.
- Wash & dry using recommendations for the fabric chosen. This will wear on the edges and create the fluff depending on the fabric chosen.
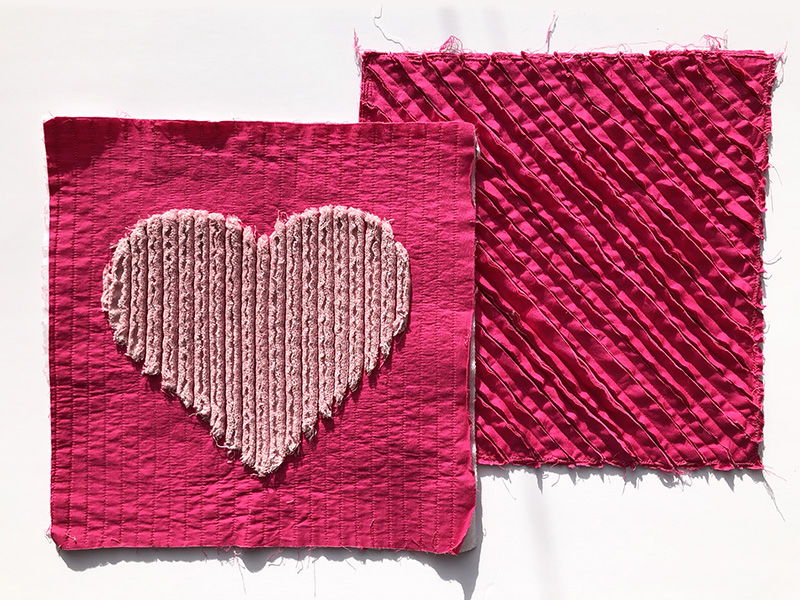 And just like that, the Valentine’s Day Dynamic Duo is complete for your making pleasure. I hope y’all enjoyed learning this super fun technique to apply to all the things. And Happy Valentine’s Day!!
Related Projects
Stay Connected
* Required fields