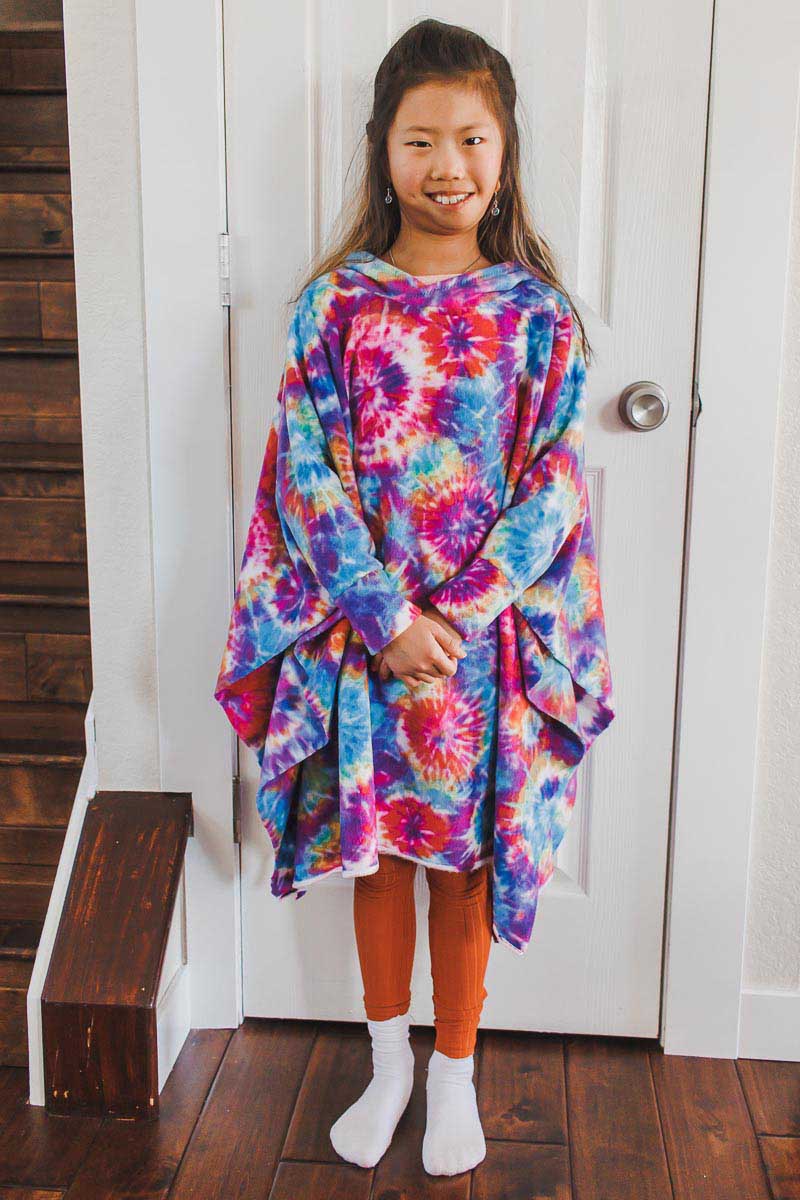
DIY Wearable fleece blanket {with free hood pattern}
Free Hood Printable Patterns
- Kids’ hood pattern: https://lifesewsavory.com/product/691070/
- Adult hood pattern: https://lifesewsavory.com/product/oversized-hood-for-wool-cape/
Supplies and tools:
- Fleece fabric
- 1-2 yards for kids
- 2-3 yards for adults
- Free Hood Printable Patterns
- Kids hood pattern
- Adult hood pattern
- Sewing machine
- Serger {Optional}
This project is such a fun one because it’s so simple. However, you could add more fun detail, such as embroidery, detailed hem, and other decorative options. So, let’s dive into this sewing tutorial for the hooded wearable blanket. See the video version as well to see it in action.
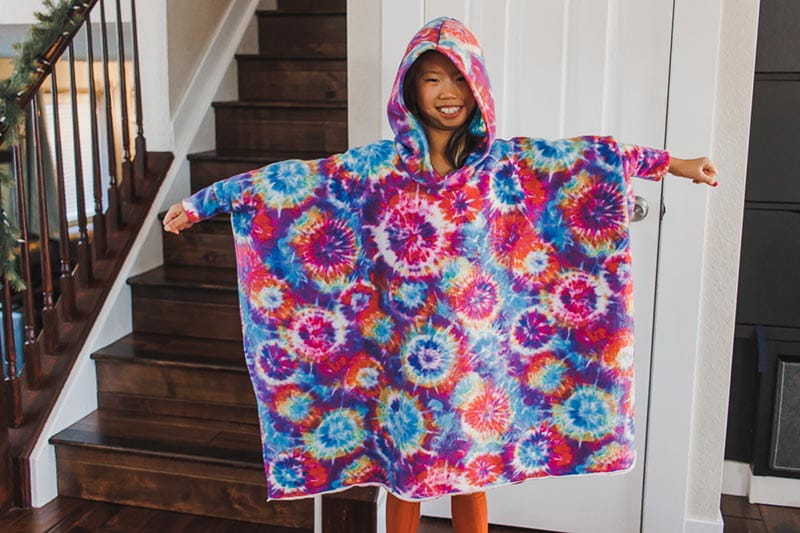
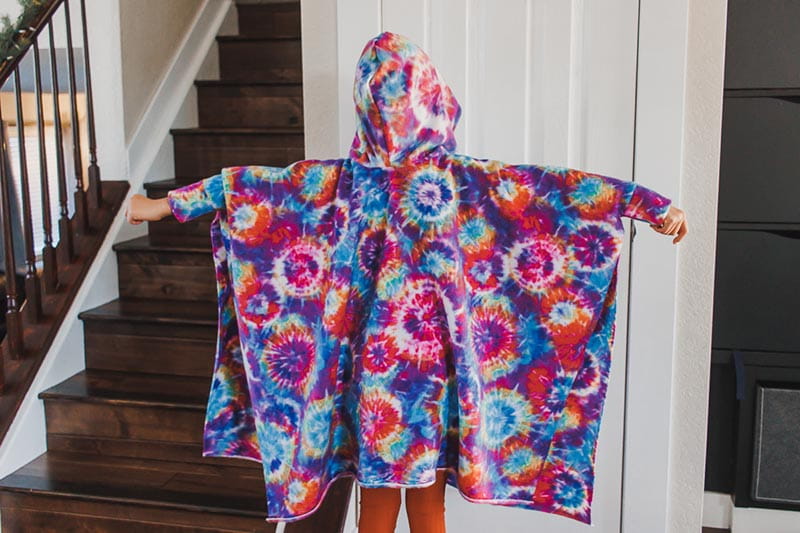
Directions:
Grab your fleece and the free hood pattern that you are using for this project. I’m making a Kids sized hood with 1.5 yards of fleece.
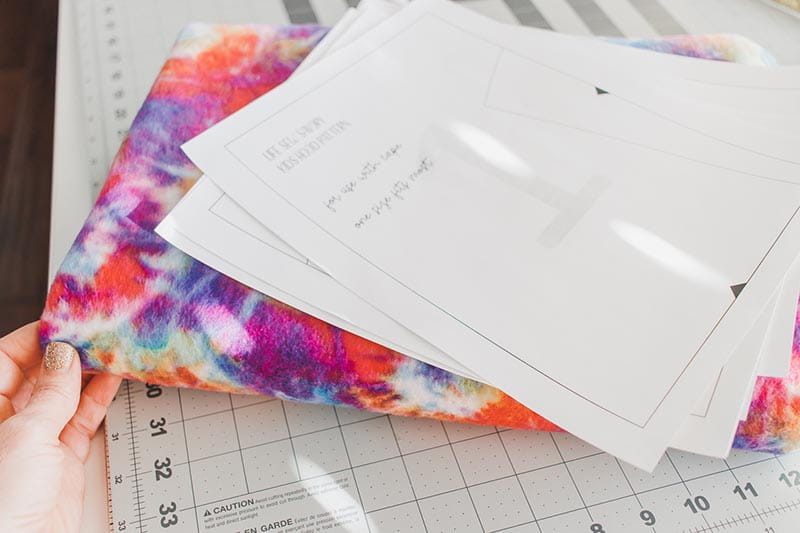
Cut the border on the paper pattern, then tape it together. This hood fits most kids, but if you are making for a tiny toddler, I would probably cut it down a bit to fit.
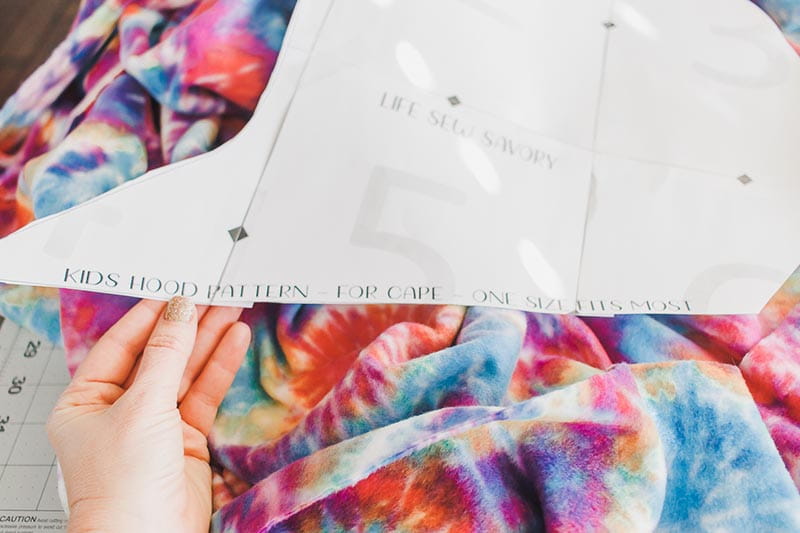
Place the pattern on two layers of fleece. Because the fleece is pretty thick, I am making this hooded blanket with an unlined hood. If your fabric is thinner, you can cut four hood pieces and make a lined hood. I have used this pattern for that as well. Once you have the two hoods cut out, line up the outer curved edge and pin or clip together for sew.
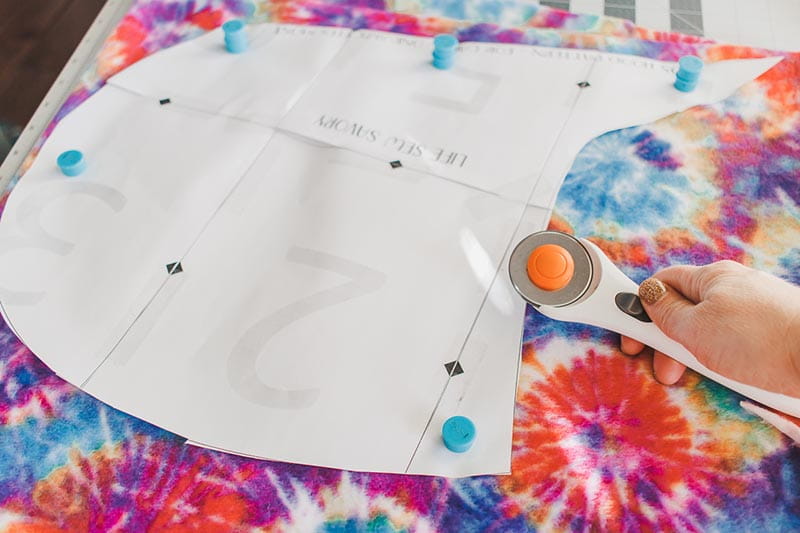
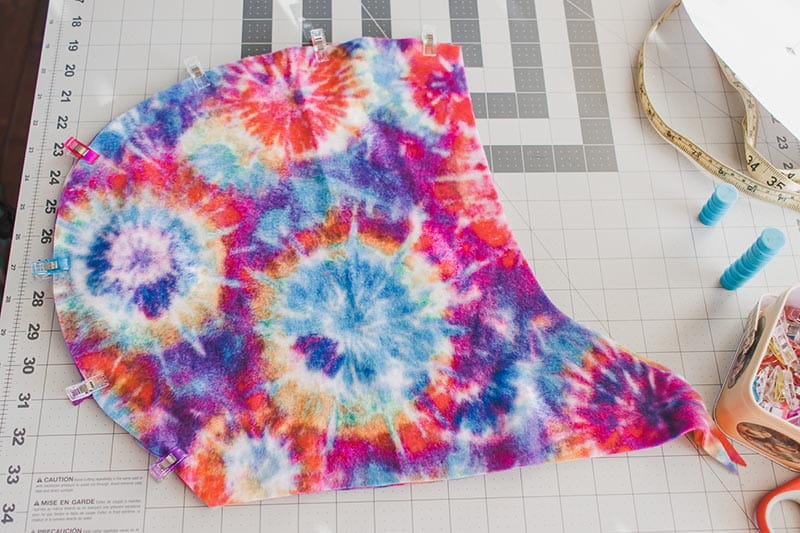
Sew the outer curved edge of the hood with a serger or sewing machine.** If making a lined hood, sew the lining like this, then sew the main hood as well. Place the two pieces right side together and then sew the front edge of the hood to attach.** Unlined version shown here.
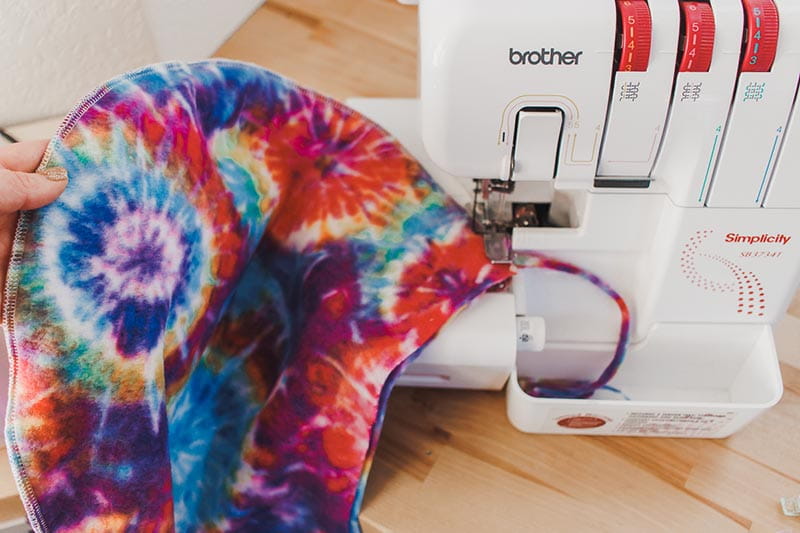
To finish the front edge of the unlined version, fold back ½” to the wrong side and sew with a zig-zag stitch. It’s an easy finish and looks great with the fleece. Use a fun color thread for an extra flare.
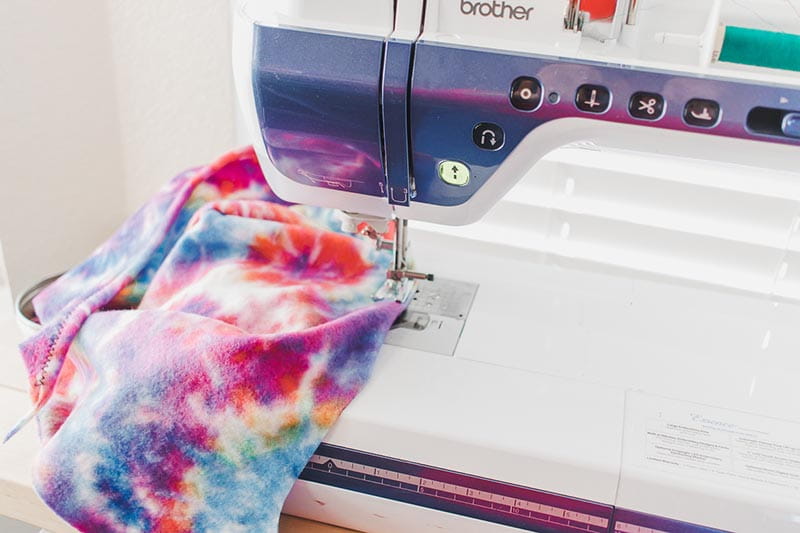
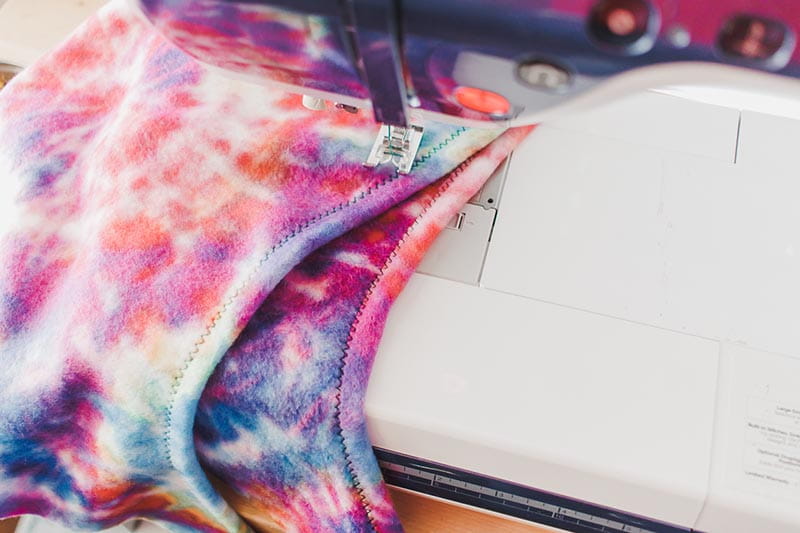
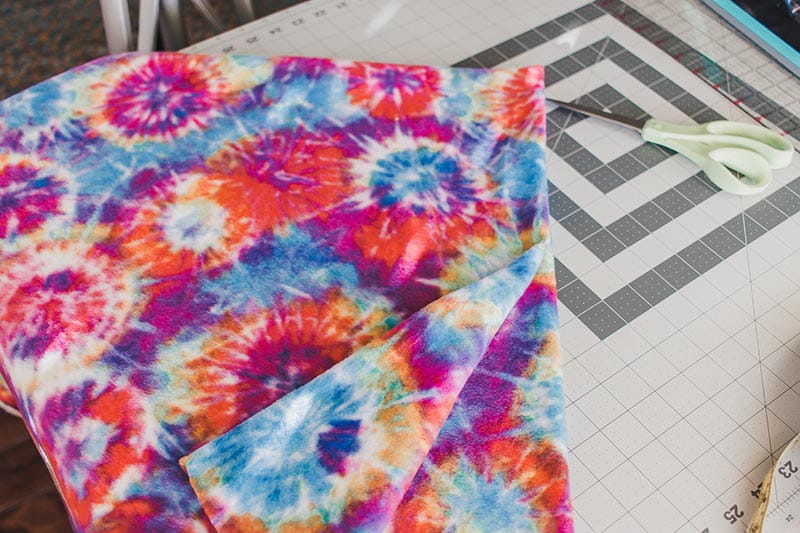
Now we need to create the blanket part of the fleece. Measure yourself {or your child} from wrist to wrist. You want to cut a square of fleece with each side this measurement. If your arms are longer than the width of the fabric, then it may be more of a rectangle than a square. For a kid's blanket, it is a square. Here is my fabric folded in half and then in half again. The double fold where the scissors are pointing is where we will cut the hole, right at the double fold center of the blanket.
For my nine-year-old, I used the head opening of 22”. Divide that number by 6.28”; this gives me the radius to cut, which is 3.5”. You can use this same measurement if your child is about the same size with an average head. For smaller kids, I would use a smaller opening. Finally, you can use a neck opening on a top you have for reference. Whatever the number you use, divide it by 6.28” to get the radius.
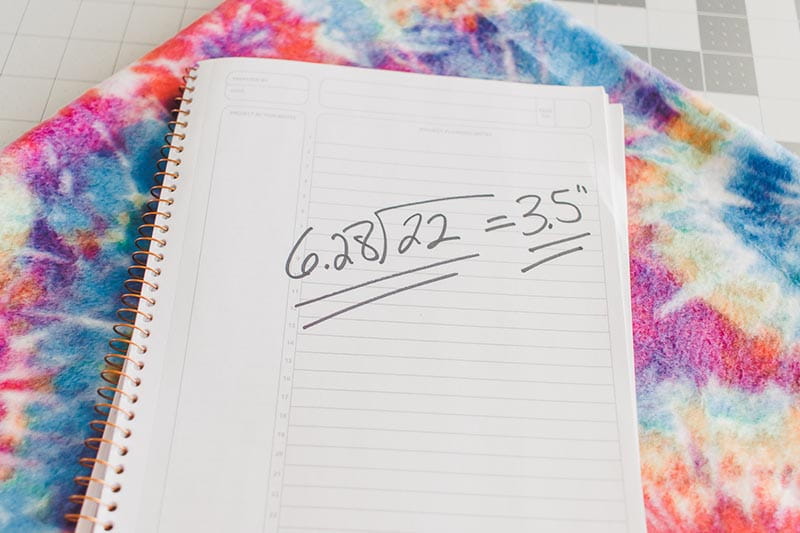
Use that radius number to mark the corner of your double folded blanket.
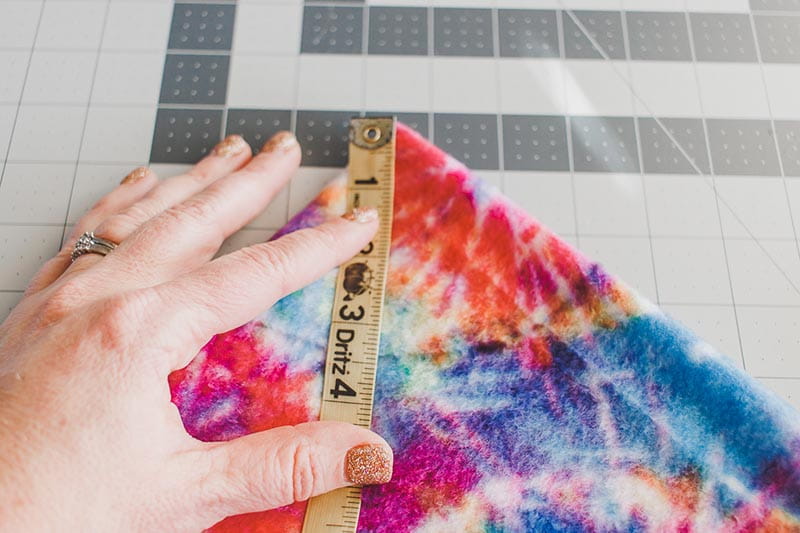
Cut along the markings to cut out the corner and create the neck opening.
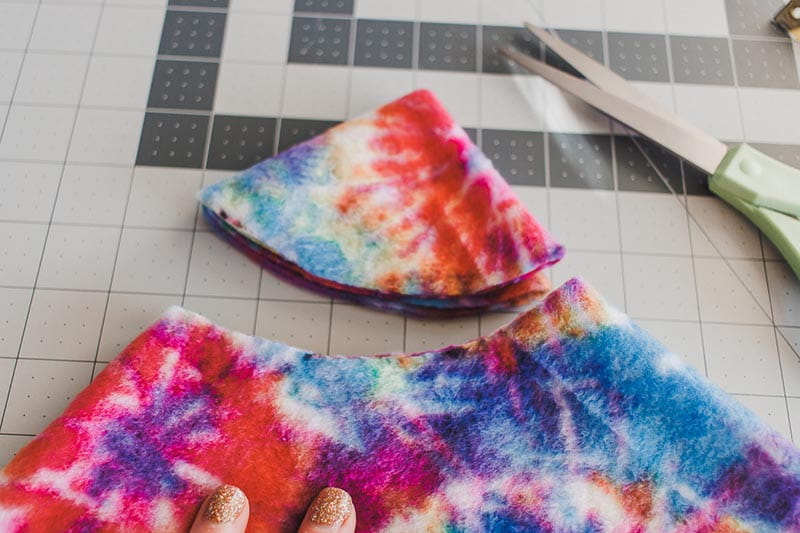
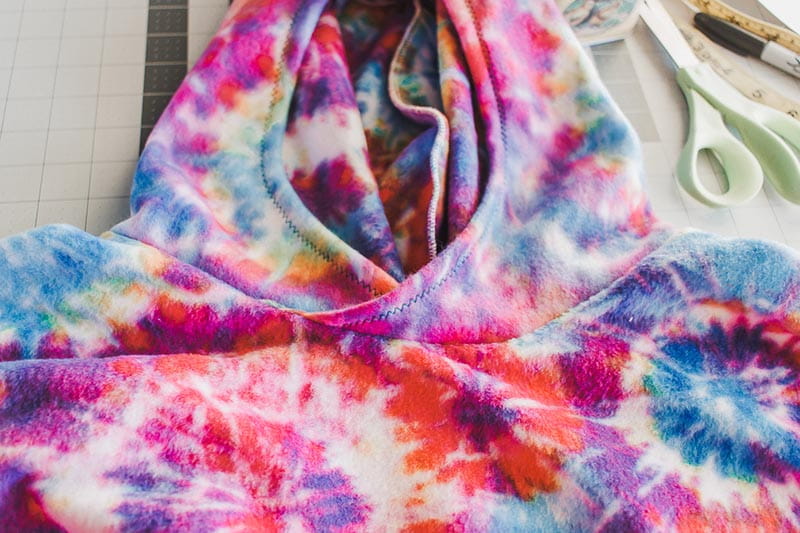
Now we have a hood, and an opening for the hood to go into. The bottom of the hood is BIGGER than the opening. This is because we will cross the front of the hood to finish the neckline and create a cozy neck and hood.
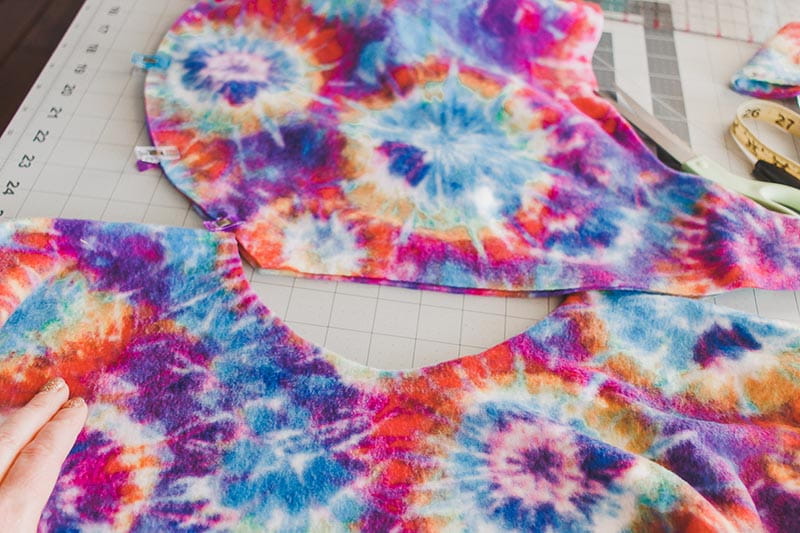
Mark the sides of the blanket and the back center. Match the back center with the center seam of the hood. Pin or clip the two layers together. From there work around from the back of the blanket to the front. When you get to the front, the narrow edge of the hood should overlap several inches. For smaller necklines it will overlap more. Pin or clip all three layers together at this point.
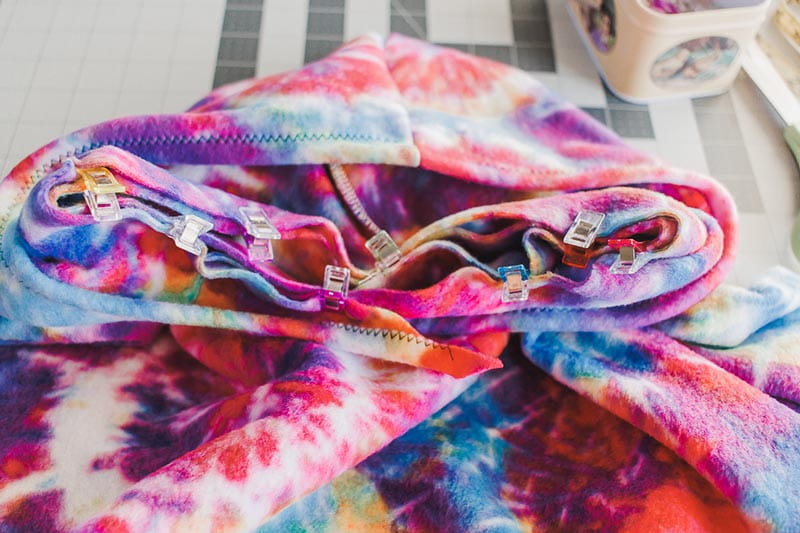
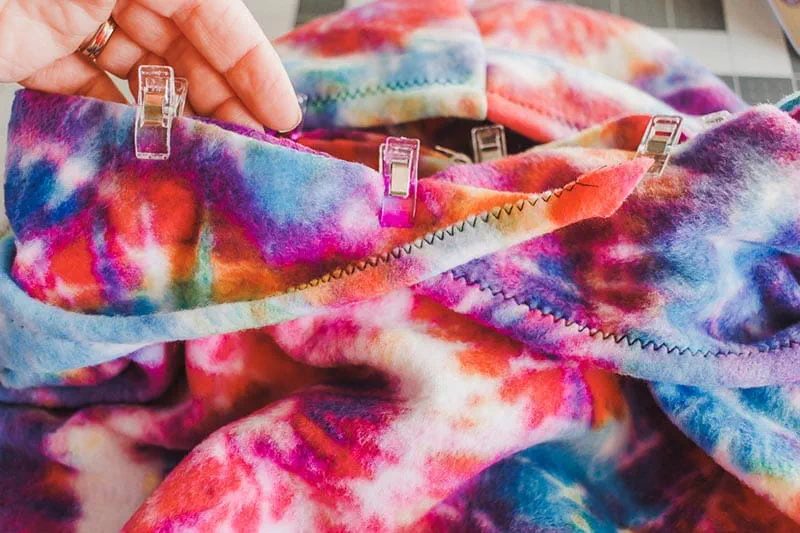
Sew all the way around the neck. I like to use my serger here for a neat neckline, but you can also use your sewing machine, then trim the extra seam allowance bulk. Make sure to catch all three layers when sewing the front of the hood and neck.
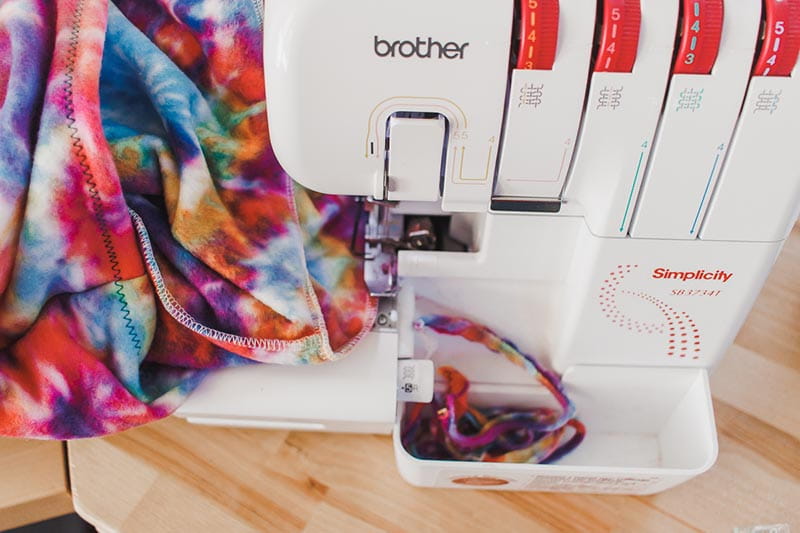
Look how cute it all looks together!
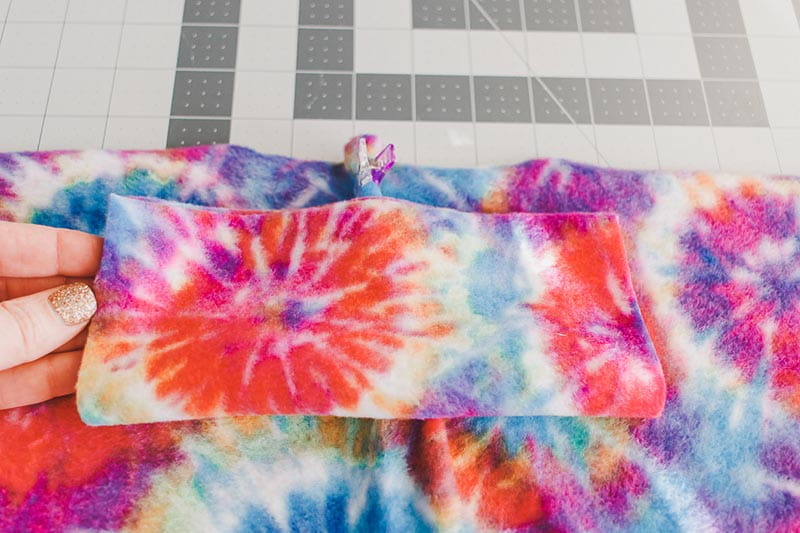
Now we need to add the cuffs to the blanket edges so that the blanket stays in place while wearing. My cuffs are about 7.5” x 7”. The 7.5” is the width and the greatest stretch should also go this direction. For smaller kids you would make this width less {or more}. I would keep the 7” length for all sizes and a nice wide cuff. Fold the cuff in half. The stretch should go with the long side.
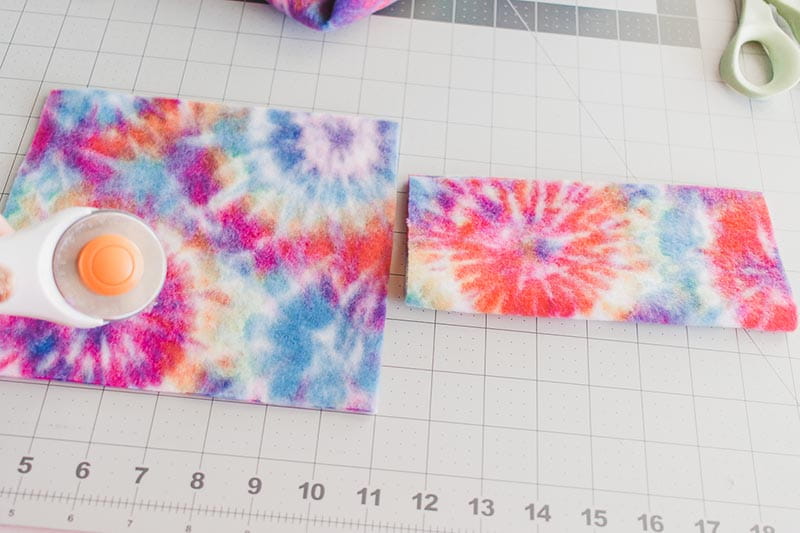
Place the center of the cuff on the top center of the sides of the blanket. Sew the long edge to the blanket, then fold in half with right sides together and sew the cuff into a circle. Do not sew the edge of the blanket, just the edges of the cuff. Finish the serger tails from sewing the cuff and your blanket is finished!
Video Tutorial
The whole thing looks super cozy and was easy to sew.
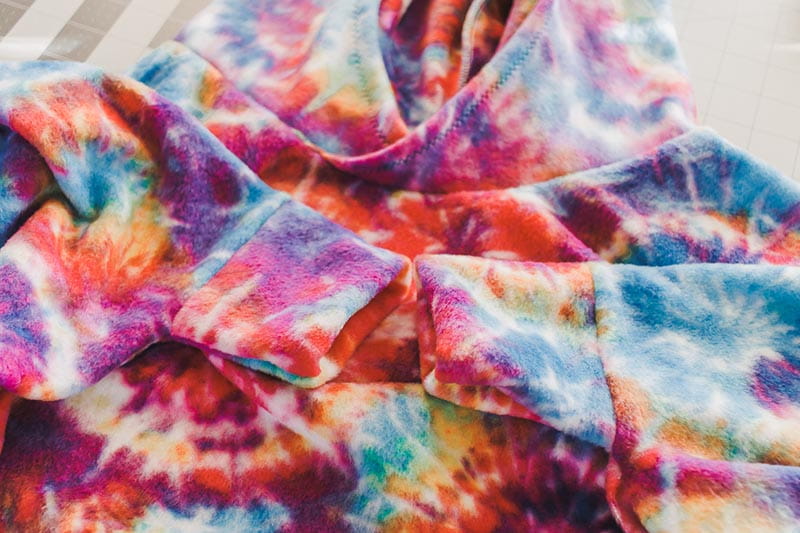
The final product is so versatile! My daughter has worn hers all over the house and out to brunch so far!! Plus, now my twelve-year-old wants one! Project success!
