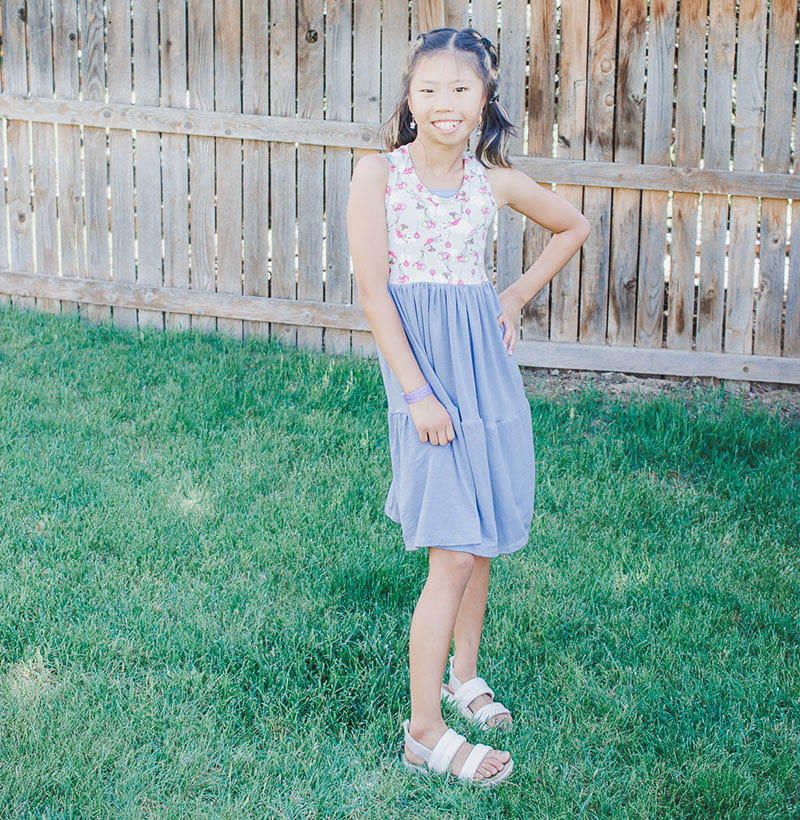
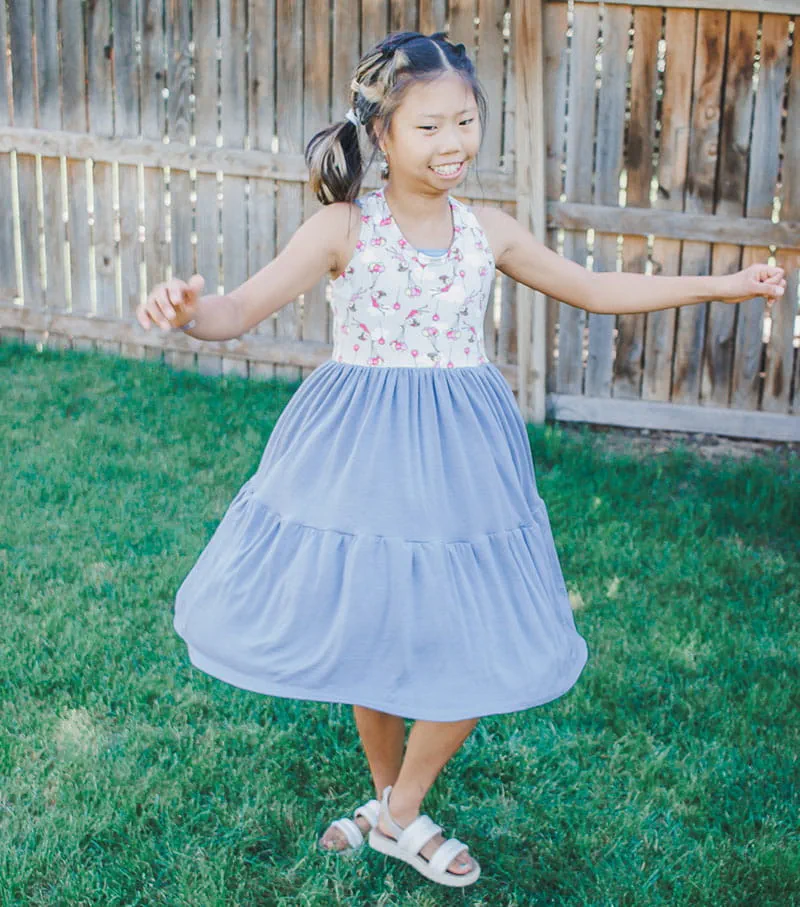
Layered Tank Dress Tutorial

Supplies and Tools:
- Serger for sewing and gathering (or sewing machine) I used the Brother Airflow3000
- Coverstitch for hemming (or sewing machine)
- Tank top or tank pattern.
- I used my free racerback tank pattern, download it here.
- Fabric for the skirt and or tank 1-2 yards of knit fabric
- Cutting mat and rotary blade for cutting skirt layers
Directions:
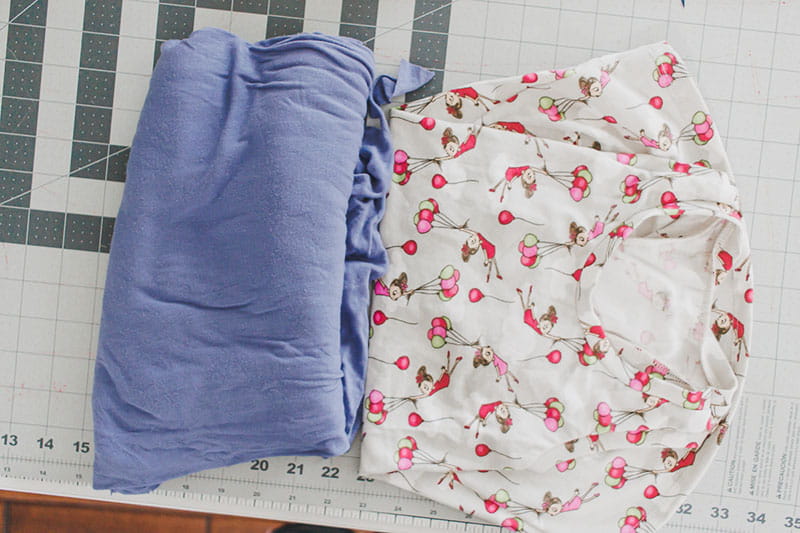
For this tank dress, I used a tank top I had sewn a few weeks ago. Rose didn’t love the fabric so I decided to turn it into a layered dress with a different fabric, and it turned out so cute.
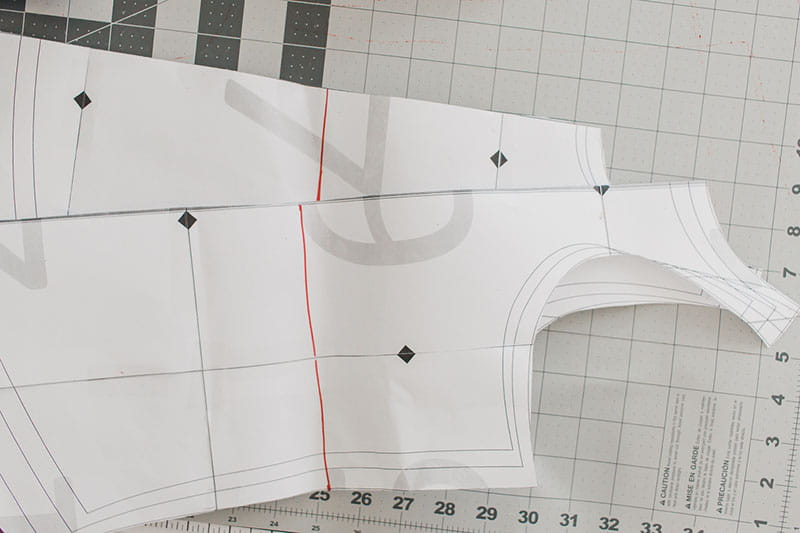
To get started, grab a tank top {of any kind} or sew one. If you are going to sew one, shorten the pattern before cutting out the fabric. I’ve marked here on the racerback tank approximately where I would shorten the pattern. Of course you can make the waist higher or lower depending on your preference.
If you are starting with a ready made tank, shorten it to the length you desire. I cut the side seam to about 5-6” long.

Measure the bottom of the tank and we will create the skirt from that measurement. The bottom of my tank is 13” wide so about 26” around. The top layer of the skirt should be double this. I cut my top layer of skirt 52” wide and about 10” tall. Of course depending on the height of your child, the height of your layers.
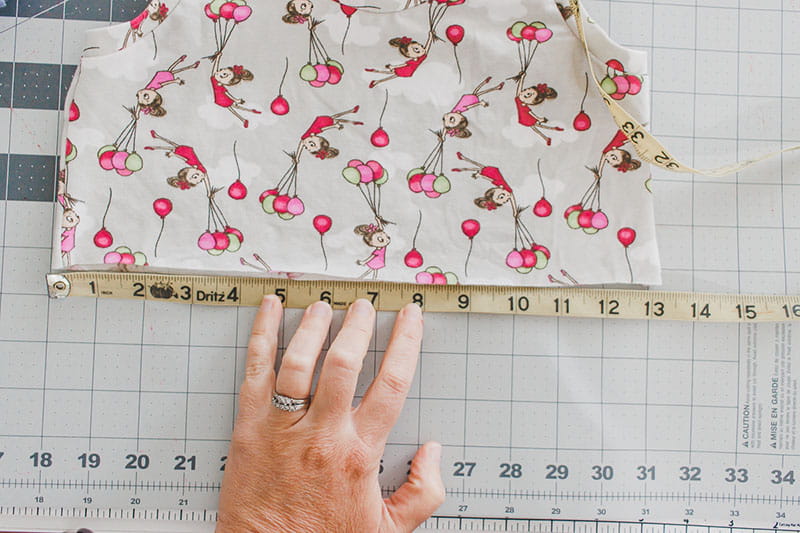
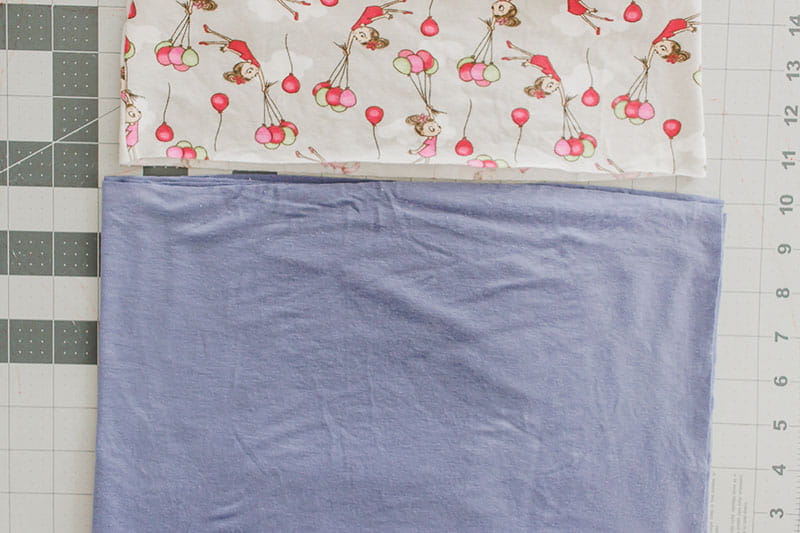
My second layer is 1.5 times the width of the first layer. So 52” x 1.5” is 78”. You probably will need more than one width of fabric. I had to cut one width of the fabric 60”, then cut another section. Here is my tank and the two layers lined up.
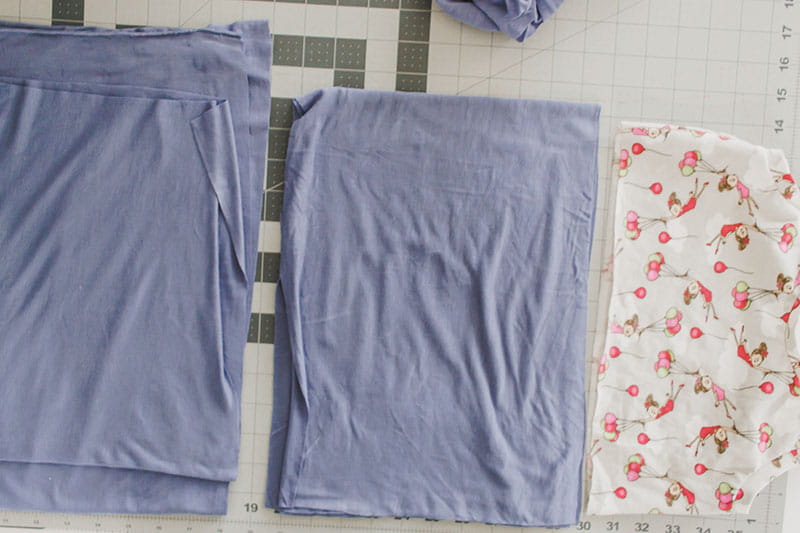
The first piece to sew is to sew the layers of the skirt together into a skirt. With the right sides together sew the short ends of the skirt layers together. The first layer of the skirt should have one seam.

The second layer has two seams piecing the two pieces together.
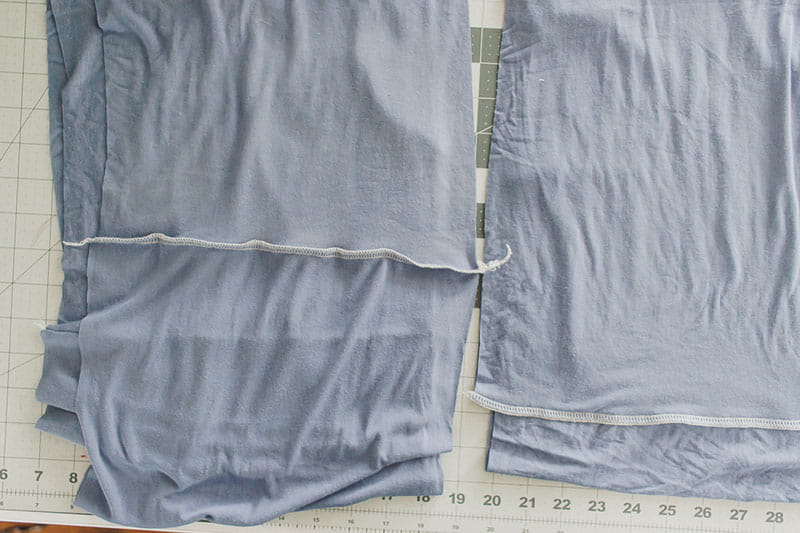
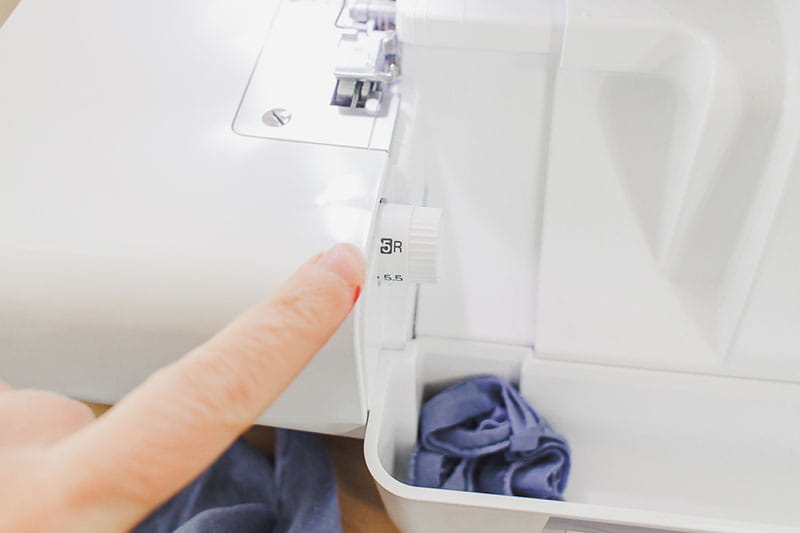
I’m going to gather the layers of the skirt on my serger. You can also just gather on your sewing machine, but I really love serger gathering. It’s so easy and so handy, I just love the nice even gathers it creates. Here are the settings I use. For stitch width I set it at the narrow 5R.
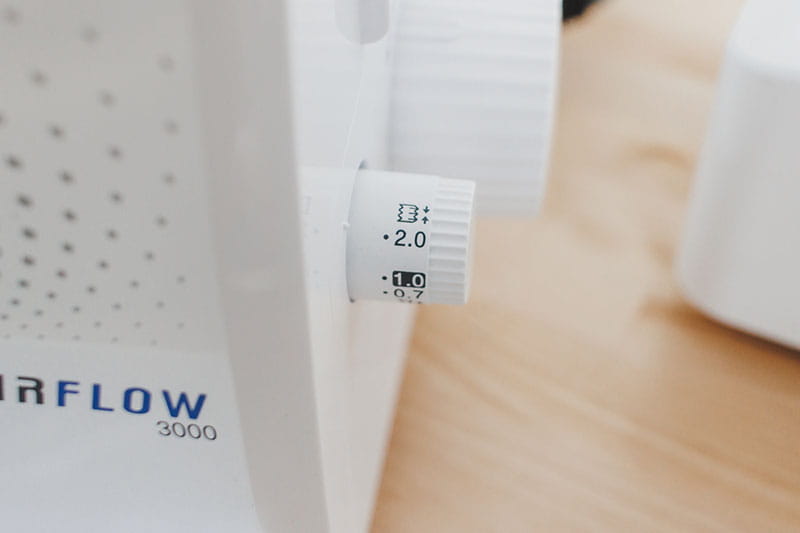
For differential feed you want the highest number I’m setting at 2.0.
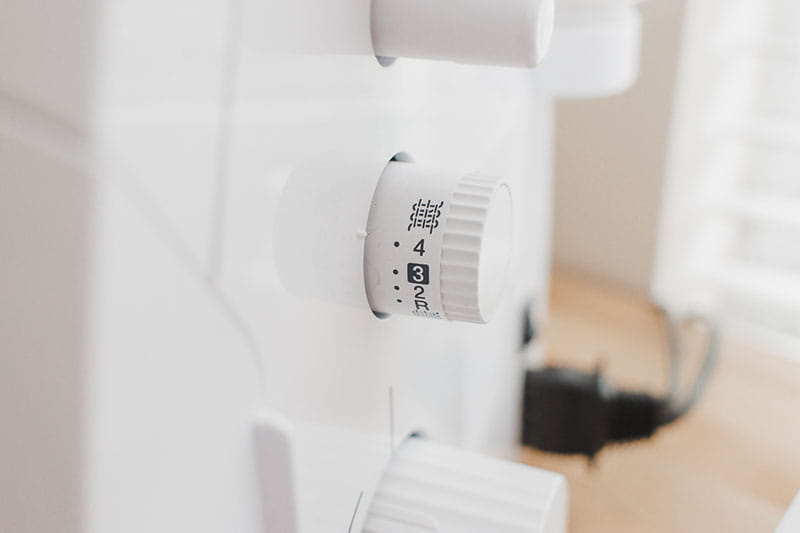
And finally, for the stitch length set it at the longest as well. I’m setting it at 4.
At this point I like to do a test on a little scrap of fabric.
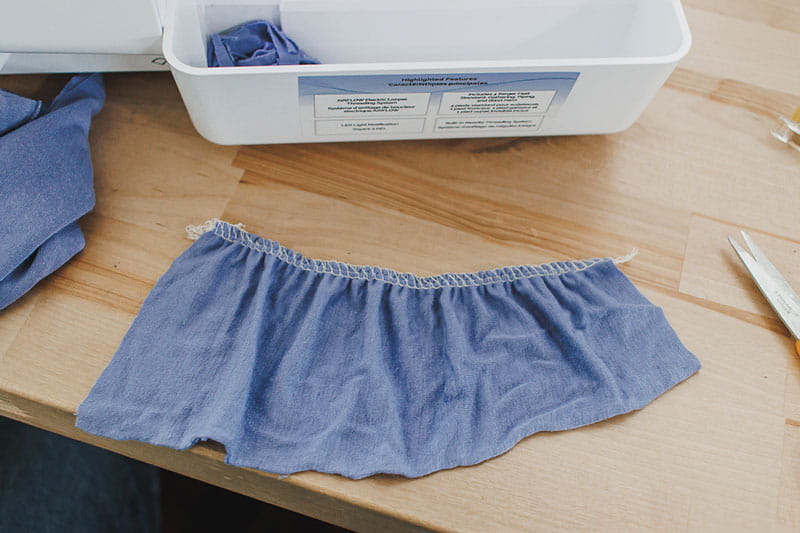
You can tighten or loosen the gathers by adjusting the thread tension. For my gathers I set my tension at about 6.
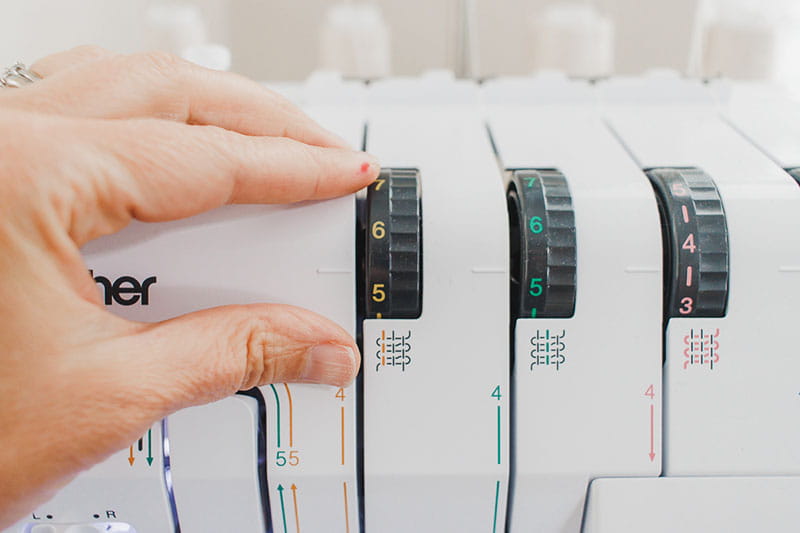
If you still need to tighten the gathers, pull a needle thread from the beginning of the stitching and use it to tighten the gathers.
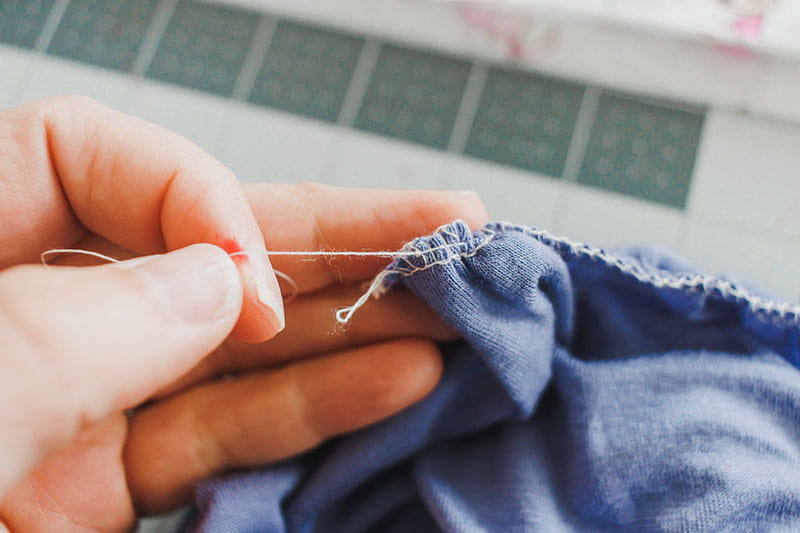
Here is my first skirt layer. You can see how where I’m pointing has tighter gathers than the front. I tightened up my needle tension after sewing a bit on this layer and you can see the difference.
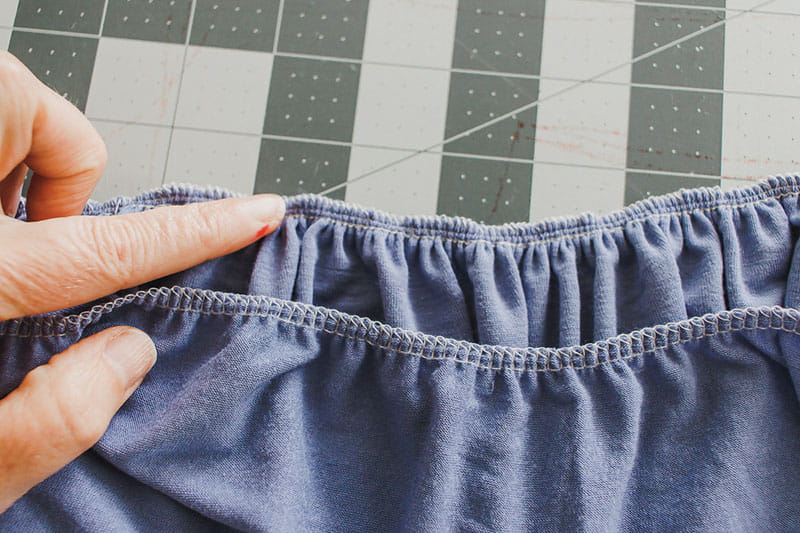
Check that your skirt layer is now the same width as the bottom of the tank top.
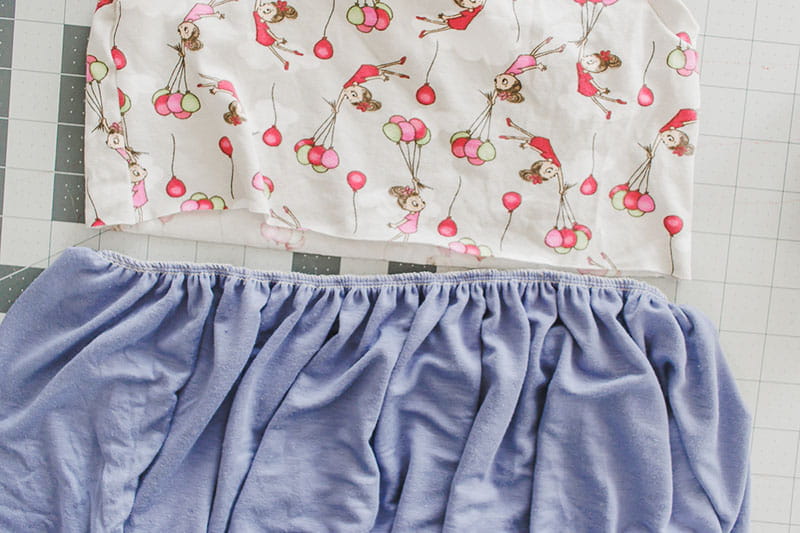
Pin or clip the gathered skirt to the bottom of the tank with the right sides of the fabric together.
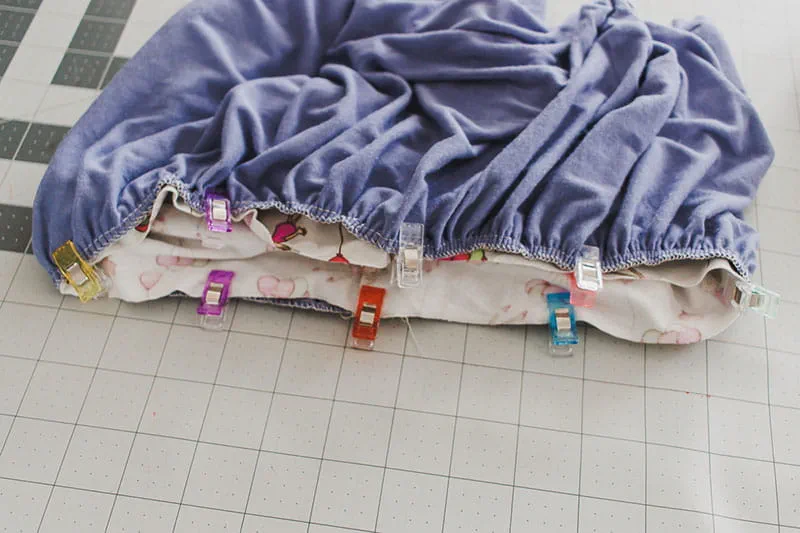
Sew this waist seam with a stretch stitch or a serger. I also added clear elastic to the seam for a bit more stability. It’s so easy to add with the serger, all in one step! I just slide the clear elastic into the hole of the serger foot and sew as normal.
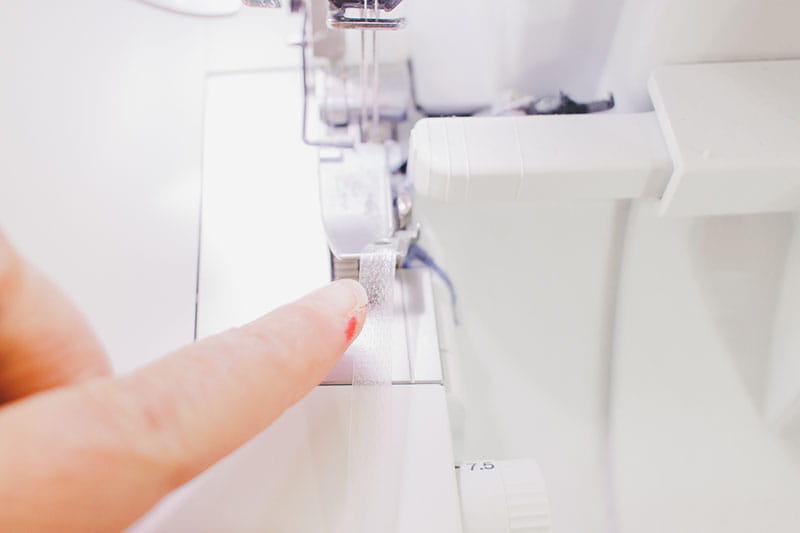
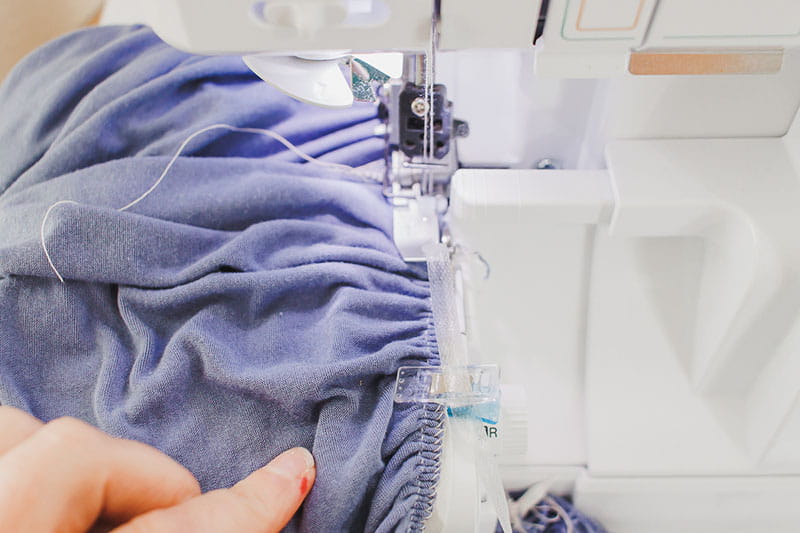
Look at how neat the pretty the seam looks when finished! The elastic is nice and tidy in the seam and the serger binds the skirt and top together.
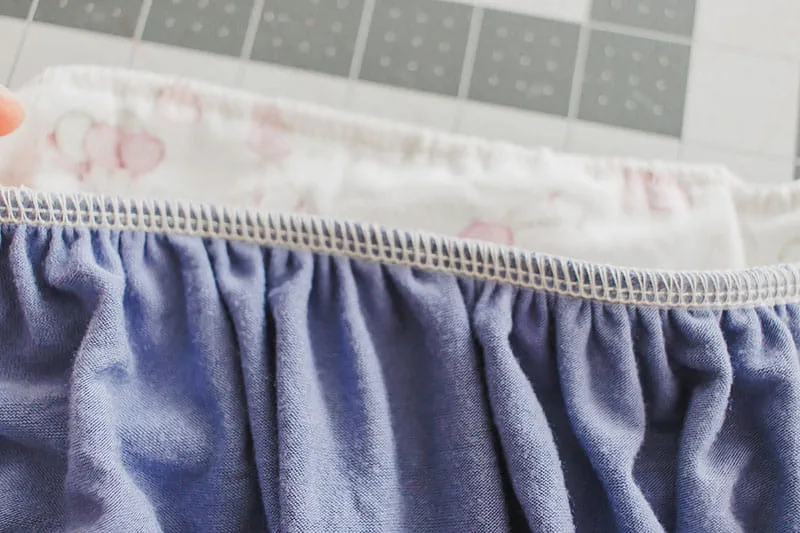
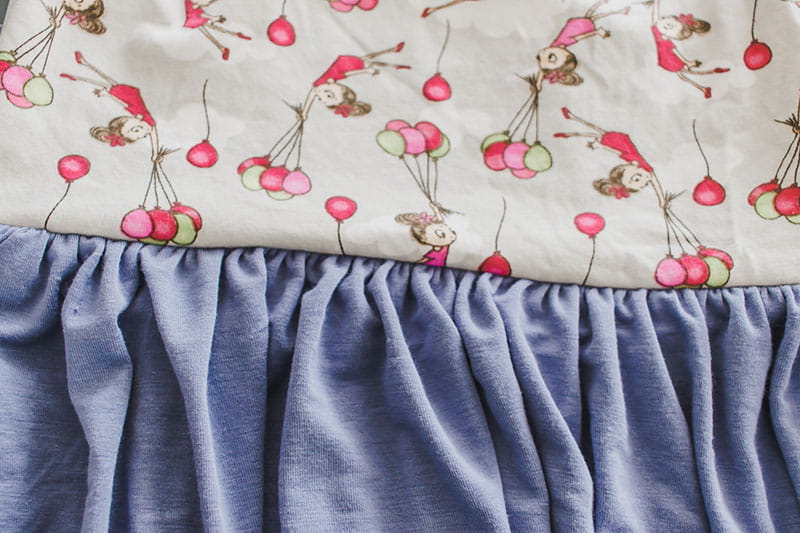
Gather and sew the second layer of the skirt just as you did the first layer. The top of the second layer should be gathered the width of the bottom of the top layer. If you want to add a third layer you can continue with the same method for another layer.
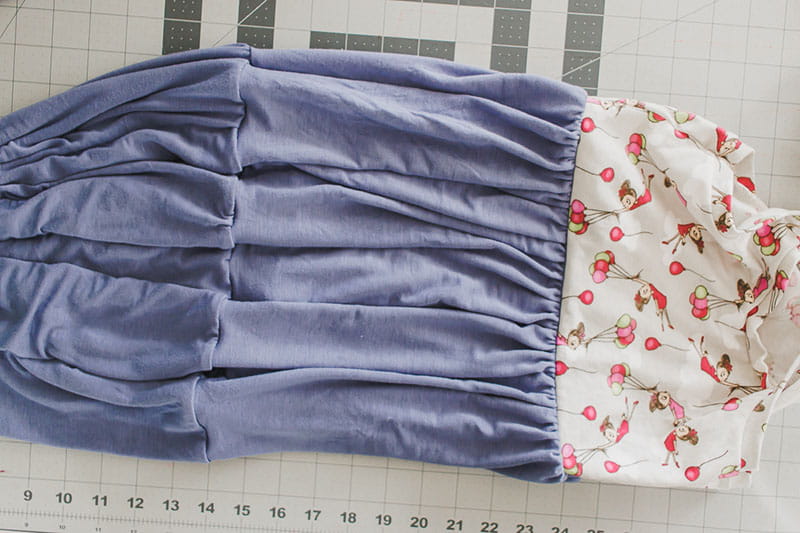
I’m stopping at two skirt layers so now it’s time to hem this dress. I used my Brother Coverstitch to add a ¾” hem to the bottom of my skirt, but you can also use a stretch stitch or twin needle on your sewing machine as well.
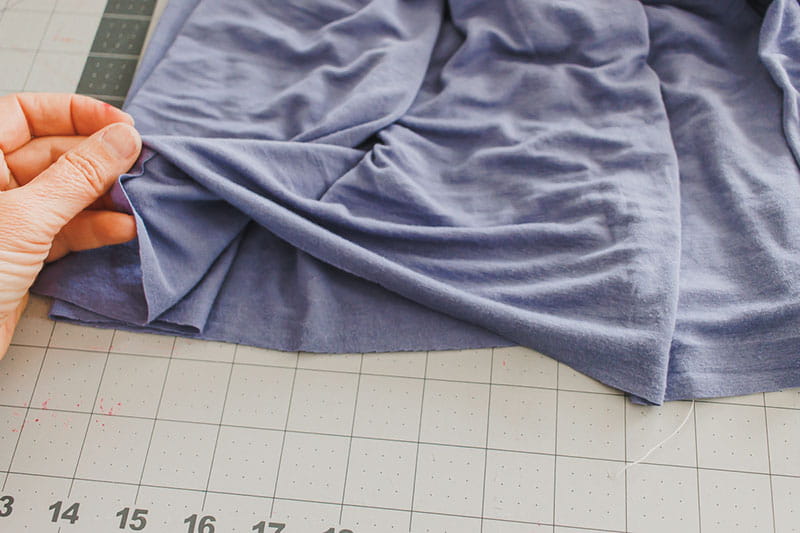
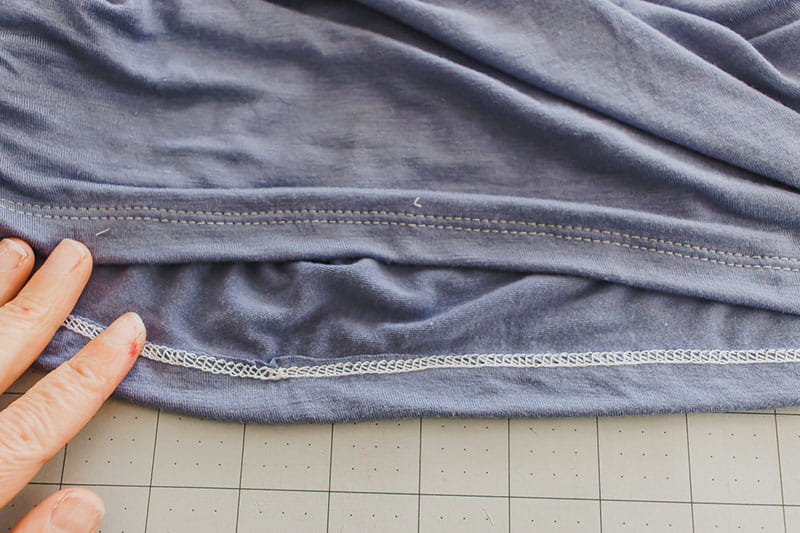
Such a pretty, neat hem!
And now my daughter can enjoy her new dress. It’s perfect for hot summer days and such a quick sew! Be on the lookout for tank top sales and make a bunch of easy dresses!
