How to Sew Buttons With Your Sewing Machine

If you didn’t know, now you know: I have an addiction to buttons.
Not just any buttons, either.
I love buttons that are used as closures for clothing. I view buttons like jewelry or accessories – they just add a lot of character to your style. If you hand-make your clothes, you especially appreciate the tiny detail of a button and what it can add to your handmade garments. As you can imagine, because I love buttons, I use them on a lot of my clothing. Finding a way to sew them on efficiently was a must for me.
When I first started sewing, I learned to sew on buttons by hand. Like so many others, this step made the process less enjoyable. (Did I mention that I was a very impatient person?) Hand sewing buttons is a long and daunting process, especially for beginners. I know some people like to hand-sew buttons, but for me, it takes away the joy of sewing because of my lack of patience. Another process that can be intimidating for most people is sewing buttonholes, specifically ensuring the buttonholes are spaced evenly and the buttons are placed in the correct position.
If these steps are not properly done, it can be very frustrating and stressful to fix. I was once the person who hated sewing on buttons and dreaded every step, but now that I’ve mastered the process, I’ve found ways to make it more efficient and a lot more fun. By the end of this tutorial, you'll go from frustrated with buttons to breezing through the process. Plus, I’ll throw in some fun, creative ideas to spark inspiration for your next sewing project!
Here’s what you’ll need to get started sewing buttons
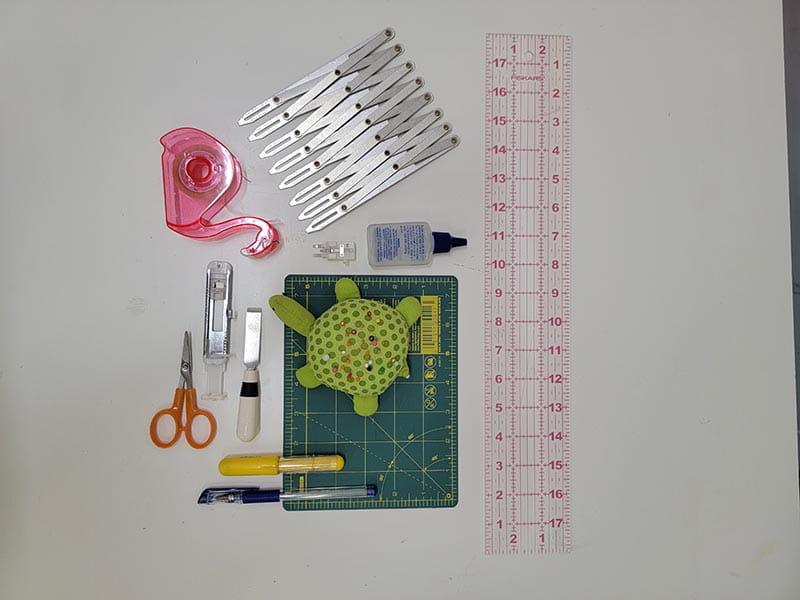
Materials:
- Brother sewing machine (I used the XJ1 sewing and embroidery machine but you can also use the XJ2 sewing and embroidery machine)
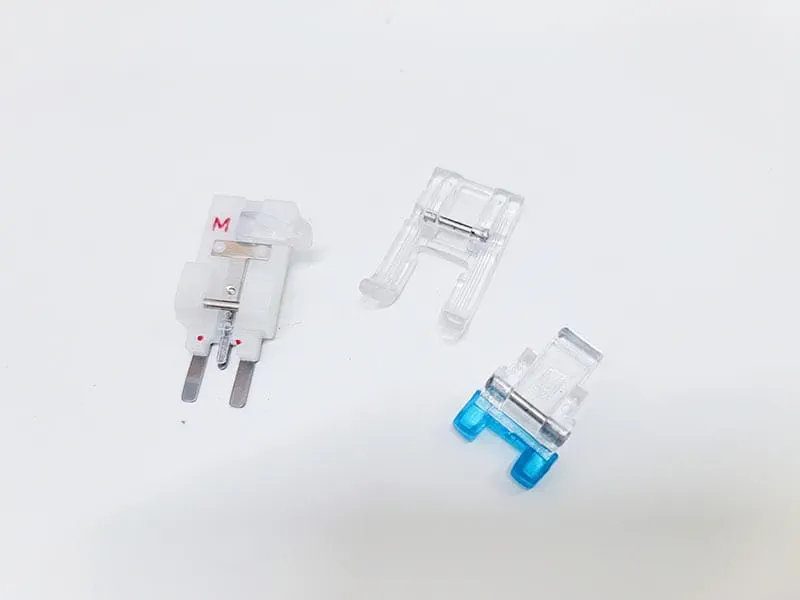
- Open toe sewing foot or button sewing foot (‘M’ Foot)
- Buttonhole sewing foot
- Buttons
- Marking tool
- Button spacer
- Ruler
- Sewing pins
- Buttonhole cutter
- Small cutting mat
- Liquid seam sealant
Pro Tip: Make sure you’re using the correct buttonhole foot attachment for your machine. Test each step on scrap fabric that's the same thickness as your garment or project.
12 steps to sewing buttons with your machine
1. Pin button plackets together
Align the button packets, which are the overlapping sections on the front of your garment. Pin them together carefully.

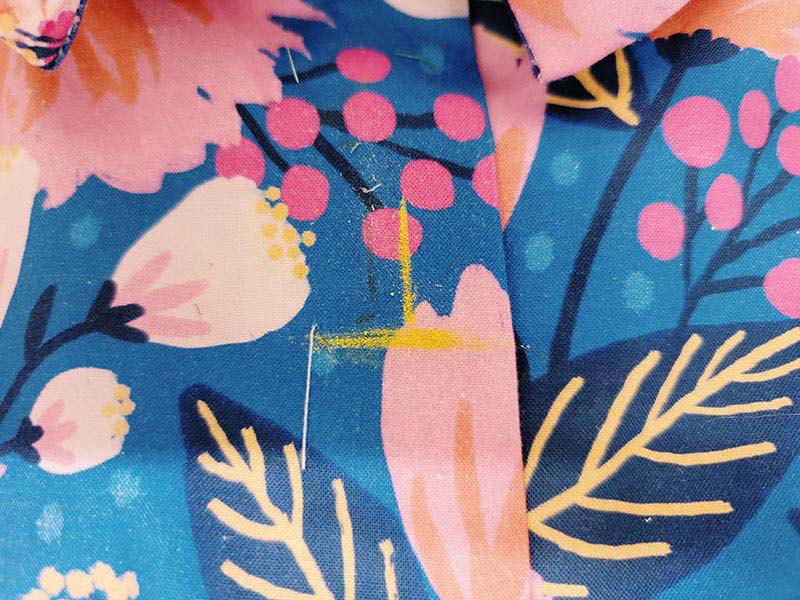
2. Mark the buttonholes
Use a button spacer to lay out where each button will go.
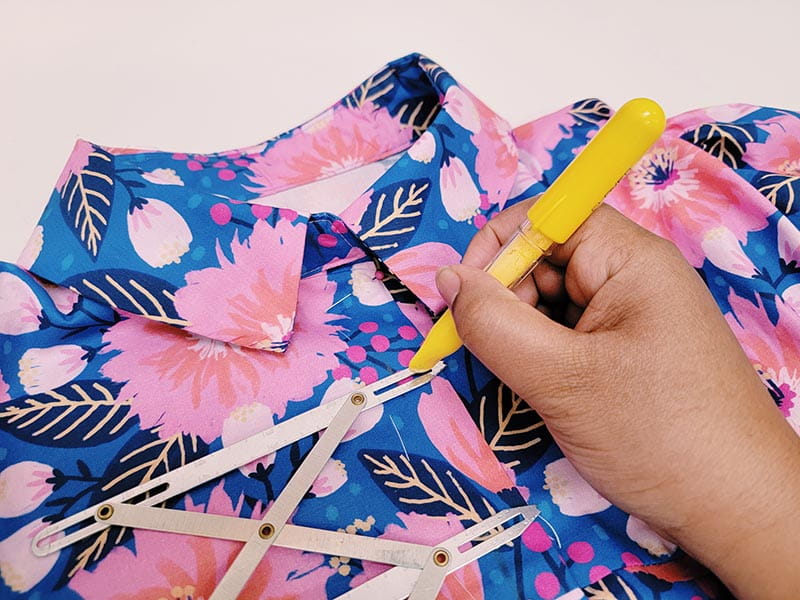
Mark the bottom of each button placement with your marking tool and then use a ruler to mark the centerline.
Repeat on a scrap piece of fabric the same thickness of your garment. You'll only need to create a mark for one buttonhole. Set aside. We’ll use this for testing in a few steps.
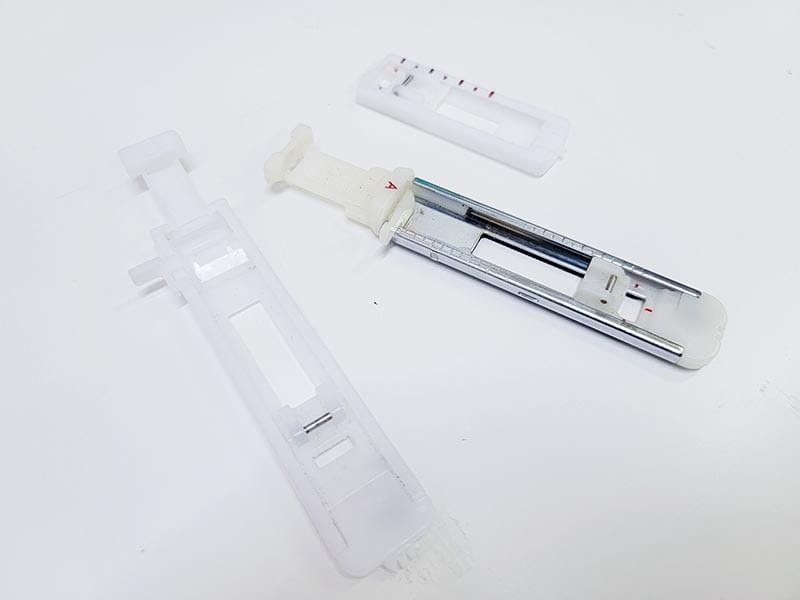
3. Set up your sewing machine
Select your desired buttonhole style.

Insert a button into the slot of the buttonhole sewing foot, ensuring it fits snugly.
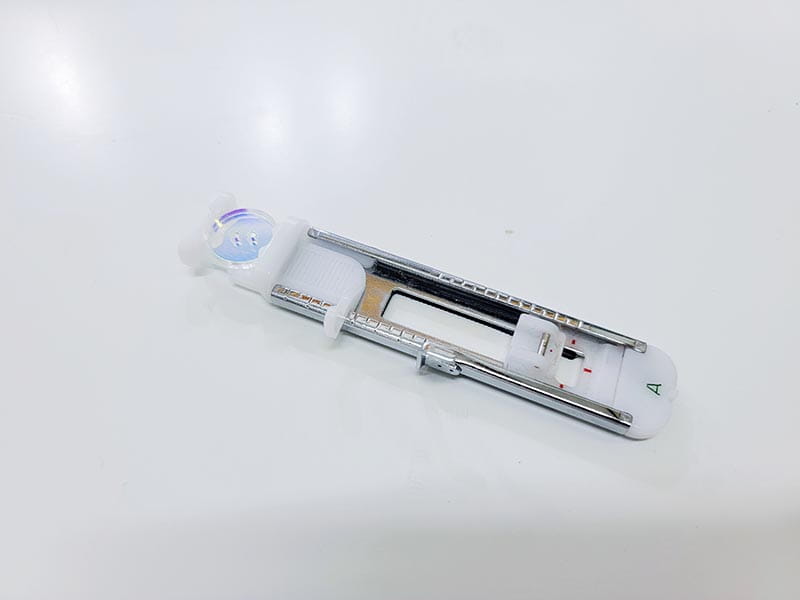
Attach the foot to your machine and lower the buttonhole lever.

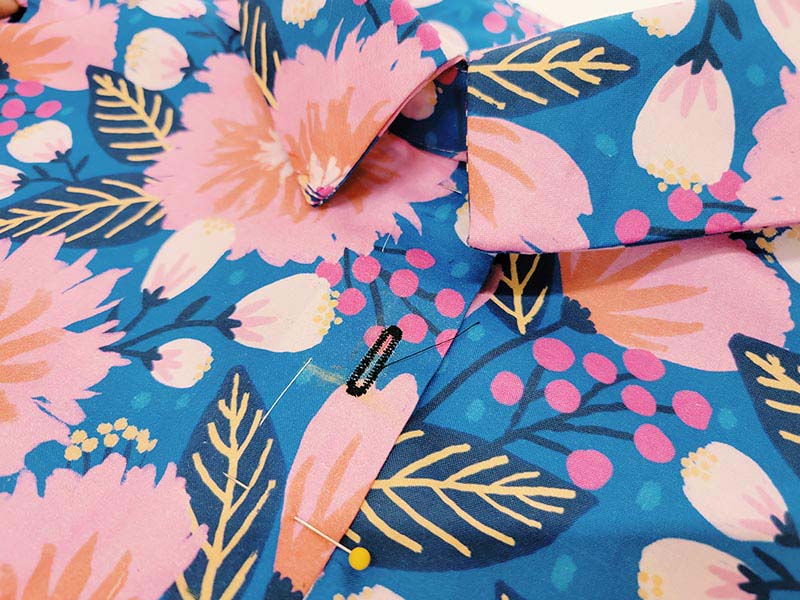
4. Test the buttonhole
Place the scrap fabric under your foot, aligning the markings to the sewing foot lines.

Slowly press the foot pedal while guiding the fabric lightly. Allow the machine to complete the buttonhole automatically. This is how your buttonhole should look.
The horizontal line that you drew previously should match up with the bottom opening. And not the bottom edge of the buttonhole.

If there were any threading mishaps while sewing the buttonhole, re-thread your machine and try again. Make sure that the top thread sits under the buttonhole foot and pulls to the back. Repeat this process on your garment for all buttonholes.
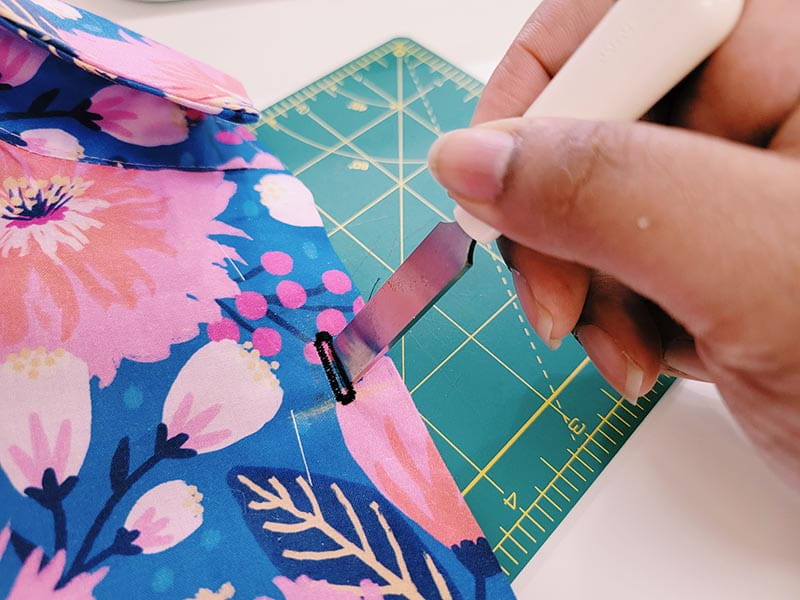
5. Cut and secure
Using a buttonhole cutter and cutting mat, open each buttonhole carefully. Apply liquid seam sealant around the edges to prevent fraying.
6. Layer the placket with buttonholes
Layer the garment fronts so that the centers are aligned. The side with the buttonholes should overlap the other side. Pin everything securely.
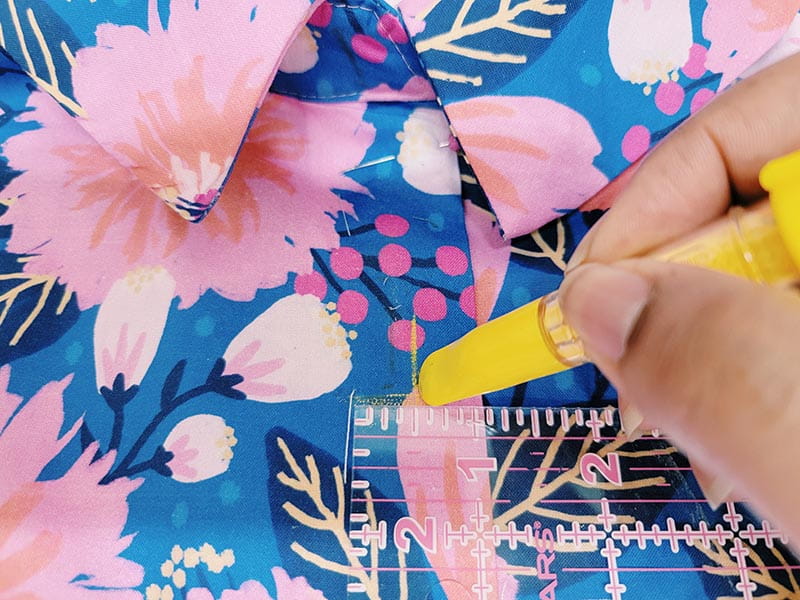
7. Mark button placement
Using an erasable pen, mark through the center of each buttonhole onto the fabric underneath. Repeat for all button positions.

8. Hold the buttons in place
Tape each button onto its mark to prevent it from sliding during sewing.

9. Swap the foot to a button sewing foot
Swap the foot to a button sewing foot.
If your machine doesn’t have a button-specific setting, choose a zigzag stitch, set the stitch length to zero, and adjust the width to align perfectly with the holes in the button.

10. Test on a piece of fabric
Just like with buttonholes, test the setup on scrap fabric. Adjust your needle width if necessary to prevent broken needles.

11. Sew the buttons
Place the fabric with the button under the needle. Slowly press the foot pedal while ensuring the needle passes cleanly through both holes of the button. Repeat for all buttons.

12. Remove the tape
Carefully remove any tape and check that the buttons align with the buttonholes.


Create buttonholes with confidence
And there you have it! No more dread or delays when it comes to button-sewing. With these simple, easy-to-follow steps, you’ll be able to attach buttons and create buttonholes with confidence. Whether you’re adding bold fasteners to your handmade garments or revamping thrift store finds, you now have the tools and techniques you need to make it happen.
Get creative, and most importantly, have fun! Take a peek at this button neckline sewing tutorial or this tutorial on sewing buttons on a coat to continue practicing your button sewing skills.
FAQs
Q: Do I need a specific sewing machine to sew buttons?
A: Almost all sewing machines can sew buttons as long as they allow for a zigzag stitch. However, a machine with a button-sewing function (like many Brother models such as the PS500 sewing machine) makes the process even easier.
Q: How do I ensure my buttonholes are straight?
A: Always mark the placement carefully with a ruler and a testing piece first. Taking the time to align plackets and markings during preparation is key to straight lines.
Q: Do I need different feet for sewing buttonholes and buttons?
A: Yes! Buttonholes require a buttonhole foot, while sewing buttons requires a button sewing foot (commonly labeled as the 'M' foot).
Q: How do I sew buttons on thick fabrics?
A: Use a machine-friendly button spacer to raise your button slightly above the fabric. This prevents too much tension and ensures a secure attachment.
Related Projects
Stay Connected
* Required fields