How to Make A Ribbon Embellishment T-Shirt
With all of the activities that our family has going on this summer, we will be outdoors quite a bit. Sun protection is the most important thing to remember this summer, so we are always prepared with the proper tools. Besides sunscreen, I always pack great hats for my kids. I make sure to get ones that provide ample shade and block the sun’s rays from their eyes. If you’ve been around here long enough and you know me, I’m always going to keep you up on trends and not only make my family stylish, but you and yours too! So with that said. Let’s talk hats.
I love coming up with all kinds of ways to transform a t-shirt with the help of some sewing and a little
A t-shirt is a blank canvas that can be transformed into just about anything. Children, as well as adults, will enjoy this type of sewing project. To put it simply, it’s a fun way to give an old tshirtnew life.
If you are in a group setting with a bunch of kids, giving them a t-shirt and allowing them the freedom to get their creative juices flowing is so much fun to watch – and gives the parents some time to unwind.
I remember when I was atfashion camp and hosted a contest for all the girls to take a basic white tee and turn it into something amazing. I absolutely loved all of the ideas they came up with -it’s inspiring for both the kids and myself. It sparks not only creativity but also encourages common sense solutions to problems.
Transforming a t-shirt can be an educational experience. Kids end up having so much fun that they don’t realize they are learning something!
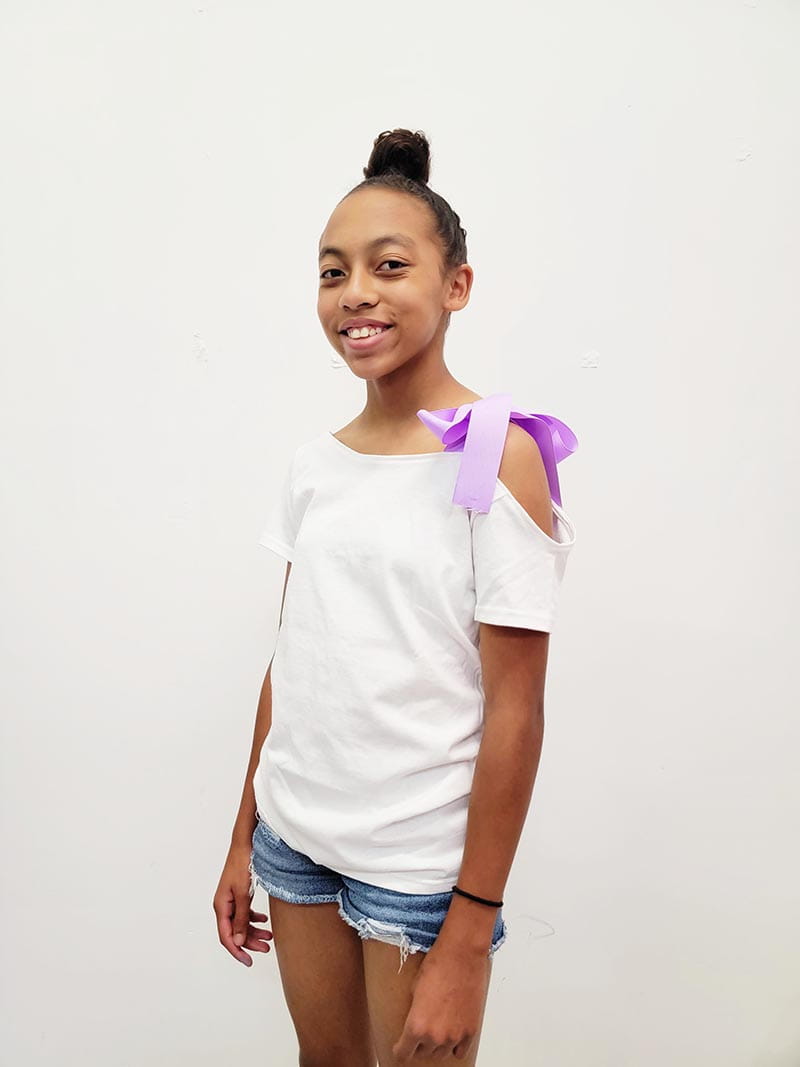
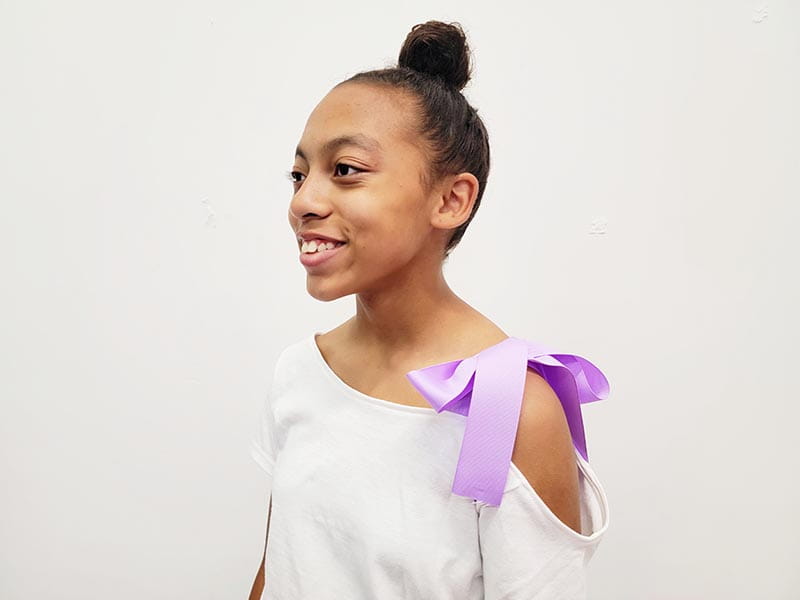
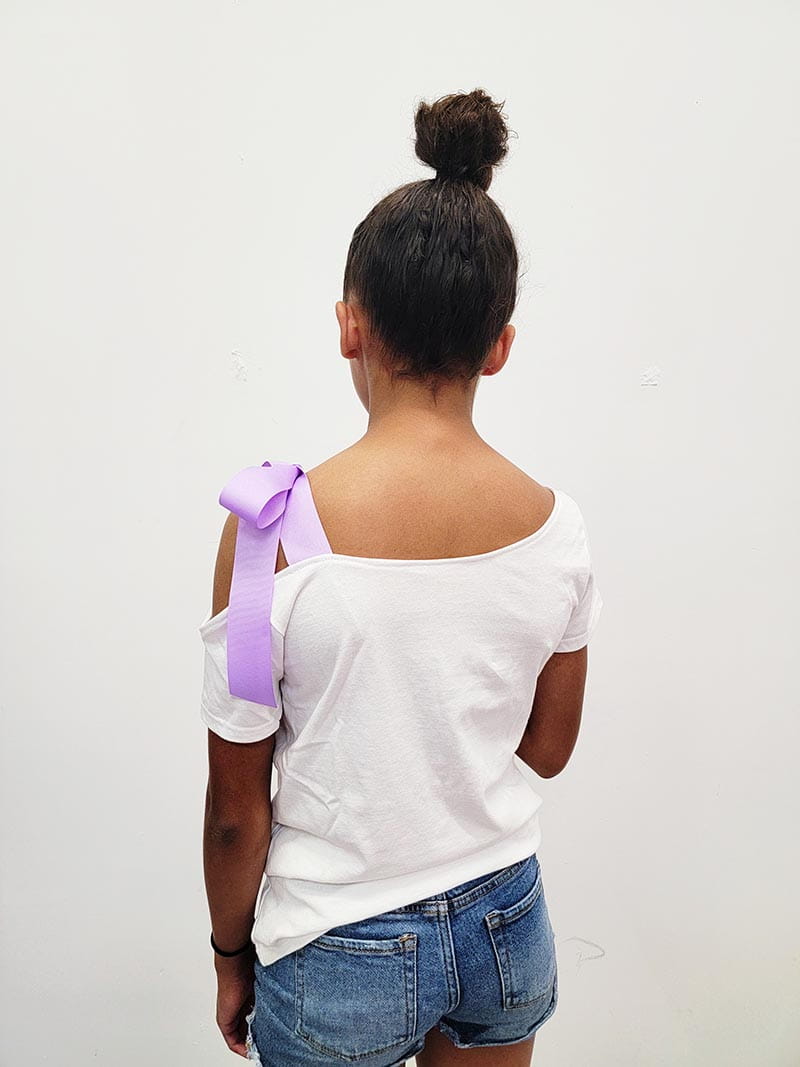
Today we are going to create a cute off-the-shoulder style t-shirt with the help of some pretty ribbons.
I recommend using a ribbon no smaller than 1.5- 2 inch wide fabric. I love using ribbons in a variety of shades, textures, and prints.
If you don’t have any ribbons readily available, don’t panic! Instead, you can use fabric accents to add fashion and flair. Cut your fabric into two rectangles, sew them into straps, and there you have it. It’s an extra step compared to using ribbon, but it’s another option that produces great results.
Now let’s get started creating a unique t-shirt project!
What you need before you start to sew a ribbon embellishment t-shirt
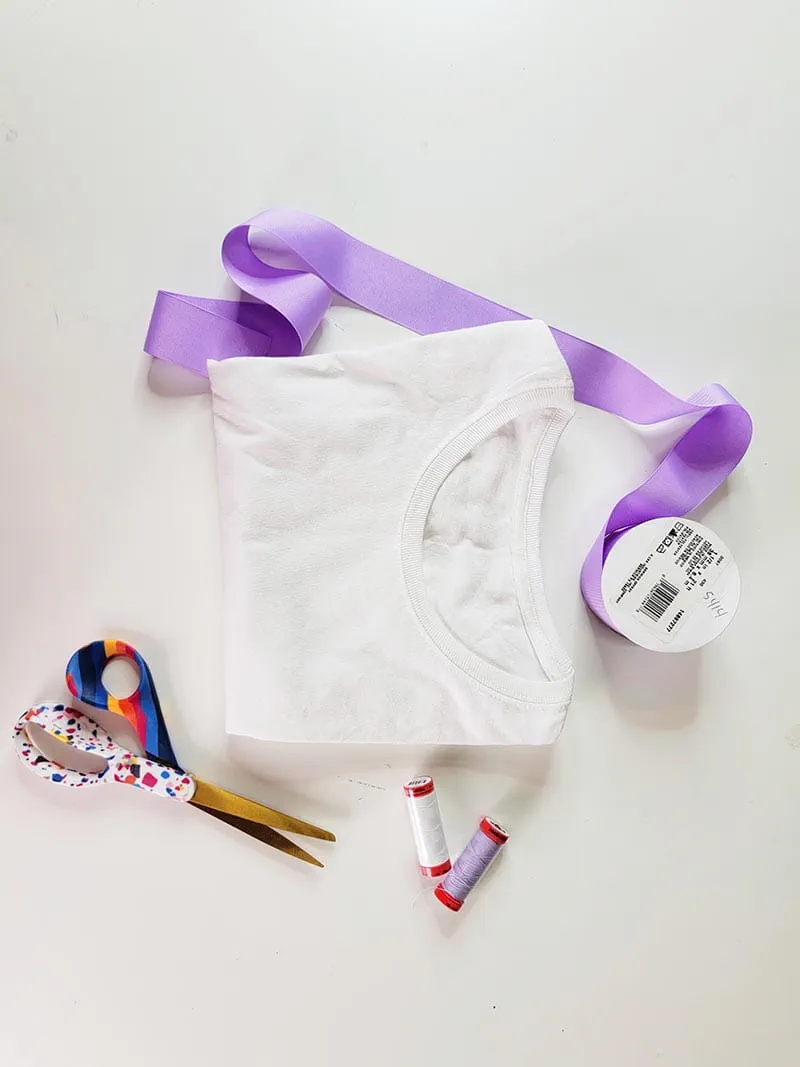
Supplies
- Brother SE625 Sewing Machine
- Scissors
- T-shirt
- Ribbon (1.5 in. - 2 in. wide)
- Single fold bias tape
- Sewing pins
- Matching thread and bobbin
- Fabric marking tool
Instructions on how to sew a ribbon embellishment t-shirt
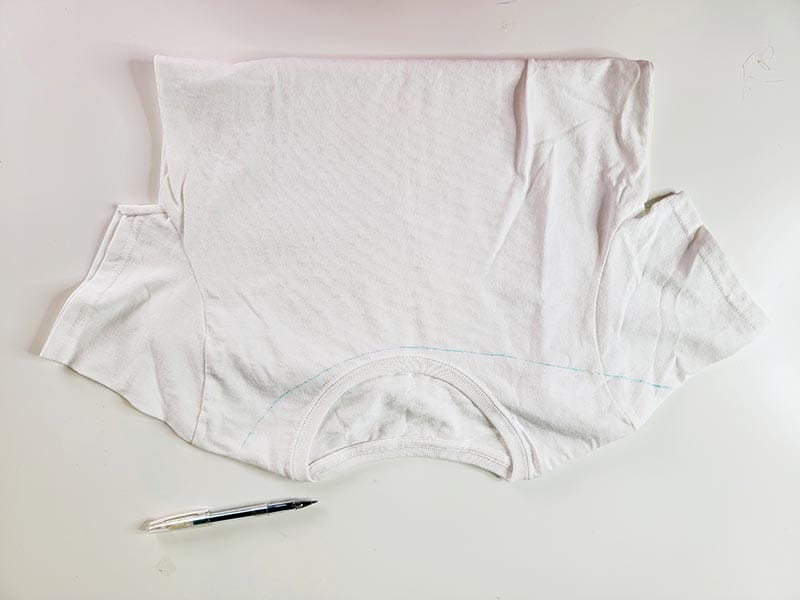
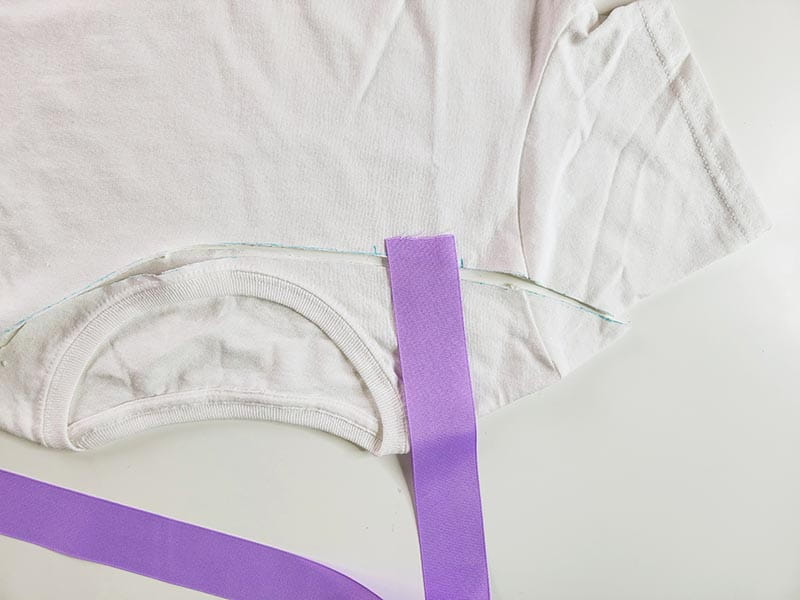
- Cut two ribbons measuring 8 inches in length. Set aside. Lay your t-shirt on a flat surface with the right side of the shirt facing up.
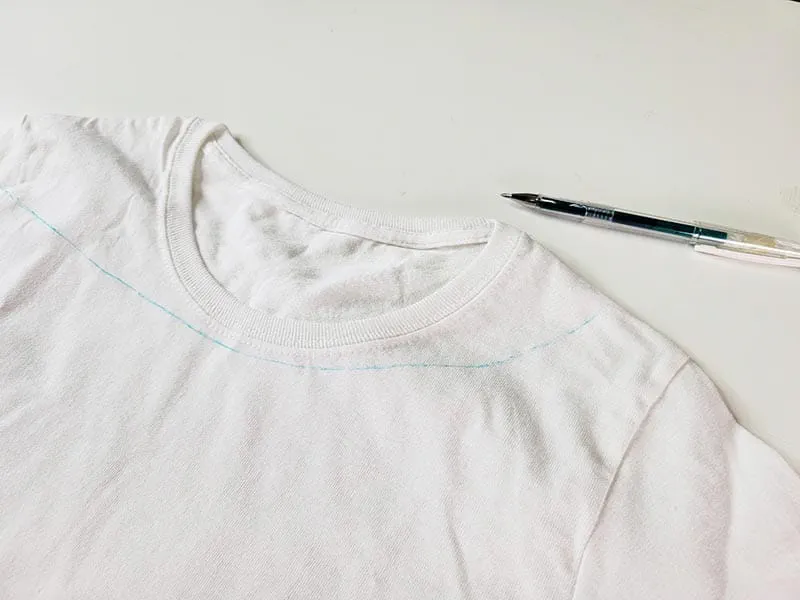
- Draw a mark at the middle of the right side shoulder of the shirt, then draw a mark on the upper sleeve of the left side of the shirt (just pass the seam). Connect the markings by drawing a line across the top of the shirt.
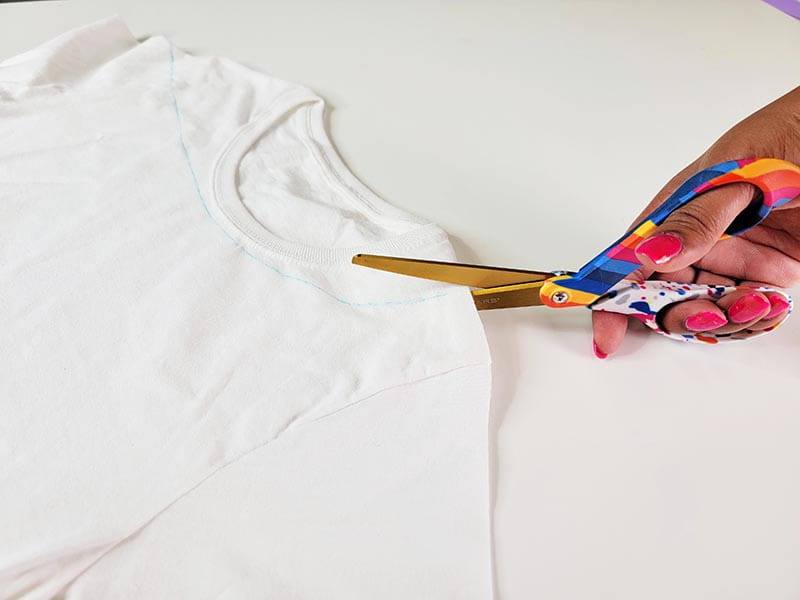
- Cut along the line using sharp fabric scissors
- Before separating the top of the shirt from the bottom, place the ribbon where it would naturally fall on the shoulder. Create a mark on the left and right sides of the ribbon.
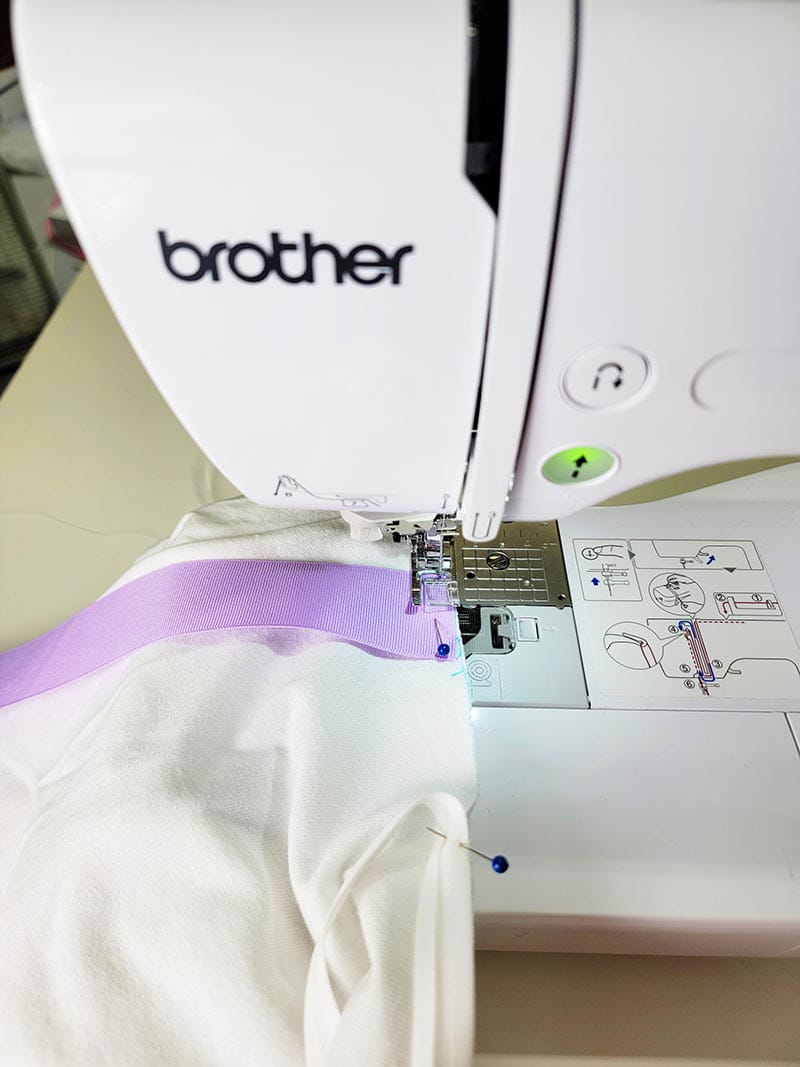
- With the ribbon lying towards the bottom of the shirt, pin the ribbon in place.
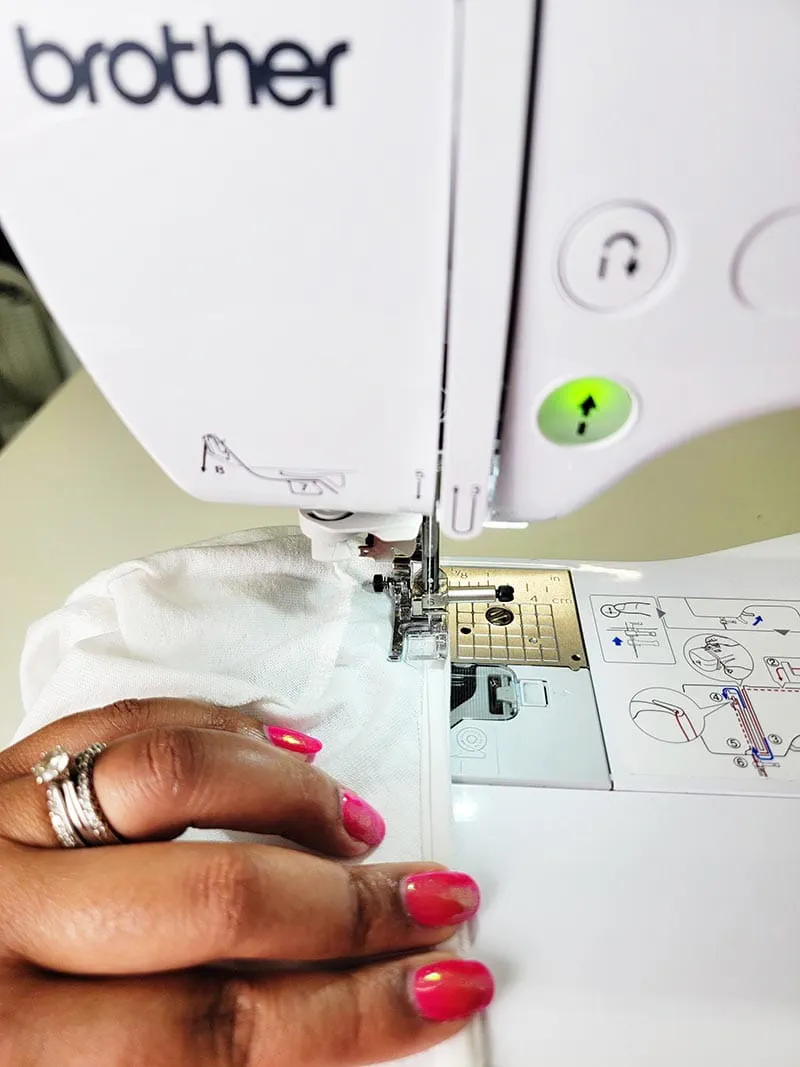
- Sewing as close to the edge as possible, baste in place.
- Starting at the shoulder seam, pin bias tape along the top edge, right side of the shirt. Pinning all the way around from the front to the backside.
- Stitch bias tape in place.
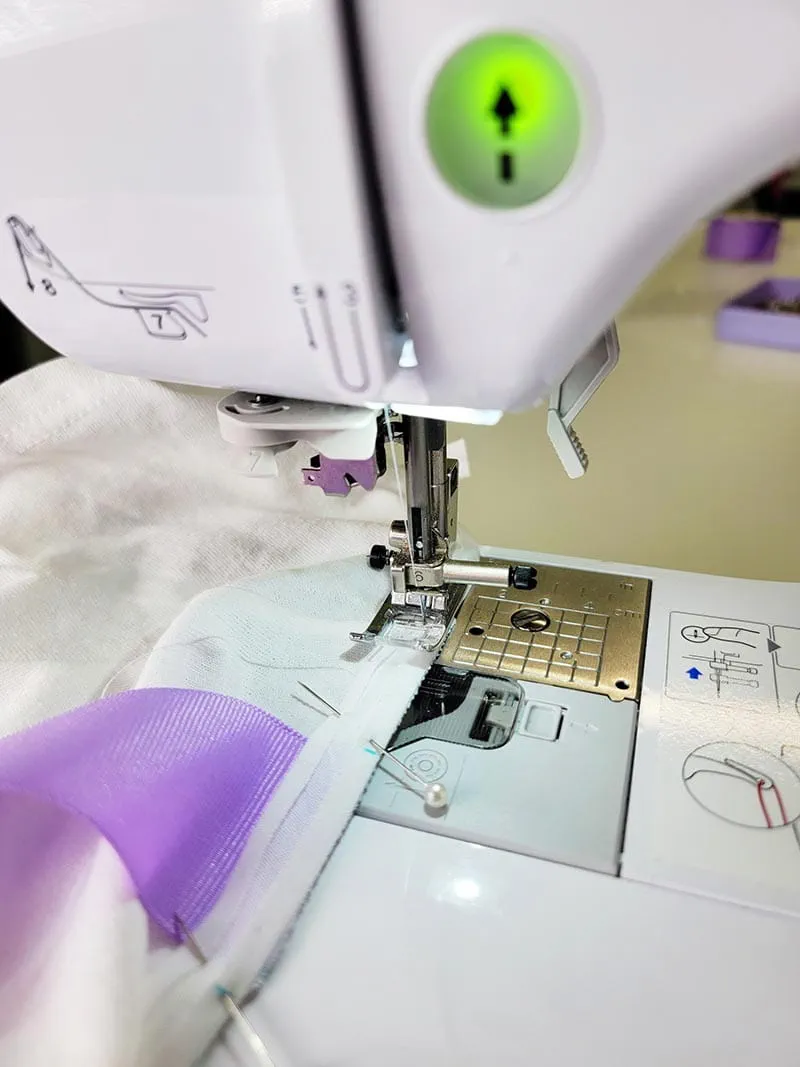
- Fold the bias tape to the inside of the top edge of the shirt. Sew in place.

Tags
Shop this Project
No sewing or embroidery machine? No problem! Any products mentioned in this project are available to buy here so you can stay stitching.

Brother Sewing and Embroidery Machines
Related Projects
Stay Connected
* Required fields