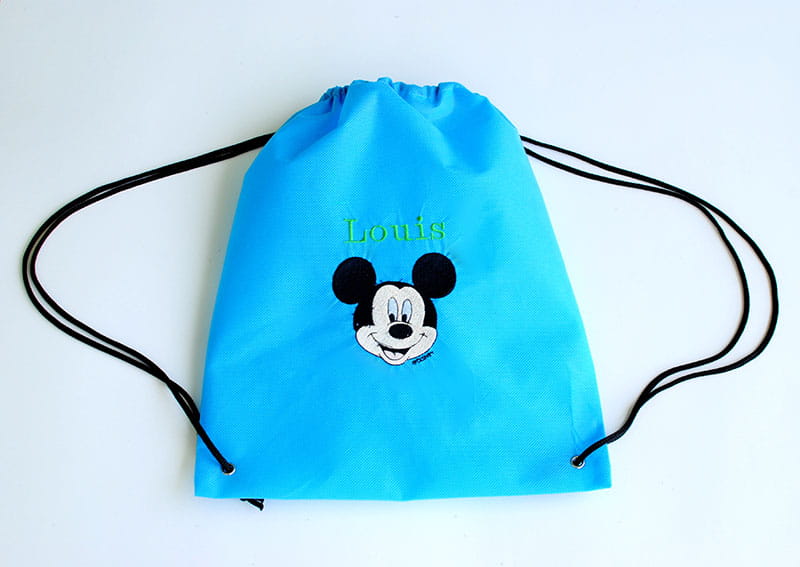
How to Sew and Embroider a Disney Drawstring Backpack
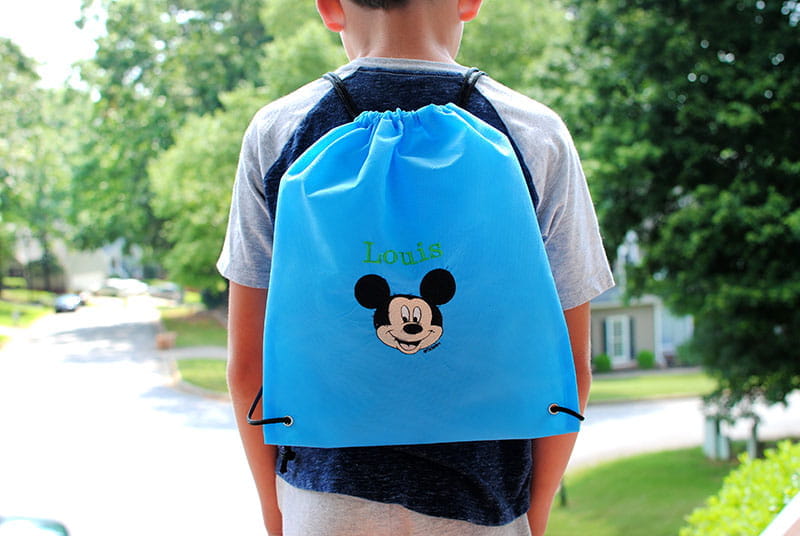
With summer trips and vacations just around the corner. I thought it would be fun to sew some custom drawstring backpacks embroidered with Disney characters. These hand-embroidered drawstring bags are especially fun for kids, and might even make them more excited to pack for a trip!. My son loves adding his notepad, pencils, and snacks to his handmade Disney backpack. You can alter the size and customize the embroidery as needed. These backpacks are quick to sew and an easy bulk sewing project for upcoming occasions, such as group vacations, summer camp, or just for gfun. Get the details below on how to make a custom drawstring backpack.
Supplies:
- Brother PE550D
- Ibroidery designs or built-in designs
- Fabric measuring 12.5” wide x 28” long (or 2 pieces 12.5 x 14”)
- 3 yards of string (per backpack)
- Embroidery supplies
- Pacesetter Medium TearAway Stabilizer
- Embroidery thread
Step 1)
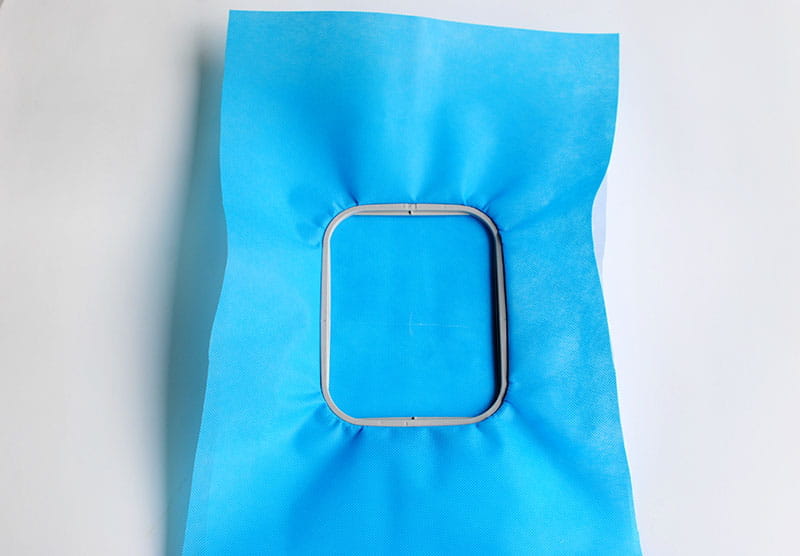
Embroidering the front
Find the center of the top piece and hoop with the TearAway stabilizer
Step 2)
Center the design using the touch screen to the correct placement
Embroider!

Step 3)
Once Mickey is done I wanted to add lettering. Re-hoop just above the design and center it using the touch screen. Embroider!

Step 4)
Once embroidery is finished remove the stabilizer.
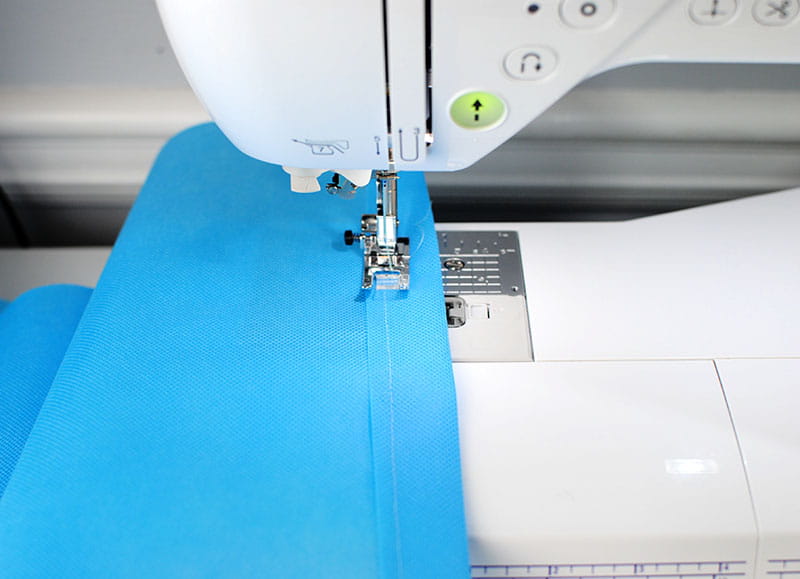
Fold over the top edges 1” and edge stitch to create a casing for the string.
Step 5)
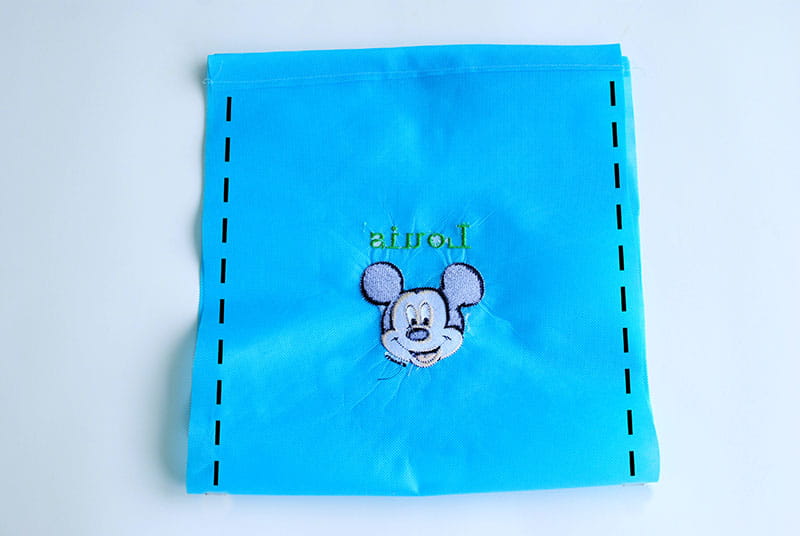
Place front and back right sides together and stitch along the side seams leaving open the top hem for the drawstring
Step 6)
Flip right sides and push corners out.
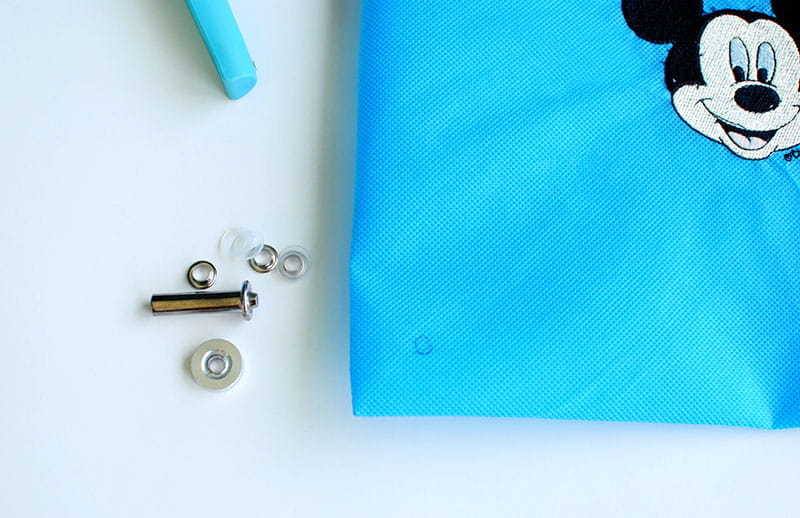
Use a 2-part eyelet kit to create the holes for the bottom straps. Mark ½” up and over and follow the directions to place the eyelet into position. You can also make a button hole opening there instead.
Step 7a/7b
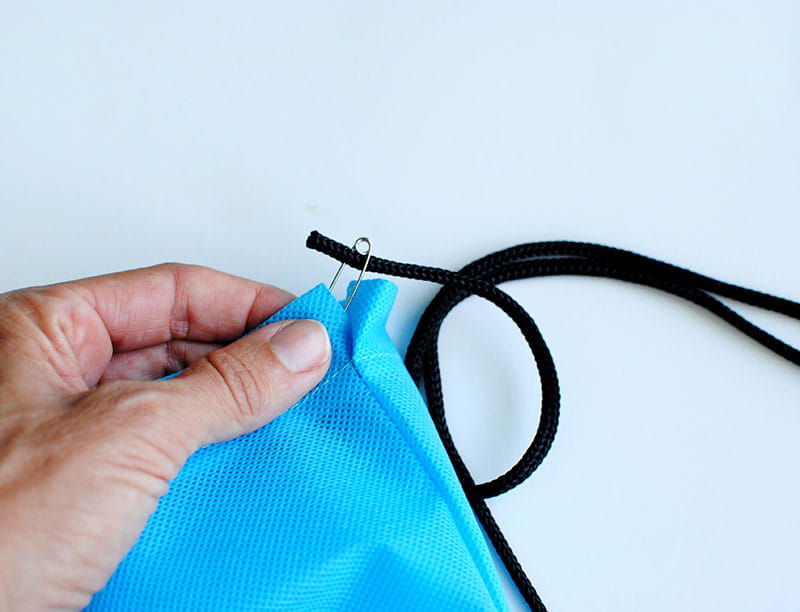
Cut your string in half. Pull one piece through the top front casing and then follow through to the back so both strings are out on the same side.
Step 8)
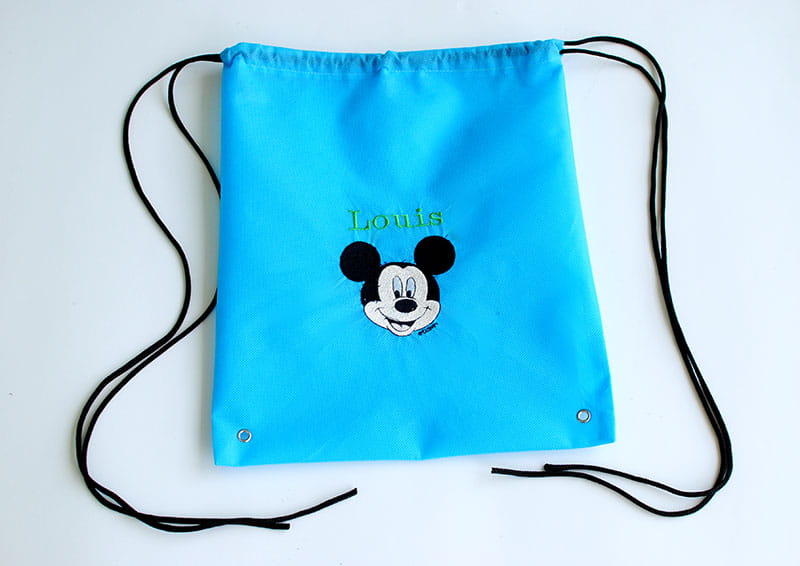
Repeat with the other string on the opposite side.
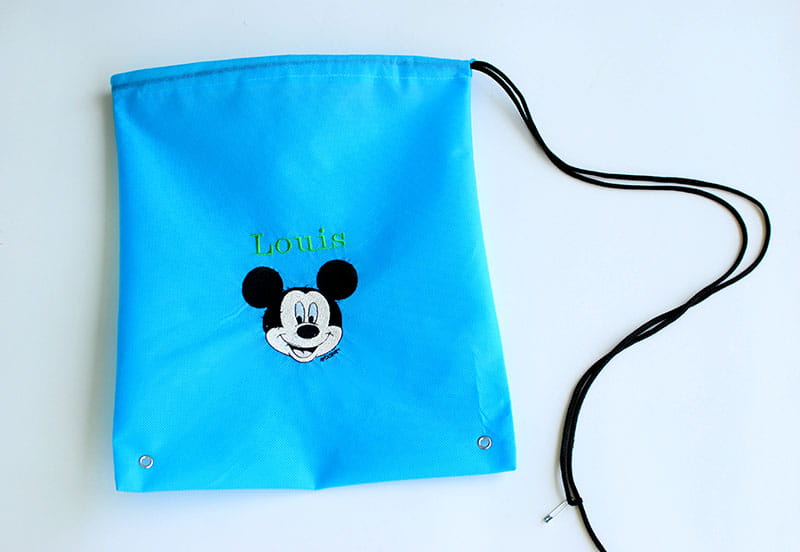
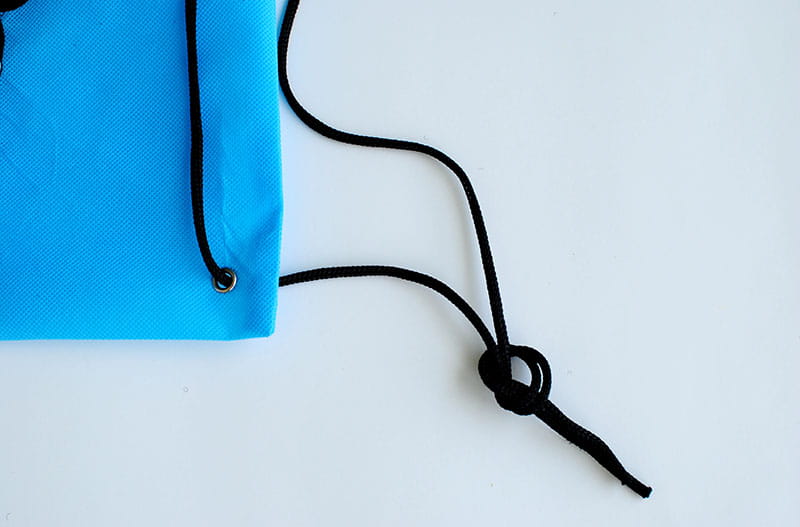
Step 9/9b
At the bottom pull the top string through the eyelet opening and tie in a knot in the back with the other string.

Tags
Shop this Project
No sewing or embroidery machine? No problem! Any products mentioned in this project are available to buy here so you can stay stitching.

Brother Sewing and Embroidery Machines
Related Projects
Stay Connected
* Required fields