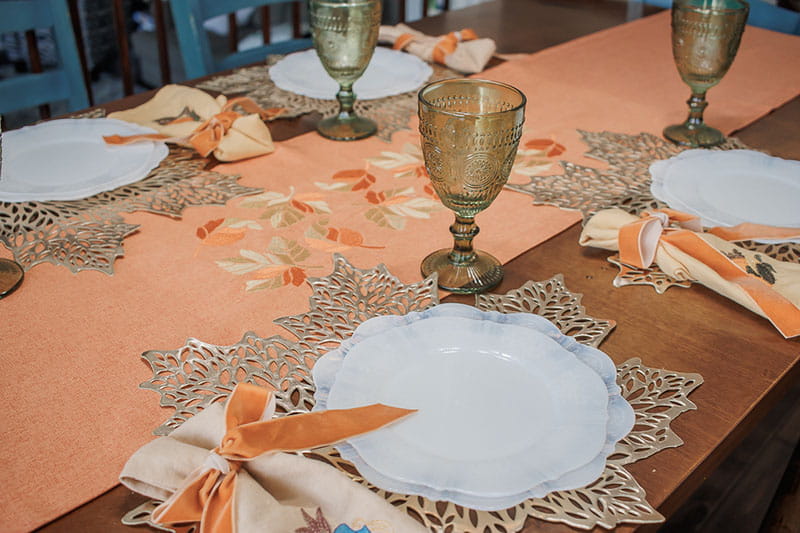
Create A Fall Table Runner with Artspira
Create a gorgeous table runner for fall with embroidery. Use Artspira, iBroidery or built-in embroidery designs to create a beautiful runner for your fall table. This table runner can be made in an afternoon and can be made for fall or any occasion.

Suplies and Tools:
- Table Runner
- Embroidery Machine
- Embroidery File
- Embroidery supplies
- Buy one or sew one - I purchased one
- The Artspira app also has some beautiful fall leaves.
- Embroidery thread

Ready to sew? Gather your supplies and let's get started!
The first thing is to decide if you are going to sew a table runner or buy one. I am using an orange runner that I bought for this project. If you are looking for a simple runner tutorial here is one I created a few years ago with two layers of fabric.
After your decide on the runner, it's time to pick your embroidery designs. I got the designs I used from iBroidery since the VM5200 doesn't have wifi, but I wanted to mention the adorable fall files on Artspira as well. I wanted to use my machine with a larger hoop for this project and my wifi machine has a smaller hoop. Take a look at some of the cute Artspira files.

Import your designs to your machine and arrange/design the hoop however you want. Here is how I arranged my two leaf files in the 8" x 12" hoop.

Once you have your designs set, let’s get the fabric prepped. Hoop your fabric with a medium weight stabilizer {I used a tear-away}. For my design, I found the center of the runner and embroidered the design once on one side of the center, and once on the other side of the center. Make sure to pull the fabric taut, so it lays flat without any wrinkles.

Slide the hoop onto the machine and thread your first color of thread. This machine does not allow you to group embroidery by color, but I wanted to show you an easy time-saving hack for all machines without this setting.
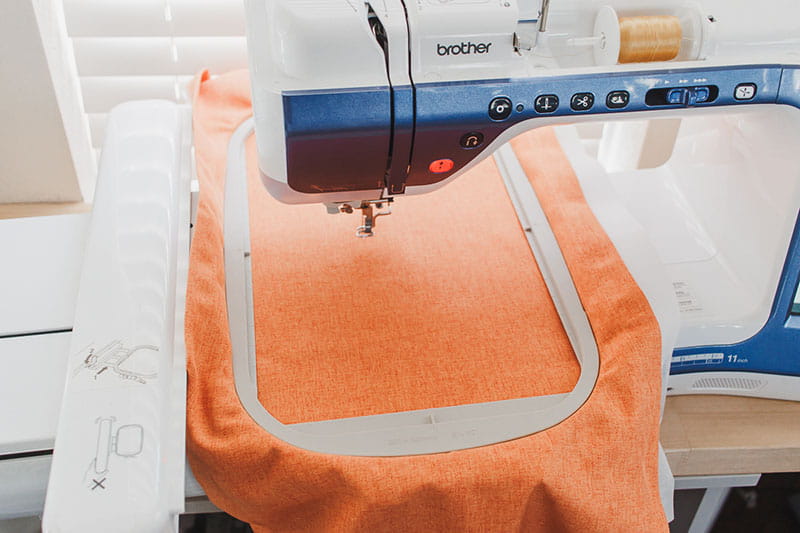
I embroidered all the dark orange first, then I went to the lighter color. Here’s how I embroidered all the same color. After the first leaf was finished sewing the orange color, it stopped and wanted me to switch to the lighter color.
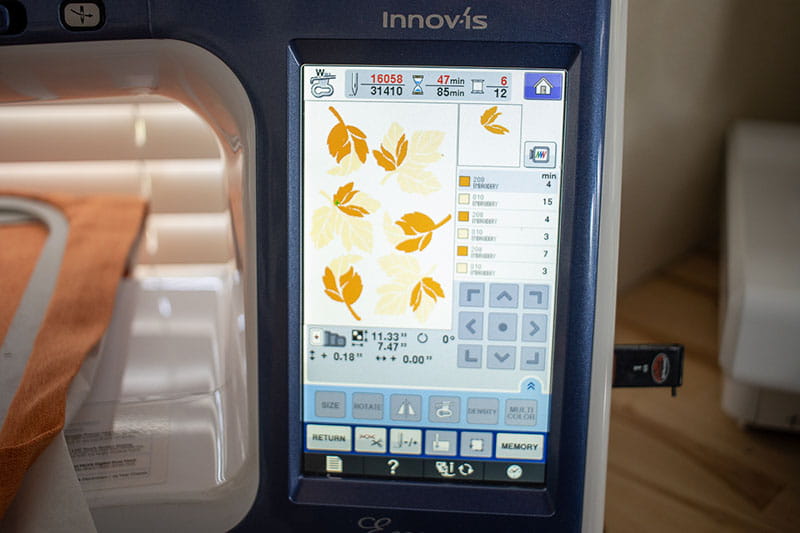
Instead of changing the color, I used the -/+ button to skip the light color and go to the next dark color. This can be done with any amount of colors, but it works great with two color designs.
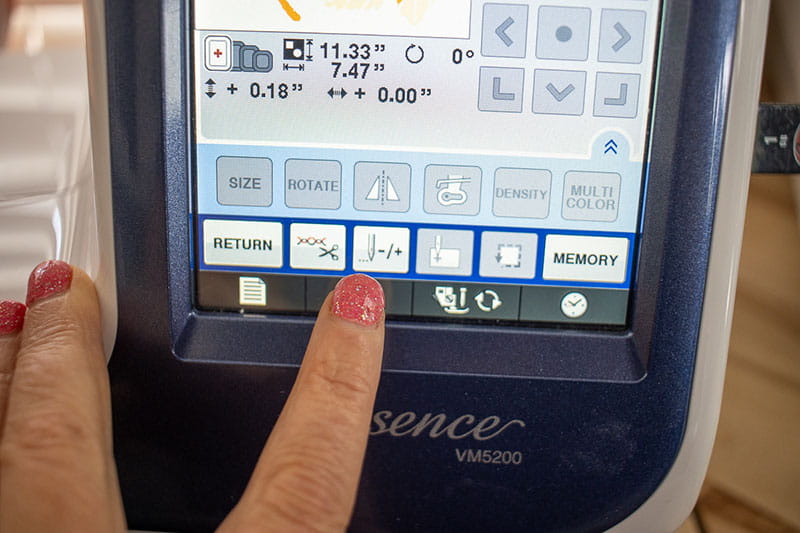
After pushing the -/+ button you will see that you can skip stitches OR skip colors. I skipped forward over the light color, and then to the next dark thread.
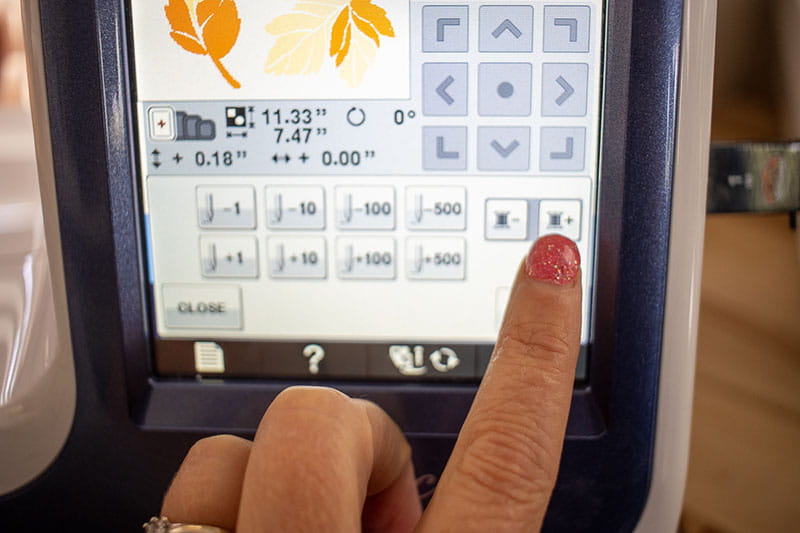
By using these buttons I was able to only change my thread once in the middle. I kept skipping every other color until all the dark thread was embroidered on the design.
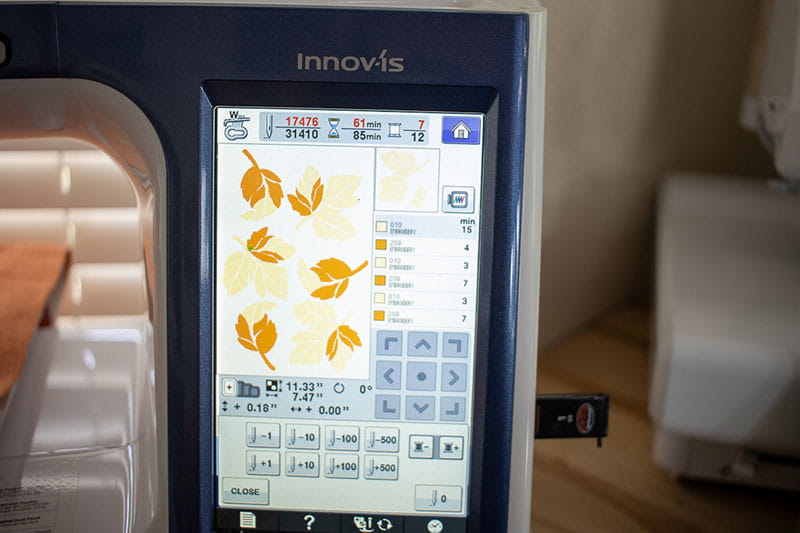
After one color was finished, I moved on to the second color. I used the minus color button to go all the way back to the beginning of the design and choose the first light color. Then I went through and added the light color to all the leaves.
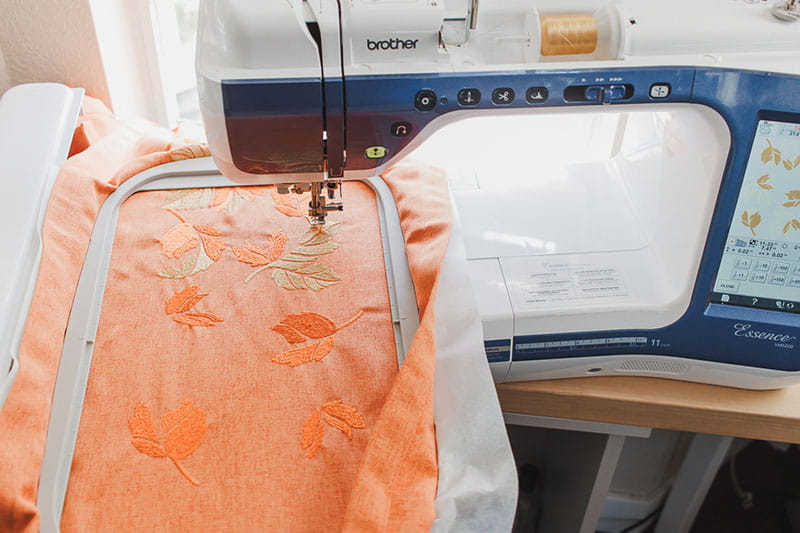
When you finish the entire hoop on one side of the center, re-hoop the fabric on the other side of the center.
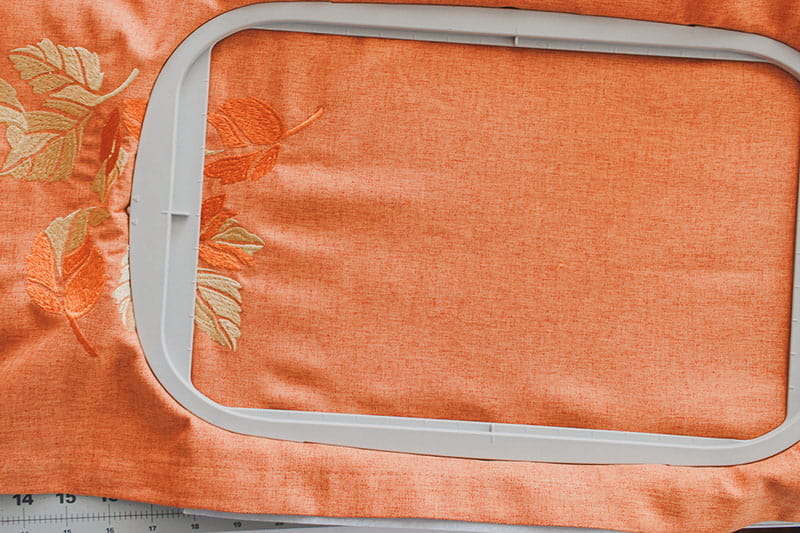
I wanted my designs to be right up against each other so I left a bit of the leaves in the second hooping. When finished with the second hoop - or however many hoops/designs you use for your runner. Remove the stabilizer backing from the runner.
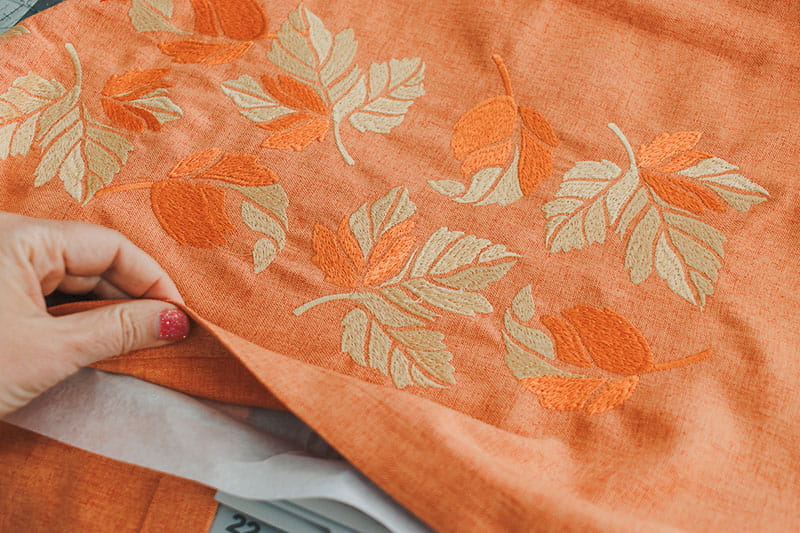
Once you have done that your runner is ready! It's just that simple. This runner pairs perfectly with the napkins that I made for Brother last fall Look at how pretty my fall table looks with this runner down the center. I'm looking forward to using it many many times over the next few months.
