How to Make a Lanyard
-Brother Sews Blogger

I’ve been sewing a lot of lanyards lately for my son’s teachers, so I thought I’d share a simple tutorial on how to make your very own DIY lanyard. Customize these homemade lanyards with different fabrics and prints. Get the details below on how to sew a lanyard.
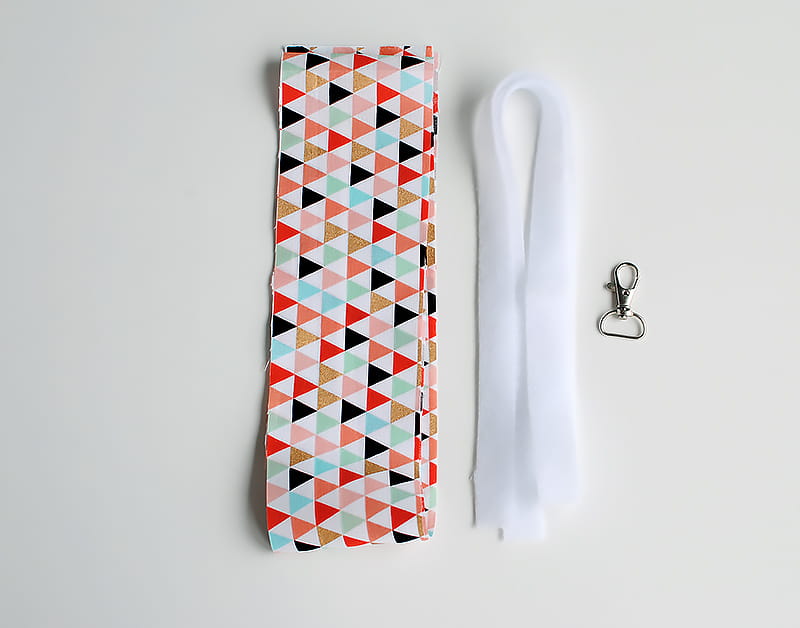
Supplies:
-Brother Sewing Machine
-Lanyard Hardware: Swivel Hook, etc.
-Cotton fabric
-Fusible fleece interfacing or batting
-Basic sewing/cutting supplies
Cutting:
-1 piece of fabric: 3 x 40” long (you can adjust the length)
-1 piece of fusible fleece: 3/4 x 38” (*the batting/fleece should be 1” shorter on each side)
Step 1:
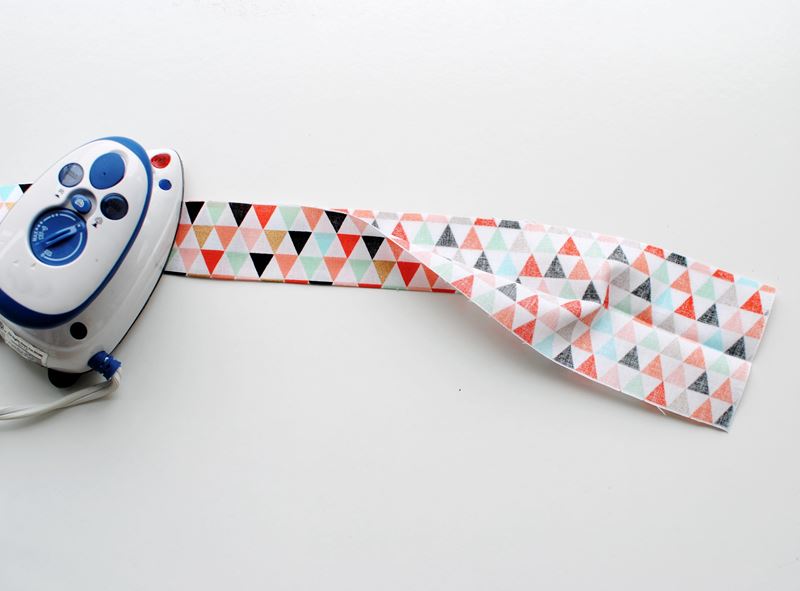
Fold the fabric in half and press creating a crease down the center.
Step 2:
Fold the outer edges in to meet the center crease and press.
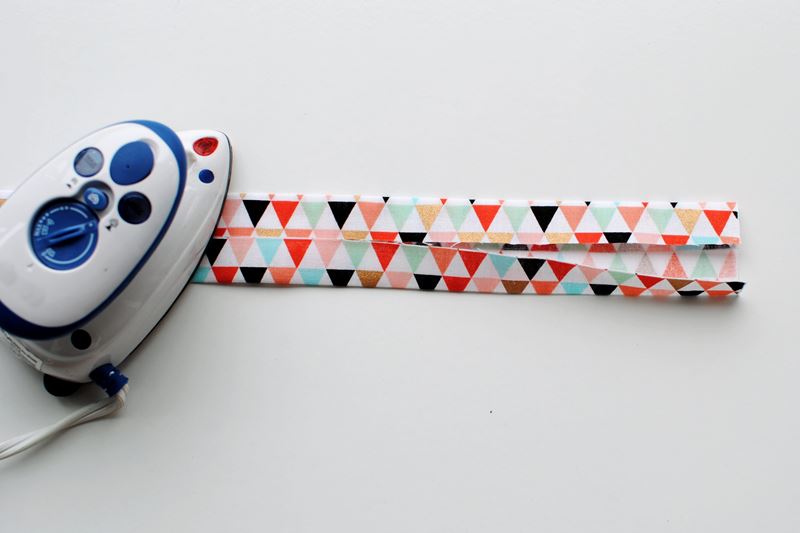
Step 3:
Fold in half and press to create the strap.
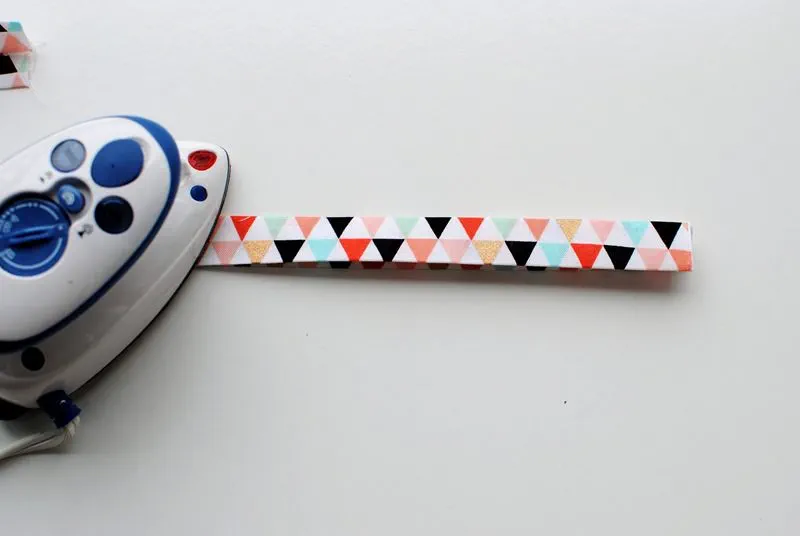
Step 4:
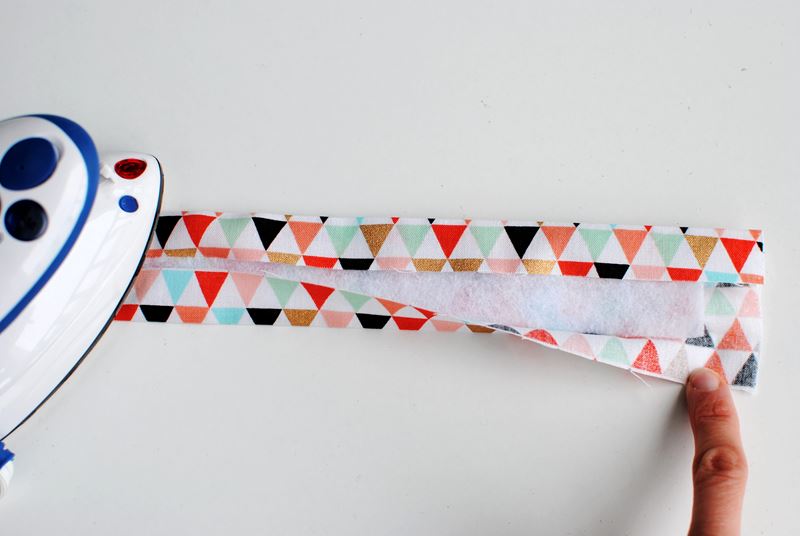
Place the fleece/batting inside the folded fabric. Line it up with one of the sides (either is fine). The fleece should be 1” shorter than the fabric on both ends.
Fold all the layers down and press. Pin or clip the folded edges together.
Step 5:

Step 6:
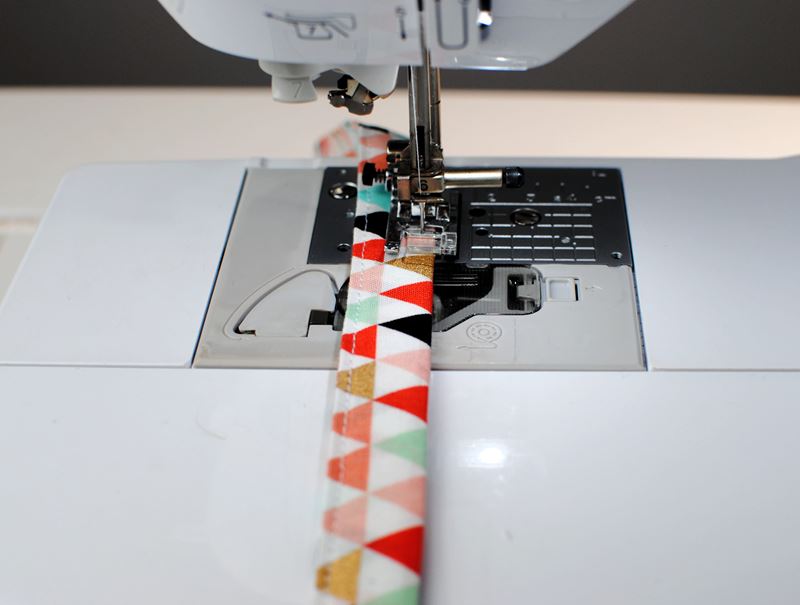
Topstitch 1/8” just along the edges with a 3.0 stitch length on both sides.
Step 7a:
Time to add the hardware.
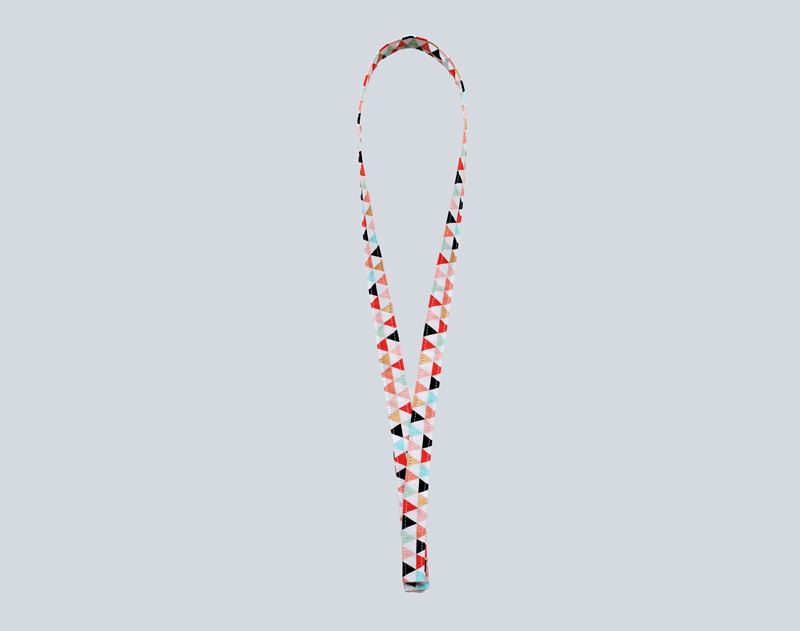
First things first, make sure the strap of the lanyard is positioned in a way that it doesn’t get twisted around your neck. It helps to use a dress form or your own neck (or a handy helper’s) to make sure it lays properly.
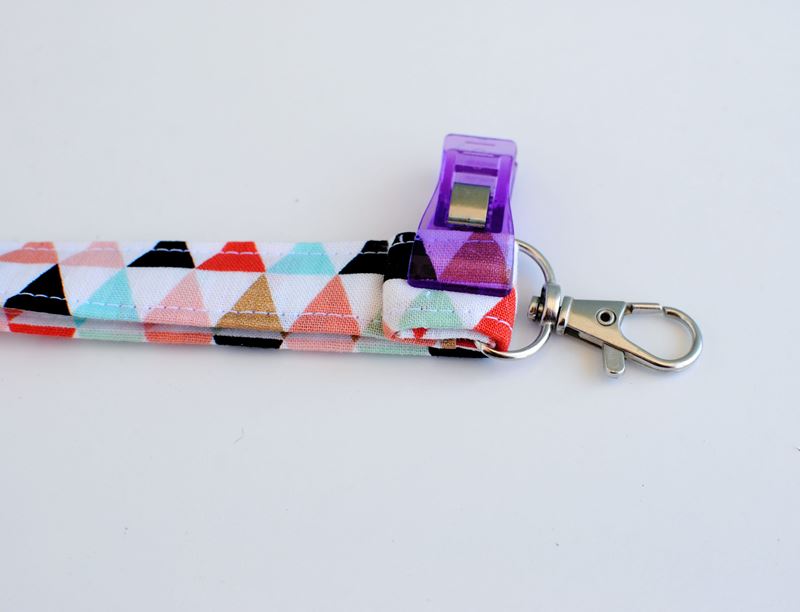
Step 7b:
Place the ends of the lanyard together and pull the swivel hook through both strap ends.
Step 8:

Slide the top strap up just ½” exposing the bottom strap
Step 9:
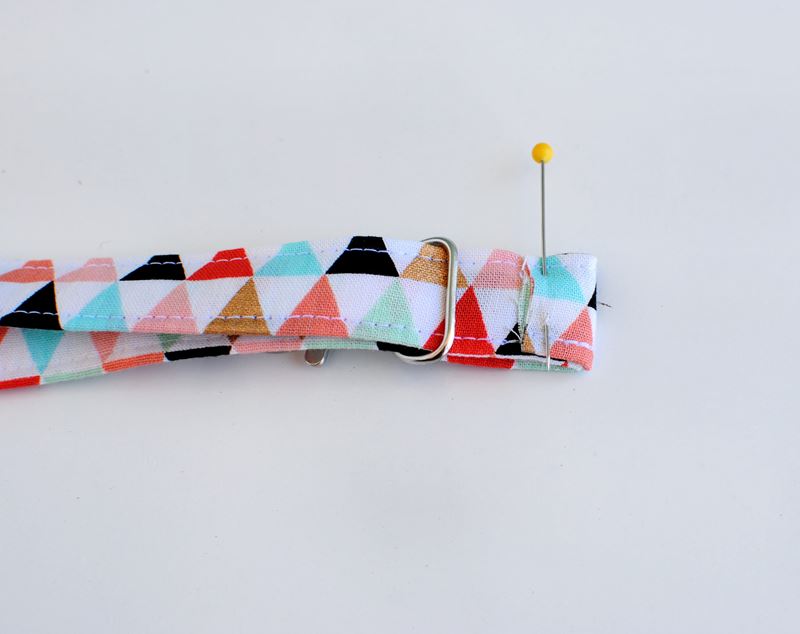
Fold the ½” bottom strap end up covering the raw edge of the top end.
Step 10:
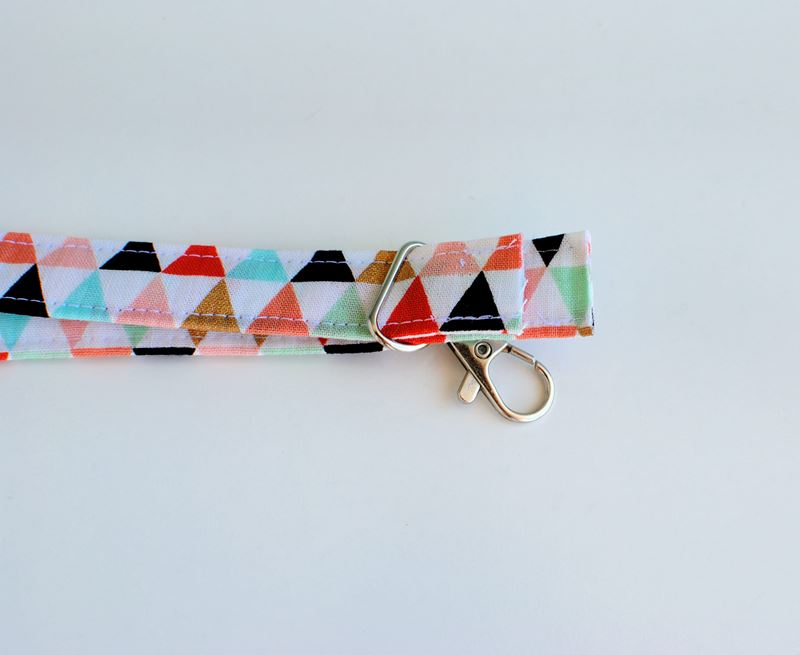
Fold over again encasing the swivel hook or hardware. This is why the fleece was 1” shorter, otherwise it would be very thick to sew through all layers.
Step 11:
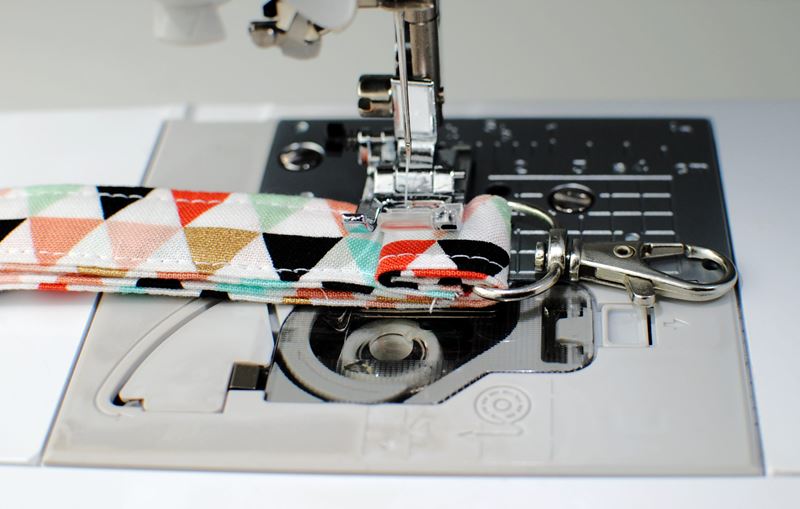
Topstitch all the layers together and sew just along the folded edge.

Tags
Shop this Project
No sewing machine? No problem! Any products mentioned in this project are available to buy and listed below so you can stay stitching.

Related Projects
Stay Connected
* Required fields