How To Add A Cowl Neck How To Make a Sweater
~Emily Thompson, Brother Sews Ambassador
I love taking regular shirts and crafting them into sweaters. I take a sewing pattern, some sweater knit fabric, and make gorgeous DIY sweaters. My husband recently asked if I was wearing a new sweater and when I said yes, he asked where I bought it. He was shocked when I said I made it! Sewing sweaters is fun and easier than you may think. This is a simple sweater tutorial today and it’s made with free sewing patterns.
This post will show you how to sew the cowl part of the sweater and you can add it to your favorite shirt pattern that you already own. I’ll give you the details of the pattern I used, but you really can create this look with a pattern you already own.
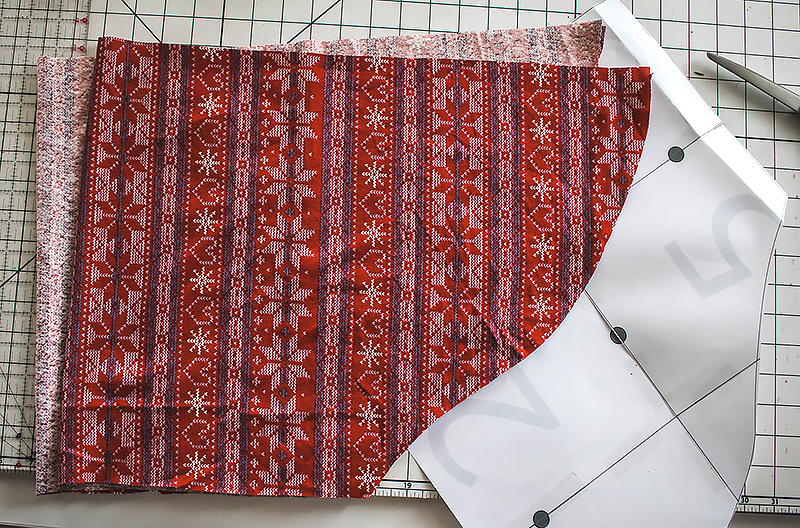
Womens Cowl Supplies: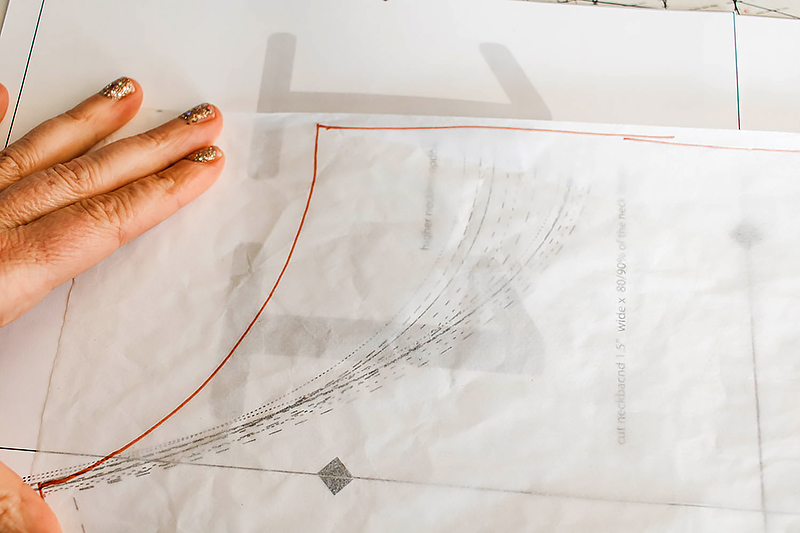 Cut out all the pieces for the shirt and then cut out two of the cowl pieces on the fold. This cowl should fit most necklines. You can compare the cowl pattern to your shirt pattern to estimate the fit. Also, you will be able to stretch the cowl a bit to fit the neckline as they are both knit fabric.
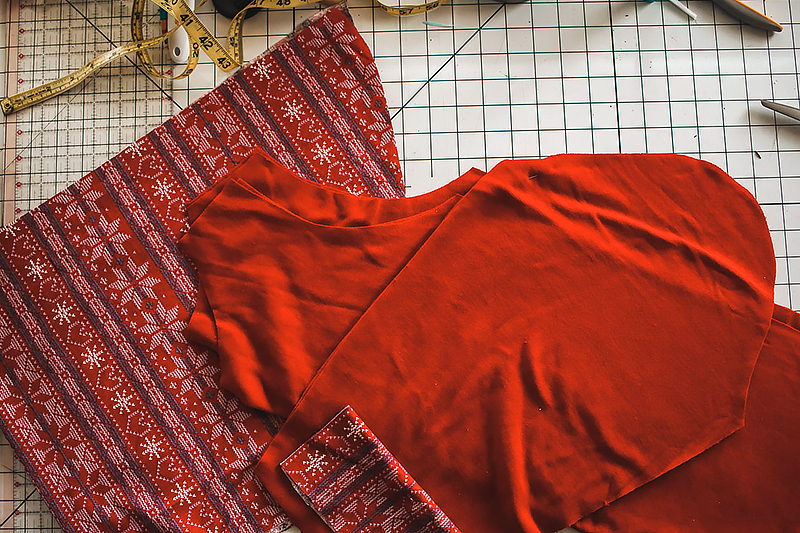 Sew the shoulder seams with the right sides together of the shirt fabric.
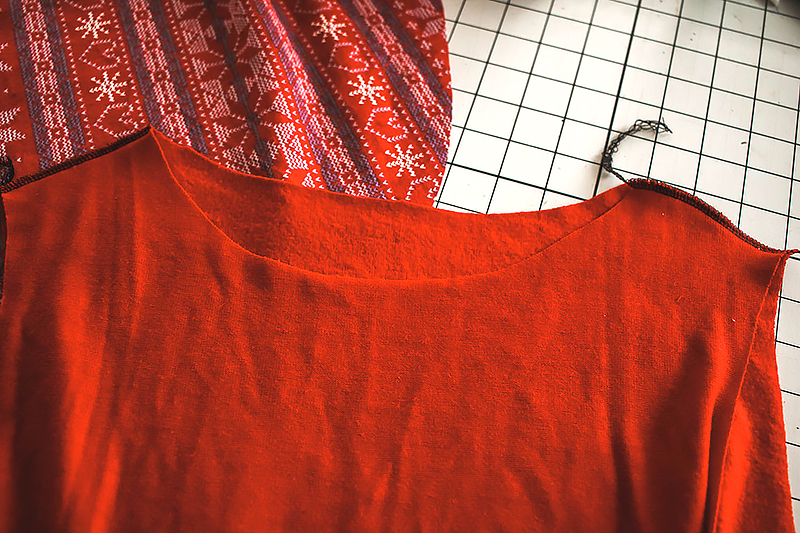 Find the center of the front and back neck and place a marker.
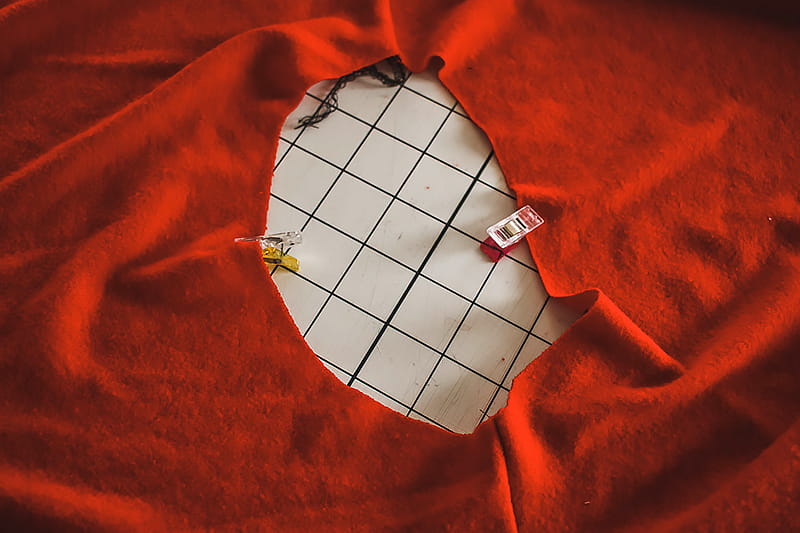 With the right sides of the cowl fabric together, sew the curved long edge of each of the two parts.
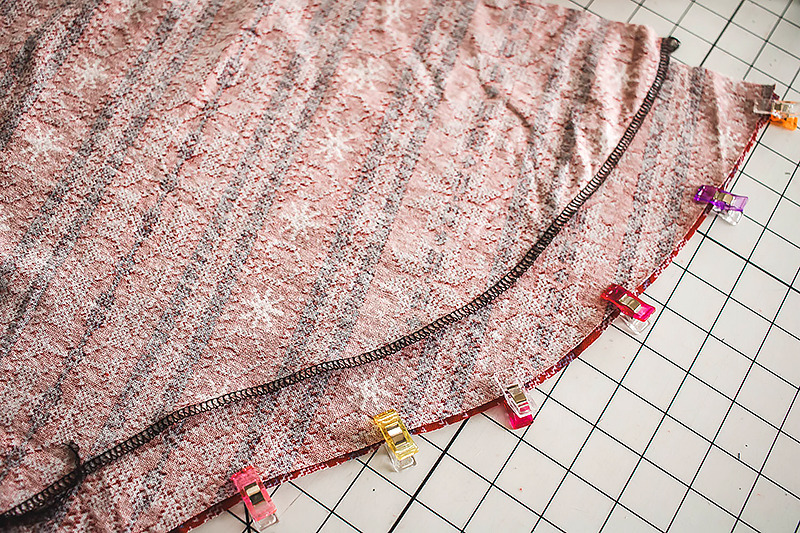 Place one cowl inside the other and line up the long top edge.
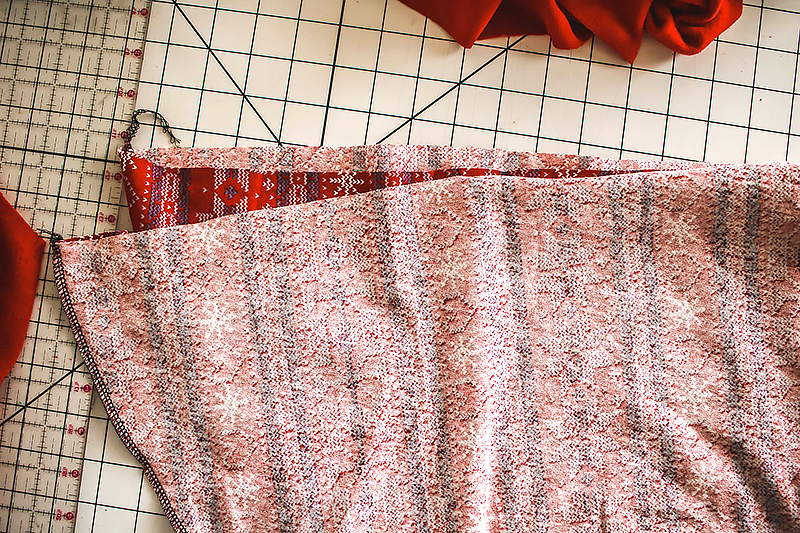 Make sure the seam on the side is lined up.
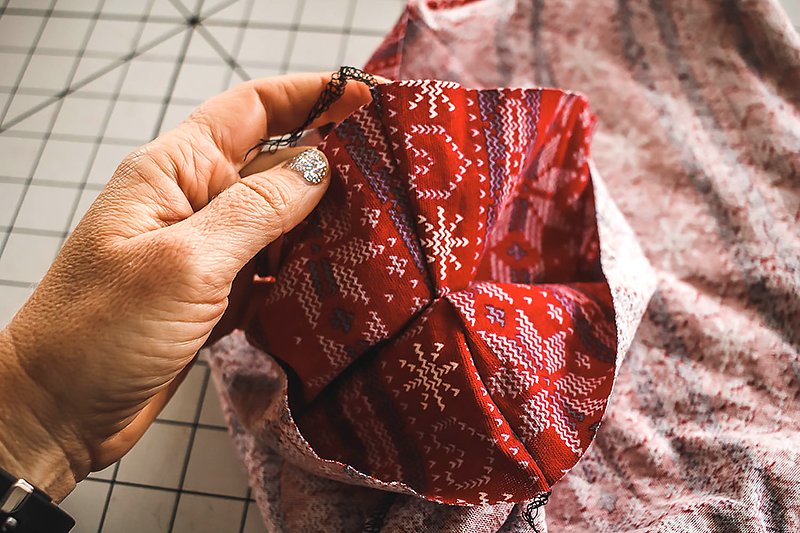 Pin or clip the wide top edges together.
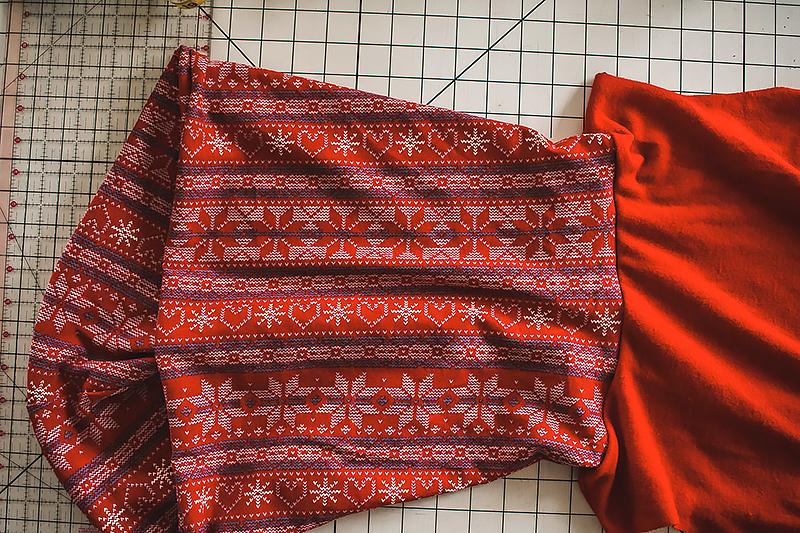
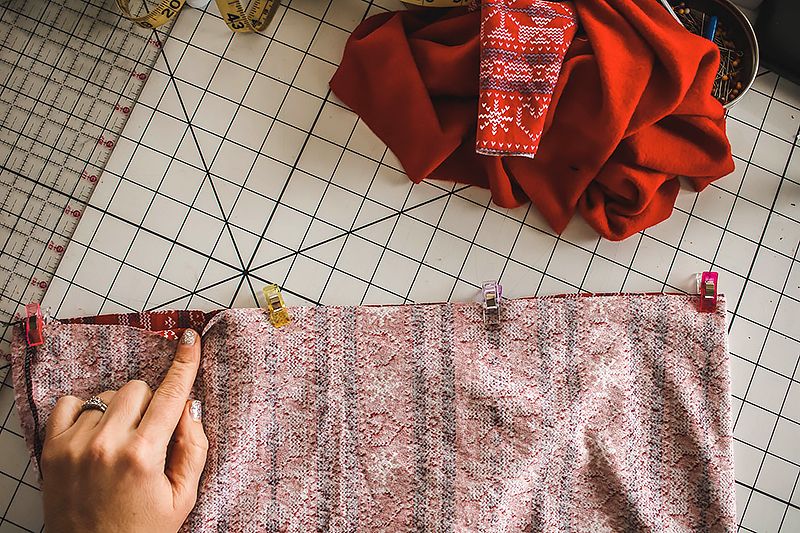 After you sew this edge, pull the two pieces apart, then tuck one inside the other.
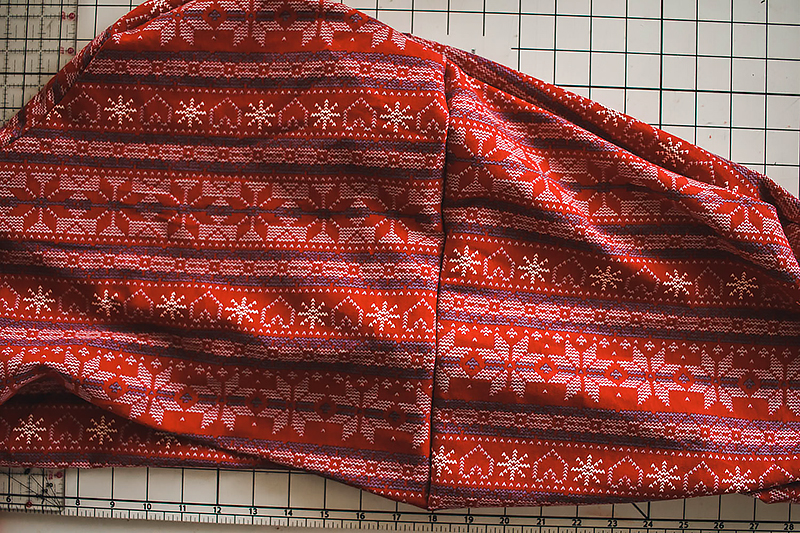 Now that you have the right sides of the fabric showing on the inside and outside of the cowl, you are ready to sew it to the shirt. Line up the bottom raw edges of the cowl. The seam will go in the center of the back neckline. The fold will go in the center of the front neckline.
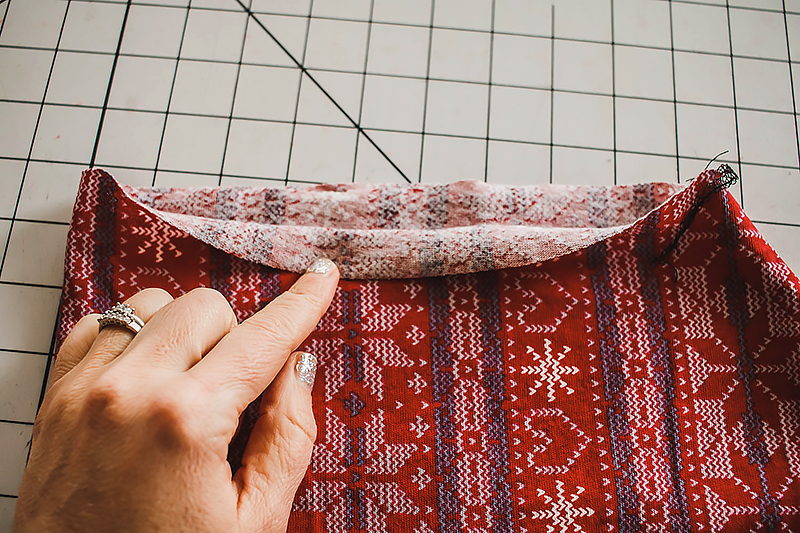
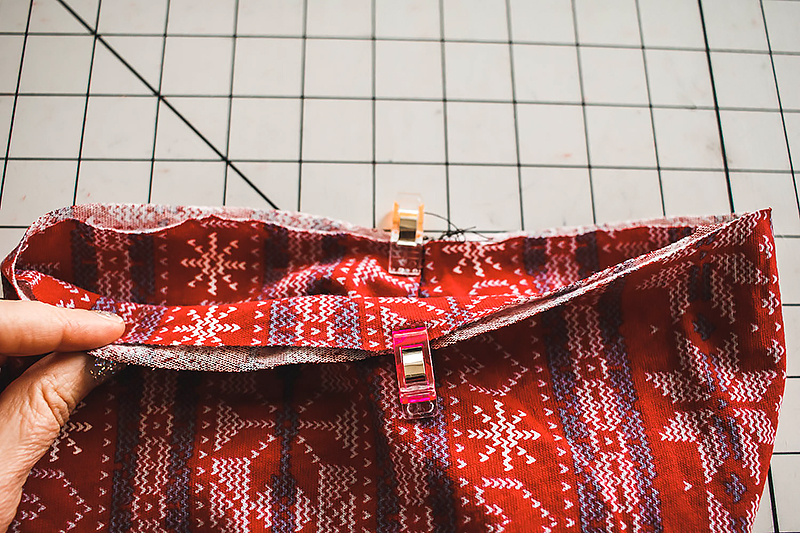 Match the center front and back markings on the cowl and shirt.
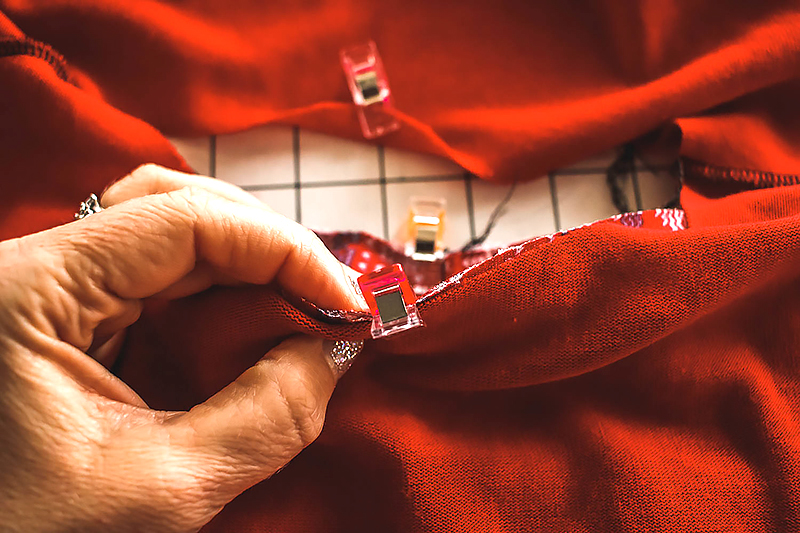 Stretch and clip the cowl all the way around the shirt neckline. Depending on the shirt pattern you use, you may have to stretch the cowl more or less around the neckline.
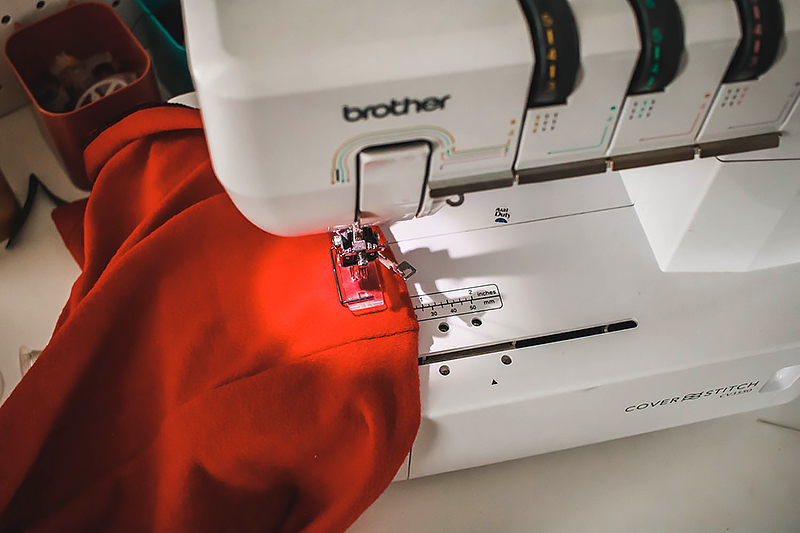
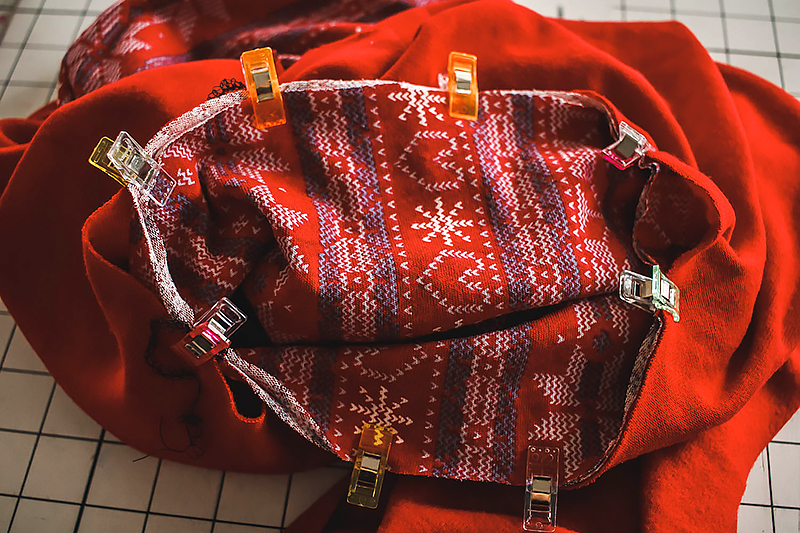 Sew the cowl to the shirt with the three raw edges lined up. I used my serger to sew it. If you don’t have a serger make sure you use a zig-zag or other stretch stitch to attach the cowl to the neckline.
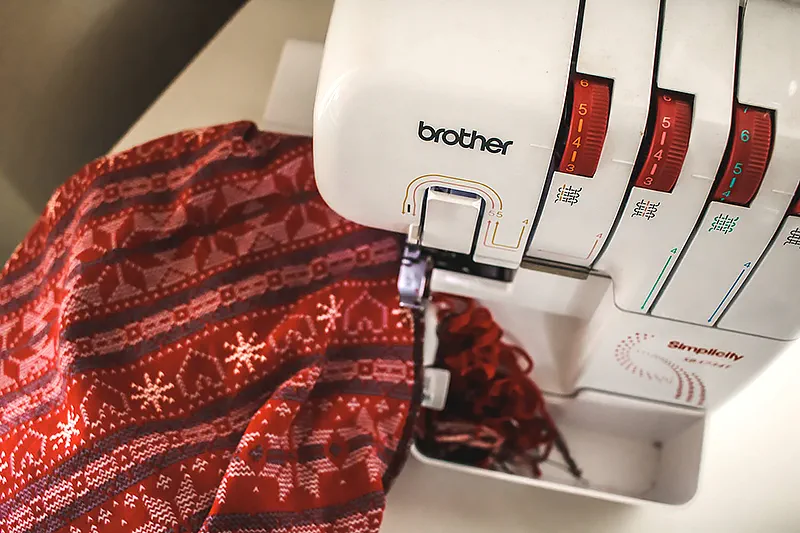
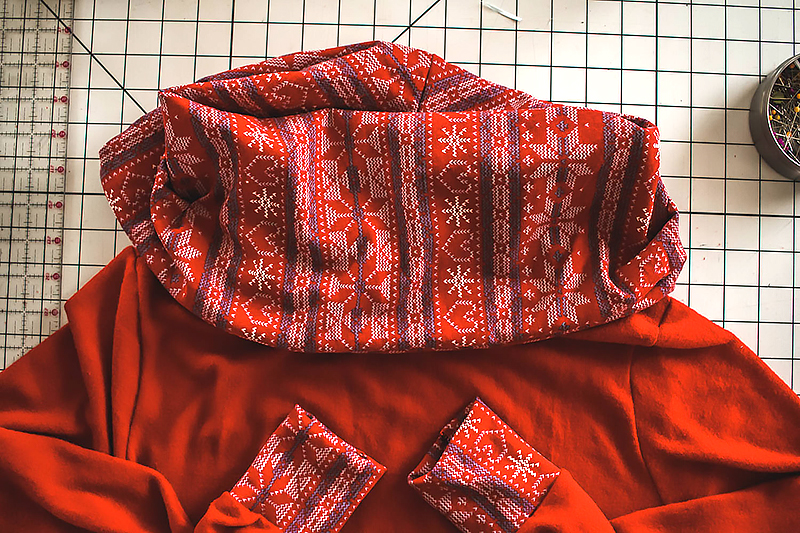
 Now the cowl is sewn to the shirt and you can finish the rest of the shirt as directed in the pattern that you are using.
 I used my coverstitch to hem my shirt and my serger to sew the rest of the shirt together.
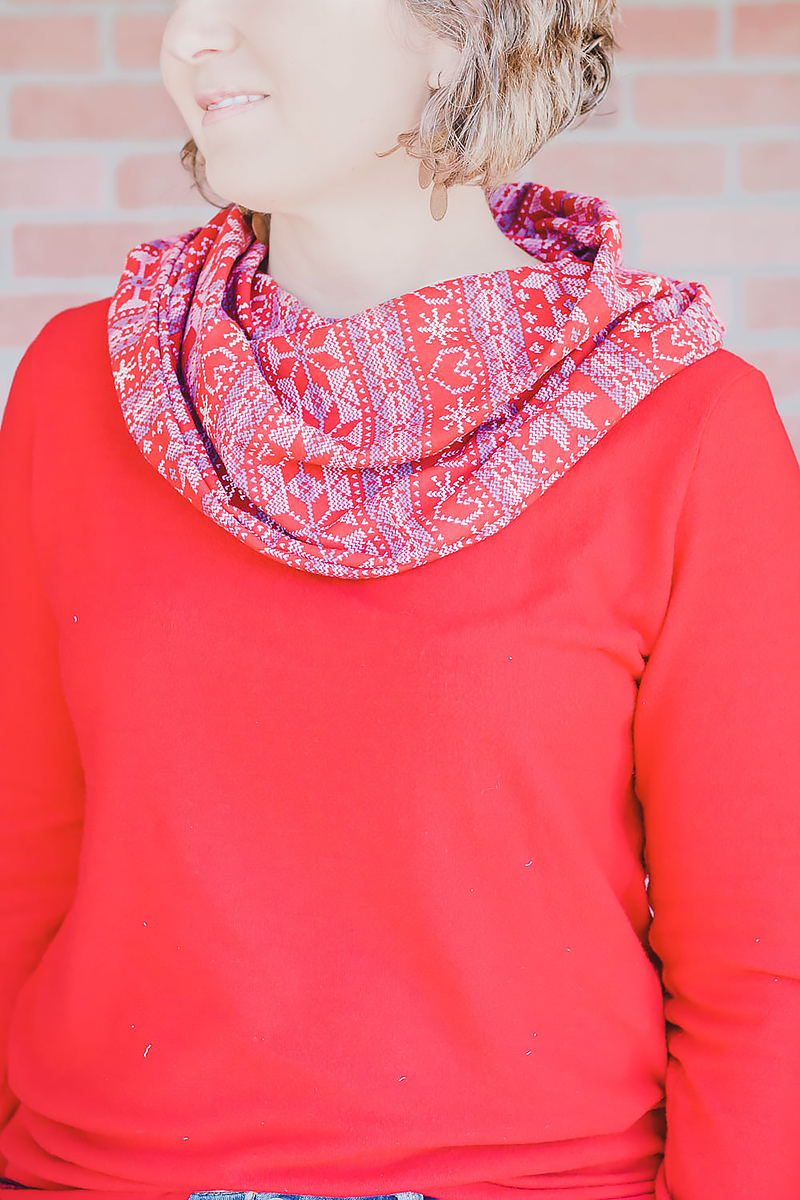
 I’m so pleased with my new cowl neck shirt and excited to use the free cowl pattern to make more of these fun sweaters.
 CLICK HERE FOR PDF
Womens Cowl Supplies:
- Shirt/Sweater pattern of your choice. I used the free Boyfriend Tee from Life Sew Savory.
- Womens Cowl Neck Free Add On Pattern
- Serger
or Sewing machine
- Beautiful Fabric to sew your sweater - the shirt and cowl should be made with knit fabric.
 Cut out all the pieces for the shirt and then cut out two of the cowl pieces on the fold. This cowl should fit most necklines. You can compare the cowl pattern to your shirt pattern to estimate the fit. Also, you will be able to stretch the cowl a bit to fit the neckline as they are both knit fabric.

 Sew the shoulder seams with the right sides together of the shirt fabric.
 Find the center of the front and back neck and place a marker.
 With the right sides of the cowl fabric together, sew the curved long edge of each of the two parts.
 Place one cowl inside the other and line up the long top edge.
 Make sure the seam on the side is lined up.
 Pin or clip the wide top edges together.
 After you sew this edge, pull the two pieces apart, then tuck one inside the other.
 Now that you have the right sides of the fabric showing on the inside and outside of the cowl, you are ready to sew it to the shirt. Line up the bottom raw edges of the cowl. The seam will go in the center of the back neckline. The fold will go in the center of the front neckline.

 Match the center front and back markings on the cowl and shirt.
 Stretch and clip the cowl all the way around the shirt neckline. Depending on the shirt pattern you use, you may have to stretch the cowl more or less around the neckline.
 Sew the cowl to the shirt with the three raw edges lined up. I used my serger to sew it. If you don’t have a serger make sure you use a zig-zag or other stretch stitch to attach the cowl to the neckline.

 Now the cowl is sewn to the shirt and you can finish the rest of the shirt as directed in the pattern that you are using.
 I used my coverstitch to hem my shirt and my serger to sew the rest of the shirt together.
 I’m so pleased with my new cowl neck shirt and excited to use the free cowl pattern to make more of these fun sweaters.
 CLICK HERE FOR PDF

