Candle Mat made with Circular Attachment
Brother Sews Ambassador
Fall themed projects are fun to make! Fabrics with the rich and vibrant colors of fall leaves brings the season’s best into your home decor. Fall is the perfect season to light candles and enjoy the glow and ambiance they add to a room. With that in mind, I made this candle mat using the Brother circular sewing attachment.
A twist on the traditional cathedral block quilt pattern, the center of the circles forms a pretty petal effect that makes the perfect base for a candle. I’ll admit my candles have a battery inside so I can turn them on with a switch instead of a match. Are you ready? Let’s go sew!
Materials and Supplies Figure #1
Steps to Create Candle Mat:
 Figure #2
 Figure #3
 Figure #4
 Figure #5
 Figure #6
Tip: I like to keep one finger of my left hand on the pin and use my right hand to gently smooth the fabric as I stitch the circle. Remember that you are sewing on the bias in some areas, so you want to keep the fabric flat and smooth. Let the feed dogs carry the fabric through, gently guiding the layers as you stitch.
 Figure #7
 Figure #8
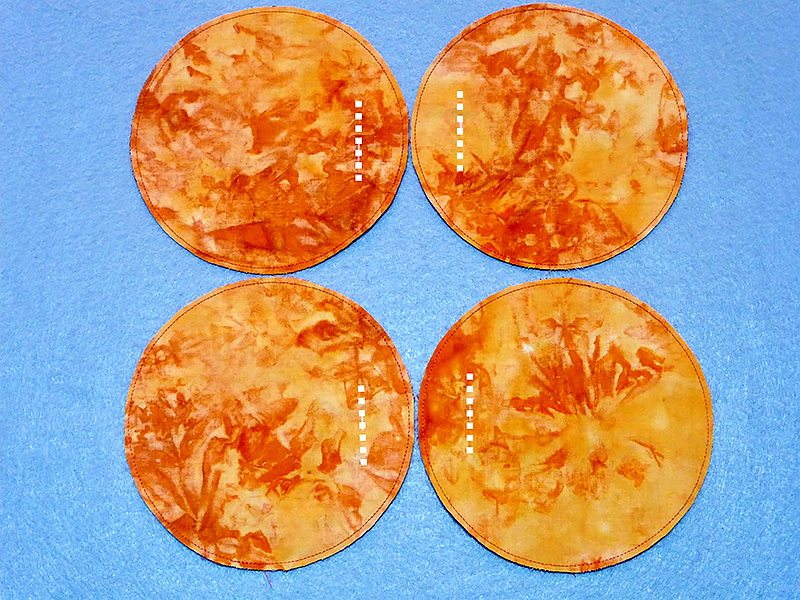 Figure #9
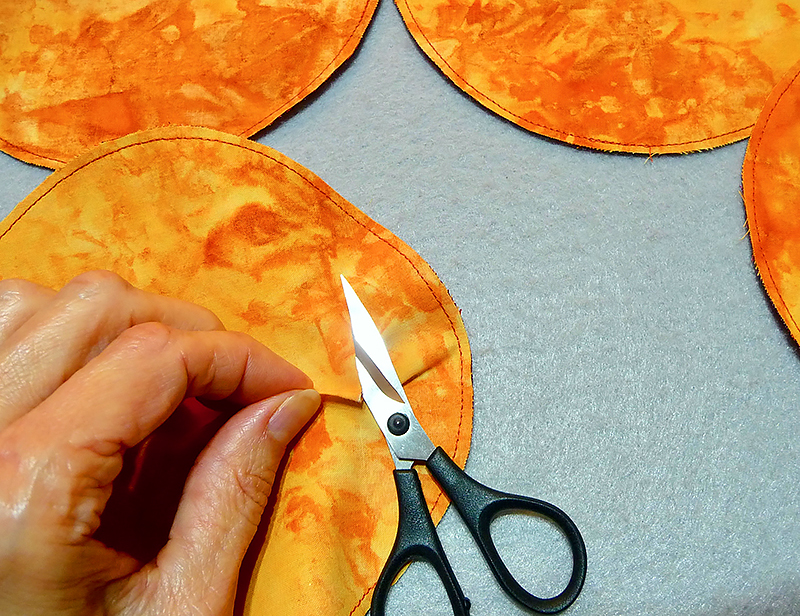 Figure #10
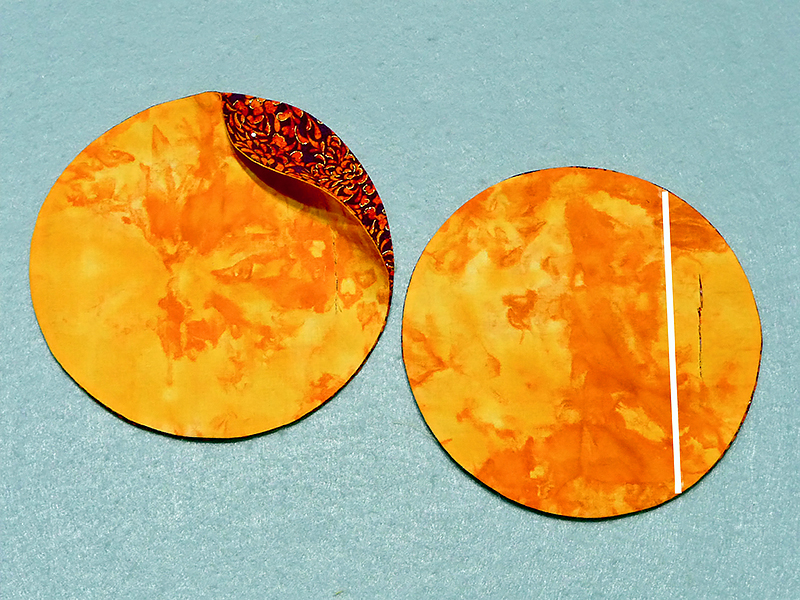 Figure #11
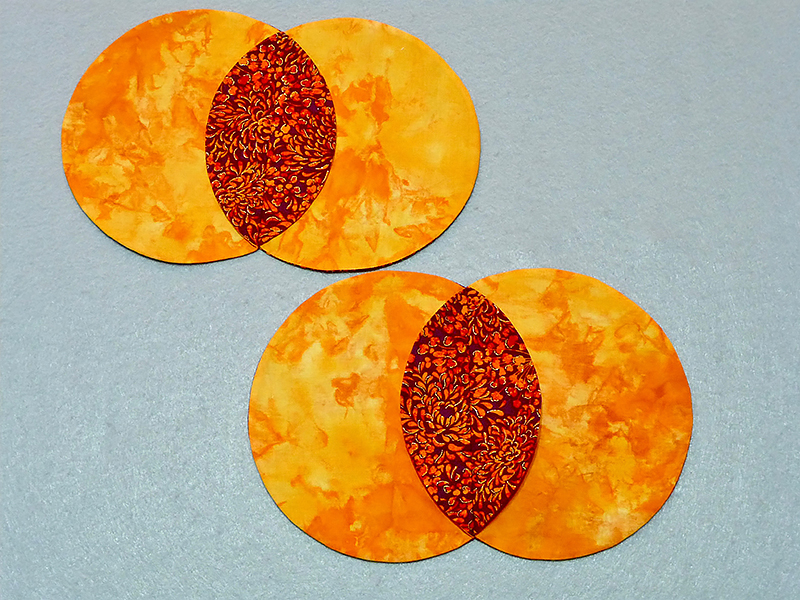 Figure #12
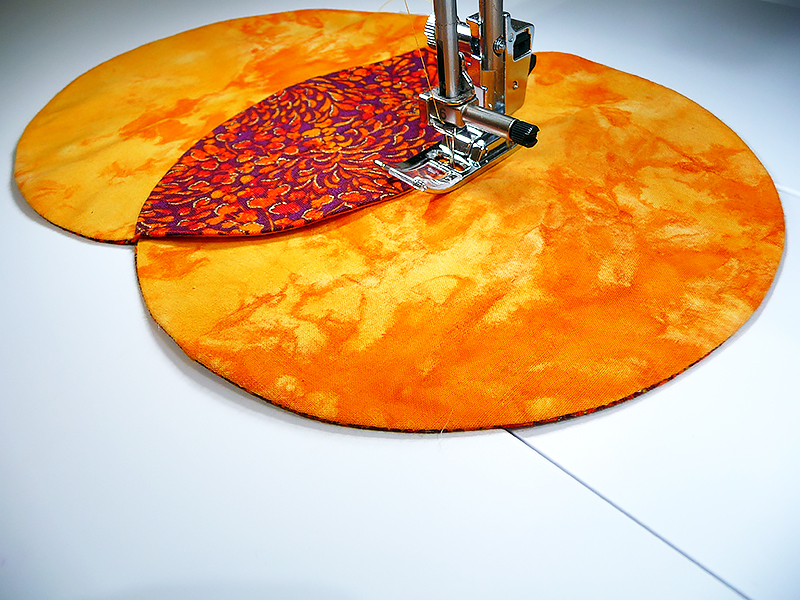 Figure #13a
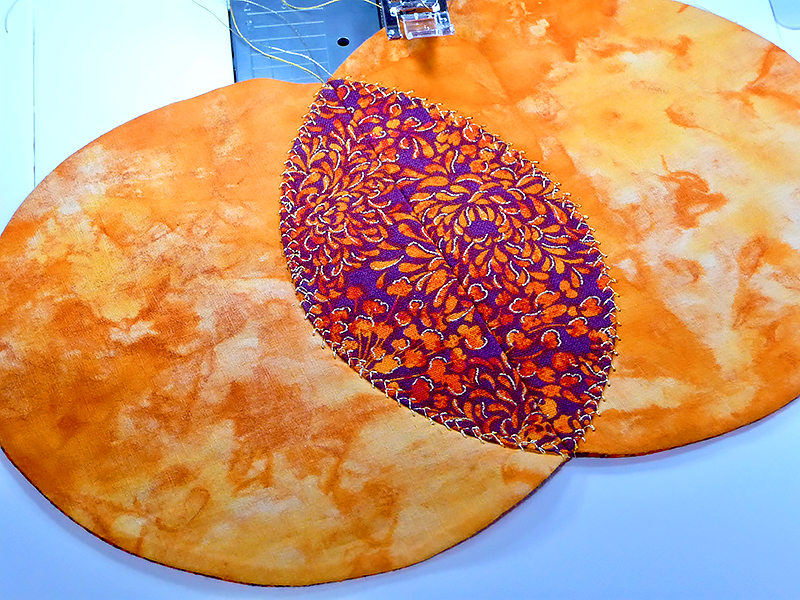 Figure #13b
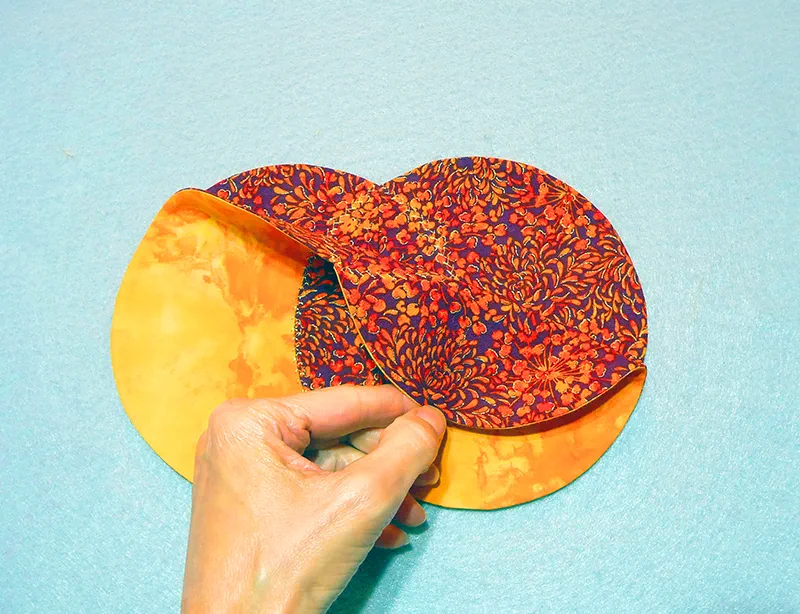 Figure #14
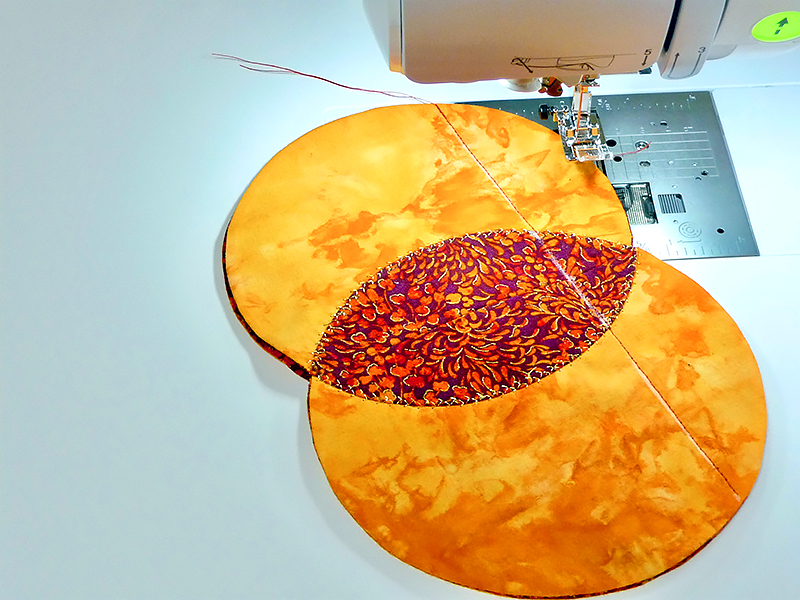 Figure #15
Fall themed projects are fun to make! Fabrics with the rich and vibrant colors of fall leaves brings the season’s best into your home decor. Fall is the perfect season to light candles and enjoy the glow and ambiance they add to a room. With that in mind, I made this candle mat using the Brother circular sewing attachment.
A twist on the traditional cathedral block quilt pattern, the center of the circles forms a pretty petal effect that makes the perfect base for a candle. I’ll admit my candles have a battery inside so I can turn them on with a switch instead of a match. Are you ready? Let’s go sew!
Materials and Supplies
- Brother Sewing machine
- SACIRC1
Brother Circular Sewing Attachment Bundle - SA580
Medium Weight Tear-Away Stabilizer. - Basic sewing notions including a removable marker or chalk, thread to match or blend with fabric, and small sharp scissors.
- Decorative thread for stitching center petals. I used Brother MT998
Dark Gold metallic thread. - Fabric for candle mat: Choose two coordinating fabrics, Fabric A and Fabric B, that have a good contrast between the two. Cut four squares of fabric A (darker fabric) and four squares of fabric B (lighter fabric), having each square measure 6 ½-inches. Cut four pieces of stabilizer to match. See Figure #1. Tip: When choosing a print, choose an all over print you can flip in any direction.
 Figure #1
Steps to Create Candle Mat:
- Attach circular sewing attachment to machine. See Figure #2.
 Figure #2
- Layer squares as follows: Tear away stabilizer, fabric A and fabric B, with fabrics facing right sides together. See Figure #3.
 Figure #3
- Place circular sewing attachment pin in center of layered squares. See Figure #4.
 Figure #4
- Insert pin into hole on attachment and slide indicator to 80. See Figure #5.
 Figure #5
- Select a straight stitch set for left needle position and change length to 2.0. Sew a complete circle on the fabric layers. See Figure #6.
 Figure #6
Tip: I like to keep one finger of my left hand on the pin and use my right hand to gently smooth the fabric as I stitch the circle. Remember that you are sewing on the bias in some areas, so you want to keep the fabric flat and smooth. Let the feed dogs carry the fabric through, gently guiding the layers as you stitch.
- Gently tear away all stabilizer. See Figure #7.
 Figure #7
- Trim seam allowance outside circle, leaving a scant 1/8-inch. See Figure #8.
 Figure #8
- Repeat the above steps for each set of fabrics and stabilizer.
- On fabric B, mark a short line measuring one inch from the stitching line to create a slit for turning circle right side out. See dashed lines in Figure #9.
 Figure #9
- Pinch fabric to separate layers and use sharp scissors to cut slit in fabric B only. See Figure #10.
 Figure #10
- Turn each circle right side out and press. Next, layer each set of circles with fabric A circles facing each other. Use marker to draw a stitching line 1 ½-inch from the edge. See enhanced photo in Figure #11.
 Figure #11
- Sew along the line for each pair of circles. Press petals open. See Figure #12
 Figure #12
- Set up machine for decorative stitching with the standard foot and same thread in the top and bobbin. Select a feather stitch set for width of 4.0. Stitch along petals, anchoring them in place. Note that the slit is completely sealed with no worries of the fabric raveling. See Figure #13a and Figure #13b.
 Figure #13a
 Figure #13b
- Now, layer each set of circles with fabric A and finished edges matching. See Figure #14.
 Figure #14
- Mark a stitching line 1 ½-inches from the edge as you did before. Using regular sewing thread and a straight stitch, sew along the marked line to connect the circles. See Figure #15.
 Figure #15
- Press petals open and sew with feather stitch as you did in step 13. You are finished! See top and bottom of finished candle mat below:
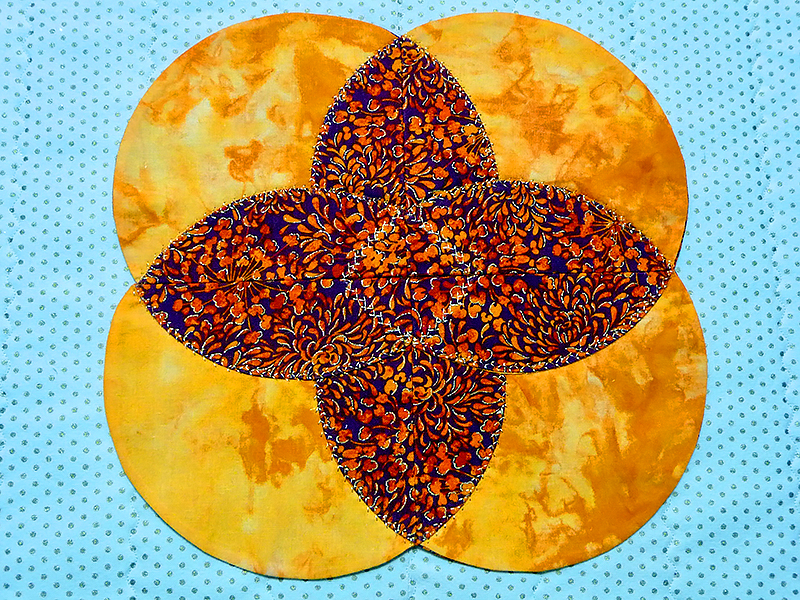 Figure #16a
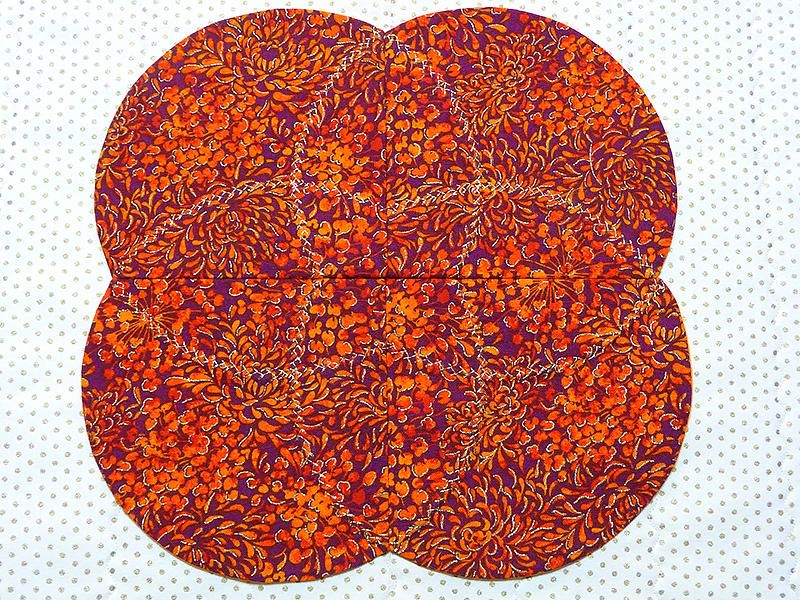 Figure #16b
CLICK HERE FOR PDF!


