How to Sew Linen Pants
Looking for a garment to sew for these hot summer months? Try an easy, breezy linen pant. Linen pants are a classic staple for casual and dressy occasions, and sewing pants can seem tricky, but they’re not as hard as one would think. Find a pattern, or draft one that is loose-fitted and has a wide leg for a comfortable fit. I used a vintage one from my Grandma’s pattern stash, and they worked out perfectly. I added some pockets, and it’s an excellent linen pant for me. Get the details below on how to sew your own linen pants.
Supplies:
- Combo Sewing & Embroidery Machine
- 2-3 yards linen
- 1 ½’ elastic
- Wide, loose fitted sewing pattern pants or pants to draft pattern
Directions:
1. Lay out pattern according to instructions and cut out. I used a vintage wide leg flair pant with a high waist. You can also draft a pattern from a pair of pants you already have. Lay flat and trace ½” out onto the fabric using tailor's chalk.

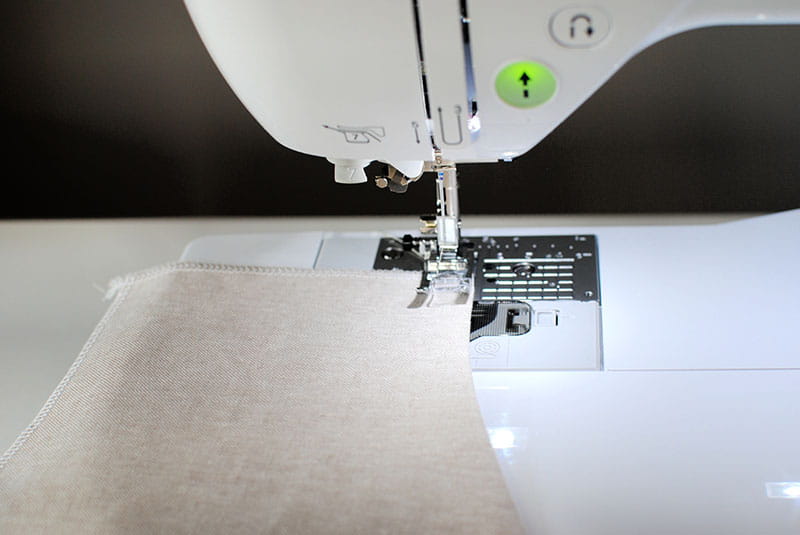
Tip: After cutting out each pattern piece, serge the edges. This will help with the fraying you get from linen fabric. Another option is to try a French seam.

2. Create a pocket. I wanted pockets and this pattern didn’t have them so I created a front pocket to add. Cut a piece of fabric that measures 12 x 10” and create a curve on one side. You can use a curved ruler or just free hand it. Use this template for the other pocket which should be the opposite direction. Measurements are on the cutting board for drafting.

3. Press the edges of the pocket over.

Sew the curved portion to create a hem.

4. Place the pocket on the top of the pant so the right side is facing up. It should be about 2” down from top edge and placed along the side edge. Topstitch all edges other than the curved portion.

5. Sew the pants. Place front and back pieces right sides together and sew. You should have 2 pant legs now. Press seams flat.


6. Flip one side right side out. Place into the other pant leg so the right sides are facing, matching center seam to seam and waistline. Clip and sew making sure seam allowance is flat.

7. Pull pants so the right sides are out and now you will see you have a pair of pants. Starting with the waistline. Flip the edge over 2” and press. Stitch all the way around leaving a ½” opening for the elastic.

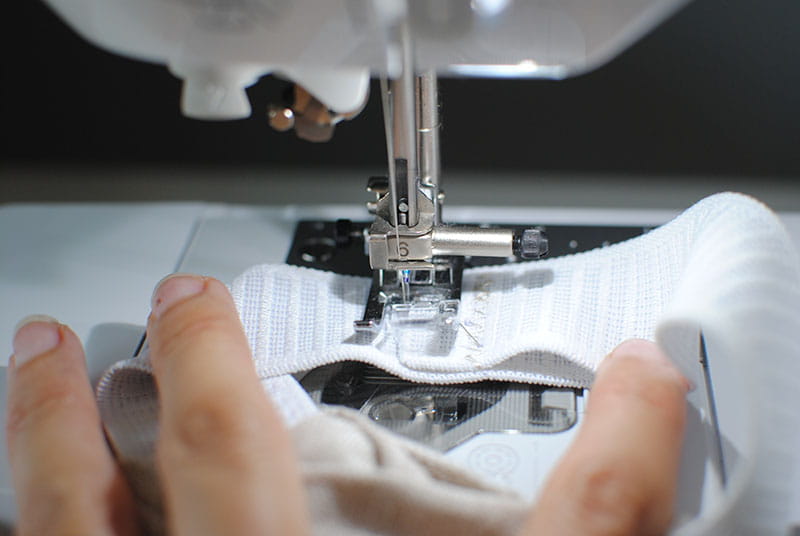
8. The elastic should measure your waist measurement. Add ½” if you’d like some ease. Using a safety pin weave the elastic through the casing.

Stitch the elastic ends together with a zigzag stitch, and stitch opening closed on waistline.

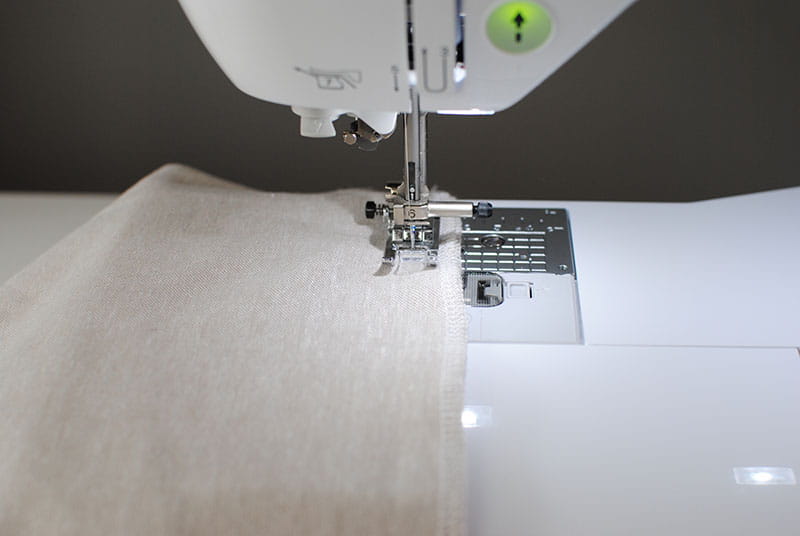
9. Flip bottom hem up 1” or so, press, and sew.

And that’s it! Enjoy your new, stylish linen pants.


