Cozy Homemade Bread Bag Towel
~ Brother Sews Ambassador Few things make a home feel as cozy as the aroma of homemade bread coming from the kitchen. With the popularity of breadmaking machines and the huge demand for bread flour and yeast, it seems that there is a lot of baking happening! We may be prevented from sharing a meal with our neighbors and friends, but we can spread that cozy feeling by dropping off a warm loaf of homemade bread to them (of course while wearing a mask and maintaining social distance). My 16 year-old granddaughter has done this regularly since she got her bread machine this spring. Because presentation is an important part of any gift, put your Brother embroidery machine to work and whip up this easy bread bag to deliver your delicious hot loaf. This is a gift that can stand the test of time! Let your friends know they can instantly turn the bag into a dish towel to remind them of your friendship (and the delicious loaf). Bread machines and Brother embroidery machines make a great team any time, but especially in trying times like these. Let’s get started.
MATERIALS:
- Tan ready made dish towel or make your own finished at 17.5 x 27”
- Design—Embroidery Library “Farmers Market Homemade Bread” m18711”
*- Select size 4.82 x 6.85, delete 25¢/loaf, thus reducing the size to 4.82 x 5.76
- Notions: brown embroidery thread, water soluble thread for needle when sewing, sewing thread for bobbin, Brother water soluble stabilizer
, 27” 3/8” ribbon for tie, 4 brass safety pins large enough to carry ribbon - Brother embroidery machine
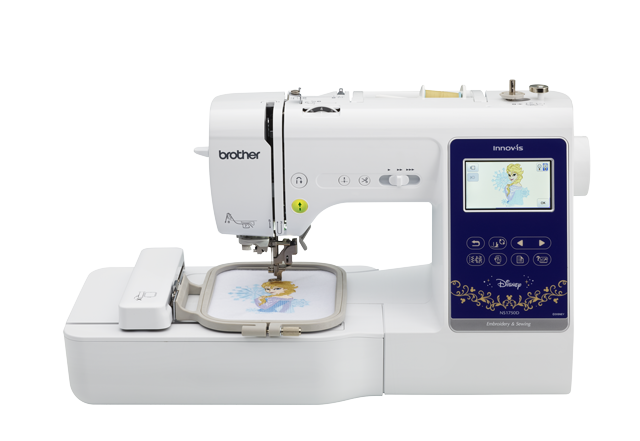
w 5x7 frame - Loaf of homemade bread
- Water soluble marking pen
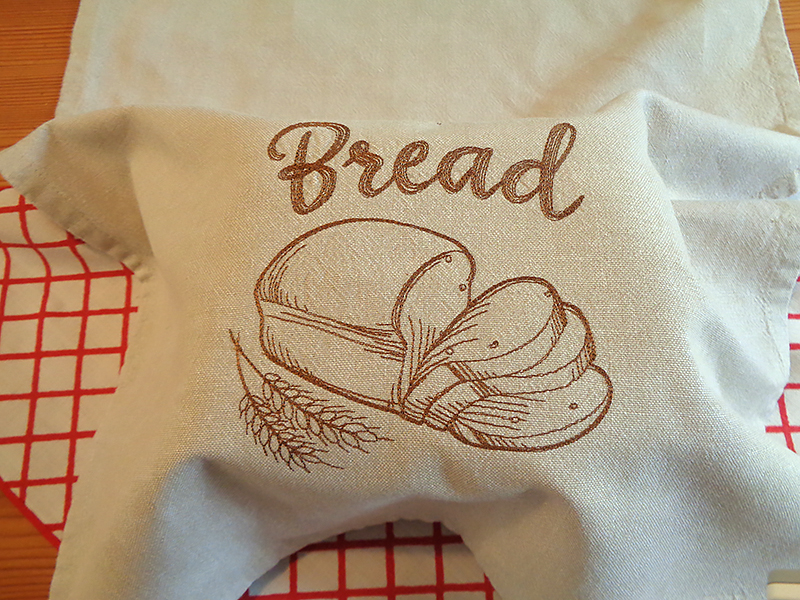 5. Place towel on loaf with embroidery wrong side up and wrap towel around, centering embroidery on top of loaf.
6. Leave 5” beyond bottom towel hem and remaining towel length. Mark that 5” line.
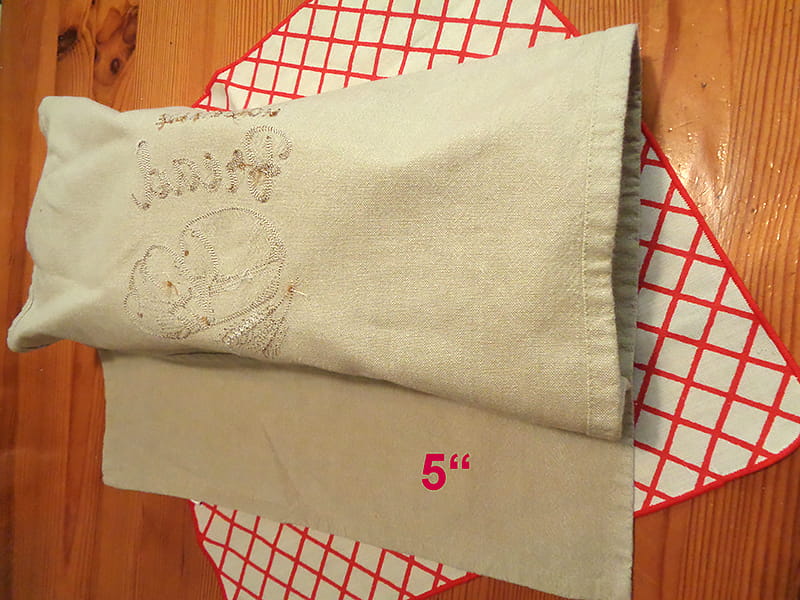 7. Remove bread. Pin edges together.
NOTE: All stitching except embroidery is done with water soluble thread in needle.
8. Straight stitch along that line, right sides together.
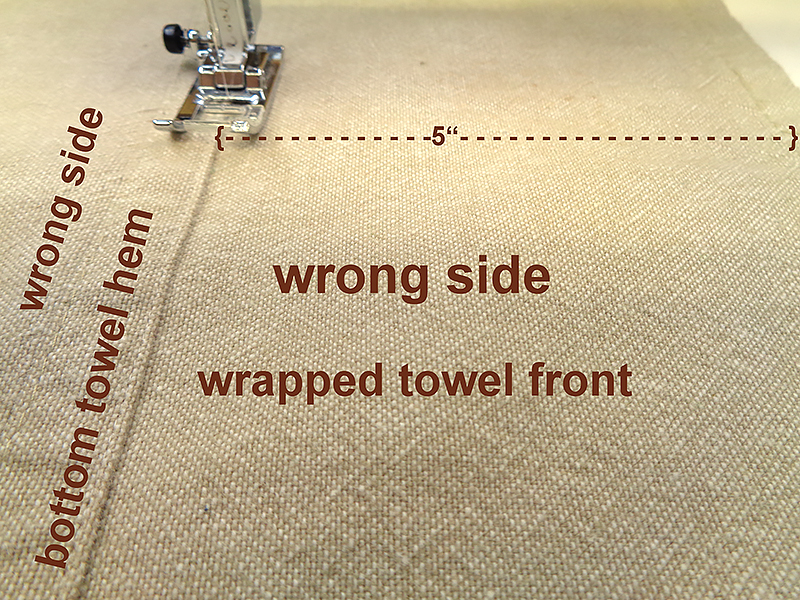 9. Stitch both hemmed side edges together to hold in place. Then seam again with seam allowance determined by the size of your loaf. Mine required a 2” seam. NOTE: If available, the laser is helpful here.
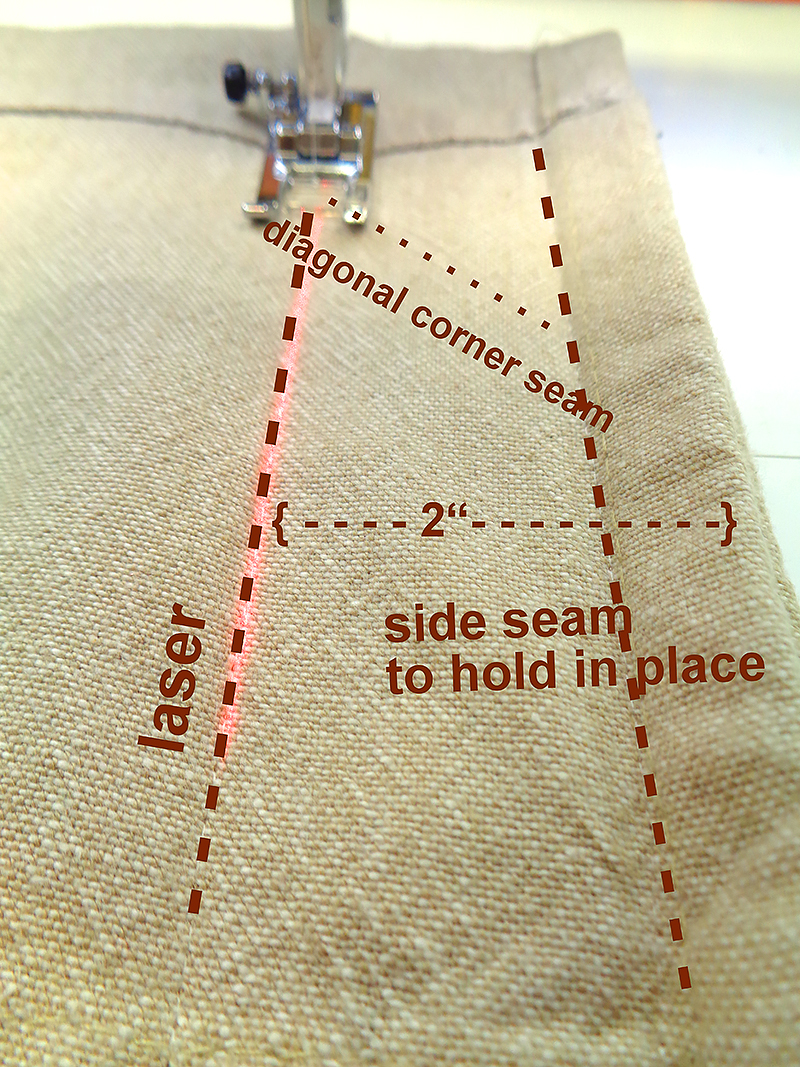 10. Stitch a short diagonal seam across each corner. Do not trim away the bulk. Leave the towel intact.
11. Insert brass safety pins from inside at center back, center front and each side, 3” from the top, creating a ribbon carrier. Turn bag right side out.
12. Insert ribbon carriers through safety pin.
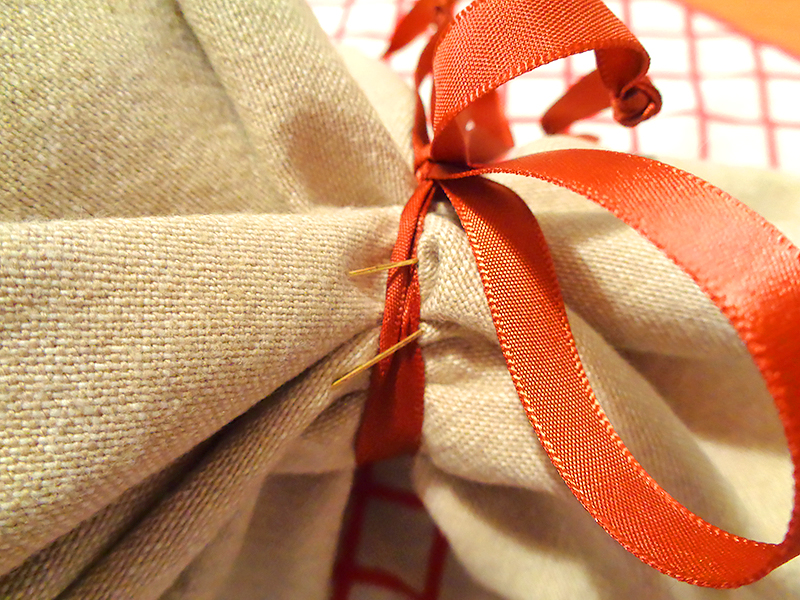 13. Insert bread into bag along with dish towel poem instructions.
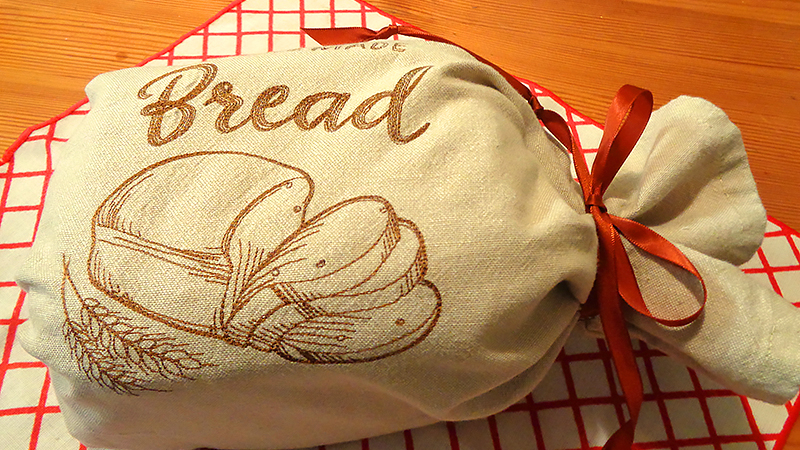 Bread Dish Towel Instructions:
Remove this tasty bread and cut a slice or two,
It was made with neighborly love just for you.
Slather it with butter and enjoy the homemade treat.
Or spread some jam, the taste just can’t be beat.
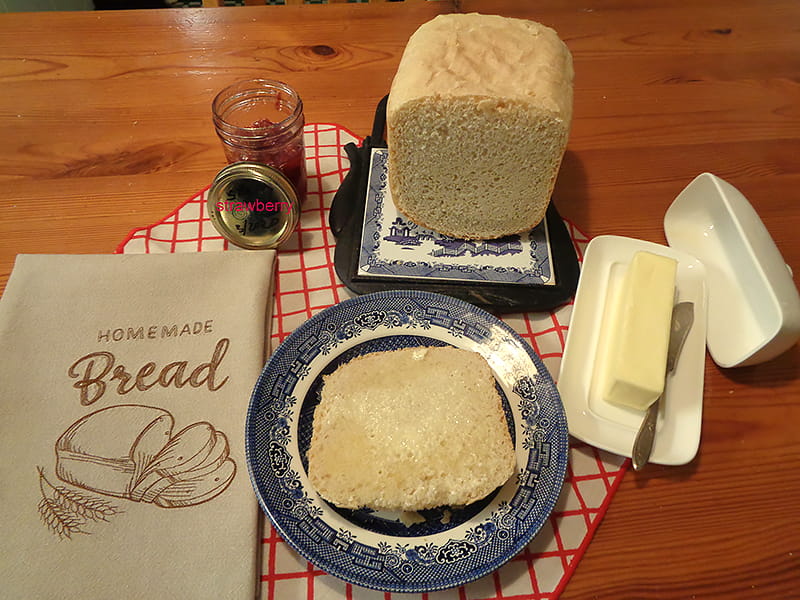 To make it into a dish towel, here’s just what you do.
Remove the ribbon and all safety pins too.
Then wet the seams with a cloth or spray.
You’ll see all the stitches melt away!
Press the towel-here’s a keepsake for every day.
Now don’t you feel cozy at home?
CLICK HERE FOR PDF!

