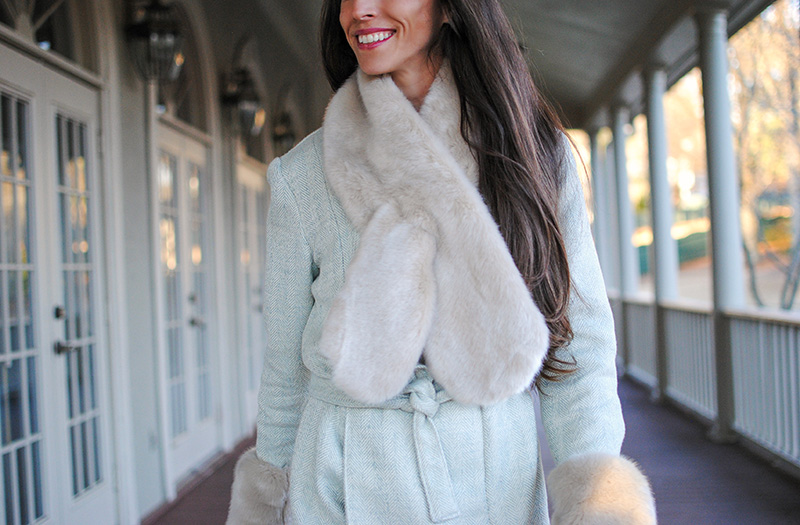
Cozy yet Chic Keyhole Scarf with Matching Cuffs
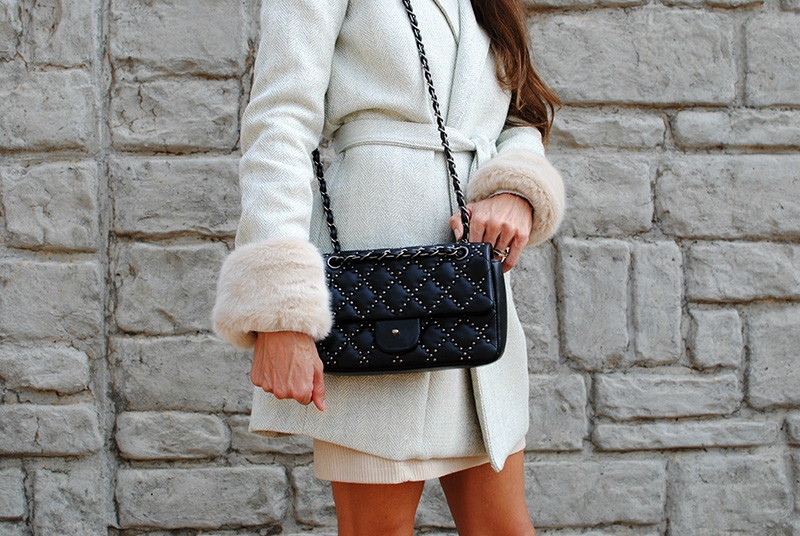
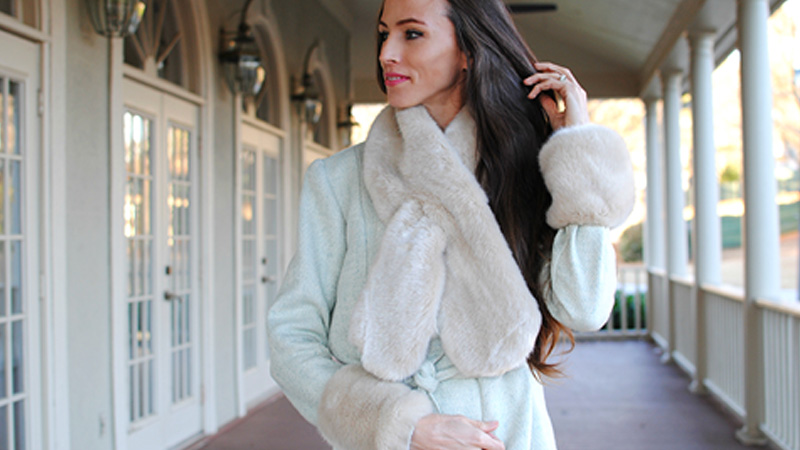 Kicking off February with this versatile Faux Fur Keyhole Scarf with matching Cuff set. I love that I can add these accessories to a simple coat for some additional glamour or with a blouse and dress. The cuffs can even be worn around low cut booties or shoes. Get the details below on how to make your own faux fur scarf with a slit and matching cuffs just in time for the cold months ahead.
Supplies:
- Faux Fur (1/2 yard) (I used Shannon Fabrics Sable Fur in Champagne but use whatever you like!)
- Liner (1/2 yard)
- ¼” elastic
- Marking tools
- Razor blade
- Interfacing (optional)
- Pins
- Needle and Thread
- Brother SE1900 Sewing Machine
Disclaimer: Featured fabric is a product from Shannon Fabrics and Brother International Corporation makes no representations or warranties regarding this product.
Let’s begin with the Keyhole Scarf:
Draft a pattern with paper using these measurements:- Faux Fur: 7” x 43”
- Liner: 7“ x 43”
- Interfacing (optional): 7” x 43”
- Curve edges with a curved ruler or use an item with a curve (bowl, small plate, etc.)
- Keyhole facing: 1 3/4” x 5”
- Curve edges with small cup or free hand (slit is 3.5” so you want a 1” diameter around the slit).
Step 1
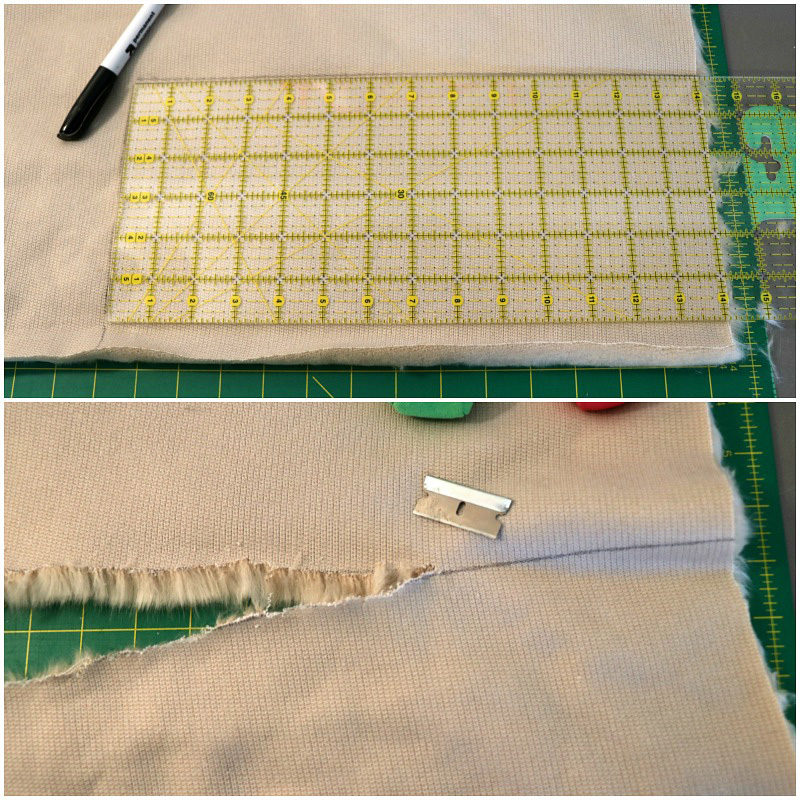
Cut out your materials:- For the faux fur, draw the pattern you drafted on the back paying attention to which way the nap of the fur lays. I wanted to have my fur running perpendicular.
- I typically use a razor blade to cut faux fur. I did a blog post
on cutting and sewing with faux fur and you can refer to that here.
- Scarf lining
- Slit facing
- Fusible interfacing (optional and then fuse to the facing/liner)
- Draw a 3.5” slit down the center of the facing with a fabric marking pen
Step 2
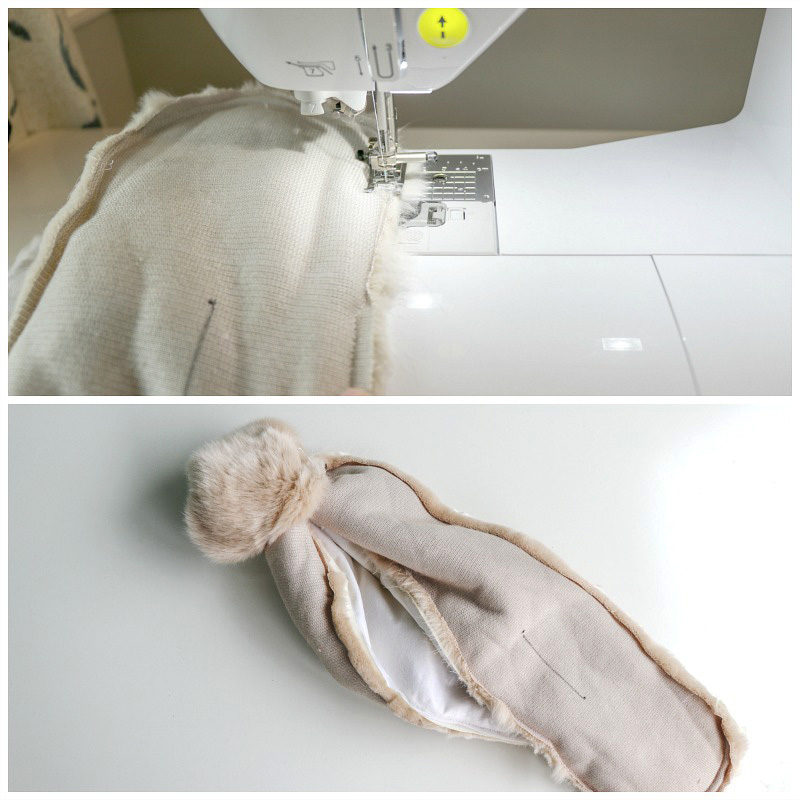
- With right sides facing, pin the faux fur and the satin liner together and sew leaving a 3” gap at the bottom center (to flip right sides out).
- Flip right side out and slip stitch opening closed with a needle and thread.
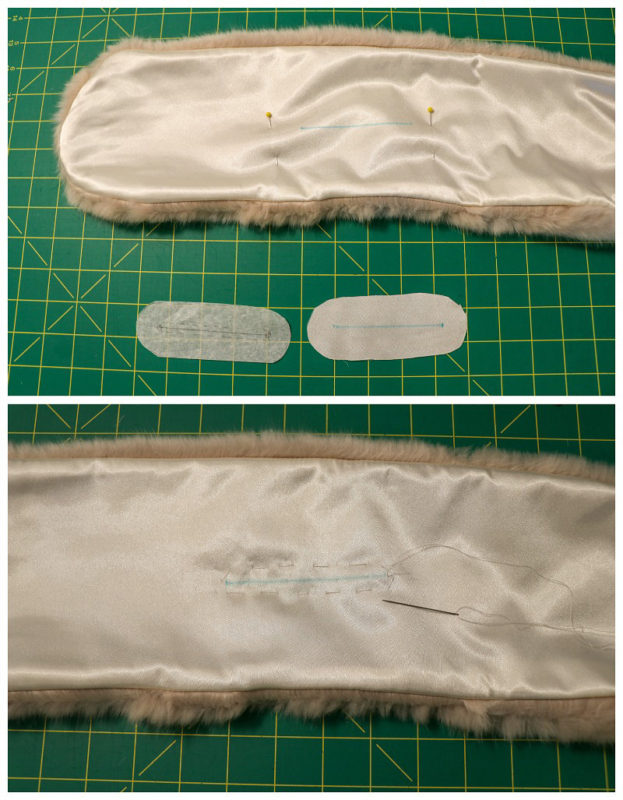
Step 3
- Place facing on left side 7.5” up and centered.
- Baste stitch if necessary, around the slit line just 1/4” away so it doesn’t move and pin well.
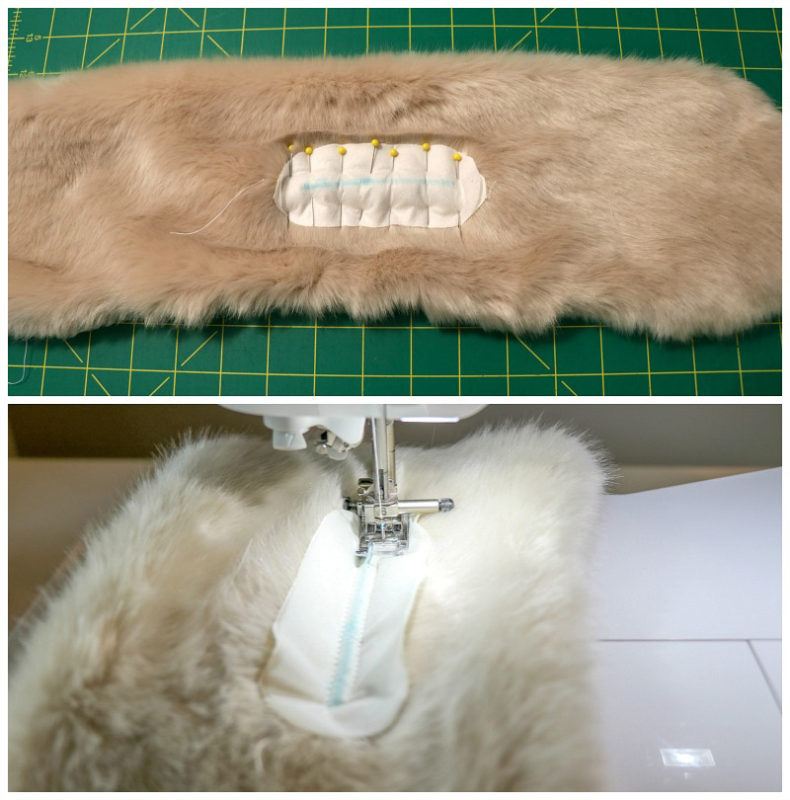
Step 4
- Stitch just along the slit line (1/8” or so away) curving around the sides. Remove baste stitch.
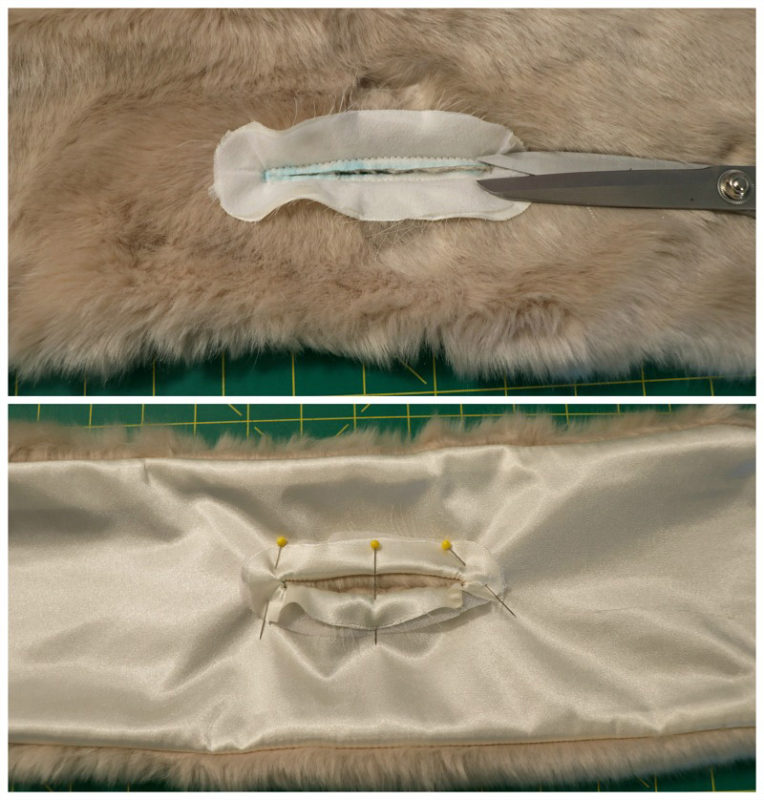
Step 5
- Cut the slit open.
- Flip facing through, press, and pin.
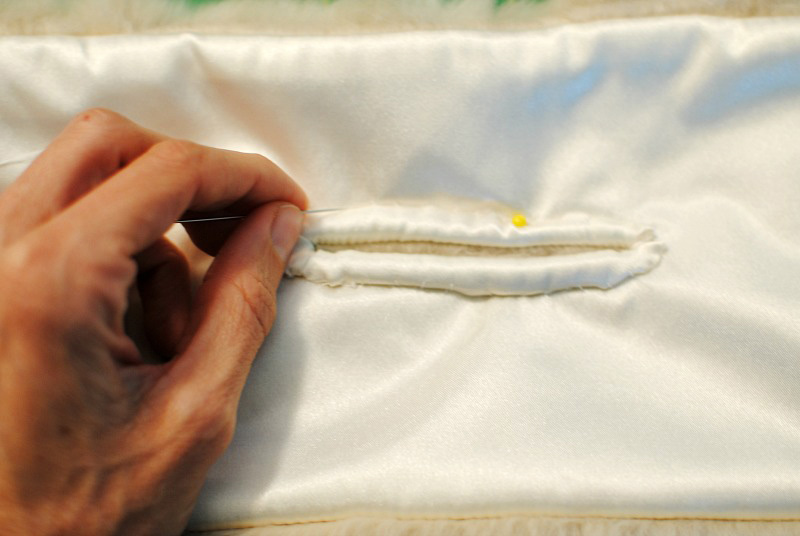
Step 6
- Fold under and slip stitch around the edges with a needle and thread.
Cuffs
Step 7
- Cut a strip of faux fur so the nap is running perpendicular.
- Mine measured 6.5” x 14” (*adjust the cuff length to shorter or smaller. Mine were big but not overly dramatic).
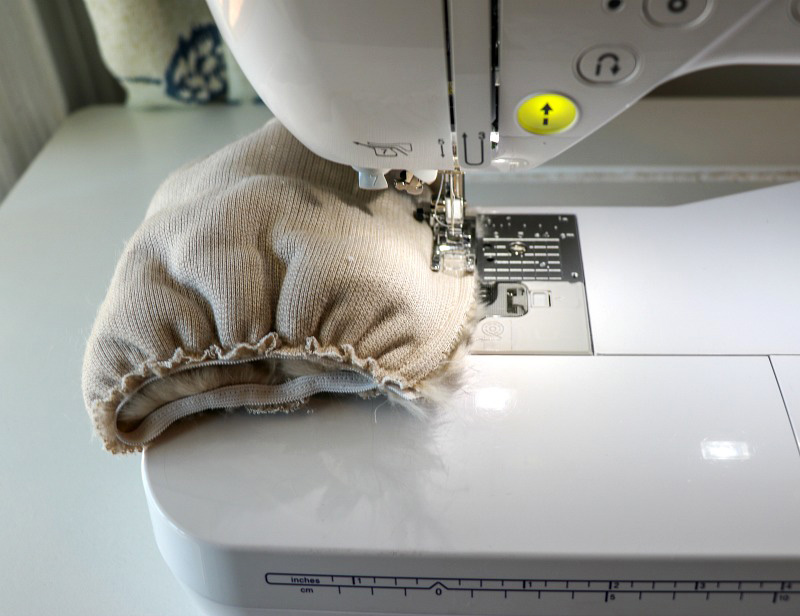
Step 8
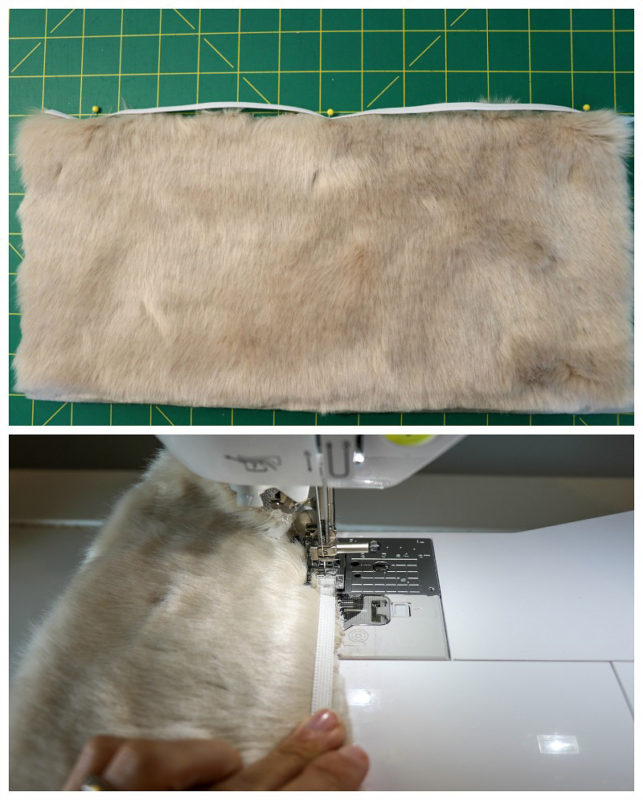
- Cut 2 strips of ¼” elastic to equal your wrist measurement (add an inch or so if you want it looser).
Step 9
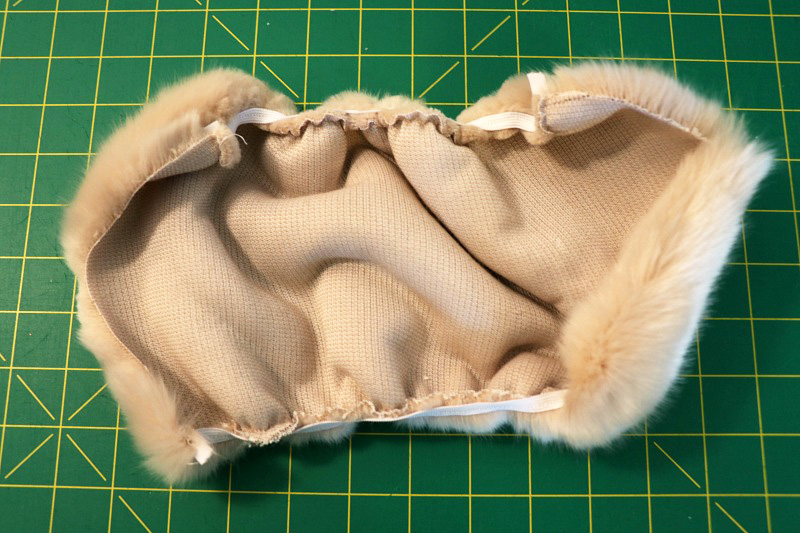
- Sew the elastic with a zigzag stitch on the right side of the fabric (fur side) just along the raw edge. I just tucked the pile in as I sewed. (repeat for the bottom).
Step 10
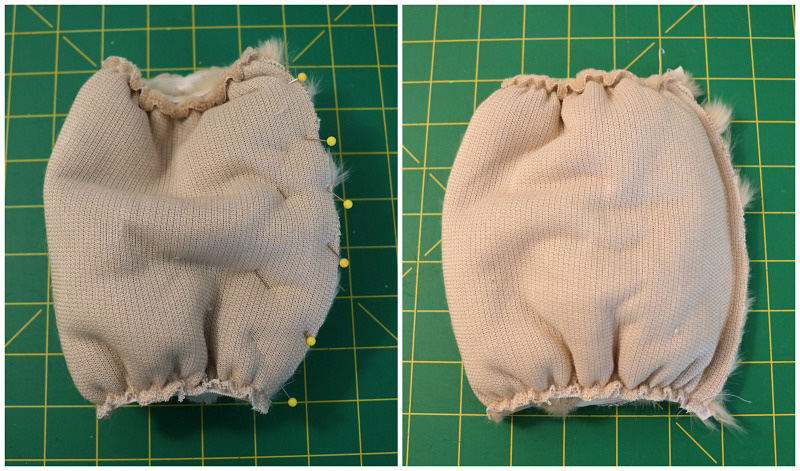
- Fold so the right sides are facing, pin, and stitch along the seam (1/2” seam allowance should do).
