How To Make Custom Printed Labels and Sew Them with the Hand-Look Stitch!
-Brother Sews Blogger

Labels sewn into your projects can be the crowning touch for your custom creations. In this project, I used a stitch that simulates hand sewing to attach labels to fabric. You’ll find this stitch in the menu of select Brother machine models. Of course, you can use other stitches to attach your label, but if you have access to the Hand-Look stitch, you’ll have fun using it to mimic hand stitching. Use this stitching technique with pre-purchased labels or create custom labels for your hand-crafted items with printable fabric and easy to use templates from the Brother Creative Center. This tutorial includes steps to create labels made with printable fabric and customizable home & business templates from the Brother Creative Center and continues with directions for using the Hand-Look stitch to sew them to fabric. Are you ready? Let’s Go Sew!
Supplies:
• Ink jet printer
• Printable fabric sheets specifically made for washable items.
• Colored thread used in bobbin for contrast with Hand-Look Stitch.
• Good quality clear monofilament thread used in needle for Hand-Look Stitch. Note: you can also opt to use lightweight thread that matches your label.
• Size 14/90 needle for sewing label with Hand-Look Stitch.
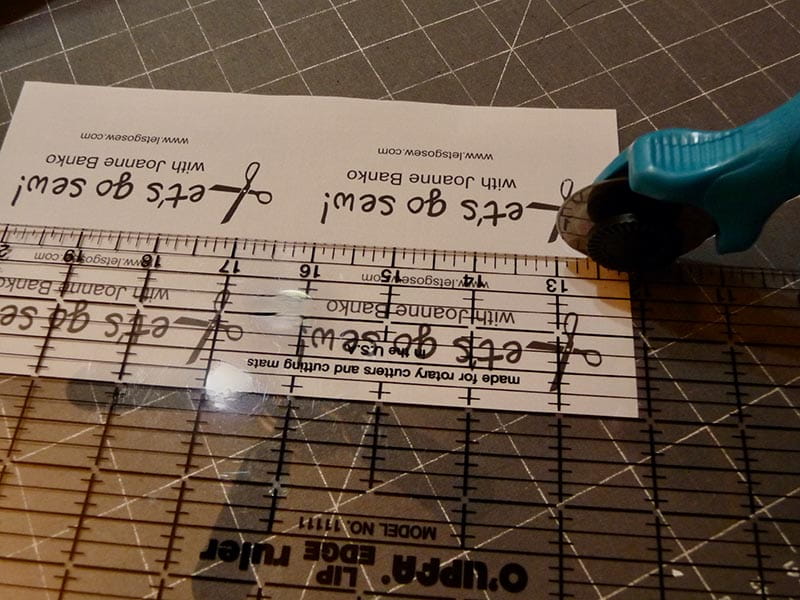
• Straight or rotary pinking blade with ruler and mat for rotary cutting. Note: Scissors or pinking shears will also work but you’ll get more accuracy with the rotary cutter option. A pinked edge will also prevent raveled edges on the fabric.
- Brother Sewing Machine
Steps to create printable labels:
1. Begin by visiting the Brother Creative Center webpage.
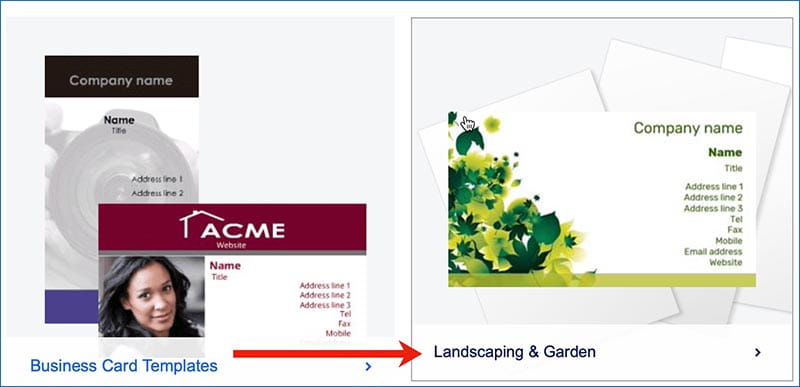
Scroll down and click on Business Card templates. There are lots of business card styles. I found them to be a nice size for my labels. You can delete whatever elements you don’t want and customize the layout so don’t overlook choosing various styles. You can also add your own photos and images. First, we’re going to create a simple label design with floral elements so you can get a feel for the process.
Select Landscaping & Gardening.
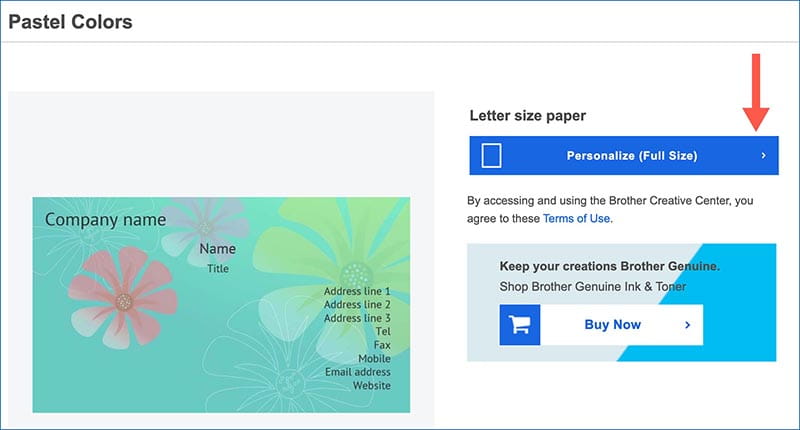
2. Select the Pastel Colors card style and click on Personalize.
Once the card loads on your screen you can click on the text boxes to edit, move, or delete them.
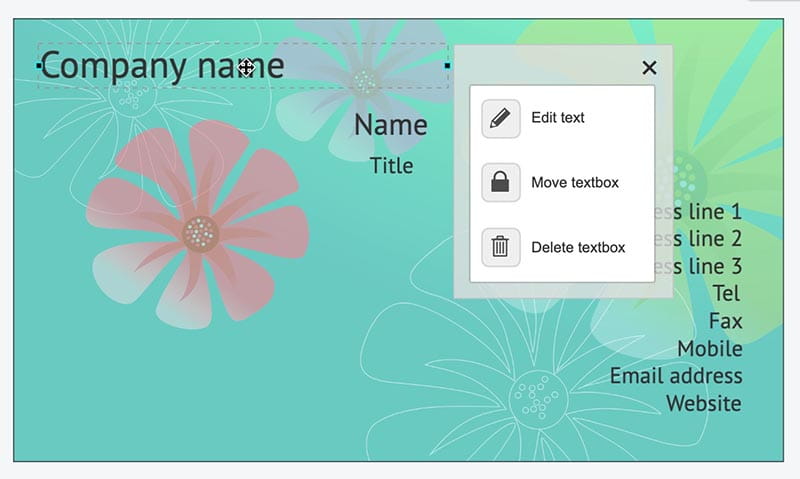
I deleted all textboxes. To add your own custom text, click on + Add text box, then choose your font style, size, alignment, etc.
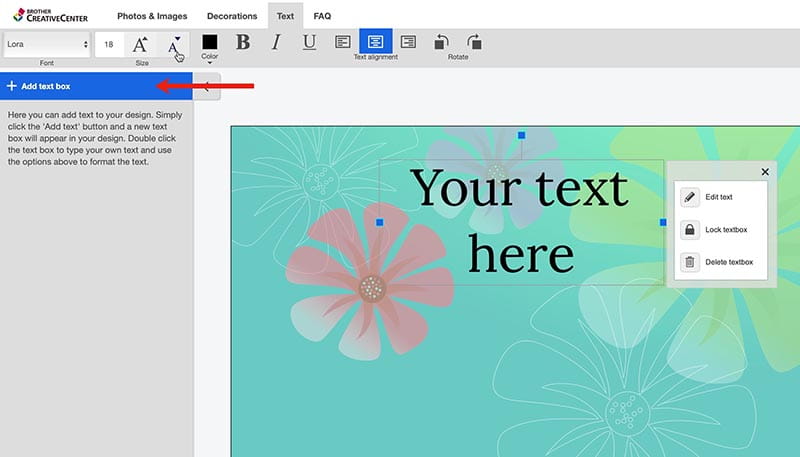
Click on Edit text, place your curser at the end of the word “here” and then backspace to remove the current text and type desired text into box.
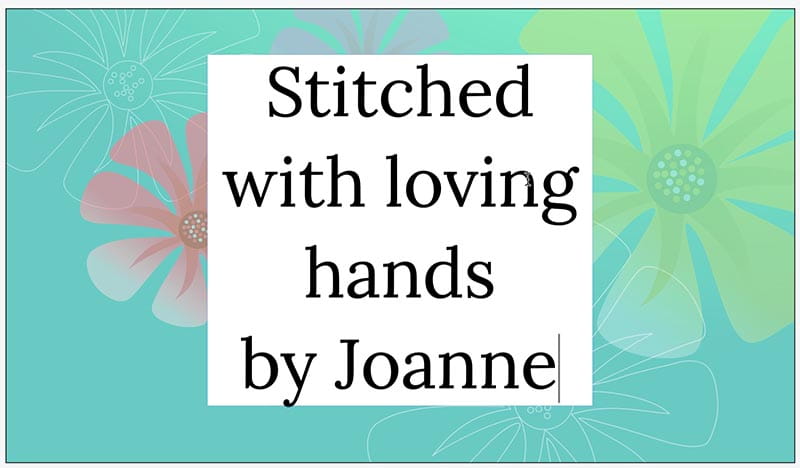
Click away from the text to set the letters, then click back on text to move box around as desired.
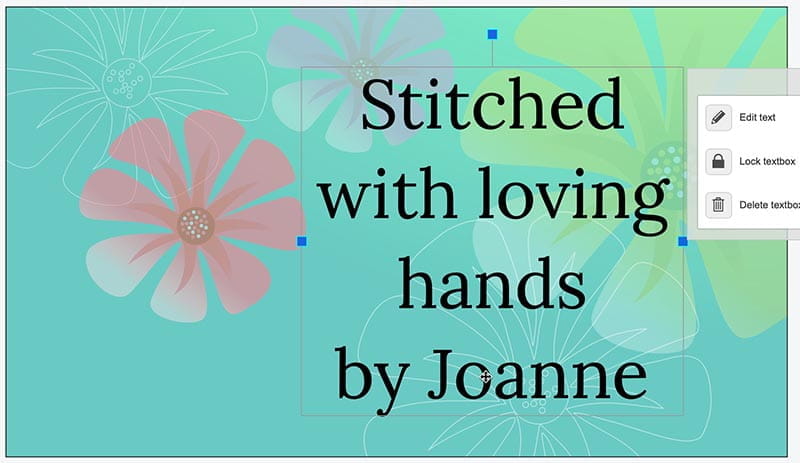
You can continue to edit the text. Drag the blue boxes on each side to stretch text box and use the top blue box to rotate the text if desired.
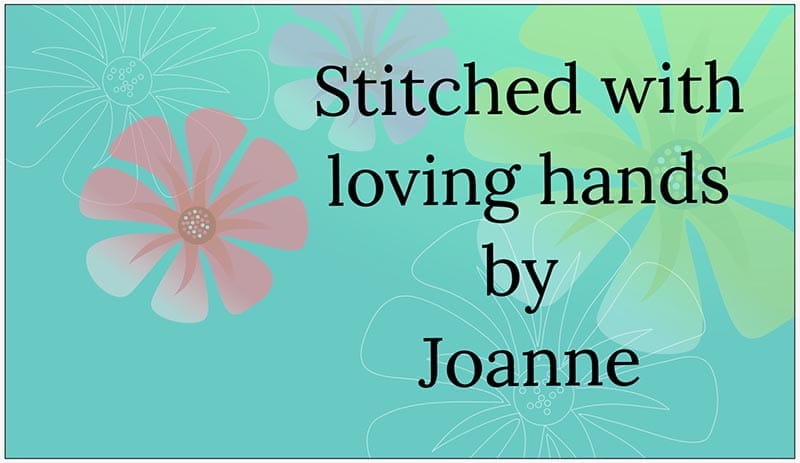
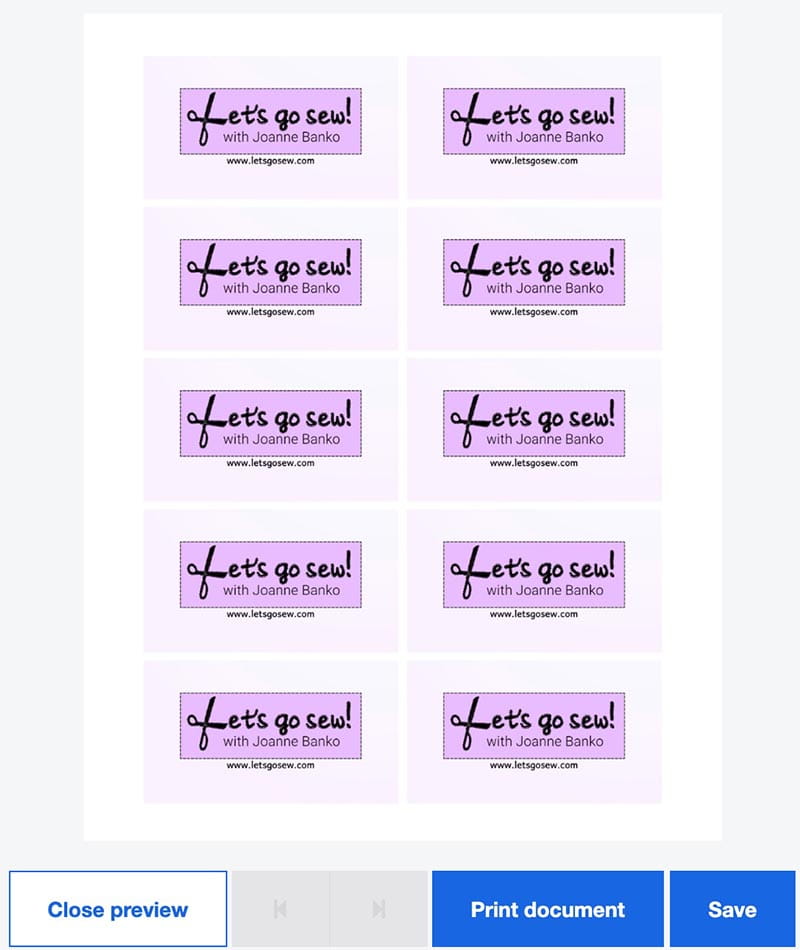
You can also click on the floral elements to delete, move, copy, paste, etc. Truly, there are endless options for customizing your “business card” label! I created another label by deleting all the elements, changing the Hue and Fade options, and bringing in my own image from my computer. I chose to save my file to open and print it again later. I made one sheet with white as a background as well. When you’re happy with your finished design, click Preview to choose margins and number of cards, then continue to preview to preview labels and print.

I had so much fun making these, I made yet another version.
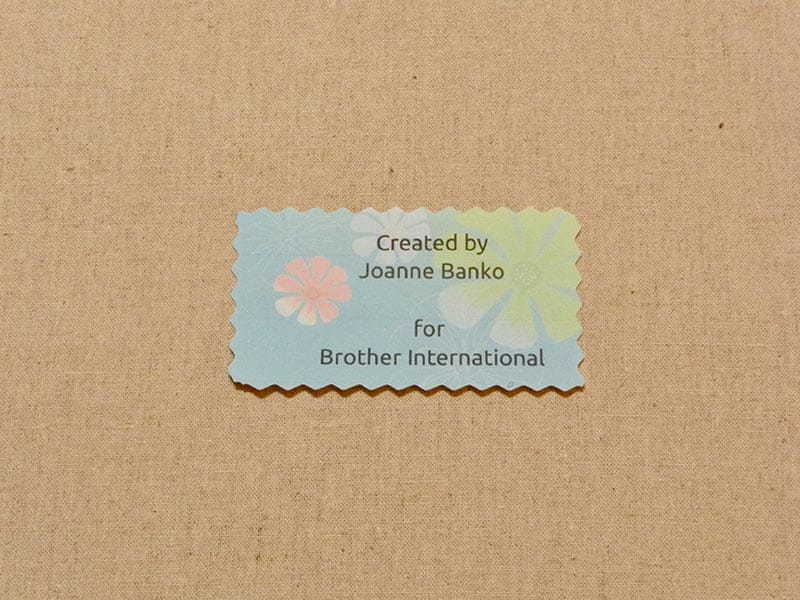
If you’re willing to experiment and play with the Brother Creative Center webpage you can come up with all kinds of different labels. When you’re ready to print check the package directions for the printable fabric along with settings for you printer and then simply substitute printable fabric for paper in your printer. Trim printed labels with pinking shears or rotary cutter to prepare for stitching on fabric.
Steps to sew labels using Hand Look Stitches:
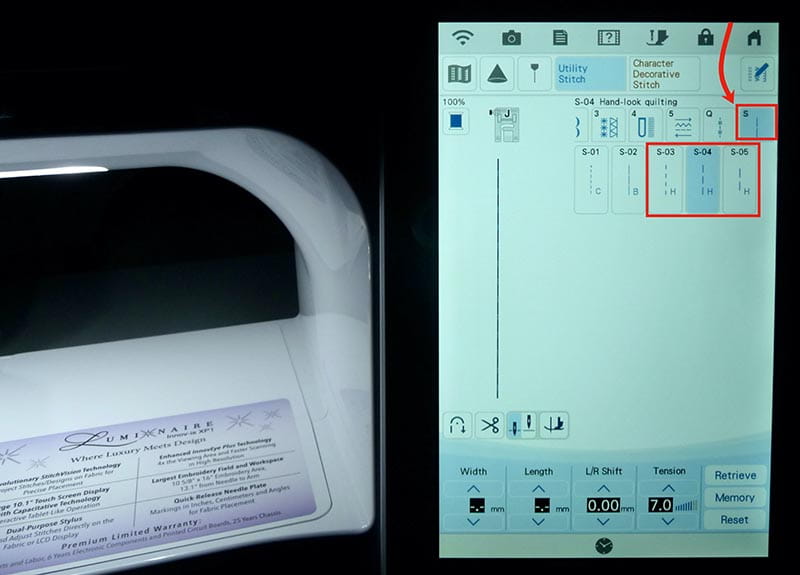
1. Special Hand-look stitches are part of the utility “S” menu and have a distinct marking with the letter “H.” These stitches mimic a stitching style known as Sachiko. The word Sashiko means “little stabs” and perfectly describes the small stitches with blank space in between, these stitches are typically sewn with light colored thread on dark fabric, but of course, you can use any fabric and thread combination you like! Brother has made it possible to imitate the look of stitches formerly done by hand.
Assemble your supplies.
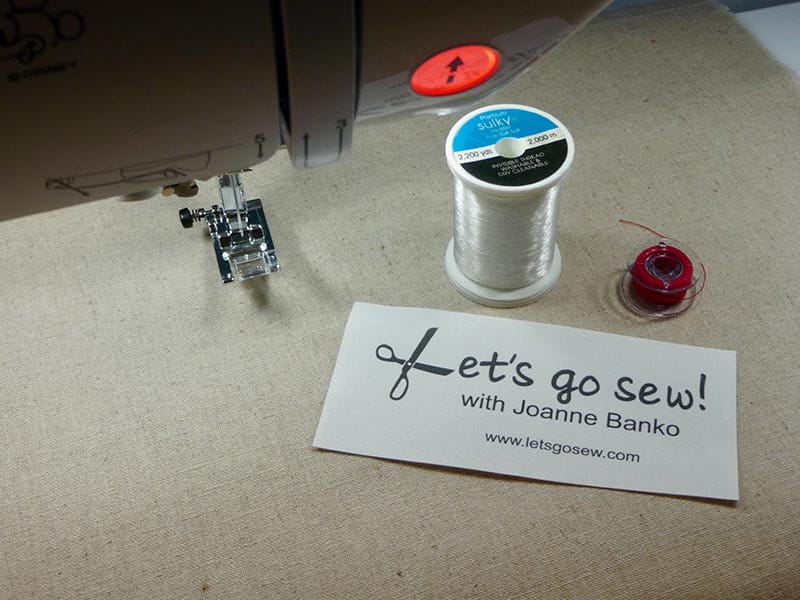
Set up the machine as follows:
Thread machine with one of the recommended threads in the needle and the contrast-colored thread in the bobbin. Pull bobbin thread up to the top of the throat plate. Select one of the three hand look stitches. They vary according to the length of the stitch and amount of “blank” space between each one. I used S-04. Note the increased tension. This is essential in forming the stitch. Tip: Do a test sample before sewing on your actual project and increase the tension a little at a time if your colored thread is not sufficiently showing on the top side of your fabric.
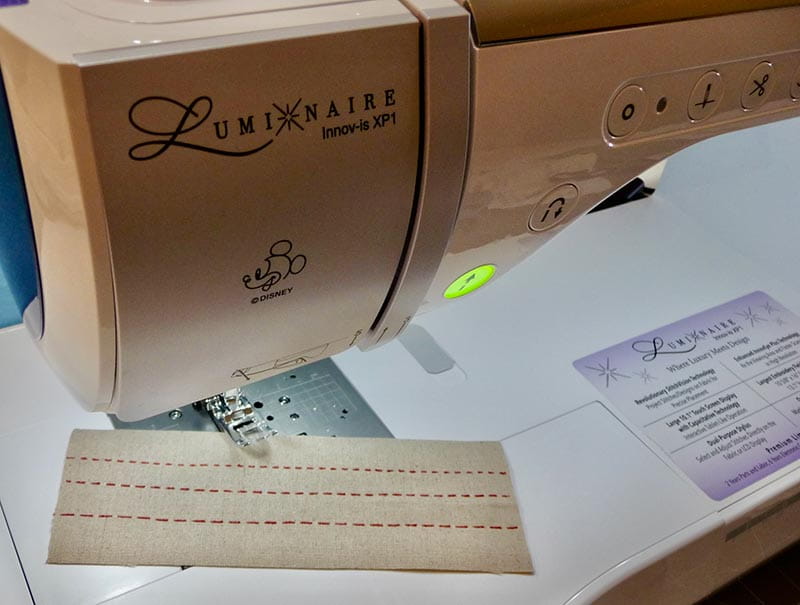
2. Place label on fabric and sew close to the edges to secure label in place. Tip: Sew at a slow to medium speed for best results. Due to the movement of the needle when forming this stitch, it can be tricky to pivot at a corner. To sew all four side of the label I recommend sewing each side form end to end, crossing over the previous stitches.

That’s all there is to it! I hope you enjoy making your own custom labels with the Brother Creative Center and your Brother machine!
Tags
Shop this Project
No sewing machine? No problem! Any products mentioned in this project are available to buy here so you can stay stitching.

Related Projects
Stay Connected
* Required fields