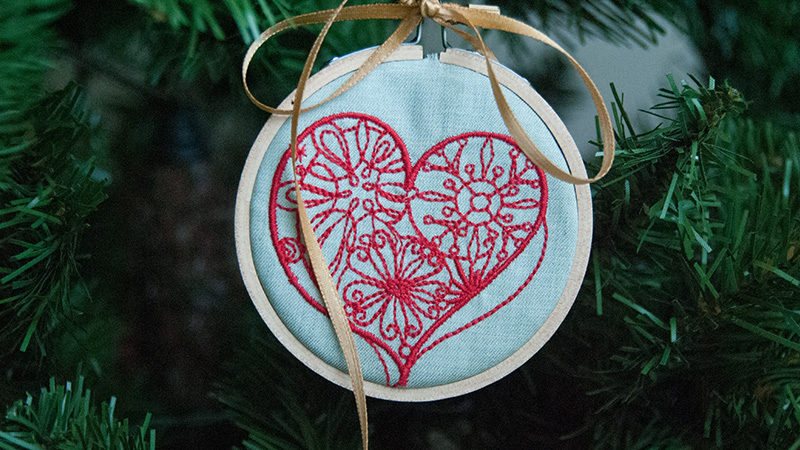
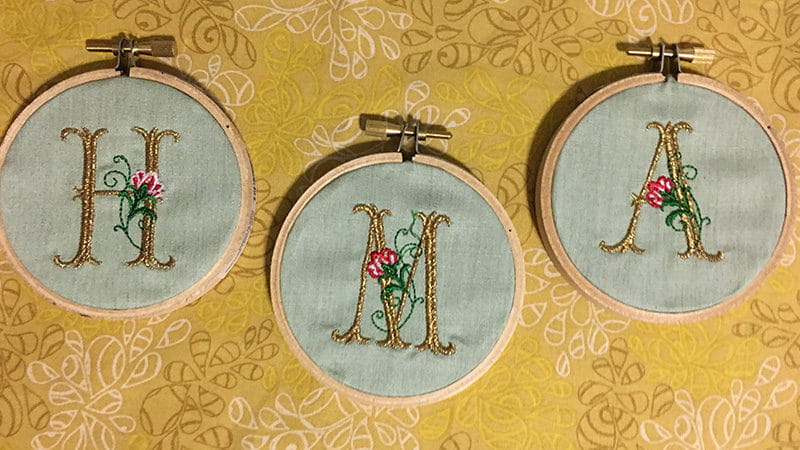
Deck the Halls with Embroidered Ornaments
So I have a confession to make. Prior to this project, I had never done machine embroidery, nor did I think I would be interested. And like it took me like 80 years (not really like a month or so) to finally open the embroidery box to my DreamWeaver™ XE because I thought it would be super hard and I wasn’t really interested in reading a manual to figure it out. But I did it anyway and oh em gee and I'm super stoked that I did because it was/is a blast. Like basically, I spent like 6 hours straight embroidering different things and staring at it while it worked its magic. And part of this spree included some Christmas designs and I totally had a light bulb moment: ORNAMENTS!!!!
Machine Used
Materials and Supplies:
- Fabric
- Embroidery Thread
- Embroidery Bobbin Thread
- Stabilizer (I used SA5820 Tear-Away
) - Small embroidery hoops (I used 3” and 4”)
- Glue stick
- Rotary cutter or scissors
- Cutting mat (optional)
- Satin ribbon (1/8”)
Embroidery Fun
So this post will not teach you how to machine embroider. I’m assuming you already know this and are here to take part in the lightbulb portion of my project. One thing, however, is that I shrank down all of the preprogrammed designs as small as they would go, which worked perfectly for this. Here are some designs that I used.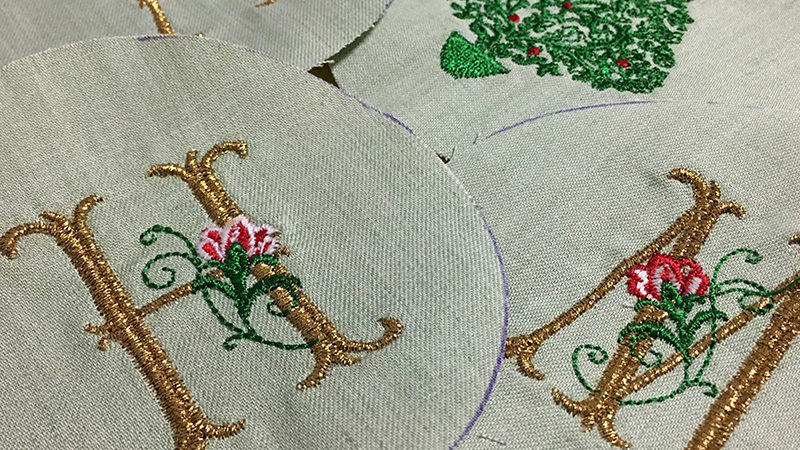

Cutting Circles
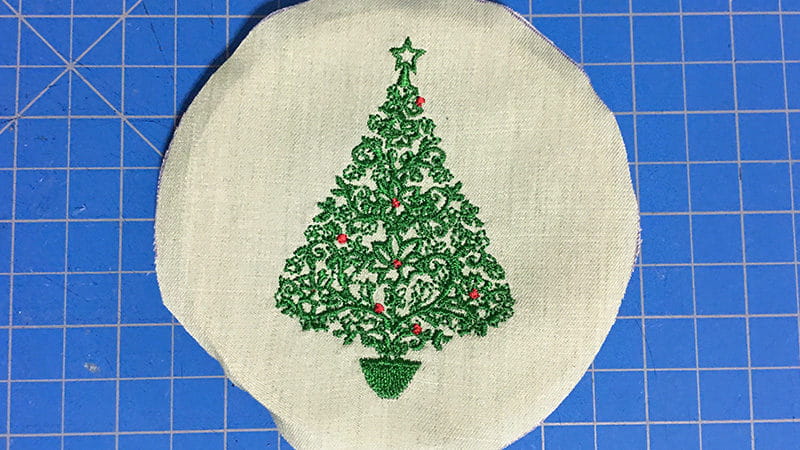
- With the outer and inner circles of the embroidery hoop still together, place on top of the design and trace a circle around the hoop. Make sure that the pen is straight up and down so that the circle is slightly larger than the outer hoop.

- You will now need to cut two circles: the one that you traced and another one for the back that is the same size. I used a different but complementary fabric for the back circle to give it some extra ooh la la and cut them both at the same time.

Time to Make the Ornaments
Okay so I’m gonna start this section by highly suggesting that when I say to let the glue dry, you should do that and I may or may not have learned that by not listening to my own advice.- Now use your glue stick to cover the one rim and side of the inner circle of the embroidery hoop.
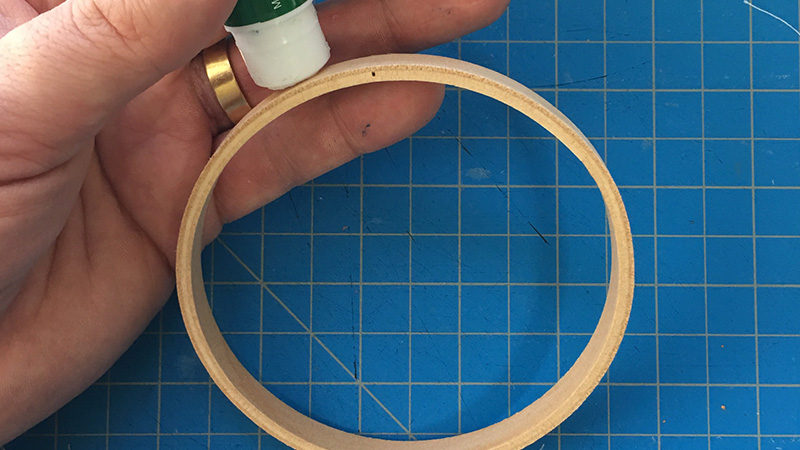
- Center the back fabric on top of the glued rim of the circle. Use the outer ring of the embroidery hoop to smooth down the sides of the fabric. Tighten the hoop and let dry per manufacturer specifications.
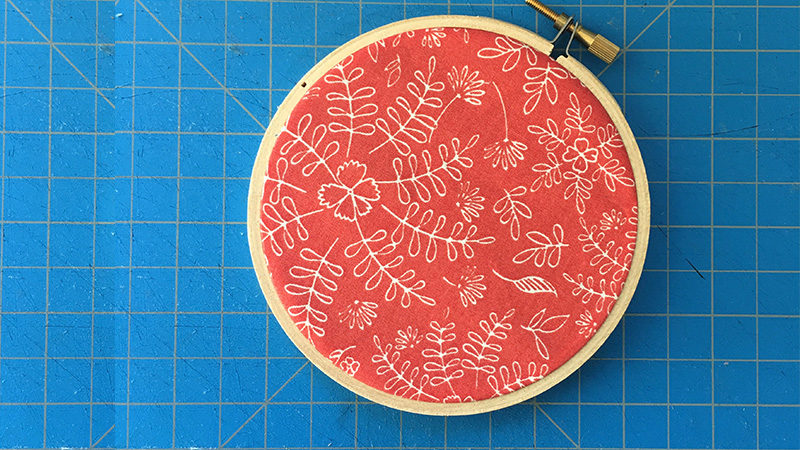
- Once it’s dry, remove the outer hoop and enjoy the smoothed down fabric that your patience has brought you.
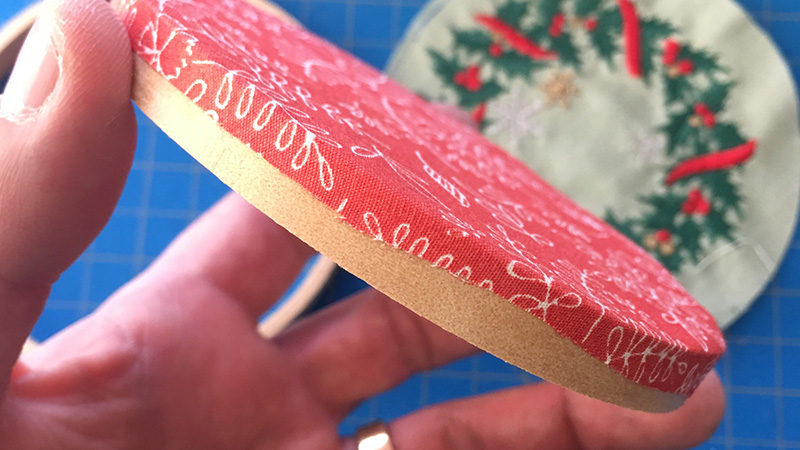
- Repeat steps 1 & 2 with the other side of the inner hoop and the embroidered fabric.
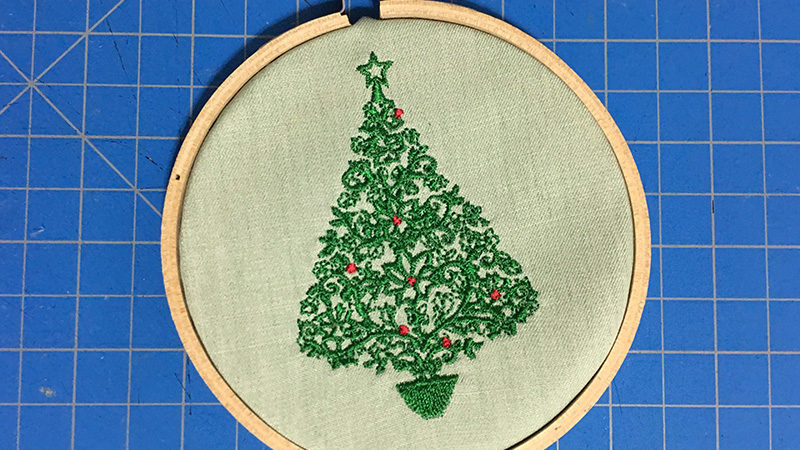
- Cut a piece of ribbon between 18” and 24”. Tie a double knot on both sides of the embroidery screw about 3” on either side of the center of the ribbon. Tie a bow with the loose lengths of ribbon and enjoy.
 Seriously I can’t stop staring at these ornaments on the tree and patting myself on the back with how simple they were to make.
Now…what am I going to embroider NEXT?
