DIY Halloween Face Masks
-Brother Sews Ambassador
 With October just around the corner why not spook up the face masks with Halloween inspired designs. This is a good project to get the kids involved, and it's made easy with the ScanNCut DX
and CanvasWorkspace
. My kids enjoyed making the faces from the templates and browsing all the designs from the CanvasWorkspace. Get the details below and make your own Halloween face mask!
 Supplies:
 1. There are 2 ways to do this and both work just fine. Use pre-made masks to add the templates to, or press the design on the cut fabric first and then stitch up the mask. If premade, you don’t want the masks with large pleats. I did both versions.
 2. Use the ScanNCut and templates from CanvasWorkspace to cut out your mask designs. It’s a good idea to do a sample cut first to see if the size is ideal.
I also like to do all the same colored templates at once so they’re all cut together.
 3. Position design in the center of mask. Again try on prior to ironing (I used double stick tape but you can also try a temporary spray adhesive).
 4. Place parchment paper over and press.
Remove top plastic once the vinyl has set.
 5. Stitch up if need be or move onto the next.
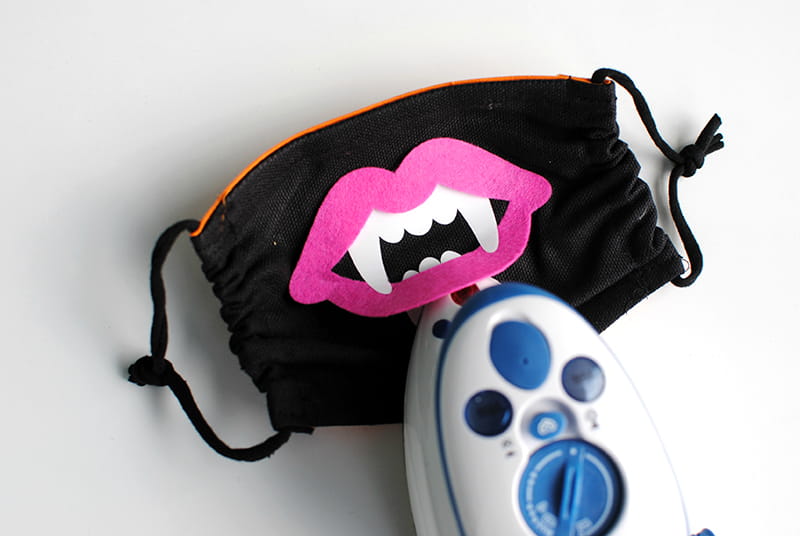
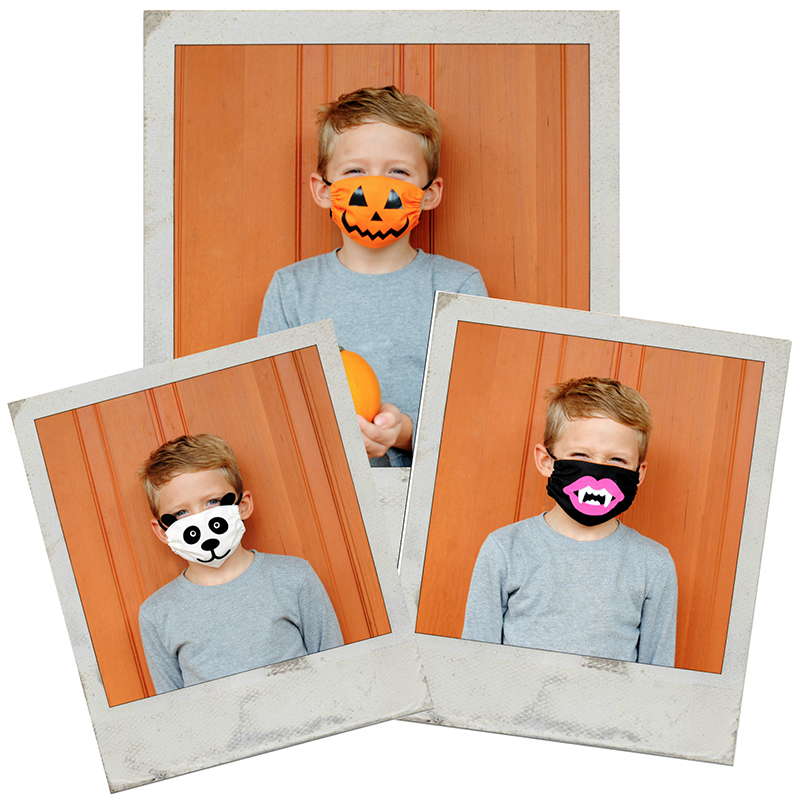
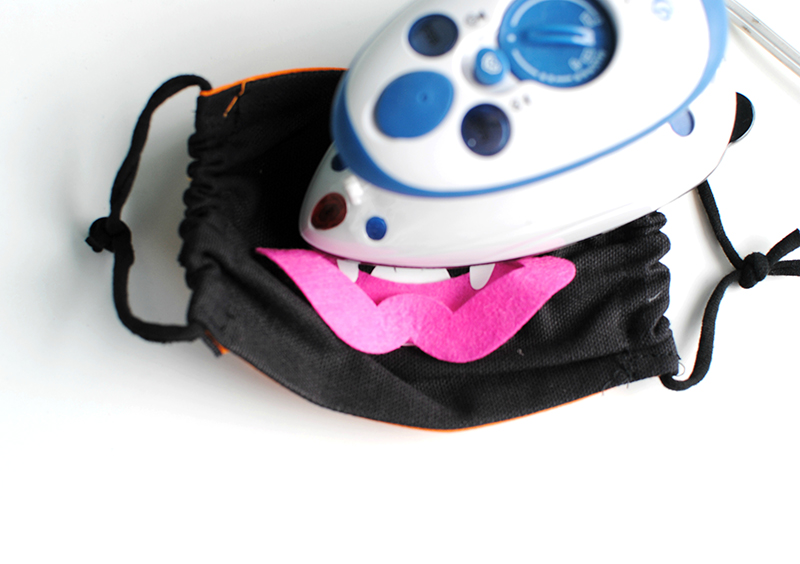 For the vampire mouth Because I was layering the mouth I didn’t want to use a vinyl adhesive for both pieces. What I did was use a vinyl adhesive for the teeth and felt for the lips. I pressed the teeth on first but needed the teeth to go over the lips a tad so I pressed that on first. Once the vinyl set and I removed the clear coat, I hot glued the lips on. You could also stitch or add a fusible adhesive on the back. Either way works, leaving you with your very own vampire face mask!
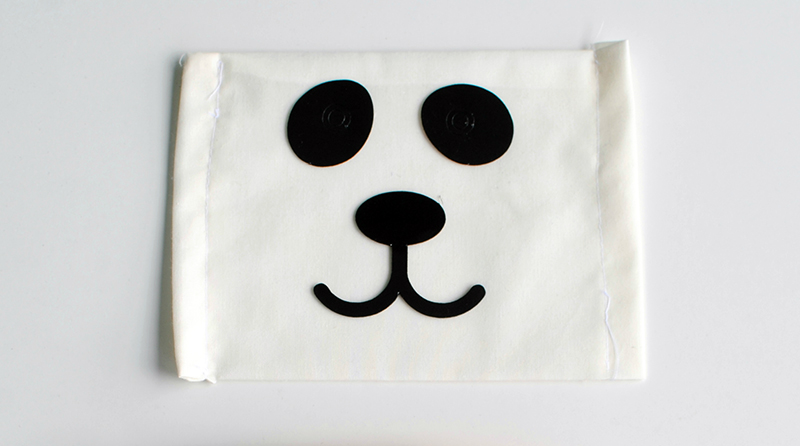
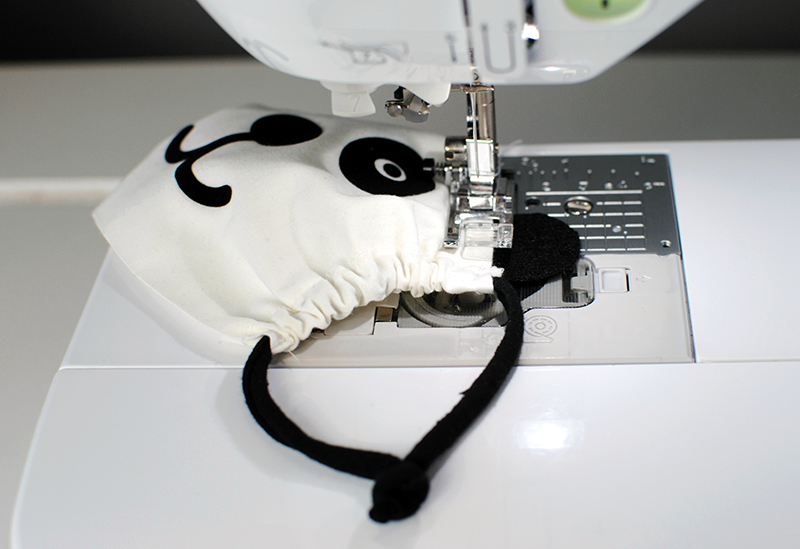 For the panda: I pressed the face on first, then added the ears with a quick top stitch along the edge of the panda face mask. You will want to make the ears small and far to the sides so they don’t hit the eyes. Or you can even just place them on the front of the mask if the ears are bothersome. My son was adamant they were on the top edge.
So many ideas and so little time! I like the idea of making these around a Halloween costume for kids or adults. Maybe I’ll be a vampire this year. My 11 year old son is requesting a zombie one now…haha!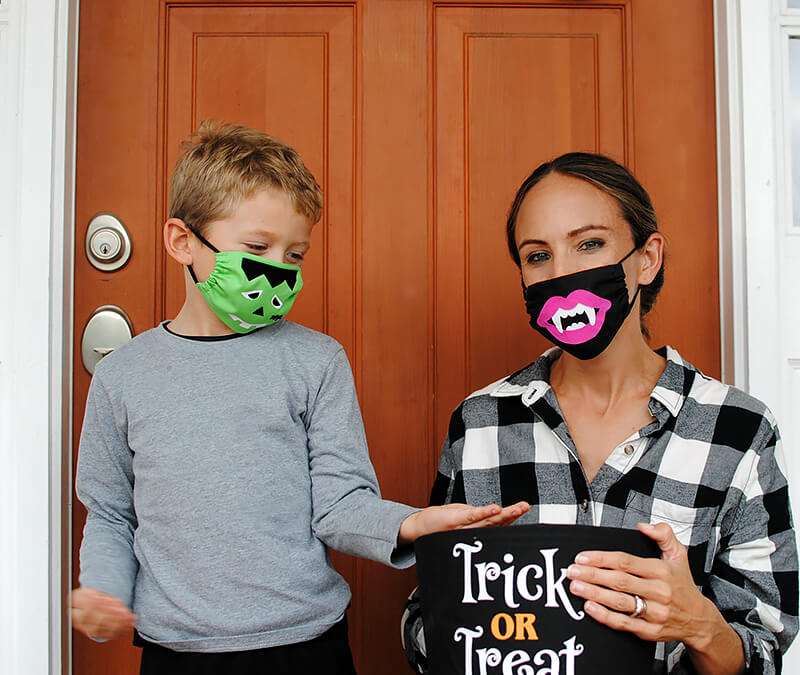
 *It is important to note that cloth face masks have not been proven to provide effective protection against the spread of viruses. For more information, visit the CDC website.
 With October just around the corner why not spook up the face masks with Halloween inspired designs. This is a good project to get the kids involved, and it's made easy with the ScanNCut DX
 and CanvasWorkspace
. My kids enjoyed making the faces from the templates and browsing all the designs from the CanvasWorkspace. Get the details below and make your own Halloween face mask!
 Supplies:
- ScanNCut DX
- Brother SE1900 Sewing and Embroidery Machine
- Any type of adhesive vinyl sheets or felt that can be cut in the ScanNCut.
- Pre-made masks or fabric for masks
- Parchment paper for pressing design
- Ghost – Ghost Garland
- Jack O Lantern- Halloween Photo Props
- Frankenstein- Monster Candy Sleeves
- Vampire mouth- Halloween Photo Props
- Panda- Animal Balloons
 1. There are 2 ways to do this and both work just fine. Use pre-made masks to add the templates to, or press the design on the cut fabric first and then stitch up the mask. If premade, you don’t want the masks with large pleats. I did both versions.
 2. Use the ScanNCut and templates from CanvasWorkspace to cut out your mask designs. It’s a good idea to do a sample cut first to see if the size is ideal.
I also like to do all the same colored templates at once so they’re all cut together.
 3. Position design in the center of mask. Again try on prior to ironing (I used double stick tape but you can also try a temporary spray adhesive).
 4. Place parchment paper over and press.
Remove top plastic once the vinyl has set.
 5. Stitch up if need be or move onto the next.

 For the vampire mouth Because I was layering the mouth I didn’t want to use a vinyl adhesive for both pieces. What I did was use a vinyl adhesive for the teeth and felt for the lips. I pressed the teeth on first but needed the teeth to go over the lips a tad so I pressed that on first. Once the vinyl set and I removed the clear coat, I hot glued the lips on. You could also stitch or add a fusible adhesive on the back. Either way works, leaving you with your very own vampire face mask!

 For the panda: I pressed the face on first, then added the ears with a quick top stitch along the edge of the panda face mask. You will want to make the ears small and far to the sides so they don’t hit the eyes. Or you can even just place them on the front of the mask if the ears are bothersome. My son was adamant they were on the top edge.
So many ideas and so little time! I like the idea of making these around a Halloween costume for kids or adults. Maybe I’ll be a vampire this year. My 11 year old son is requesting a zombie one now…haha!

 *It is important to note that cloth face masks have not been proven to provide effective protection against the spread of viruses. For more information, visit the CDC website.


