How to make a cover for your sewing machine
Supplies and Tools:
- Machine that you want to cover
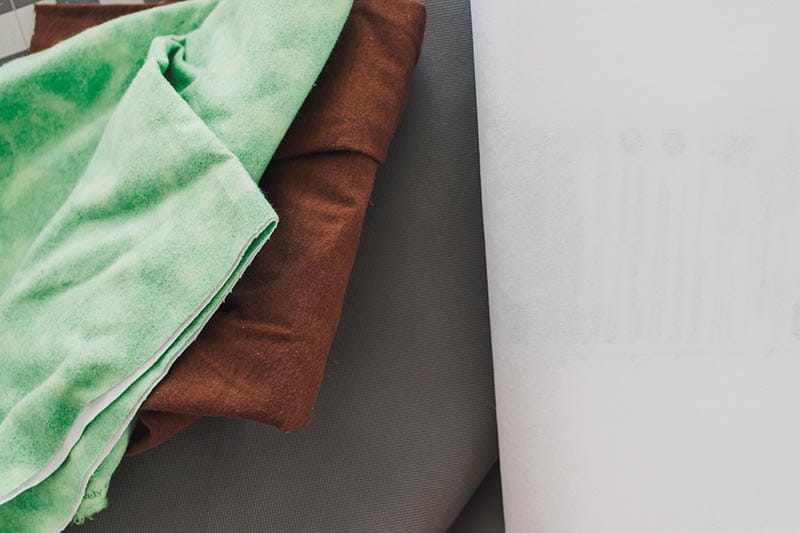
- Fabric for cover - Around 1 yard per fabric
- Lining fabric
- Outer fabric
- Serger or sewing machine for sewing it up
- {optional} fusible interfacing to give it more structure
Directions:
Ok! Let’s start by choosing the machine or machines you want to sew a cover for. I wanted to sew a cover for my new AIRFLOW 3000.
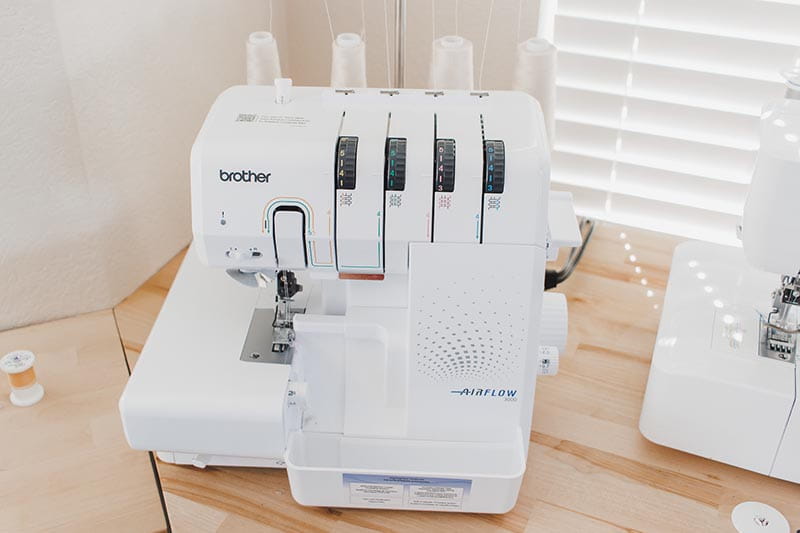
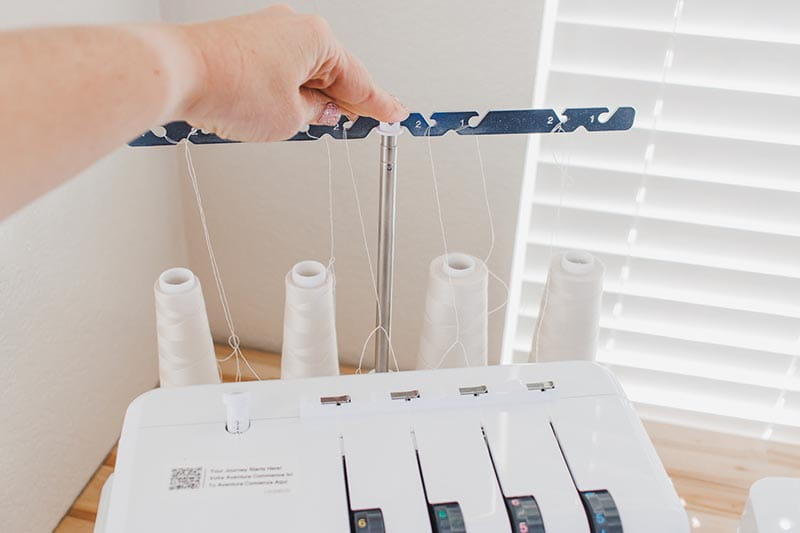
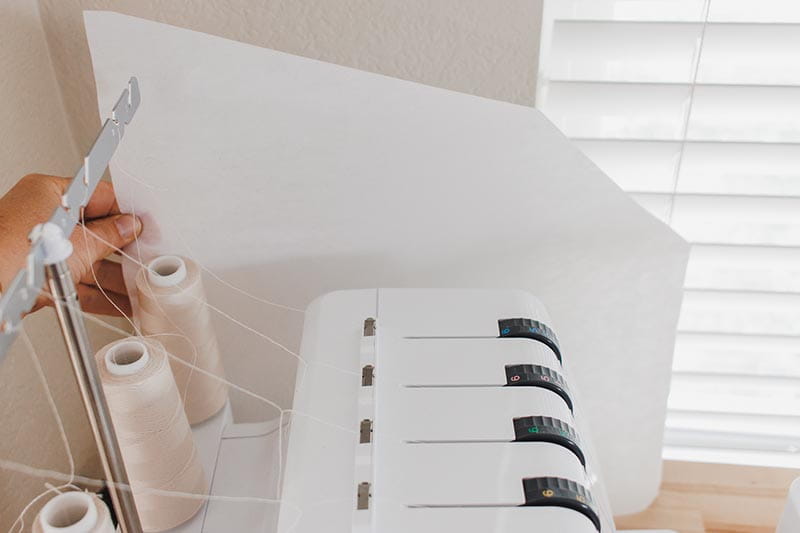
After you have chosen a machine, it’s time to measure that machine before cutting the fabric. Push the thread stand all the way down to make it easier to cover. Measure from the table at the back of the machine, over the top and then down to the table at the front of the machine.
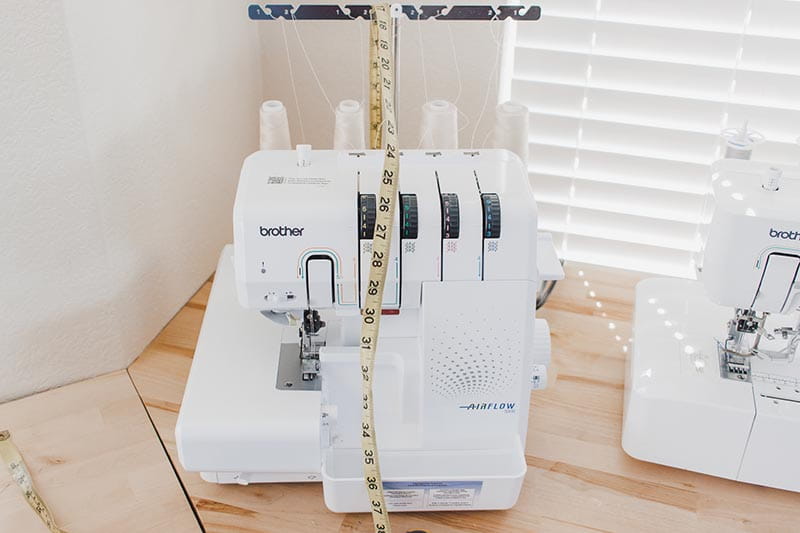
Add 5” to this measurement for ease of the shape. My measurement was 39” + 5” = length of 44”. Next up measure the width of the machine. {make sure to include the handwheel and any trays, the total width! Mine was 14” + 1”= 15” {the 1” is for seam allowance} Now you have a front panel dimension of 44” x 15” .
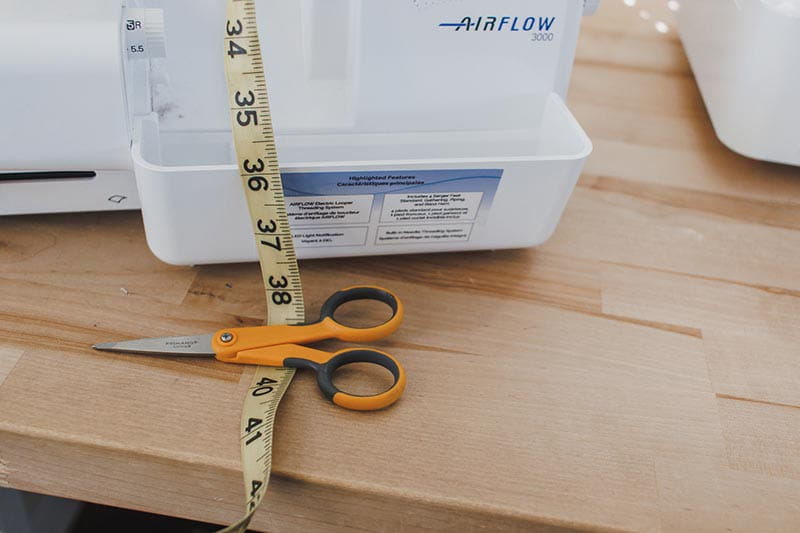
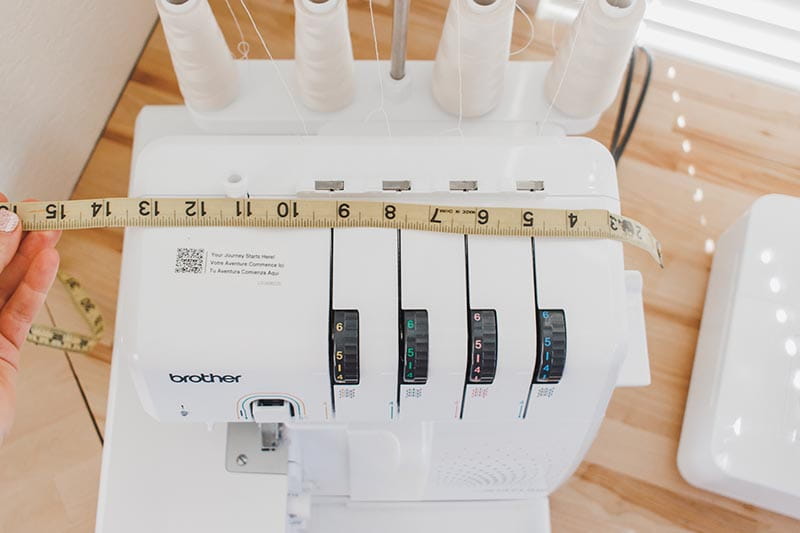
Let’s measure the sides. Make sure to measure all the way to the top of the thread stand for height and across the total width as well. Add 1” to each measurement for seam allowance. My side panel is 17” x 15”.
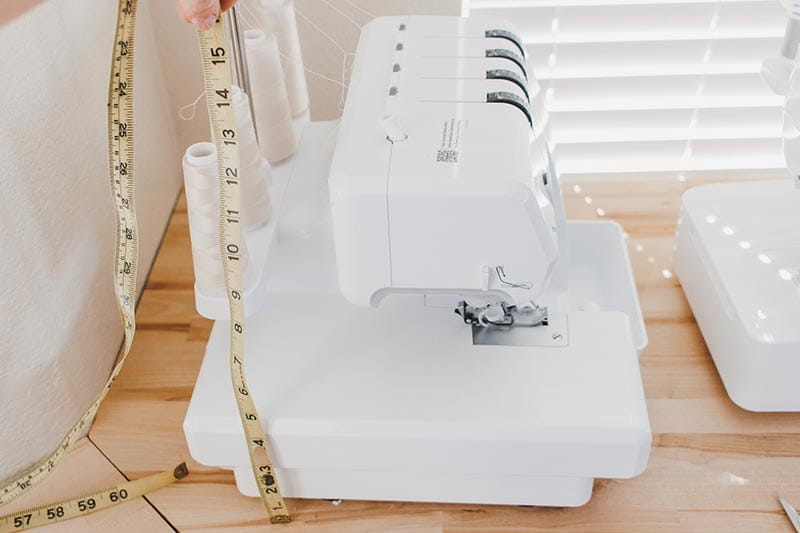
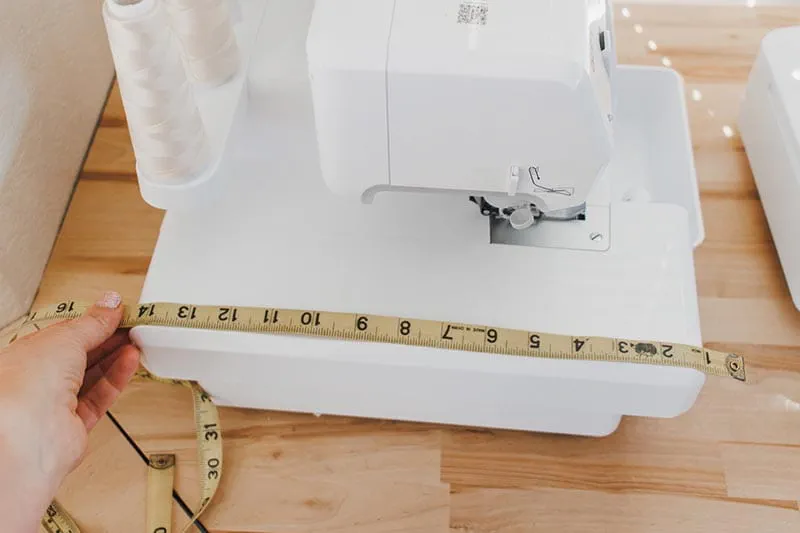
When you finish measuring it’s time to cut the fabric. I cut the lining first.
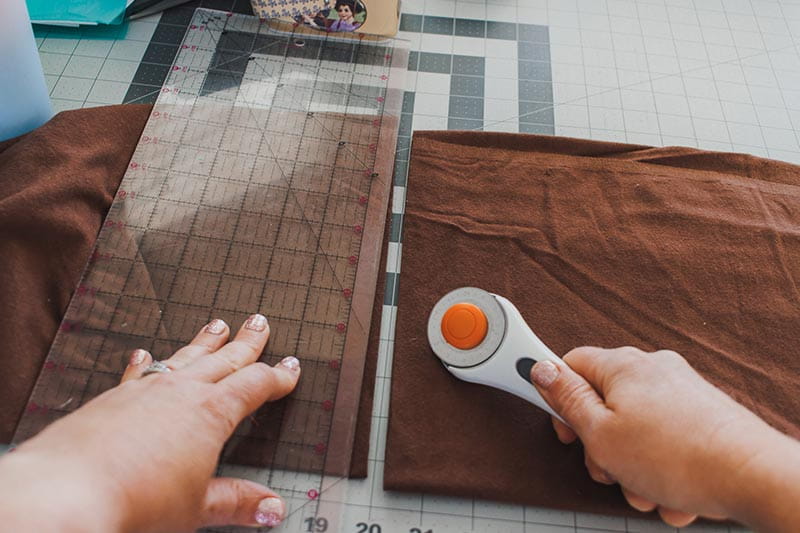
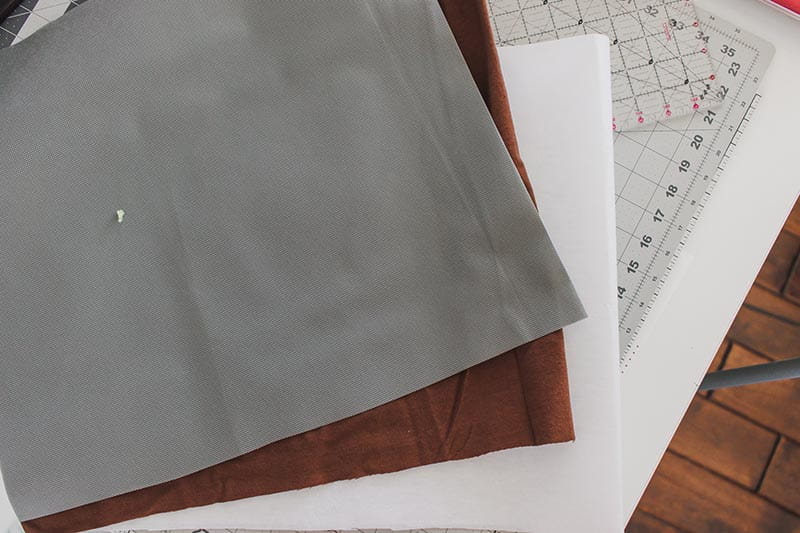
Cut the lining, the main fabric and the interfacing if you are choosing to use. I wanted a nice structured cover, so I’m adding stiff, fusible interfacing. I fused the interfacing to the back side of the lining fabric before moving on.
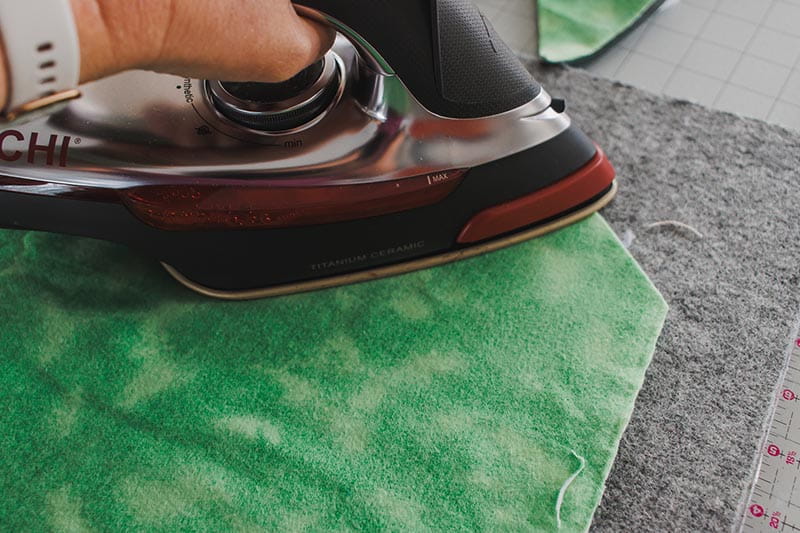
Now we need to shape the side panels a bit more. {For a sewing machine this will just be rounding the corners, for a serger or coverstitch you will shape a bit more}
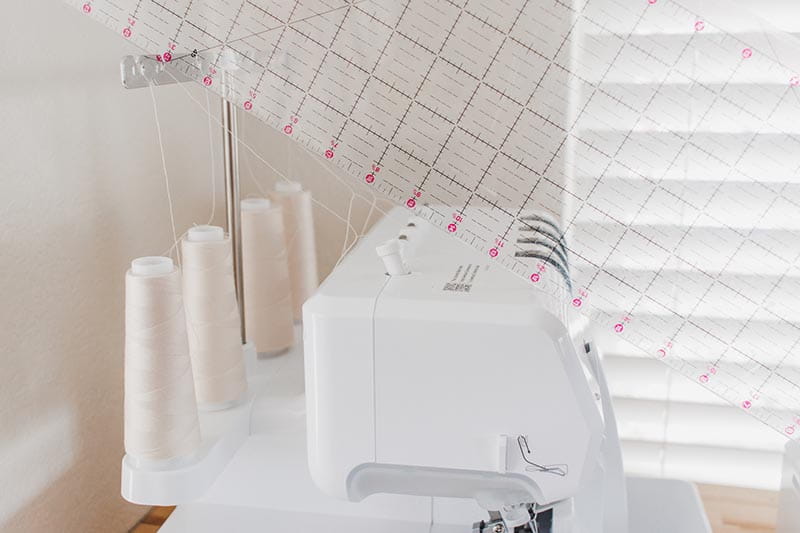
I used my ruler to get a general idea of the shape, then cut an angle from the top of the SIDE PANEL.
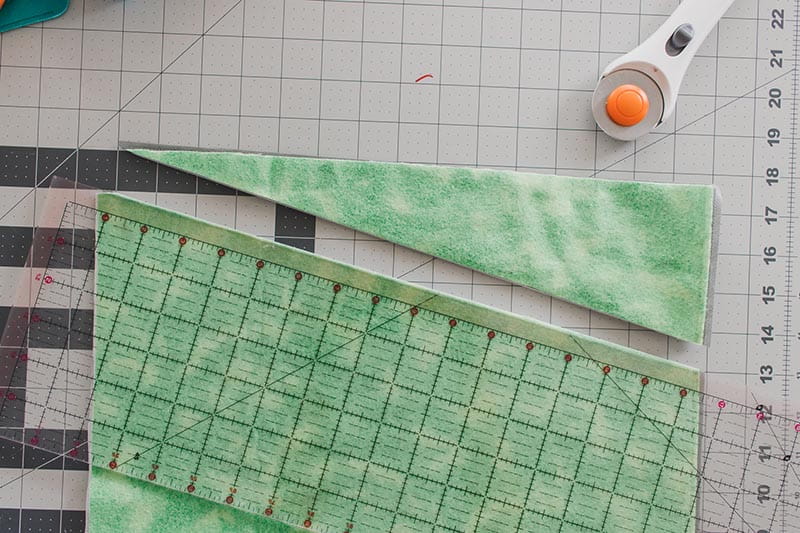
I ended up doing a bit of additional shaping after comparing my side to the side of the machine. Make sure to cut the side panels of all fabric to match. Main fabric, lining fabric and interfacing.
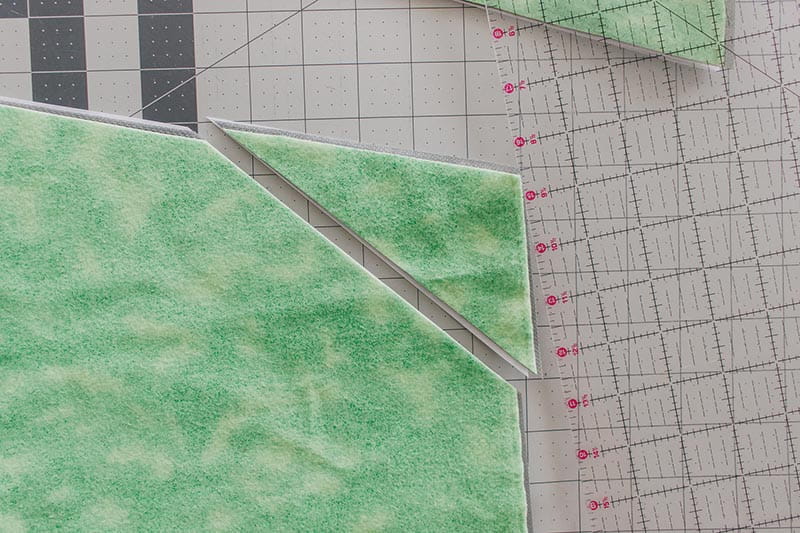
After you have the shape as you like, fuse the interfacing to the back of the lining fabric.

Pin or clip the side panel to the front long piece. Right sides of the fabric touching, start at the back and pin around the shaped side until you get to the front. You may have a bit of extra front fabric depending on the shaping of your side piece. {You can trim this later}
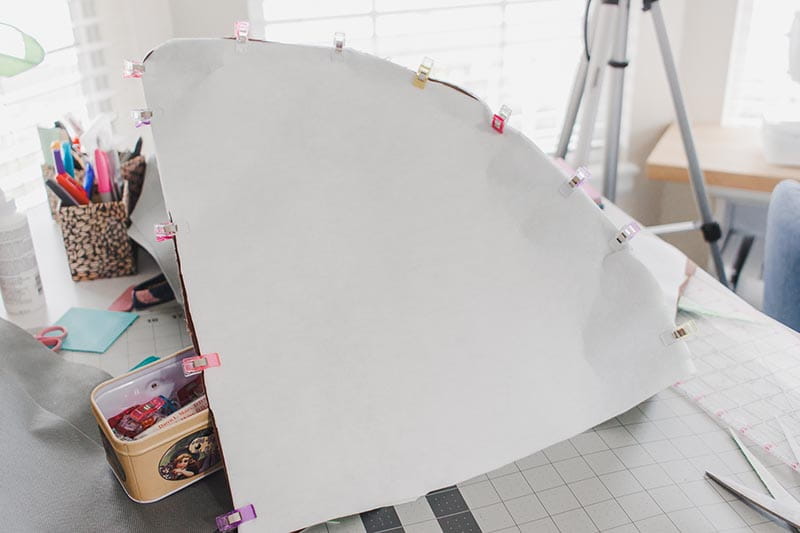
Sew this side seam with your sewing machine or serger. You will be sewing through two layers of fabric and two layers of interfacing.
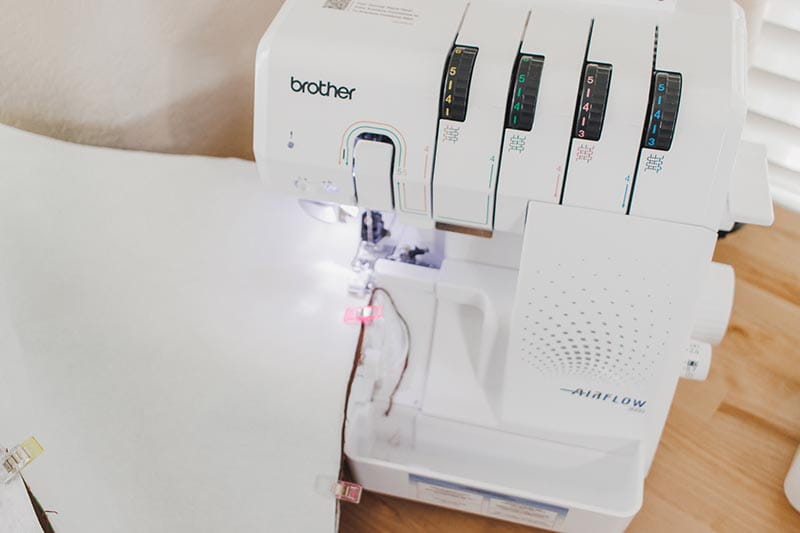
One side of the cover is now sewn together. Repeat with the other side panel.
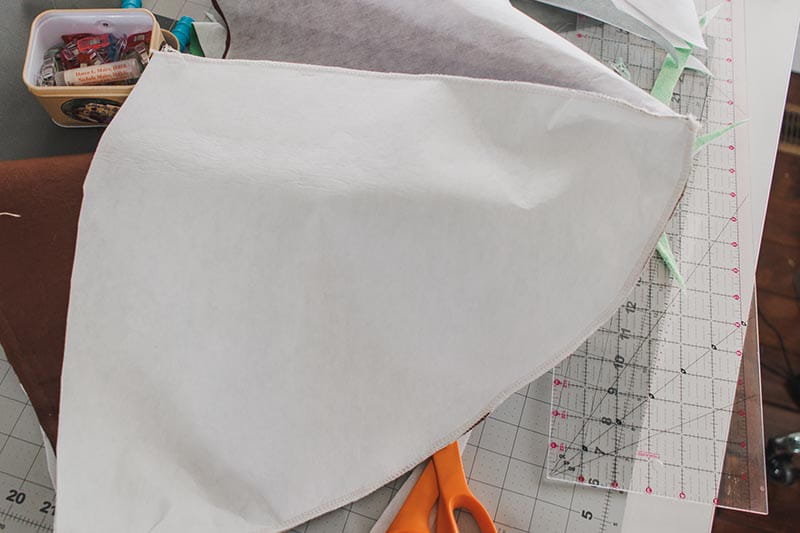
Starting pinning/clipping at the SAME side as you did the first time. If you pinned back to front do it the same way for the second side. This will prevent your front piece from twisting.
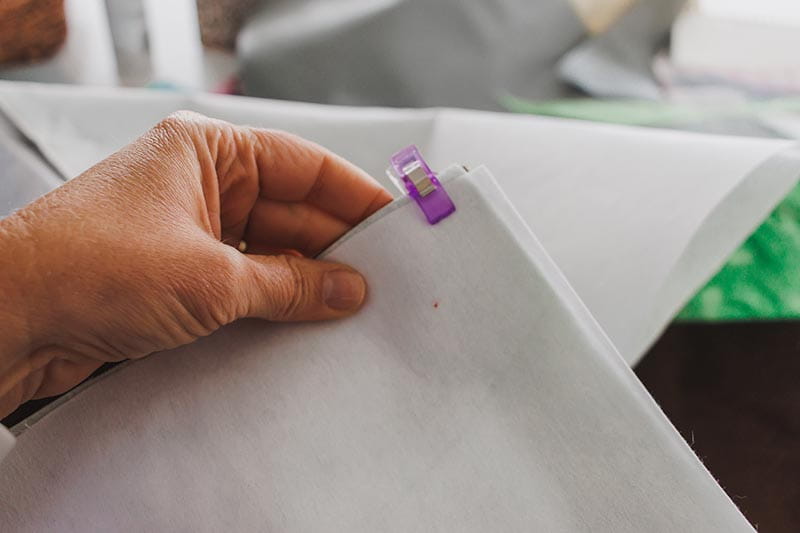
Now that your lining is sewn together, it’s time to try it on the machine and make any adjustment at this time. If you need to trim the length, measure and do that. You will need around a ½” for bottom hem allowance, but any other extra fabric can be trimmed off.
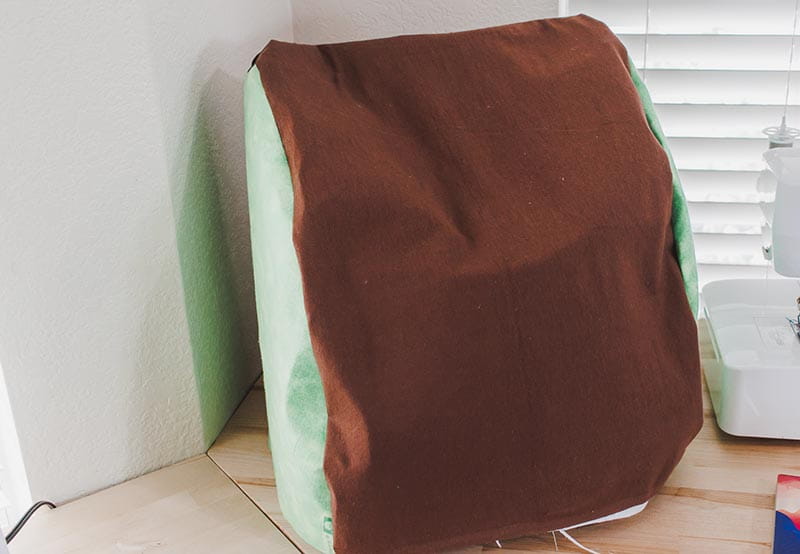
Pin/clip the one side of the main fabric side panel to the front and sew just as you did for the lining. Repeat for the other side.
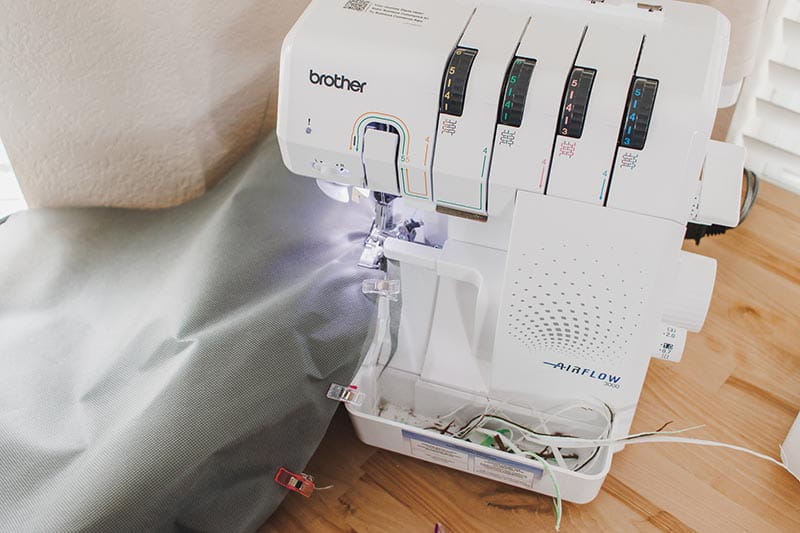
Now with right sides together you will place the lining cover inside the main fabric cover.
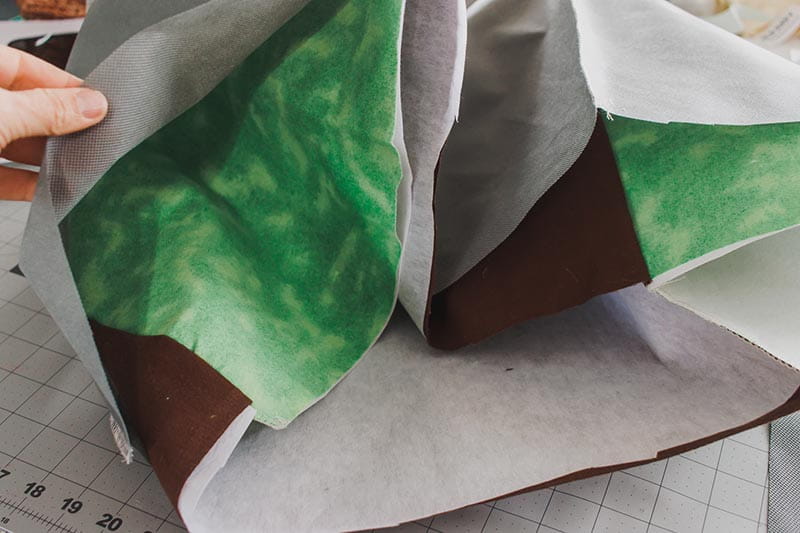
Line up all the side panel seams as you pin or clip around. You may also need to trim the bottom or part of the bottom to even up the edge and make the two layers fit.
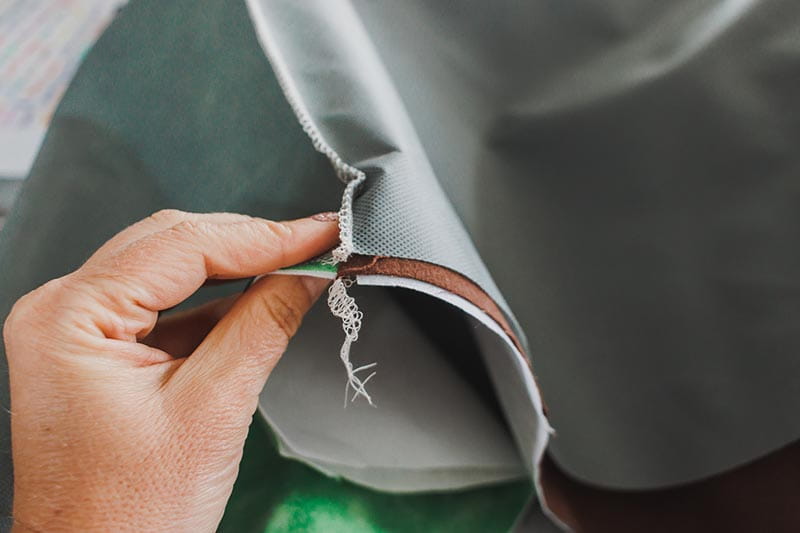
Attach the two layers along the bottom before sewing. Sew the bottom edge closed with a serger or sewing machine, but make sure to leave a 6” opening to turn the fabric right side out.
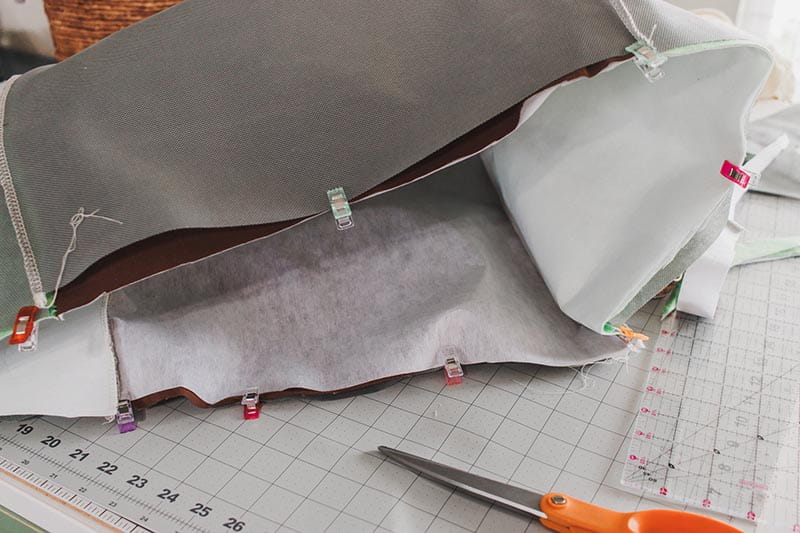
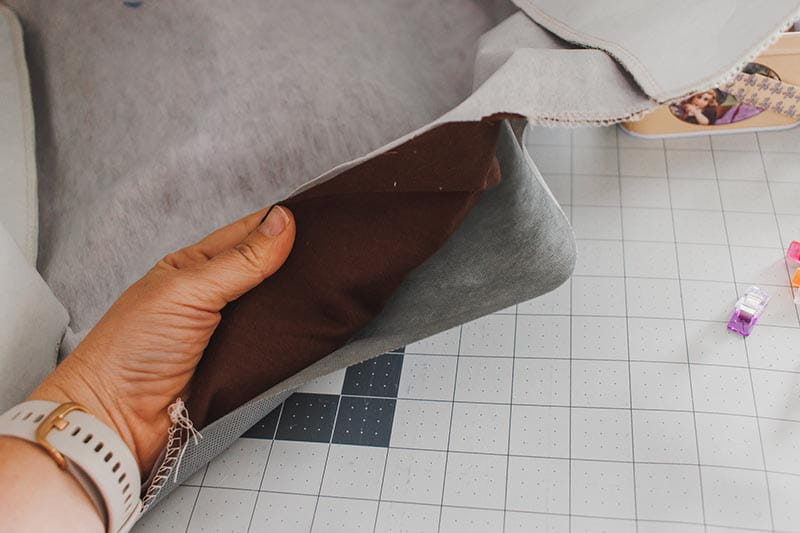
Bring the lining out through the turning hole. Then push the lining back up inside the main fabric to form the cover shape.
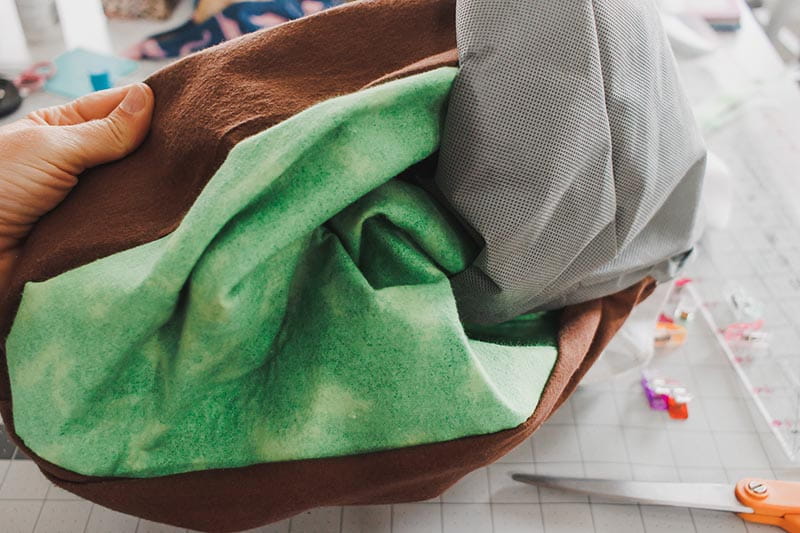
Turn the seam allowance of the hole inside and pin or clip to close the opening.
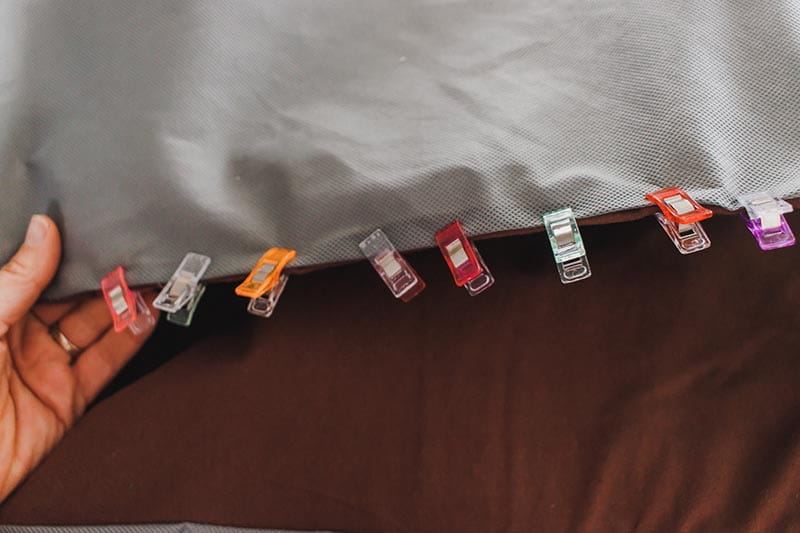
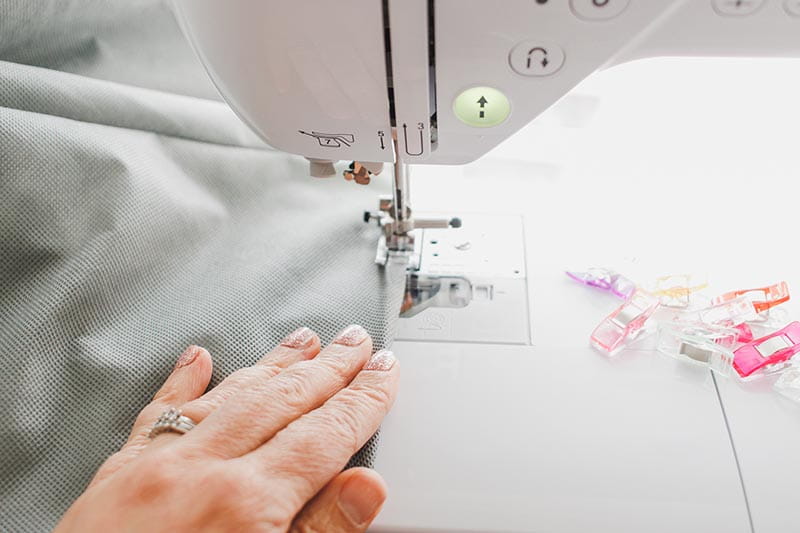
With a straight stitch sew the hole closed and stitch all the way around the bottom of the cover to topstitch the bottom of the machine cover.
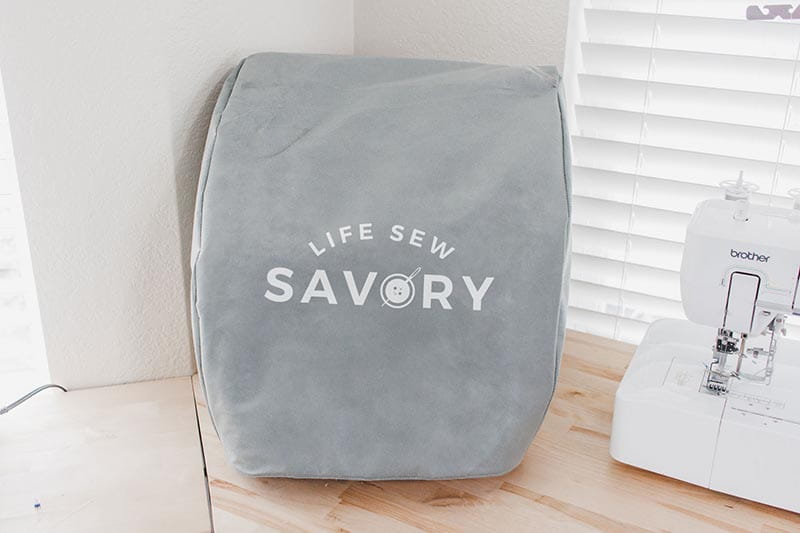
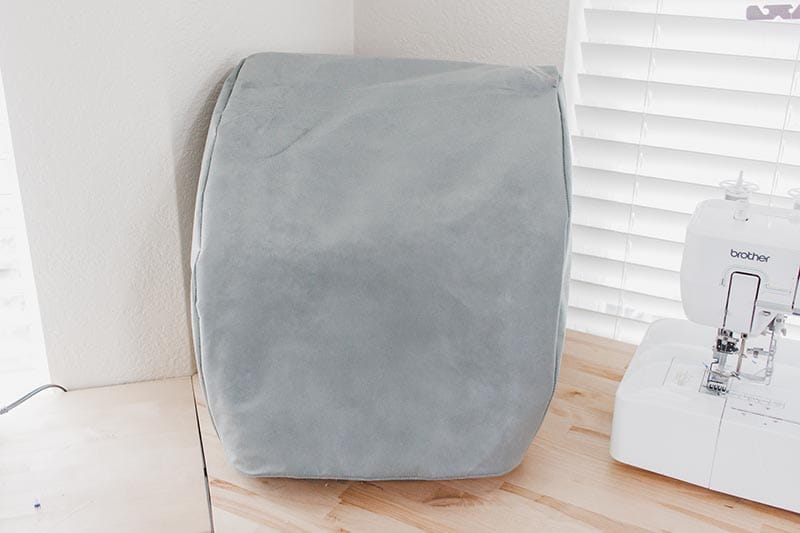
Now your cover is complete!! Push the thread stand down and place your cover on the machine. Now it will stay dust free until the next time you are ready to sew. You can also sew covers to coordinate with your room theme or decor for a pretty addition to your space.
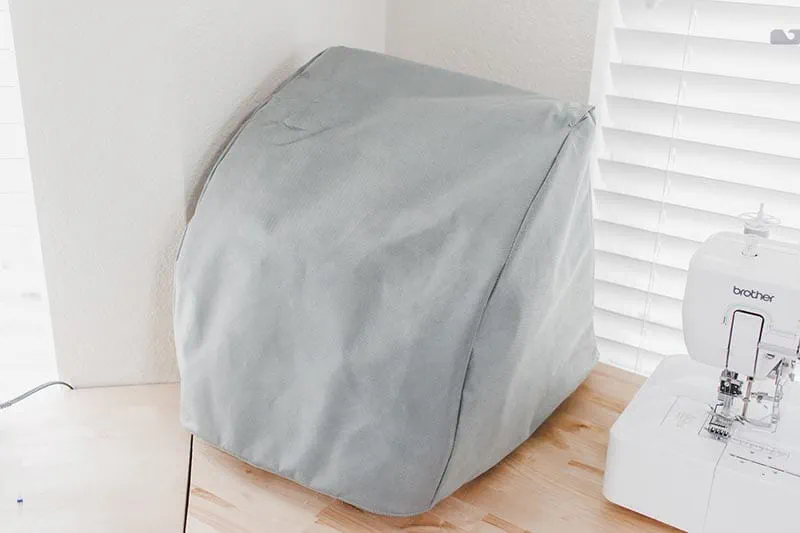
Add vinyl or embroidery to the cover for an additional fun feature. I put my logo on this one with vinyl to liven up the gray fabric.
