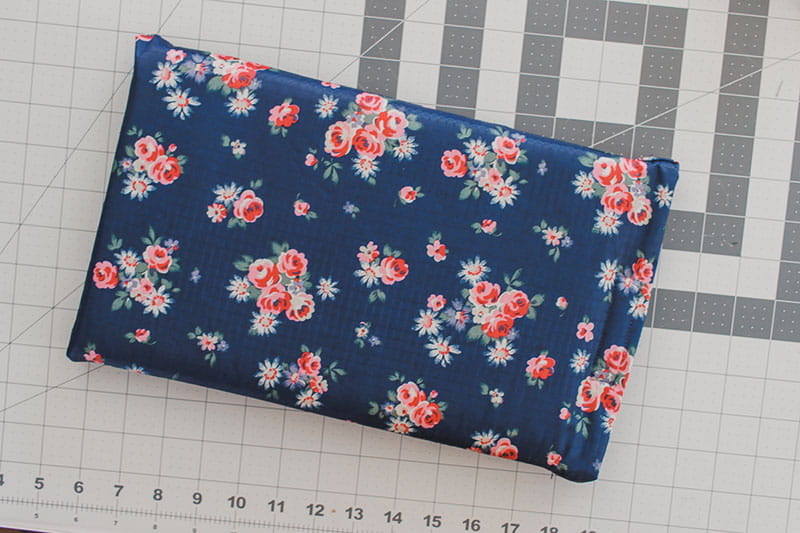
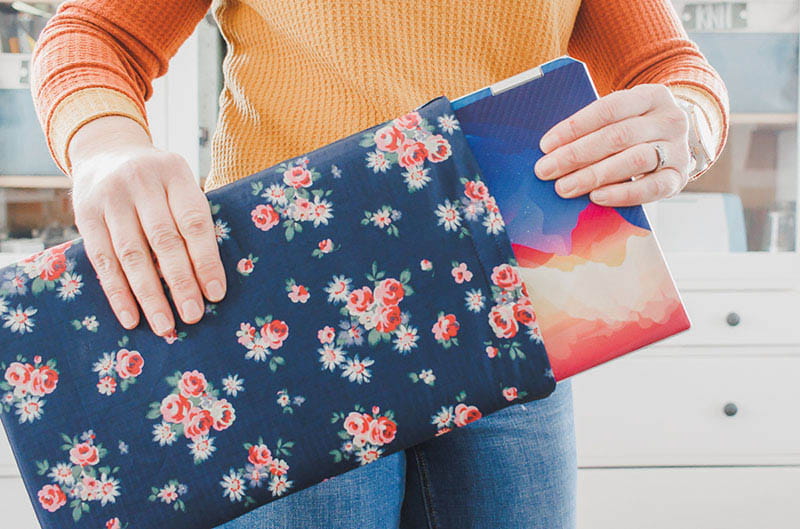
Sew A Padded Laptop Sleeve

Supplies and Tools:
- Fusible Foam
- Main fabric ⅓ yard
- Lining fabric ⅓ yard
- Hook and Loop closure
- Brother Sewing machine
- Non-stick foot. {optional}
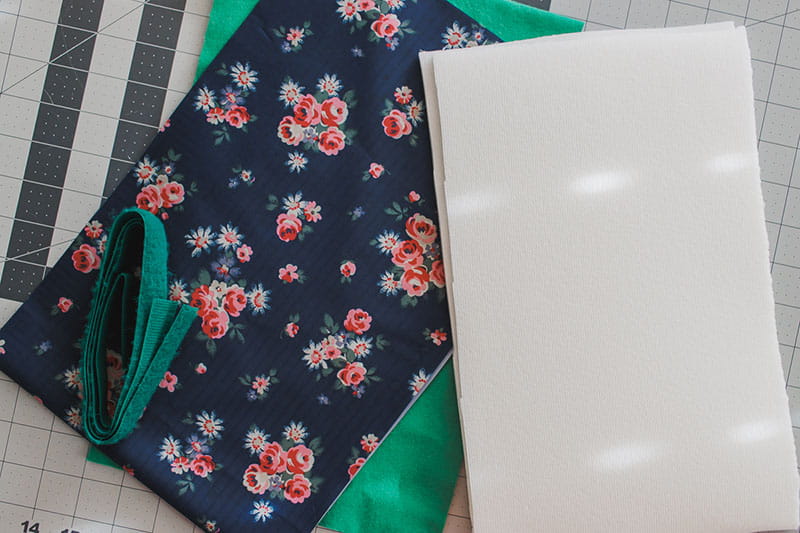
This is such a fun and easy sewing tutorial! Sew a padded case for your tablet or laptop, and keep your electronics protected at home or while traveling. For this project, this is a great way to use up any smaller cuts of fabric you may have around. Of course, if you don’t have fusible foam, you will need to pick some up.
Directions: Gather your supplies, and let’s get started. The first thing you will need to do is measure your device.
My laptop is 7.5” x 12”, and I added 2” to the width and 2” to the length for a final cut of 9.5” x 28”. {this will be folded in length}
Now for cutting the fusible foam. You want a ½” seam allowance all the way around the case, so the foam should be the same as your fabric, minus 1”. My foam was cut 8.5” x 27”.
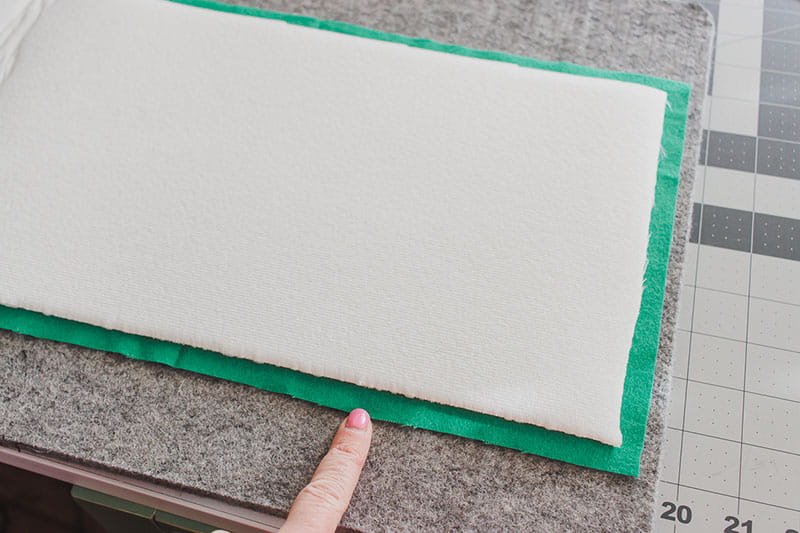
Lay the fusible side of the foam on the lining fabric, then flip over and press on the fabric side according to the foam directions.
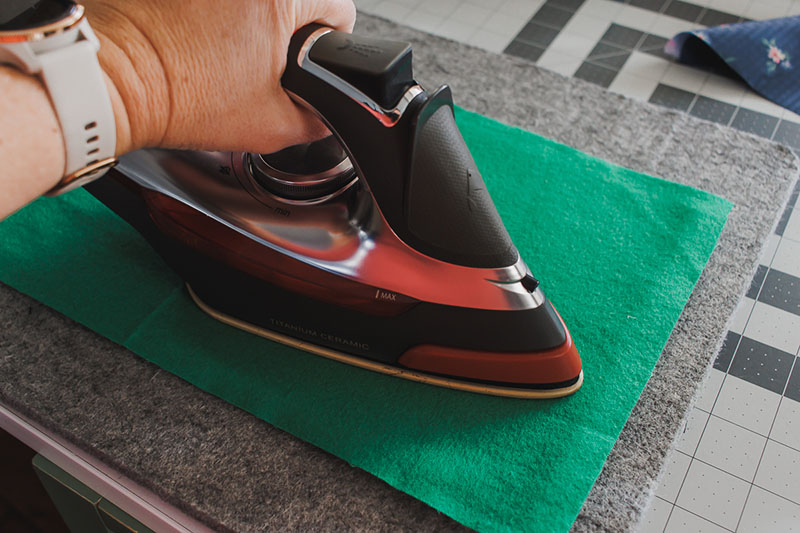
Now you should have foam fused to the sleeve lining.
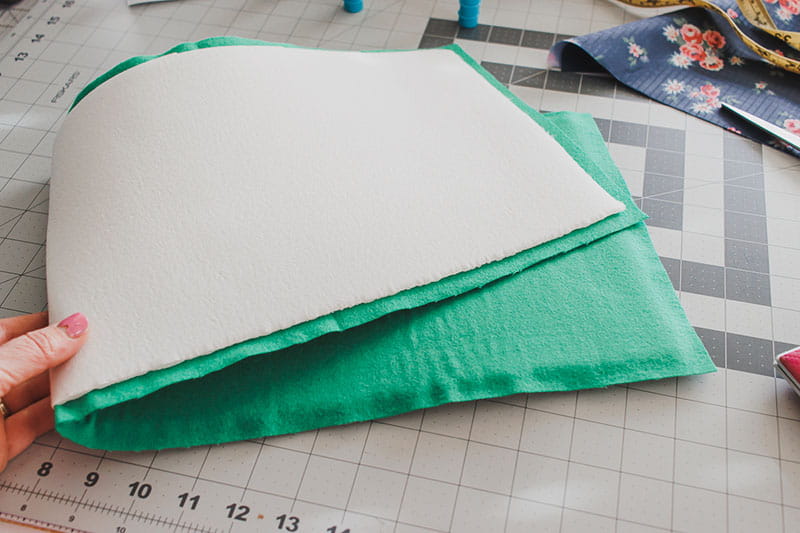
Fold the two fabric pieces right sides together and pin or clip the sides.
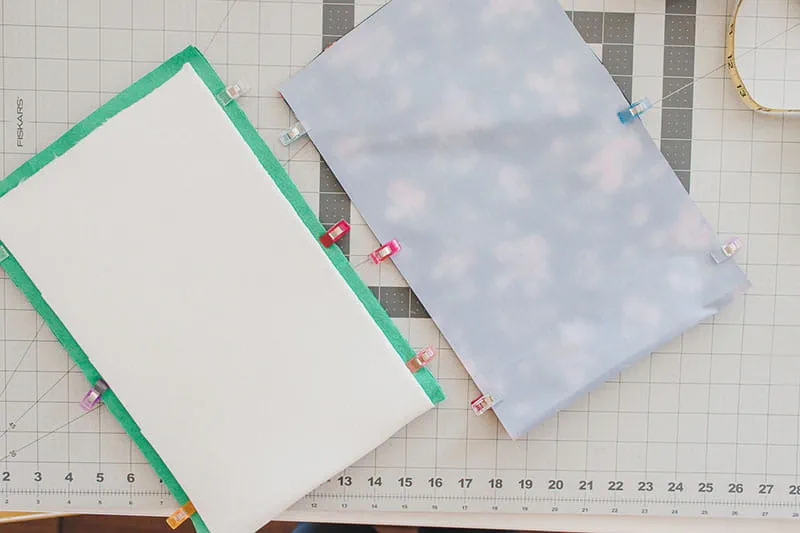
On the lining fabric leave a 6” opening on one side when you are sewing. You will use this opening to turn the fabric right side out.
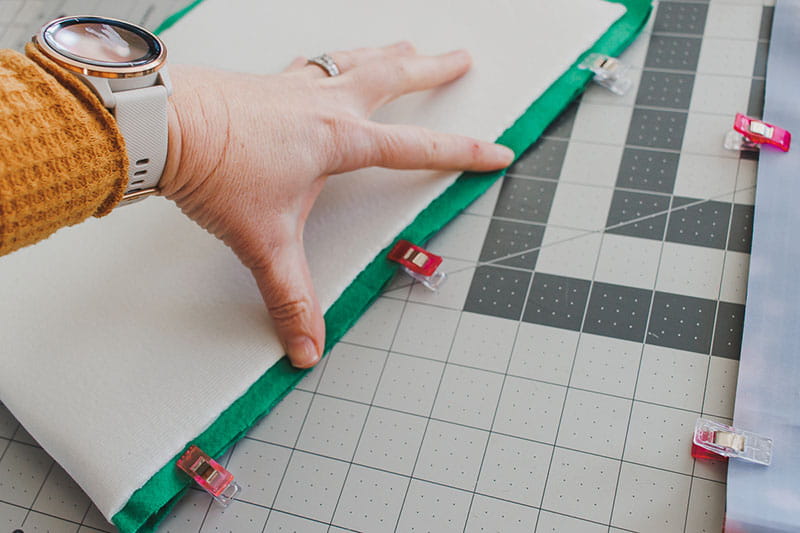
I put my non-stick foot on my machine to help sew this fabric. My lining fabric is flannel, but my outside fabric is vinyl.
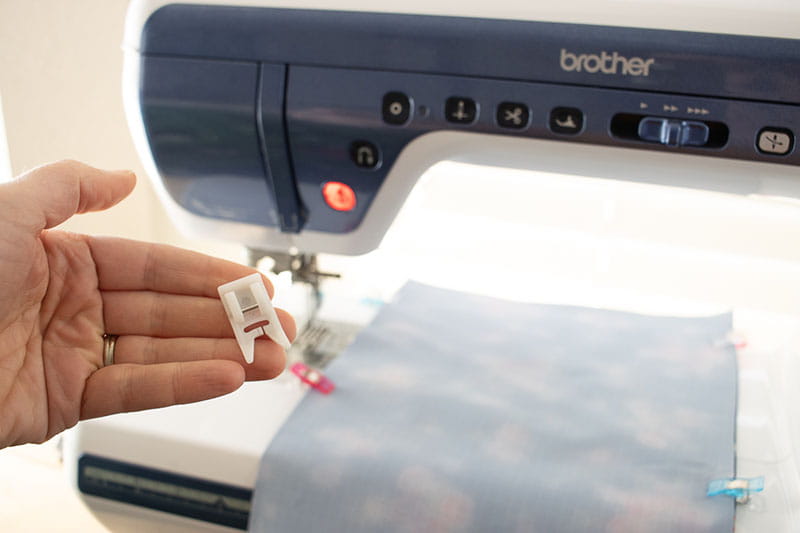
It makes sewing on sticky/tricky fabric so easy! I sewed for years without one, and now I’ll never go back. Sew both long sides with a ⅜” seam allowance. Do not sew on the foam.
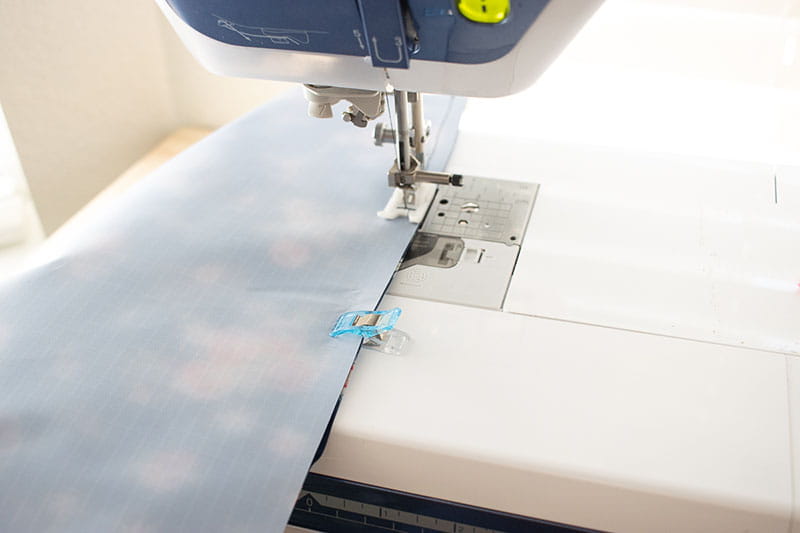
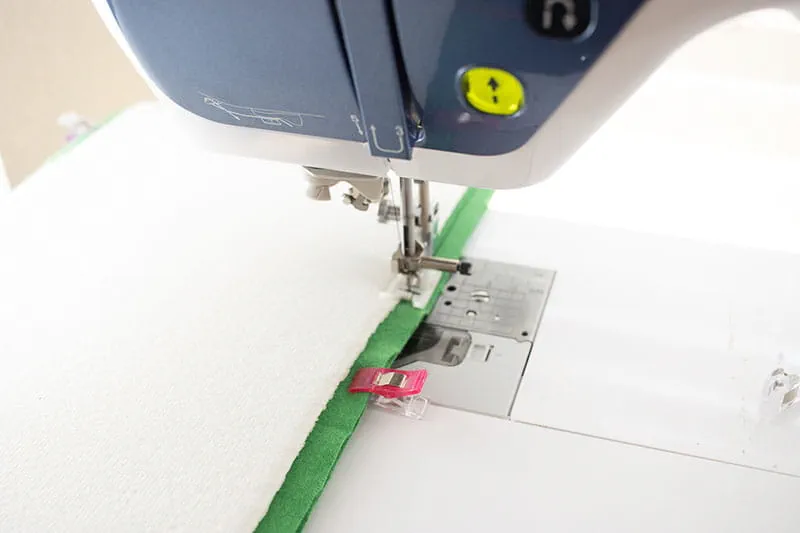
Here is the opening I left in the lining.
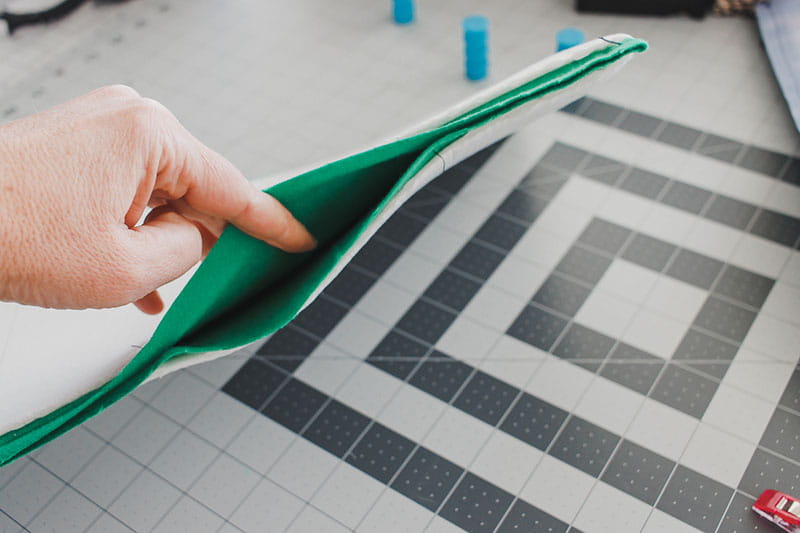
Turn the main fabric right side out and then place it inside the lining. Match up the right sides of the fabric.
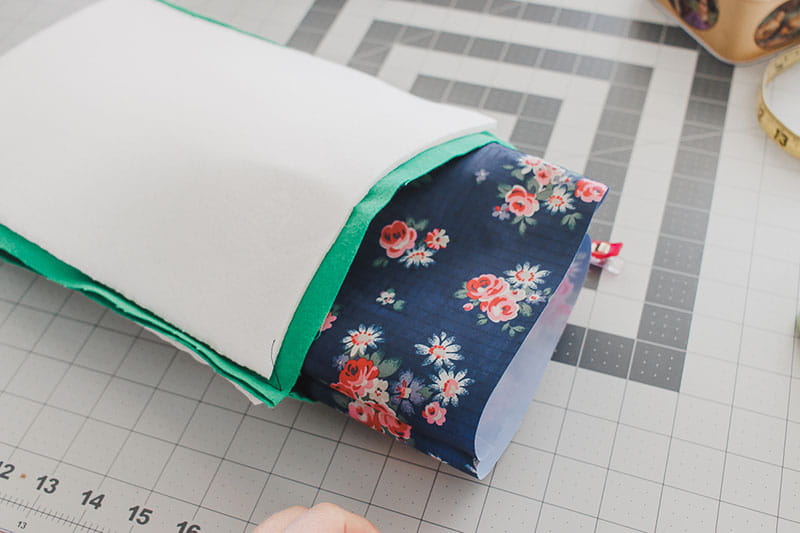
Pin or clip around the top, line up the side seams.
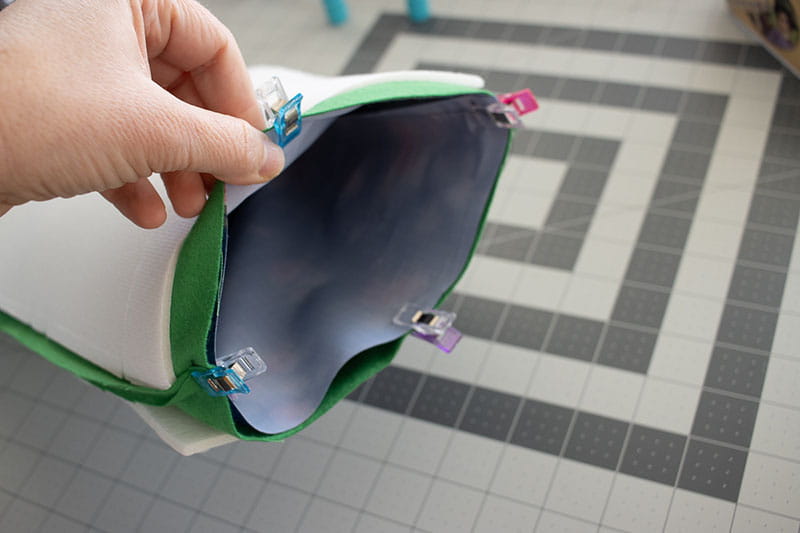
Sew around the top of the bag. Do not sew on the foam.
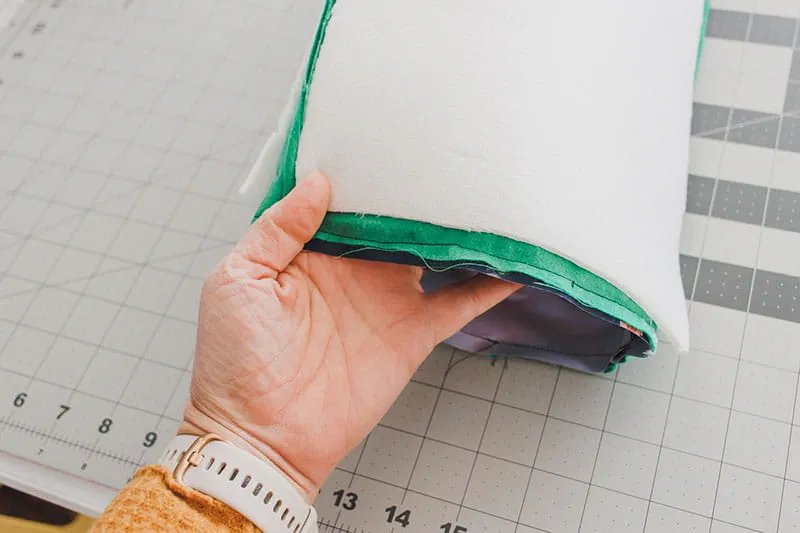
Pull the main fabric through the opening in the lining.
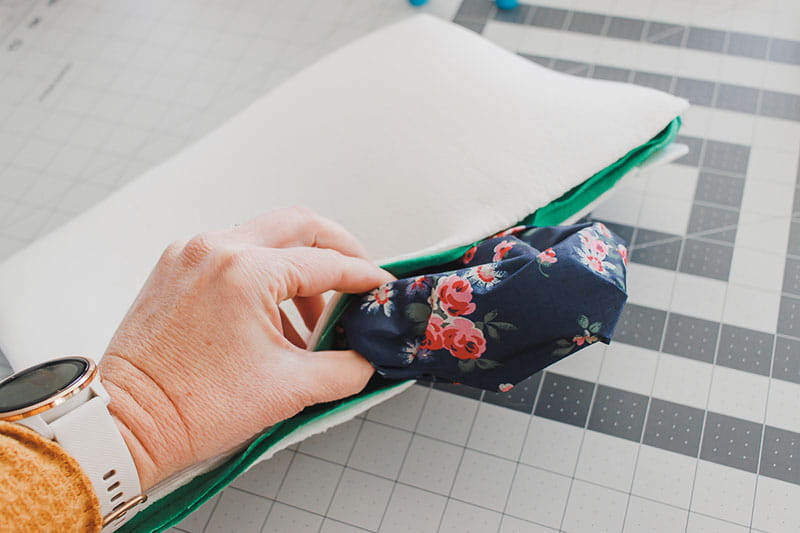
Before putting it all together, tuck in the seam allowance for the turning hole and pin or clip.
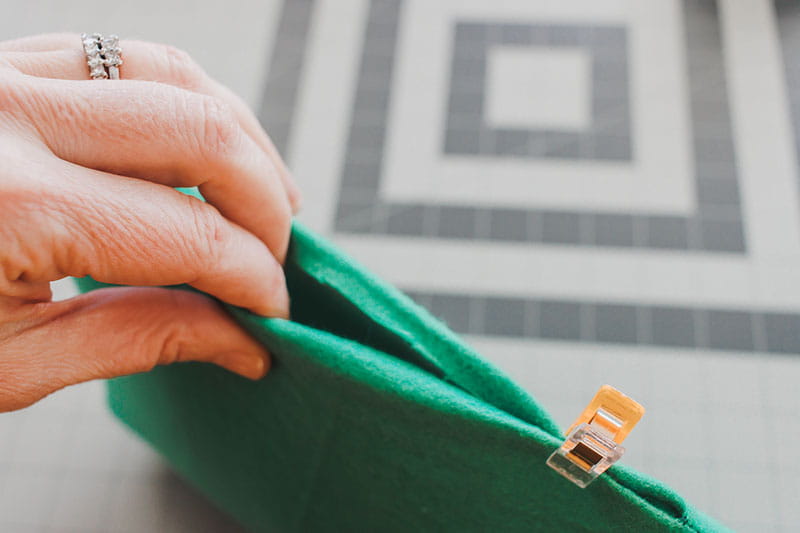
Sew closely to the edge of the fabric to close the opening. Use a matching color thread for a cleaner finish. {I like to use thread you can see for sewing tutorials}
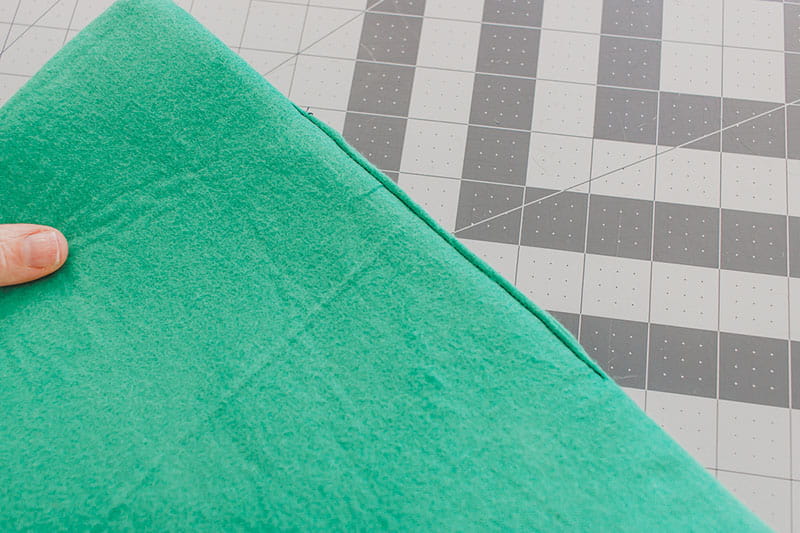
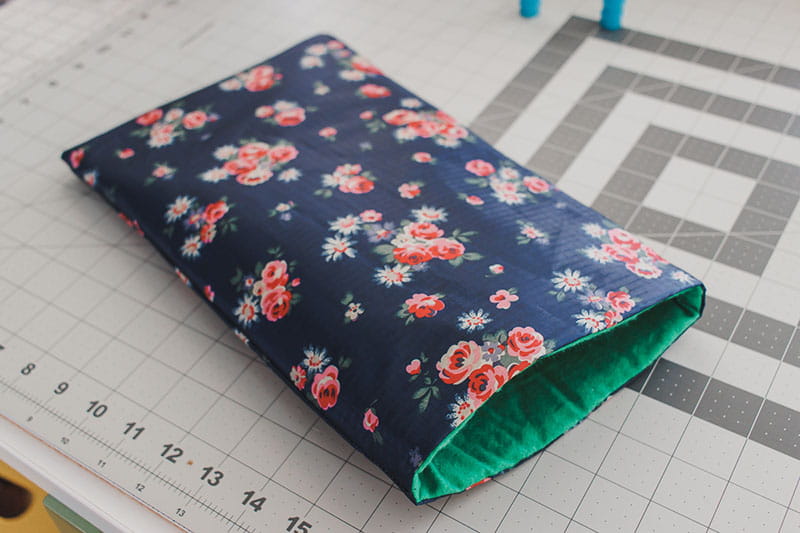
Tuck the lining inside the main fabric and push out the corners. Our laptop sleeve is looking good!
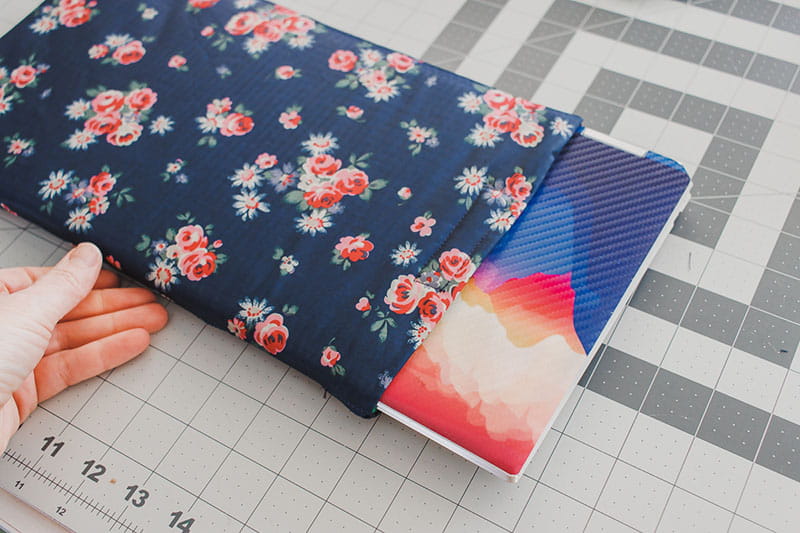
Slide your laptop/device inside the sleeve at this point so we can add the closure.
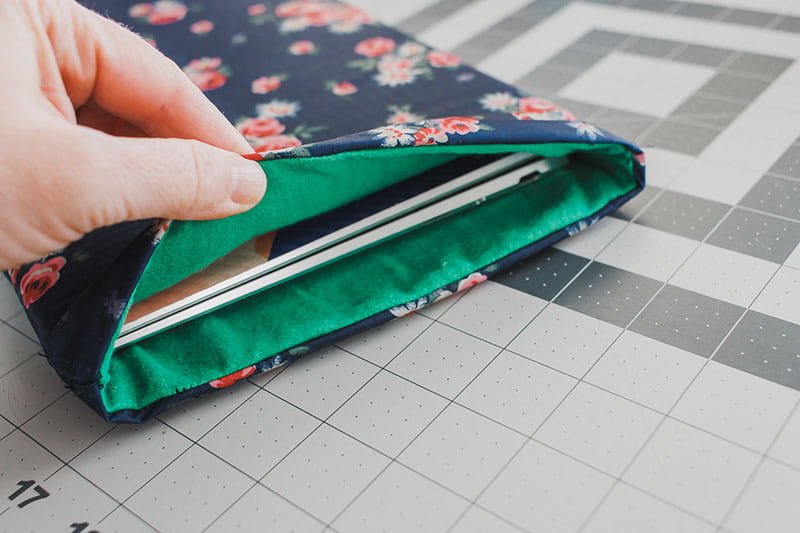
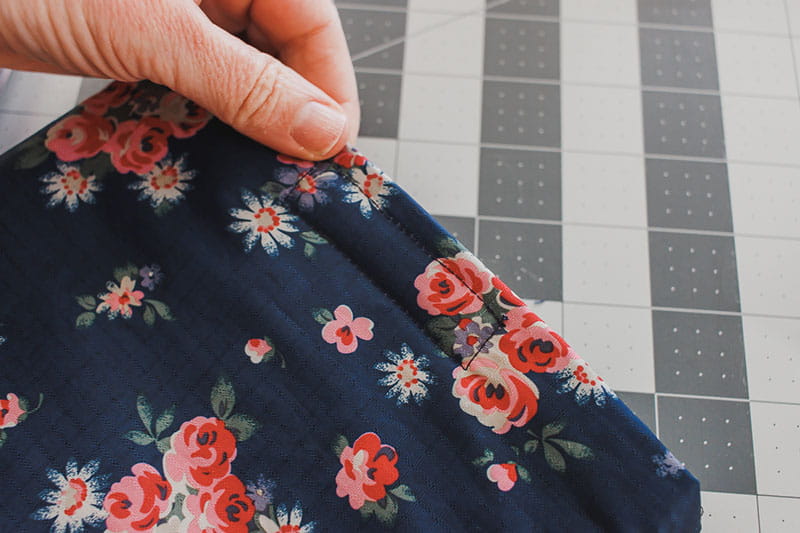
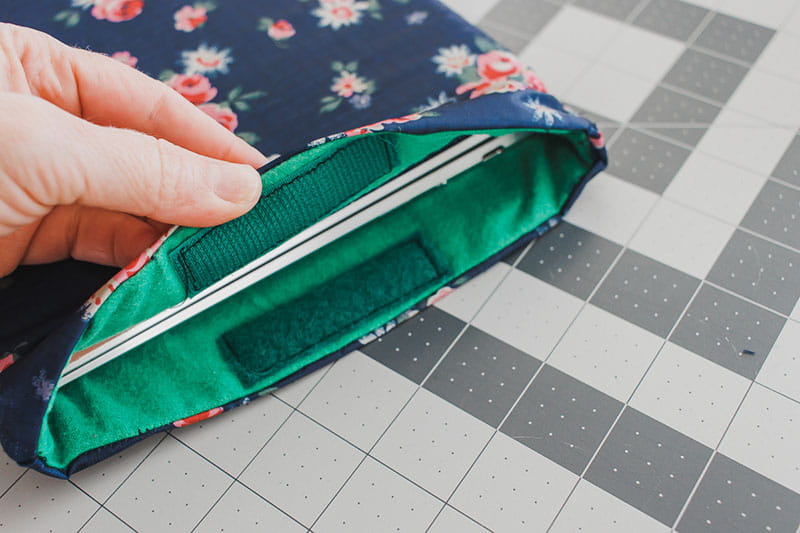
I cut a 3” piece of hook and loop closure. In the middle of the opening, pin or clip one side. Remove the device.
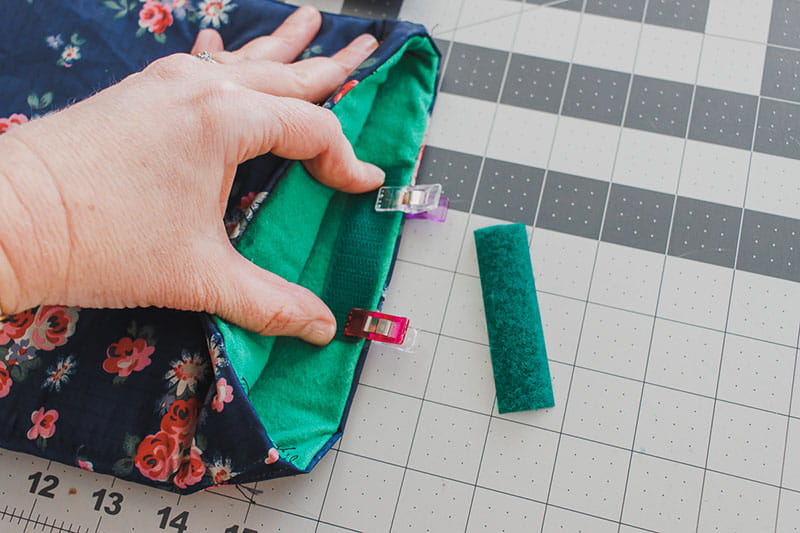
Then flip the sleeve over and pin or clip the other side in place.
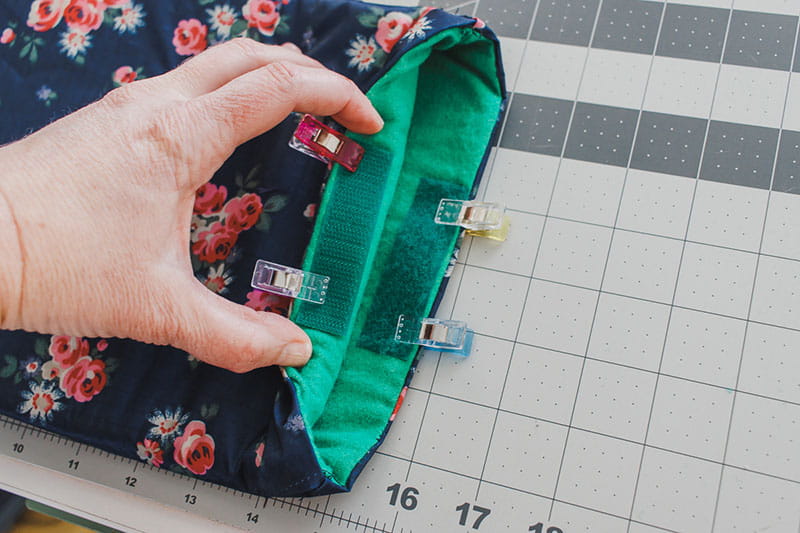
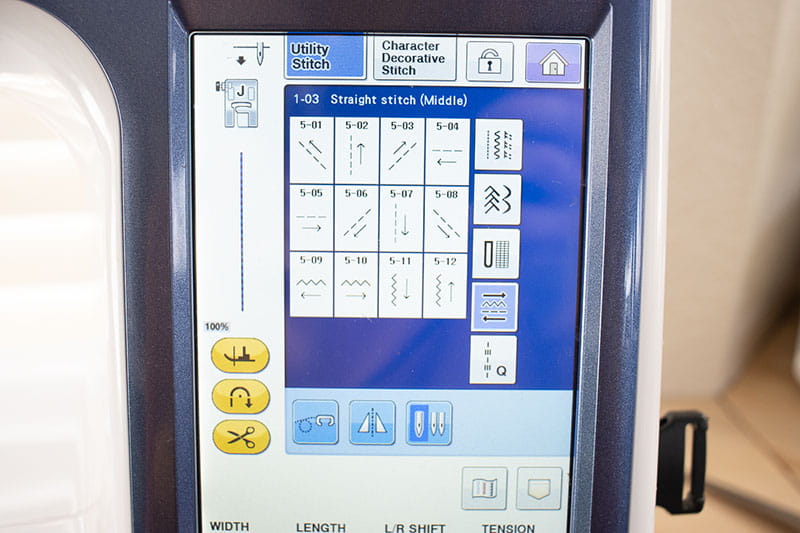
You can sew on the hook and loop by pivoting around the hook and loop, but this is a place I LOVE to use the directional sewing feature on my machine. I don’t have to fight with the fabric and it’s amazing. I sewed down one long side, over to the left, backwards, then over to the right… all without turning my fabric.
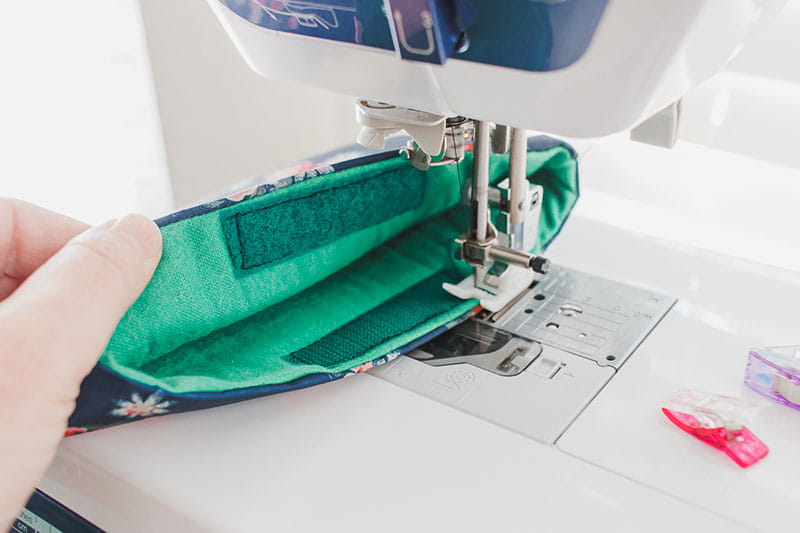
Now your laptop sleeve is complete.
I love this version so much and I happen to have more fabric, so I’m thinking of making matching sleeves for all my electronic devices. Can’t wait to see what version of the sewing tutorial you come up with to sew.
