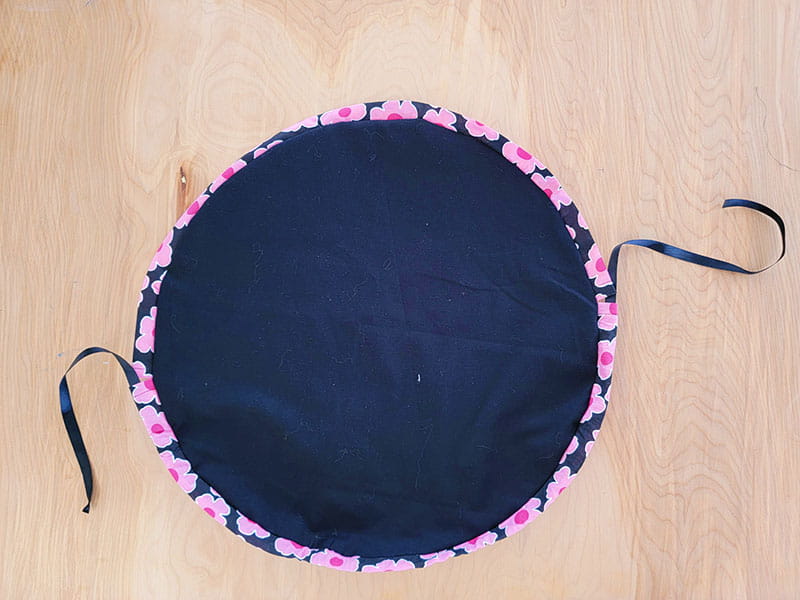
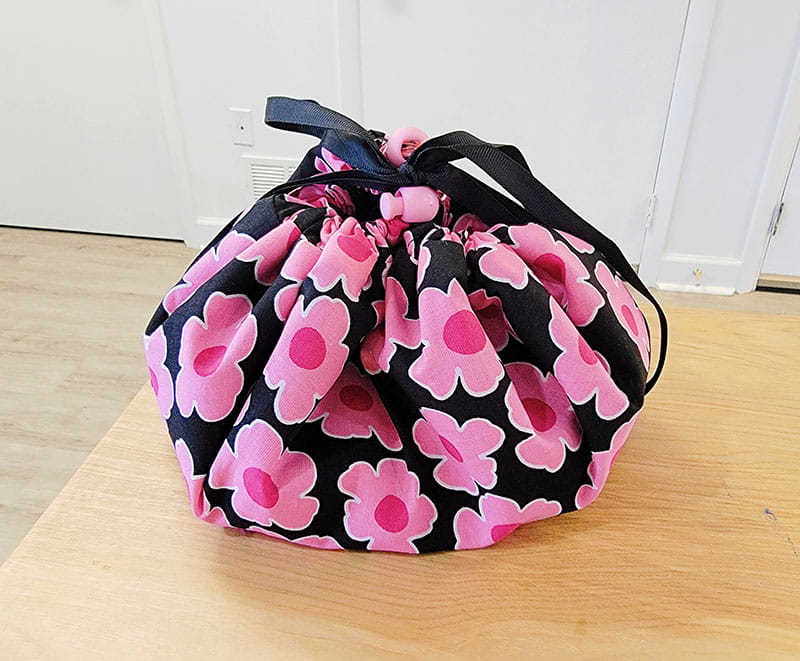
How To Make A Drawstring Travel Pouch

Supplies:
- Brother Sewing Machine
- 1 yd Printed Cotton Fabric
- 1 yd Solid Cotton Fabric
- 1.5 yds ¼” wide Grossgrain Ribbon
- Pins or Fabric Clips
- Safety Pin
- Iron + Ironing Board or Heat Press
- Fabric Chalk
- Yarn
- Matching Thread and Bobbin
- (optional) 2 qty Drawstring Toggle Stopper
This innovative circle drawstring travel pouch is a blend of functionality and style, designed with the modern traveler in mind. At first glance, it's a compact pouch, easily storable in your luggage. However, once you open it, it unfolds into a flat circle, revealing all the contents at once, eliminating the need to rummage through it. Its drawstring feature ensures all your cosmetics are safely enclosed when not in use. This feature alone revolutionizes the traditional way of storing cosmetics while traveling. A clever solution to a common problem, it saves you time and keeps your belongings organized. This pouch is not only practical but also a testament to thoughtful, minimalist design, marking a new era in travel accessories.
Instructions:
1. Tie a piece of yarn to a fabric pencil/chalk.

With the end of the string in the center of the fabric and pencil as far out as the yarn can stretch, draw a circle. Ensure that the circle is 18” wide.

2. Cut out 1 circle from the solid fabric, one from your printed fabric and also cut out two strips of fabric measuring at 2”x26”.

3. Set the circles aside. Let’s take on of the strips of fabric, fold it on half and press. Open the fabric. Fold the ends in ¼” press. Repeat. The ends should have been folded twice.

Sew along the short folded ends.

Do this with the other strip of fabric.
4. Grab the printed circle fabric. Attach (with pins or fabric clips) the strips of fabric to the circle with the raw side facing toward the outer edge of the circle.


5. Sew fabrics strips on place at ½” seam allowance.


6. Place the solid color circle on top of the previous circle, with right sides of the fabric facing each other. Pin.

7. Sew in place at ⅝” seam allowance, making sure to leave a 4 inch opening.

When finished, turn the pouch right side out and sew the hole closed.

8. Take the ribbon and cut in half. Starting with one, place a pin on the end of the ribbon.

Thread it through one opening and allow it to come out the other end.


9. Remove the safety pin and repeat with the opposite ribbon.

10. From here, you can tie a knot at the ends of the ribbons and you can be finished or you can add a drawstring toggle stopper to the ribbons then add knot.

11. That’s it!!


