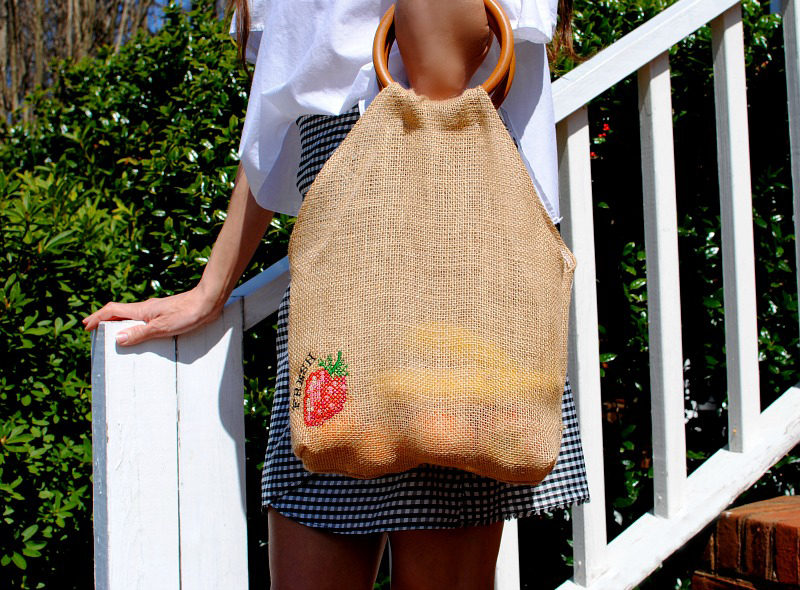
Earth Friendly Burlap Bag
 One of my favorite weekend activities to do when the weather warms up is to head to our local Farmers Market and shop for fresh produce and goodies. We love picking out fruit and vegetables for dinner that night. I, of course like to bring my handmade reusable bags like this denim one we did here.
With Earth Day 2019 coming up, I was looking to create a new one for my collection but I wanted to add a bit of a spin by using wooden handles and embroidery. I like the look of burlap right now and since I had some in my stash, I went with it. Get the details below and make your own.
Supplies:
- 1/2-yard burlap
- Wooden Handles (I found a pair online)
- Pacesetter Water-Soluble Stabilizer
- Brother SE1900
for sewing and Brother PE800
for embroidery - 5” x 7” Hoop
- Brother Strong and Tough Serger
- Optional .25” wide Double Fold Bias Tape
- Measuring tools
- Embroidery Thread
- All Purpose Thread
- pattern template.jpg
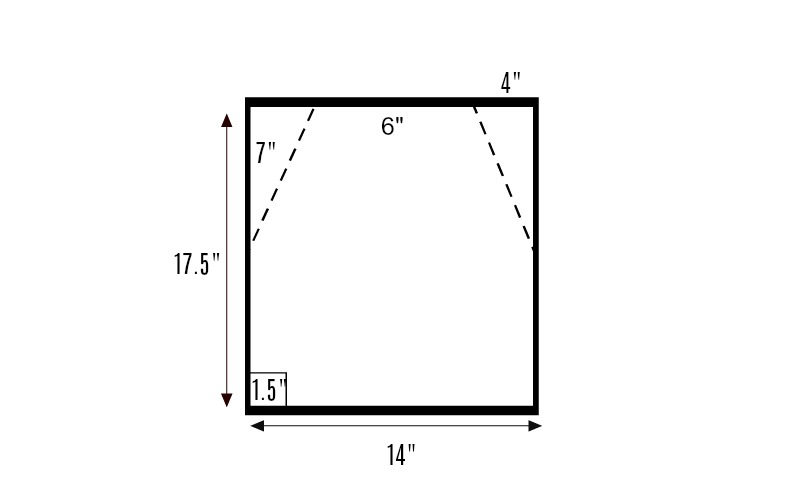
Note: Use the pattern template.jpg
above to cut out your pattern.
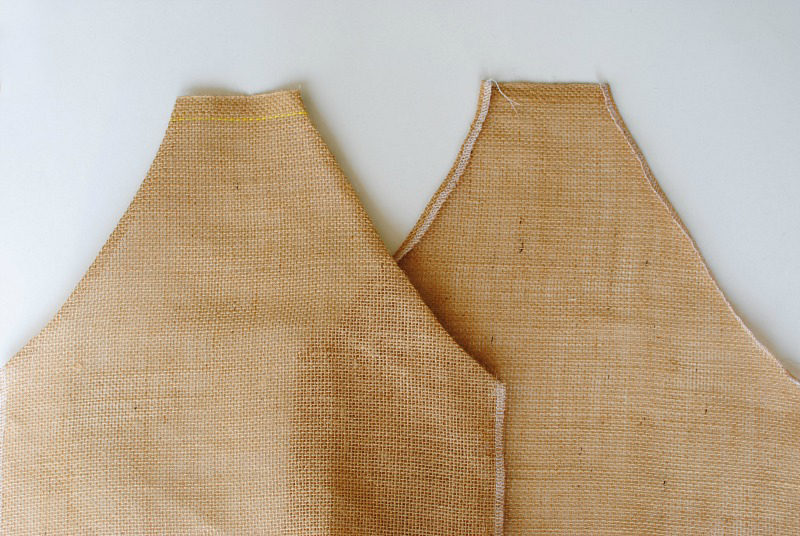
Cut 2 squares of burlap that measure 17” x 14”. I used the selvage edge of my burlap fabric as the top edge. Measure off slants from the top that go down 7” on the side and 4” over and cut. You should have 6” left on the top.
above to cut out your pattern.
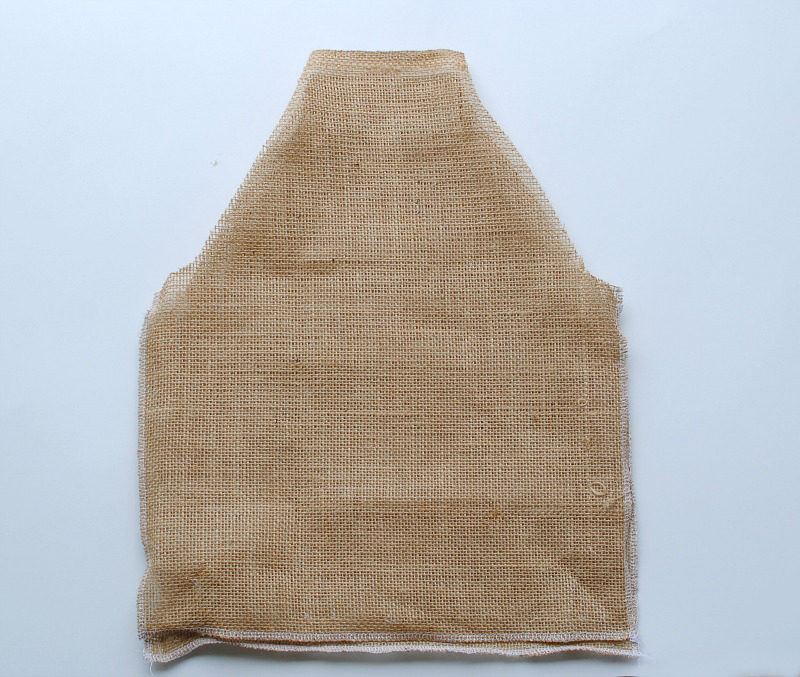 Burlap frays a lot so serge the edges (don’t cut just serge along the edge) after cutting. If you don’t have a serger, use Double Fold Bias Tape (.25” wide) to sew over the seam allowance once sewn together. Just be extra careful when handling if you chose to do embroidery.
Now it's time for embroidery.
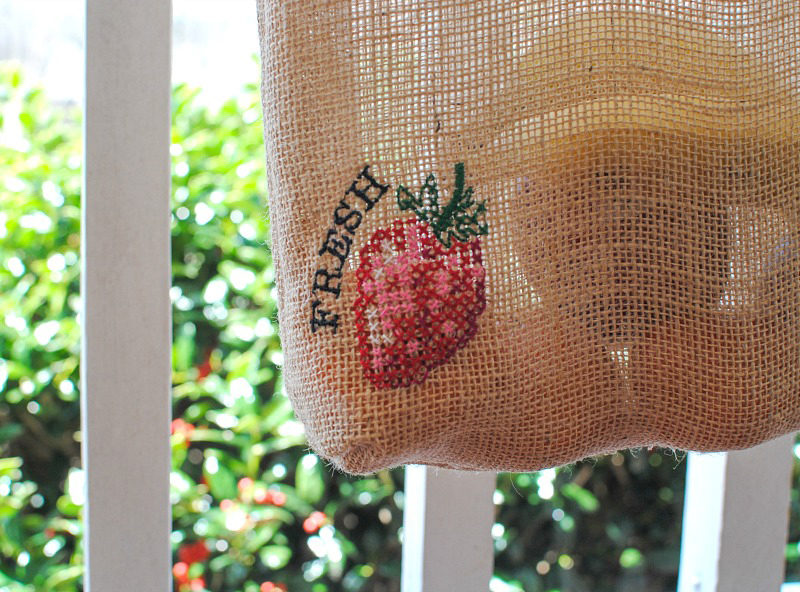
I am using the built-in strawberry design from my PE800 and/or SE1900. I also added the word “Fresh” and curved it a bit from the editing tool “Array” on the touch screen.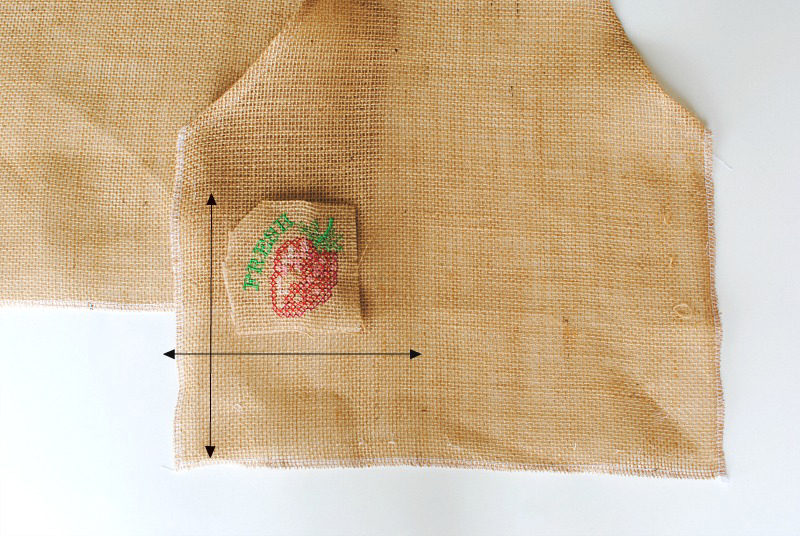 I usually do a sample on the same material to test out the design and get a better look at what I’d like to edit as far as colors and size. I am using this as my template to mark where I’d like the final design to go.
Keep in mind the bottom of the bag will square off 1.5” and you will also have ½” seam allowance on the sides. Therefore, I placed the embroidery design within this perimeter. Mark the center and the outside of the design with a fabric marking tool. Mine you can barely see, so that’s why I added the square template as my “marking.”
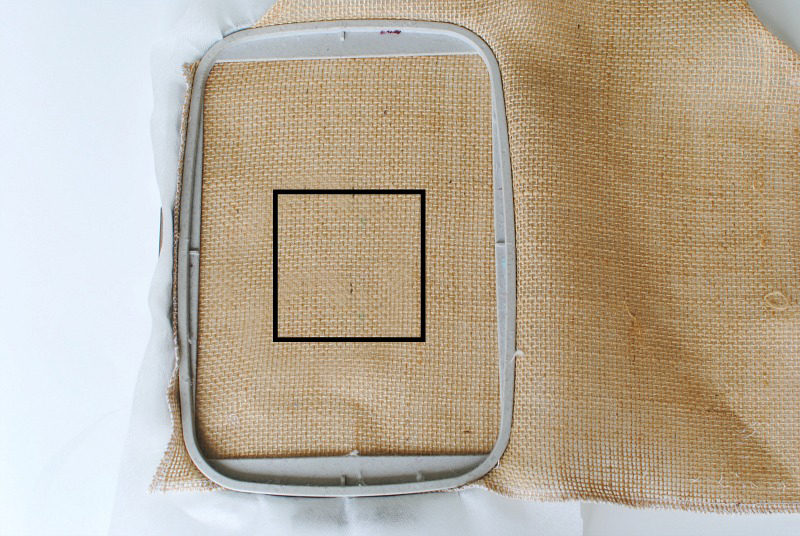 Since the burlap is semi sheer, I am using a water-soluble stabilizer. Hoop the stabilizer and the burlap. You can also float the burlap if you can’t get the edges in nice and tight.
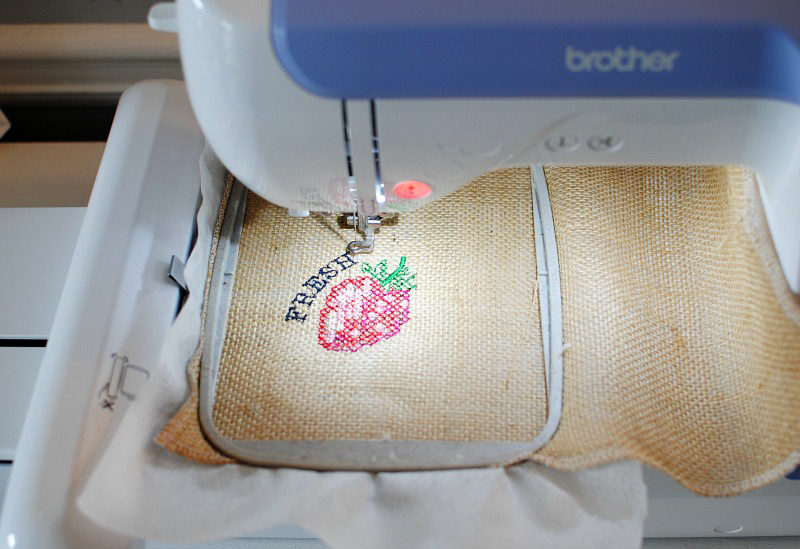
Embroider!
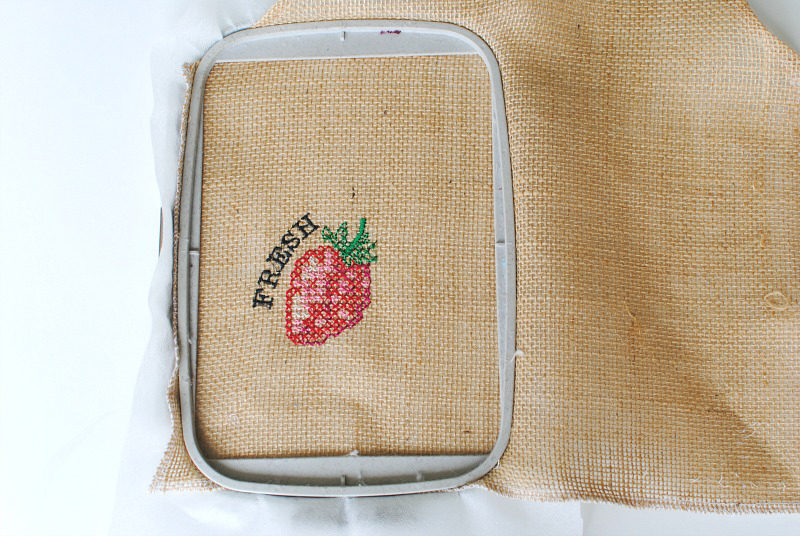 Remove the stabilizer by cutting around the edges of the design and remove the additional stabilizer with water.
Now it's time to sew.
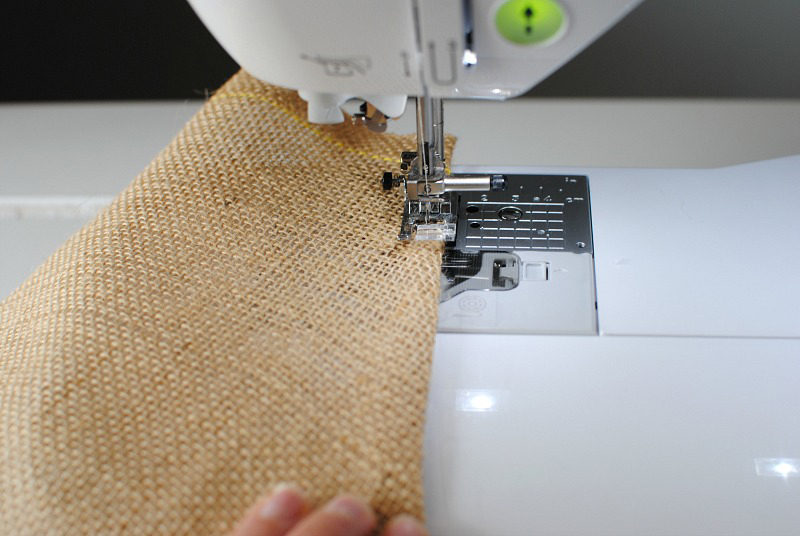 The edges should be serged at this point. Press the top slanted edges over ¼” and topstitch.
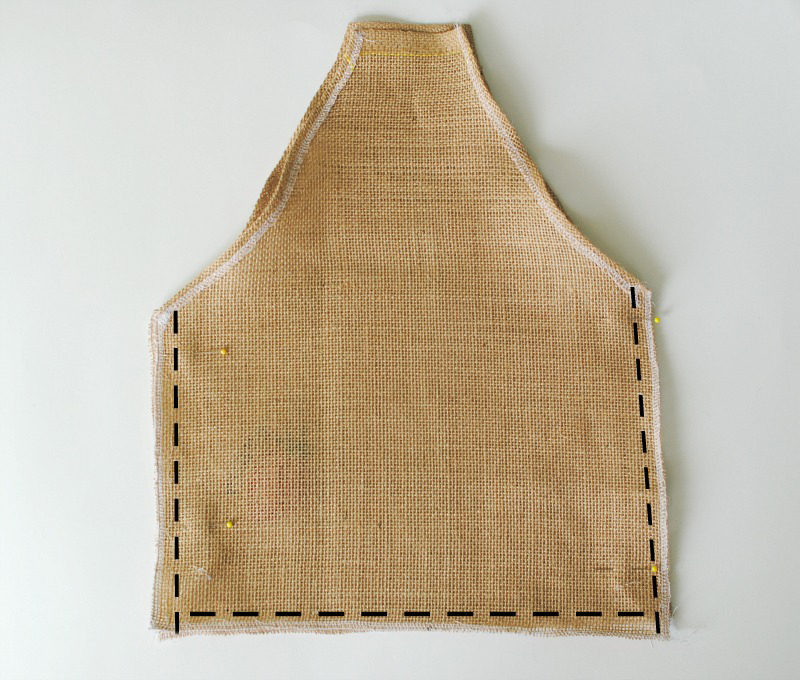
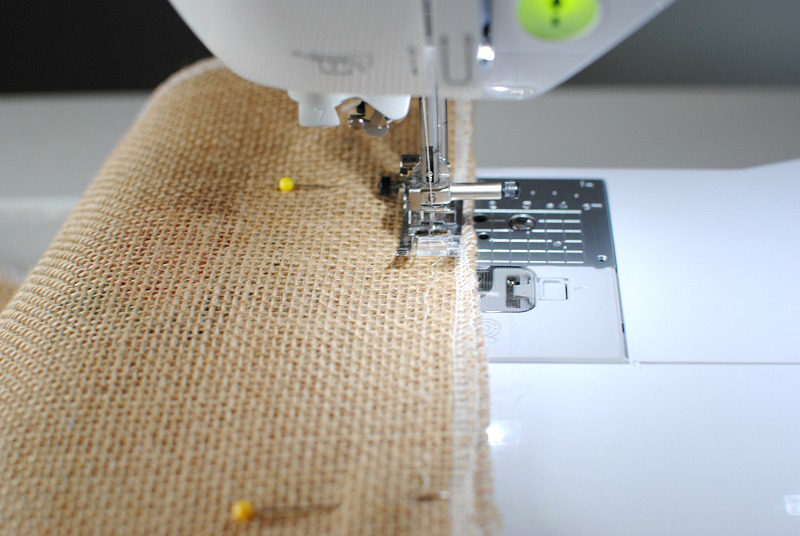 Place front and back right sides together and sew sides and bottom with a ½” seam allowance.
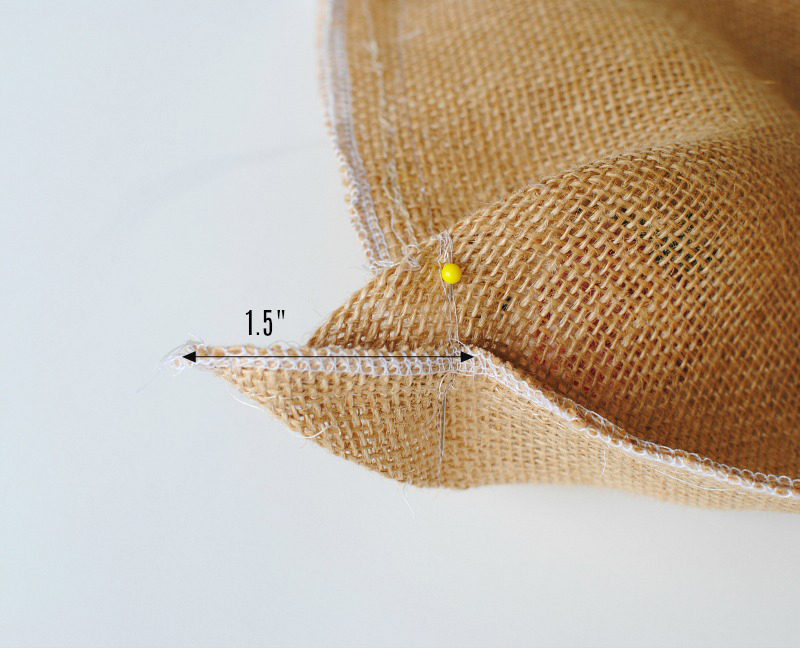
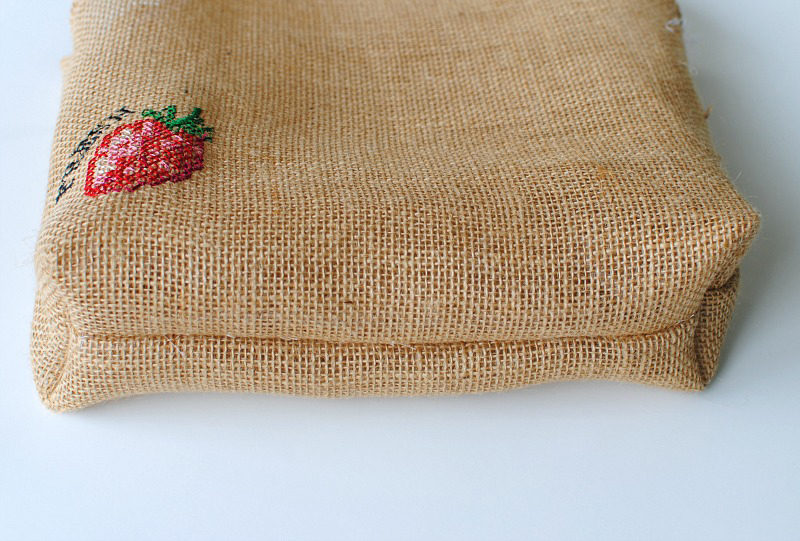 Fold bottom and side seam allowances together at corners and measure up 1.5” and pin (mark if necessary) and sew. Flip out to make sure it’s even and then cut the additional seam allowance and serge.
This would be an ideal time to finish the seam allowances with the .25” wide Double Fold Bias Tape. Trim down seam allowance and sew over.
Fold the top edge over the wood handles (about 1.5”) and Pin.
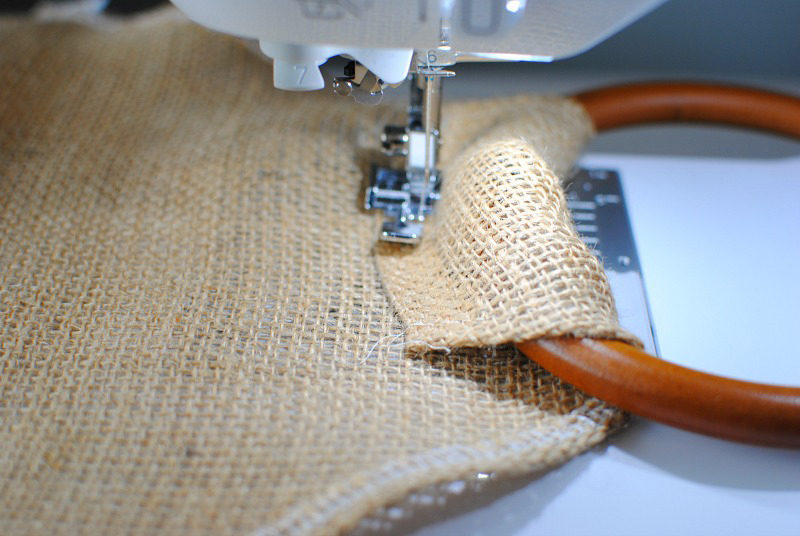 Use your zipper foot to get closer to the wood handle and sew just along (not too close though). Repeat for both front and back.
How fun! I love how it turned out. I think I’ll make a couple of these for friends too.
