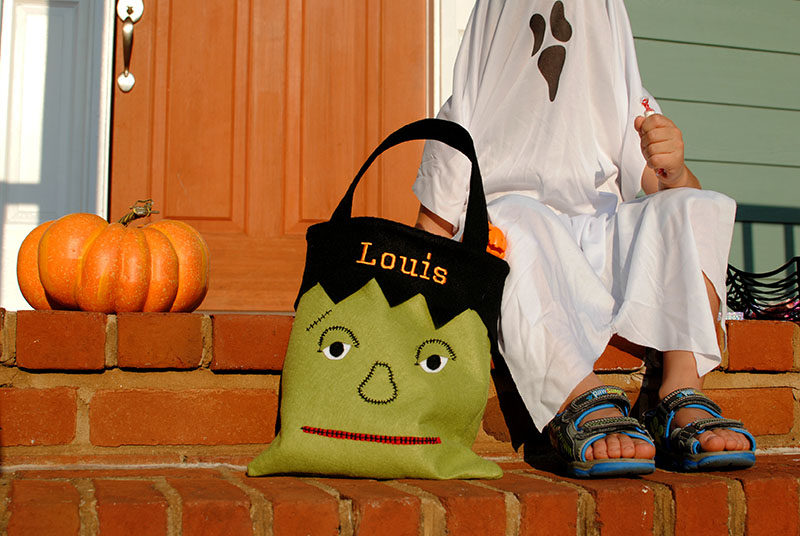
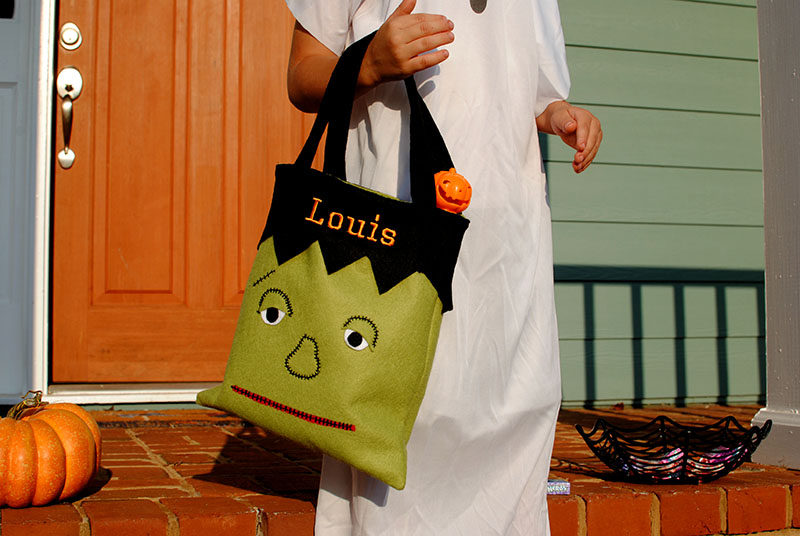
Funky Frankenstein Trick or Treat Bag
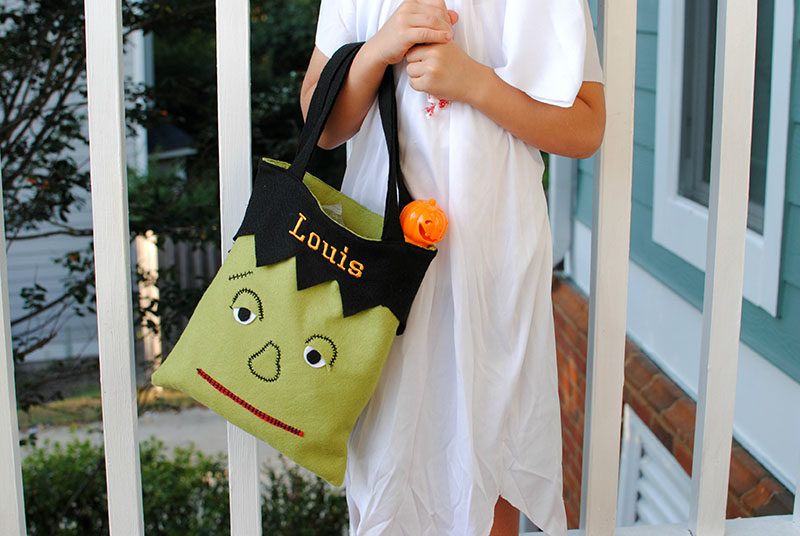 Halloween is my favorite holiday to sew for. I look forward to making costumes and spooky home decor. My kids love this time of year and probably the only time they care I can sew. I wanted to make them little goody bags with Halloween treats inside and something they can use for trick or treating (well maybe my little one). Either way it’s a fun gift to give them with treats or make with them. My son Louis wanted a “Frankenstein” bag - a fun gift for the holiday. It’s easy to make (I made this with my Brother PE800
) and can be made with simple felt which is a material I always have handy in the stash. You can do all sorts of Halloween characters by switching up the colors and shapes from classic pumpkins to spooky bats and witches. Get the details below and make your own.
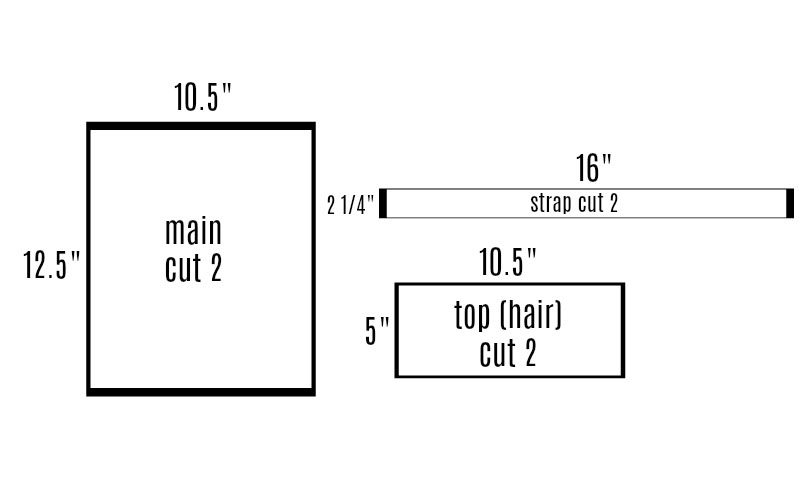 Step 1. Refer to the template above to cut out your bag pattern pieces.
For the eyes:
The eyes were about the size of a quarter and the inner part was the size of a dime. The “droopy” eyelid I just made a larger circle and then cut in a moon shape.
For the nose:
I cut a 2” pair shape. I honestly just cut these out free hand.
For the mouth:
The mouth was a strip of red felt just shy of a ¼” width and 5”
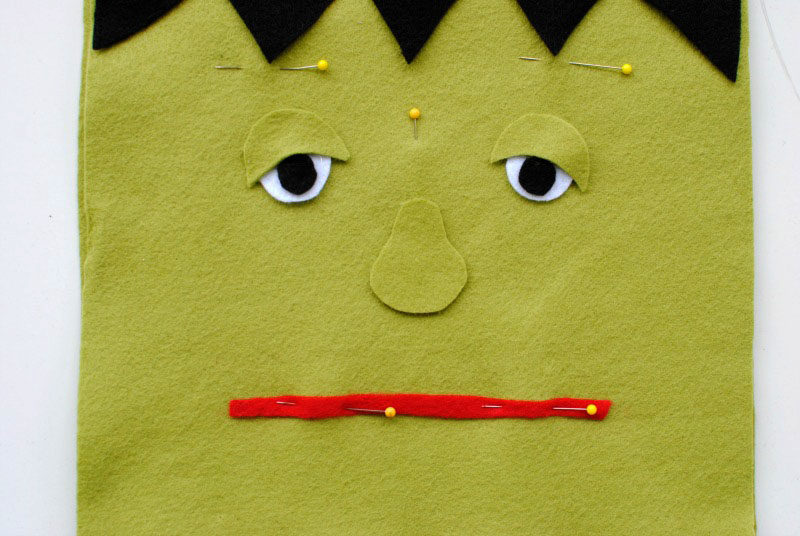 Step 2. Once all your pieces are cut out, place them on one of the main pieces.
Note: Visually make sure it’s even and up to your standards. For the eyes I dabbed some hot glue to keep the circles together, then pin the eyelid on. You will be sewing these on so don’t glue any portion you plan to sew.
For the mouth, just pin directly on.
Step 3. For the topstitching I used a heavier weight thread typically used for buttons or jeans and bobbin thread for the bobbin.
The stitch you will want to use is 3-17. Refer to your Brother machine to see which stitch it is on your machine.
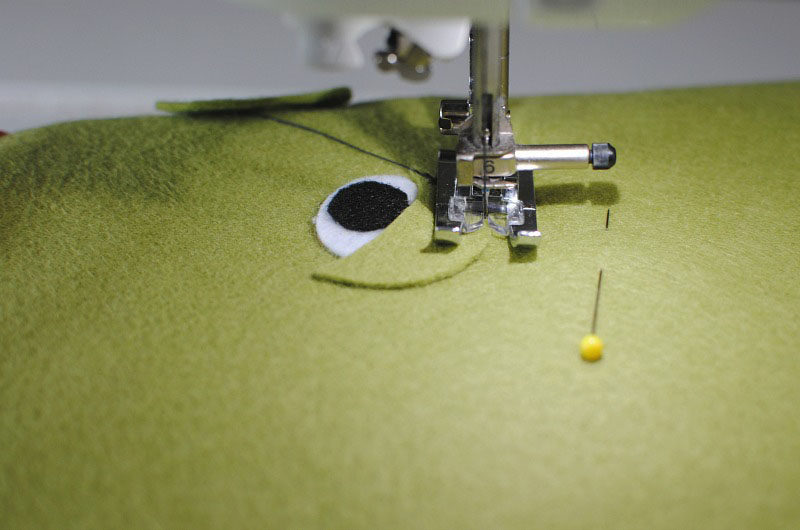
 Topstitch slowly around each piece lifting your presser foot up as you curve. It doesn’t have to be perfect since it is Frankenstein after all…. I kind of liked the little mistakes made along the way. For the eyes and nose, I used a smaller stitch length and width (6.0 for w/ 4.0 for L).
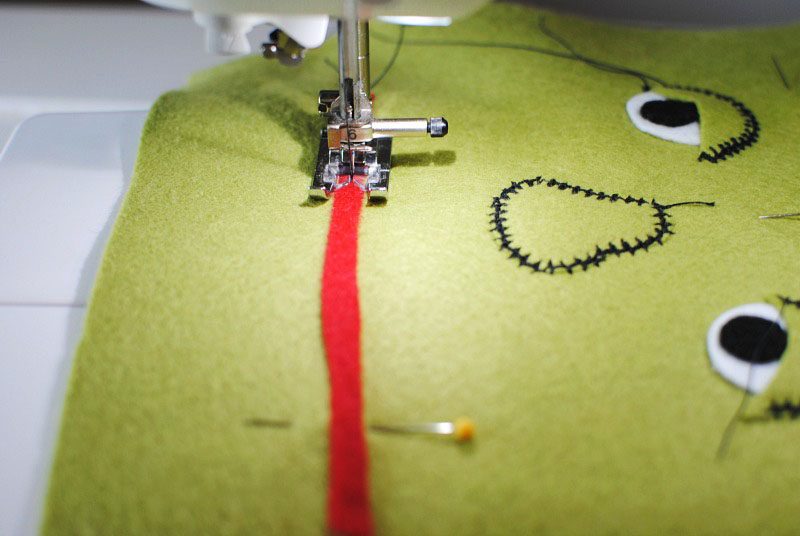 For the mouth: Topstitch straight along using the widest and longest the stitch will go. Then topstitch a scar just above one of the eyes being mindful of where the “hair” will go later.
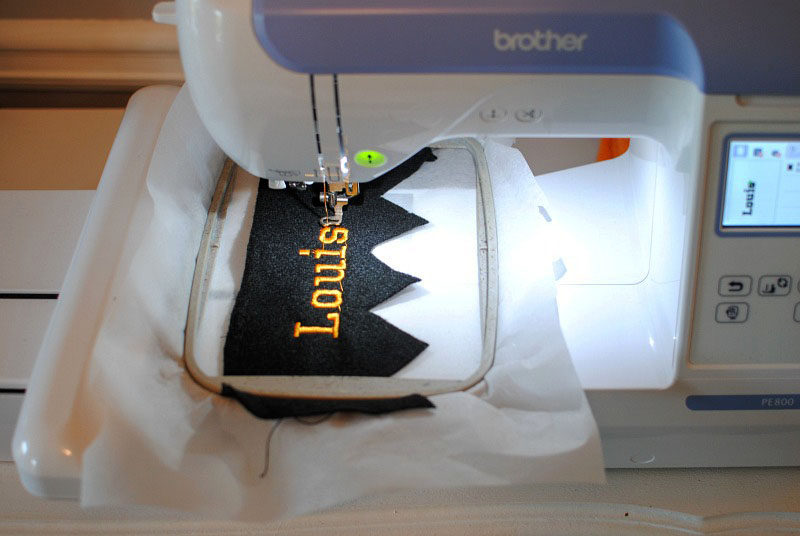 Step 4. Optional Embroidery:
If you’re a little EXTRA like me then you can embroider the child’s name onto the hair piece. I decided this last minute so the hair was already cut out. I used a tear away stabilizer and added a spray adhesive to the stabilizer. Then just stuck the hair down (mark center). I adjusted the name so it was centered and sized to my liking and embroidered away.
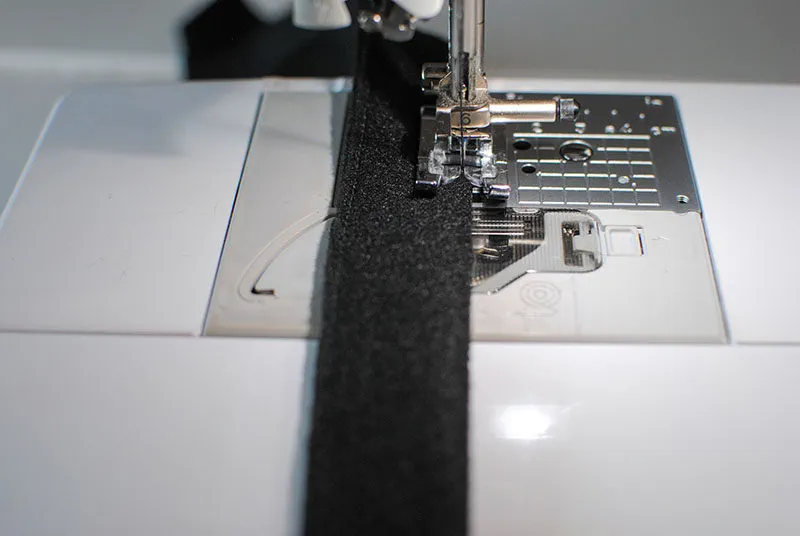 Step 5. Create the straps:
Fold the strap piece in half (right sides out) and topstitch just along the raw edge 1/8” or so. Then repeat on the folded edge. You can also use your own strapping you already have.
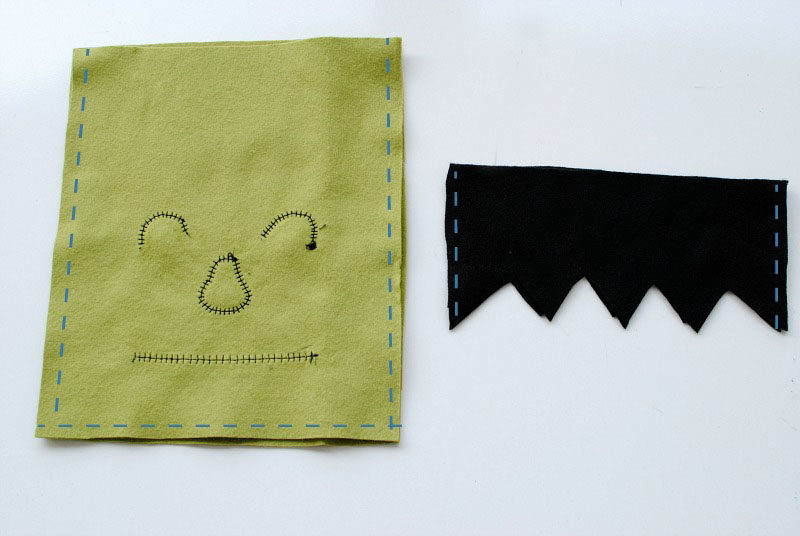 Step 6. Now take the main pieces and the hair pieces and sew them right sides together (I used a ¼” seam allowance).
 Step 7. You should now have all your pieces sewn.
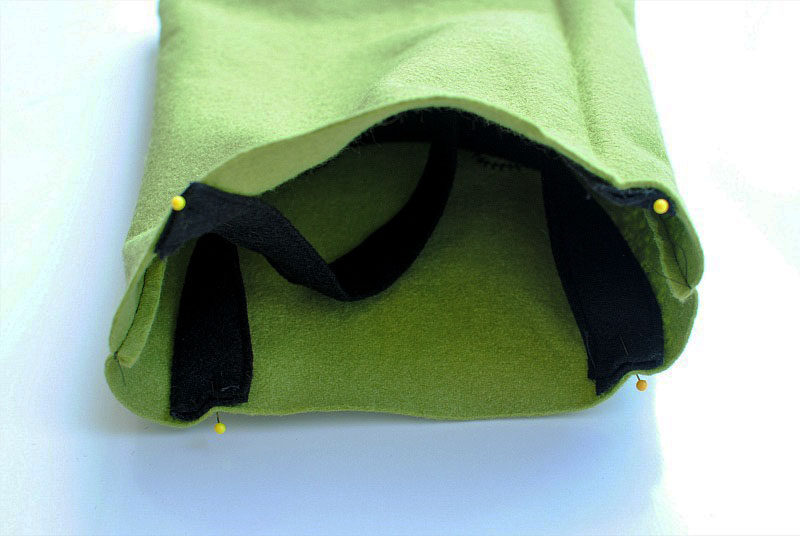 Step 8. Pin and baste stitch the straps inside the bag (wrong side) about 1” from the seams on all sides. Make sure the straps are not twisted.
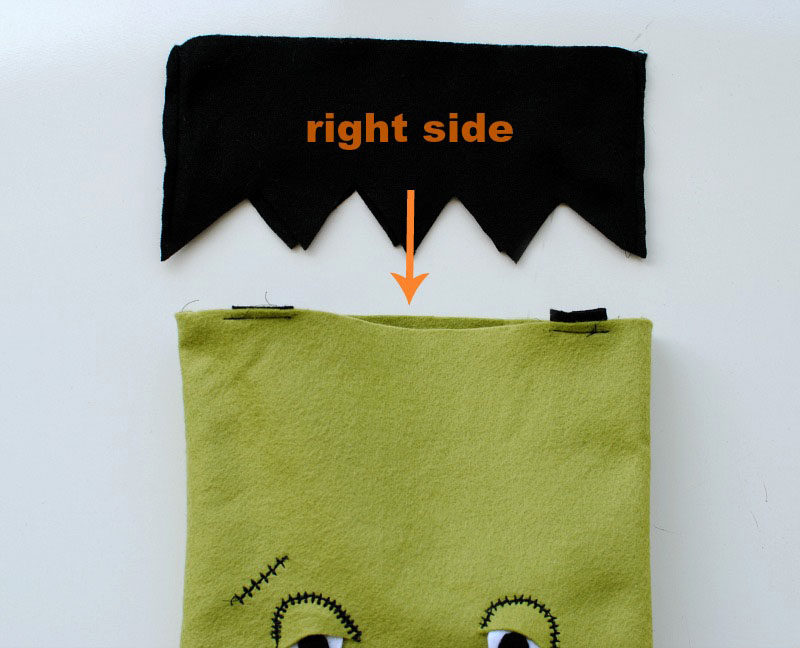
 Step 9. Take the hair piece and place the right side together with the wrong side of the bag. Pin and sew around (1/4” or so being sure to get the straps in there). This is a good time to use your free arm…
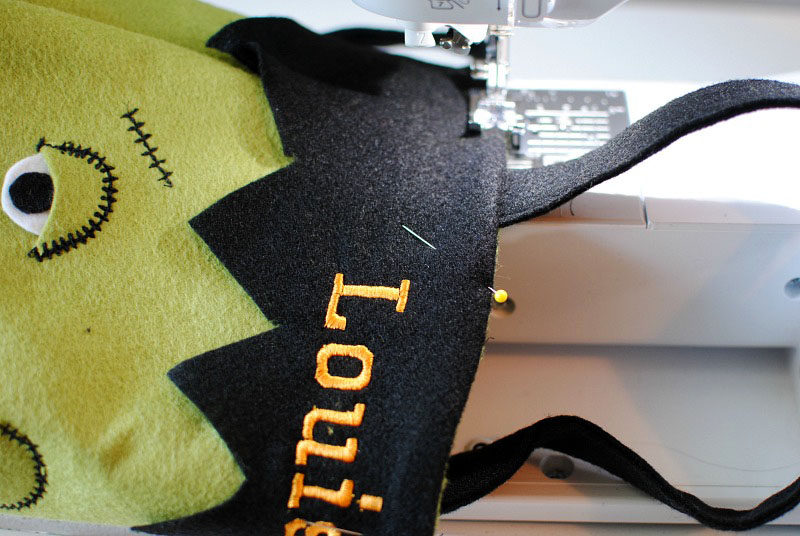 Step 12. Flip right sides out and press. Then topstitch just along the top edge (1/8” from the edge or so).
Now add all the treats. My son was soooo excited about this little bag. He can’t wait to trick or treat.
