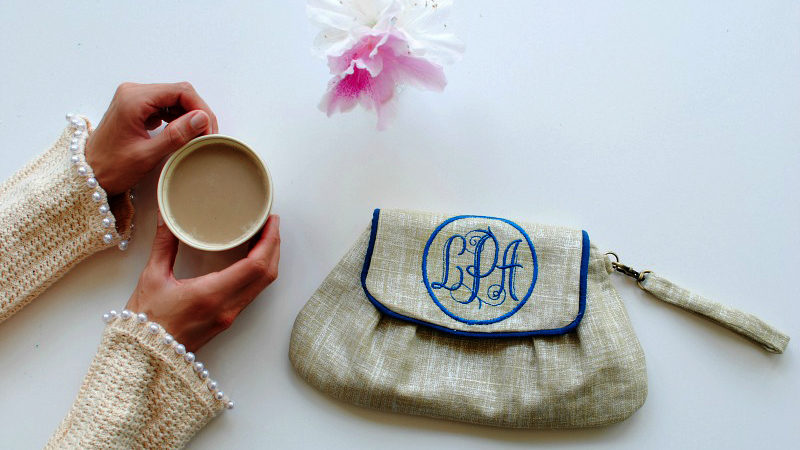
Personalized Clutch for Mother's Day
Mother’s Day is right around the corner, and for me, it’s one of those holidays when I get to make personalized gifts for the special people in my life. This year, I wanted to do something with embroidery.
Embroidery is a simple way to add a custom touch to any gift. It can be a purchased tote, hat, scarf, or even a handmade item. I like to embroider monograms on gifts.
For this project, I wanted to create an embroidered clutch bag that moms will treasure forever. Whether you're an experienced sewist or just starting to explore DIY gifting, this step-by-step guide will help you craft a Mother's Day clutch as unique and thoughtful as the woman receiving it. Let's get started!
Here’s what you’ll need to get started
Supplies:
- Brother SE625
- Brother PE800
- 5” x 7” Embroidery Hoop
- Pacesetter Cut Away Stabilizer
- Small swivel hook and D-Ring
- Magnetic snap
- Pins
- Loop turner
- Temporary adhesive spray (for embroidery prep)
- Ruler
- Fabric marking pen or chalk
- Sewing thread to match your fabric and embroidery and bobbin thread
Disclaimer: Featured accessories are products from the Dritz Company and Brother International Corporation makes no representations or warranties regarding these products.
Materials:
Medium-weight woven fabric:Cutting:
Outer fabric: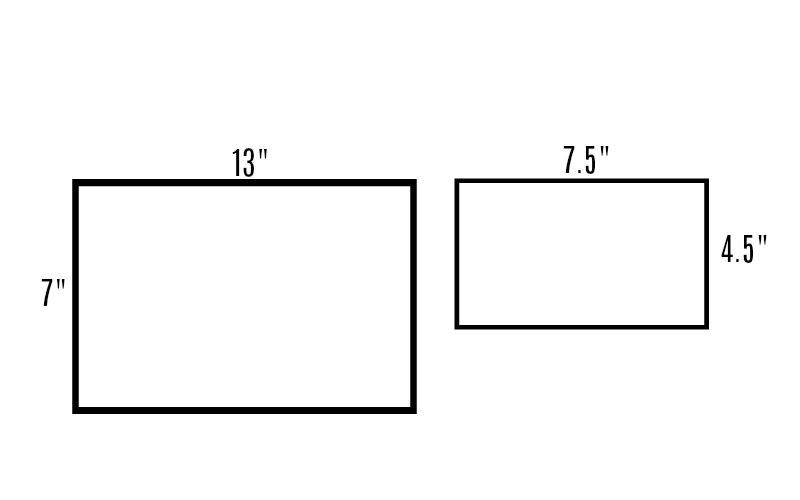
Now that all your supplies are ready, it’s time to start sewing!
Steps to create the perfect Mother’s Day Clutch
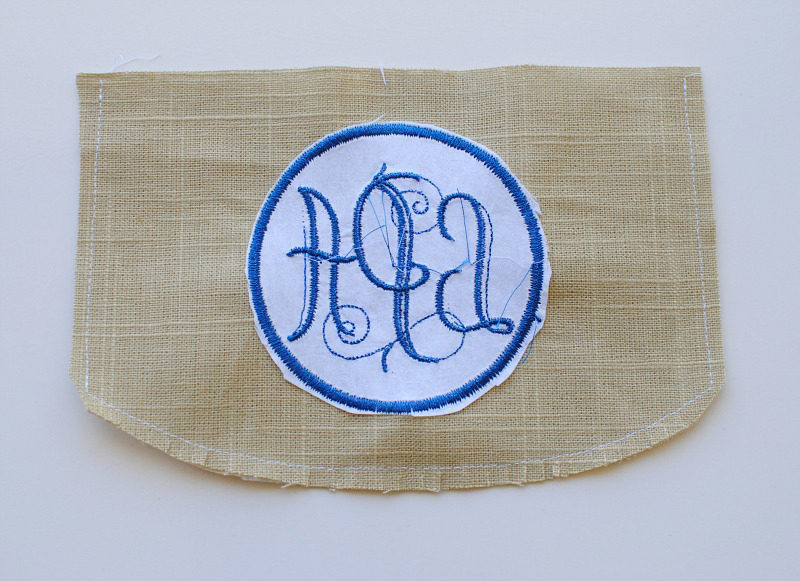
1. Embroider the flap
First, decide what design you would like to embroider on your project. I chose to add a monogram, as it adds a personalized, custom touch. The monogram I selected is a built-in design from my Brother SE625. You might prefer a floral motif instead.
Before cutting your fabric, consider how you will hoop it to add the embroidery.
You can cut a piece of fabric slightly larger than your hoop and trim it to size afterward or cut the front flap according to the measurements provided above and float the fabric on top of the stabilizer.
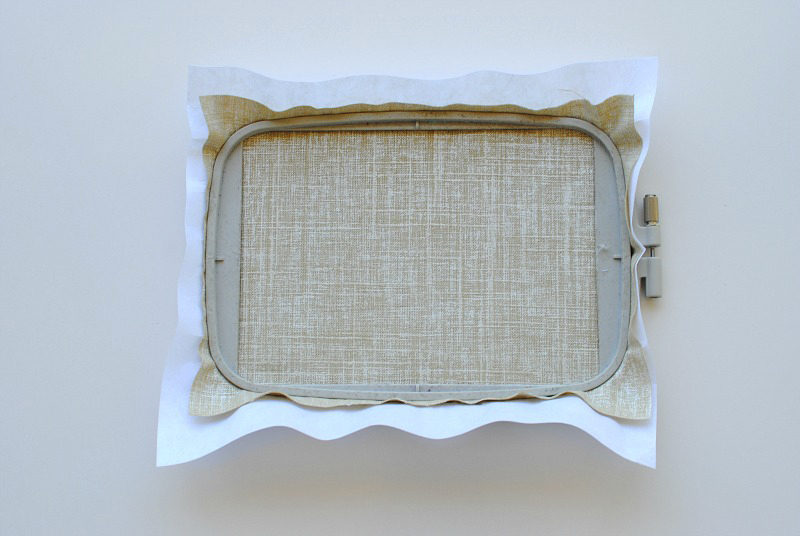
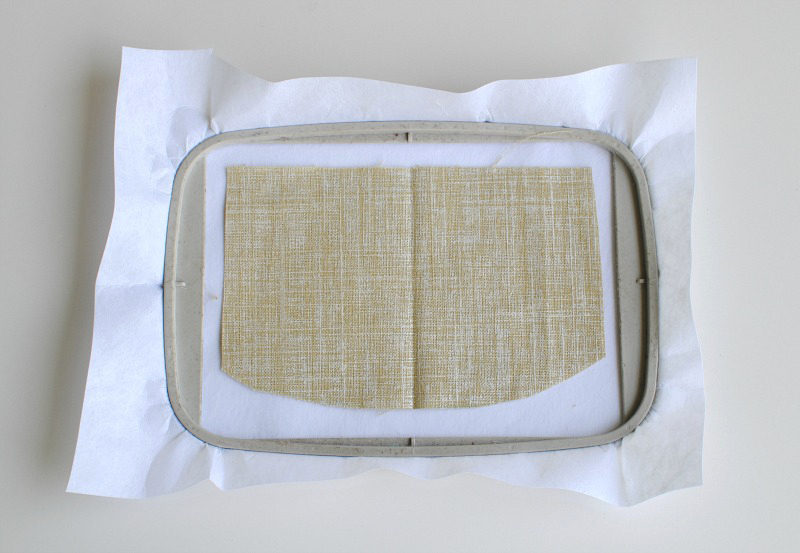
If you choose the floating method, using a temporary adhesive spray will help to secure the fabric to the stabilizer during embroidery. Place the flap piece right side up on top of the stabilizer, matching the centers. If you have already cut the flap, mark the center for accurate design placement.
Before embroidering, ensure the design fits in the center of the flap, allowing for ¼” seam allowances all around and ample space for the snap closure that will come up about one inch from the center.
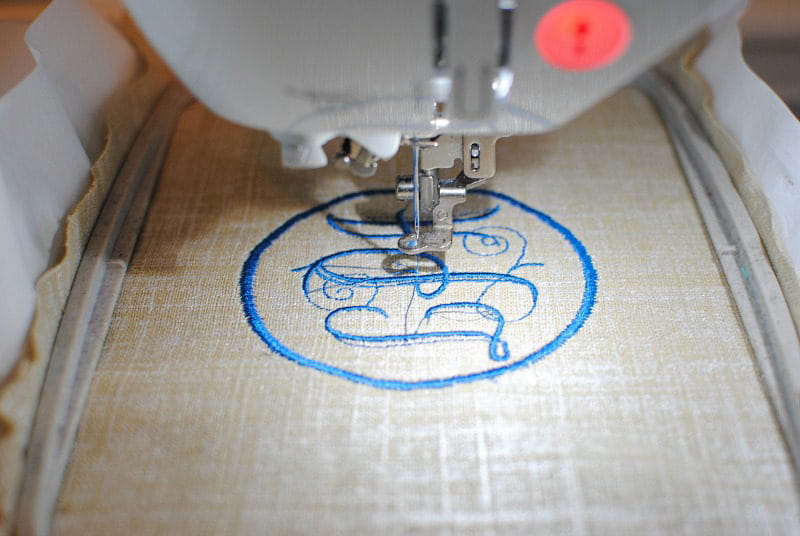
Now you can start embroidering your design.
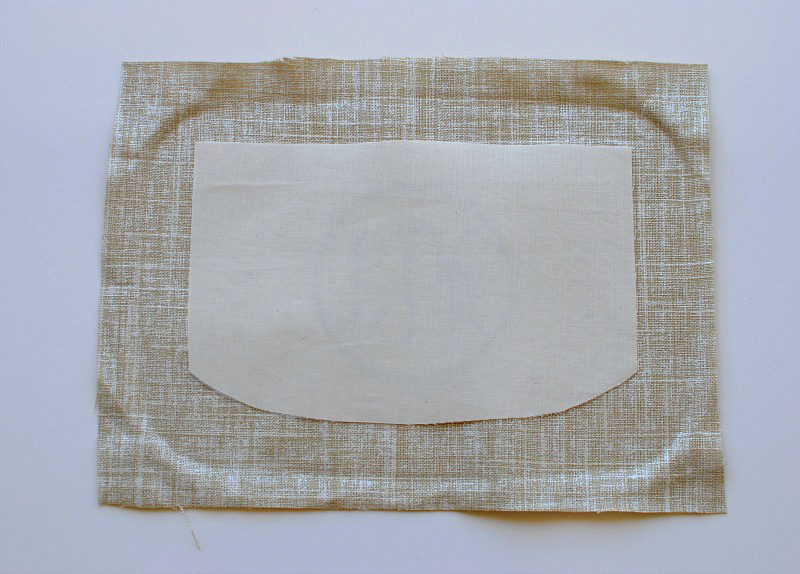
Once complete, trim and curve the bottom edges by hand if you haven’t done so already. Trim the stabilizer close to the embroidery.
2. Assemble the flap
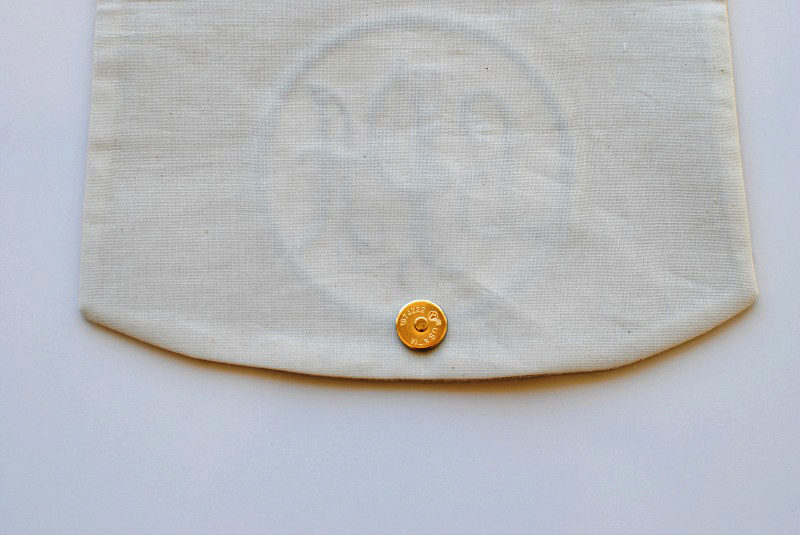
Install one-half of the magnetic snap on the right side of the lining flap, approximately ¾” up from the bottom center. For best results, follow the instructions included with your snap closure.
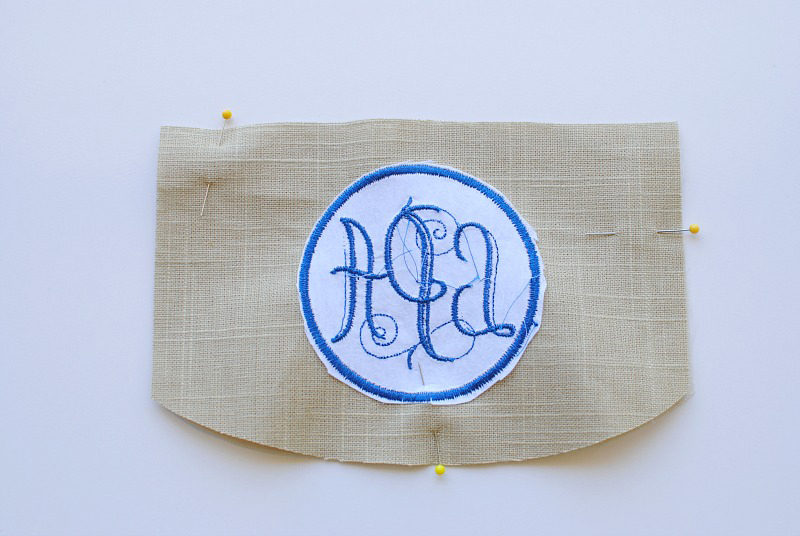
Place the outer bag and lining flap pieces right sides together. Pin or clip the edges.
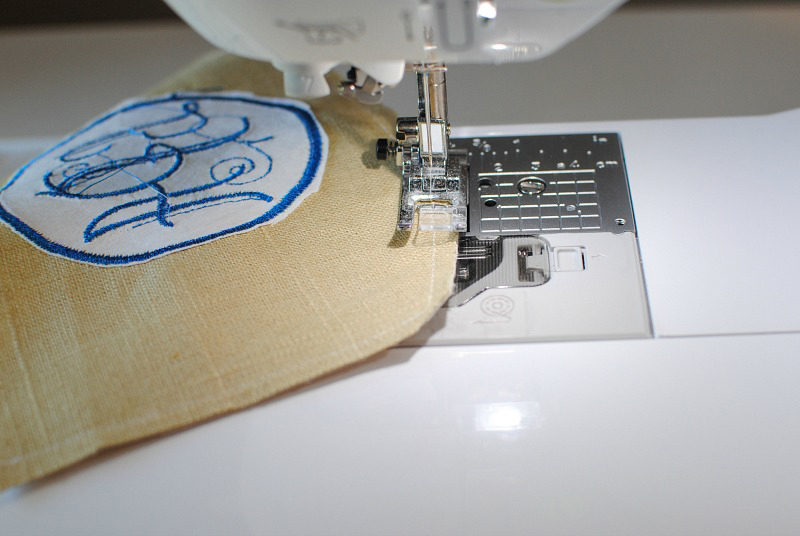
Sew around the sides and bottom, leaving the top edge open for turning.
Clip corners and curves, flip the flap right side out, press, and topstitch.
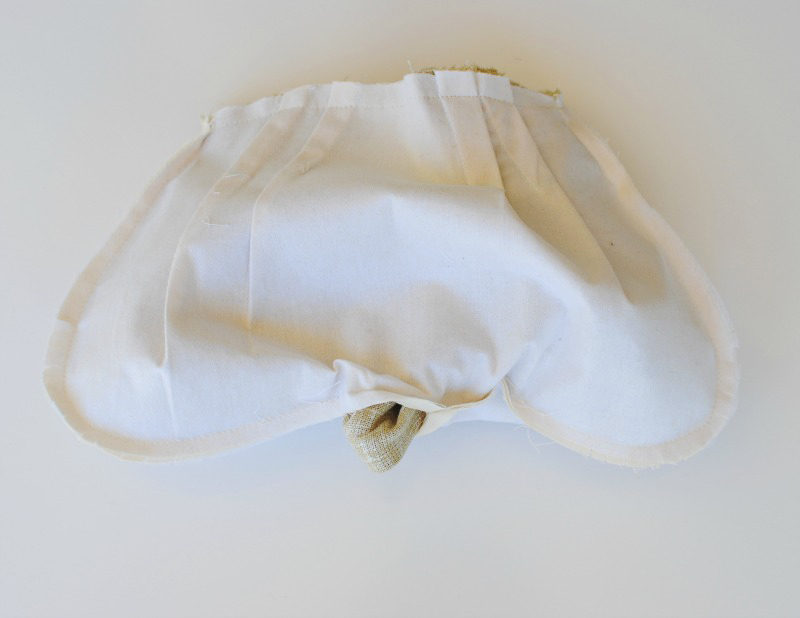
For the body of the clutch, cut a slight curve on the bottom corners of the outer bag front and back pieces. Repeat to cut the same curve on the bottom edges of the lining pieces. Make sure everything is even.
3. Sew the main body
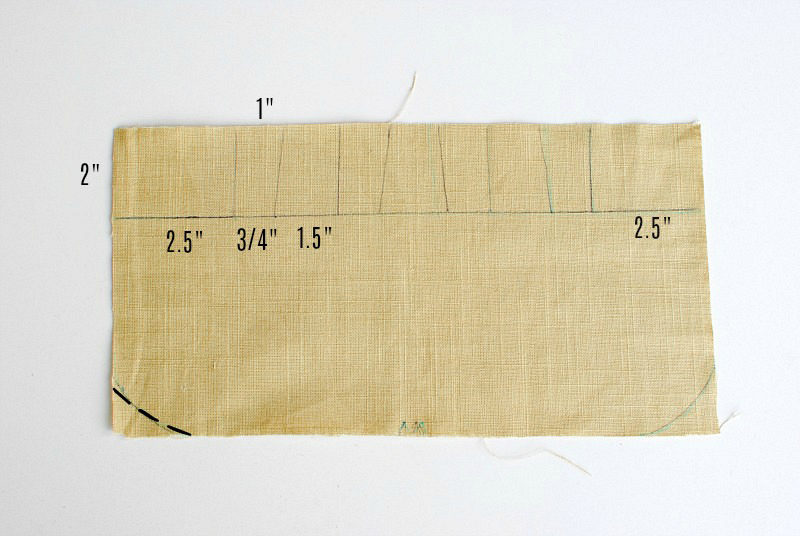
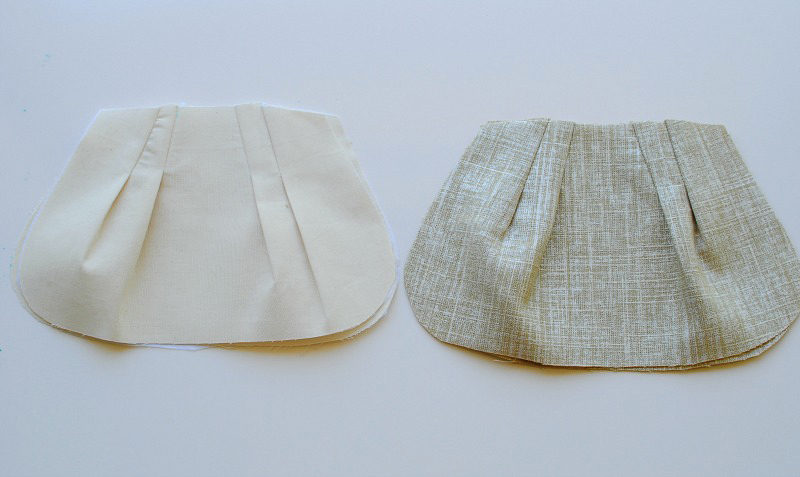
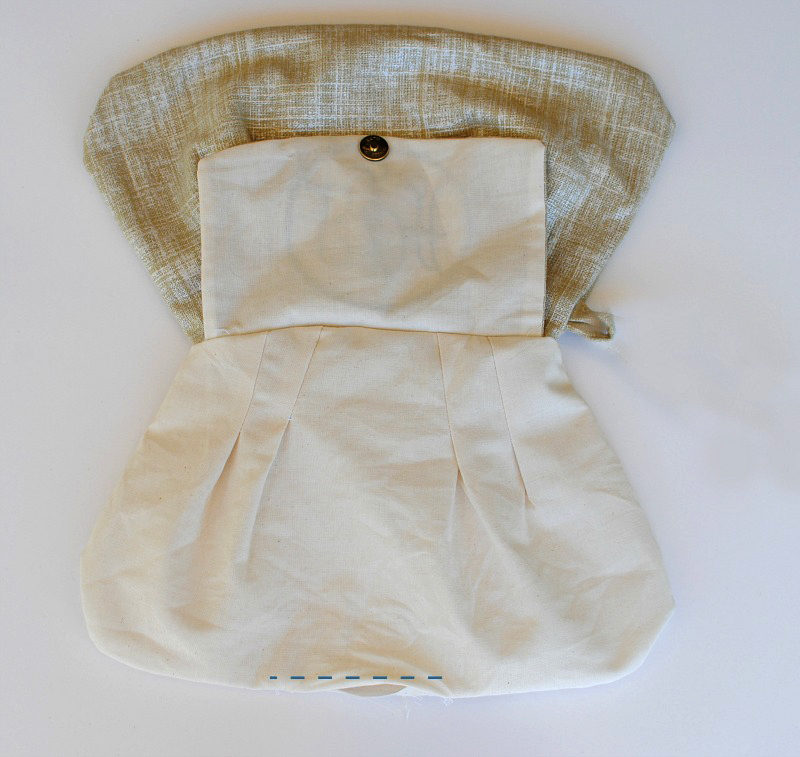
Create pleats for style
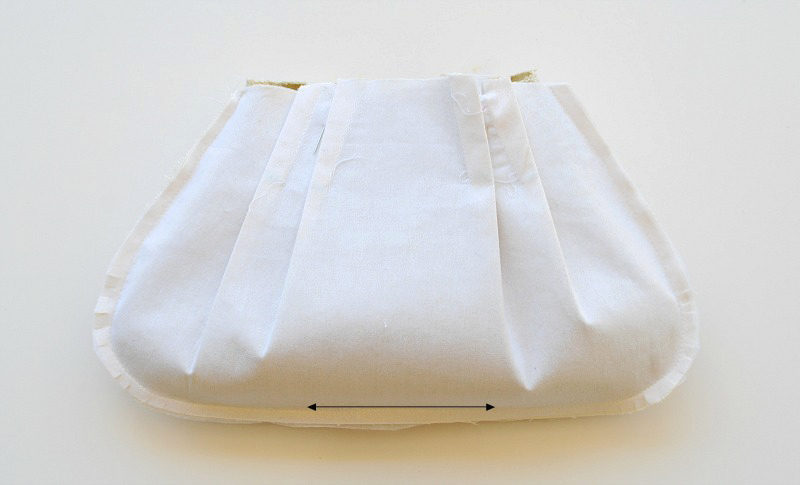
Mark the pleats on the wrong side of the outer bag and lining fabrics, both the front and back pieces. My pleats were 2” deep and slightly wider at the top edge than the bottom. I added four pleats that were evenly dispersed to each panel. See the diagram above.
You can use my measurements or create your own. Make sure the pleats in the outer bag and lining are all equal and the same.
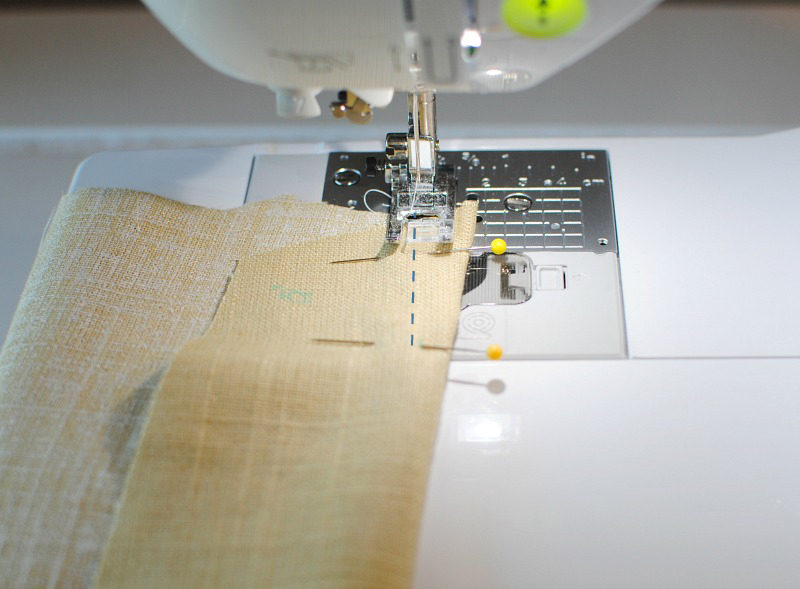
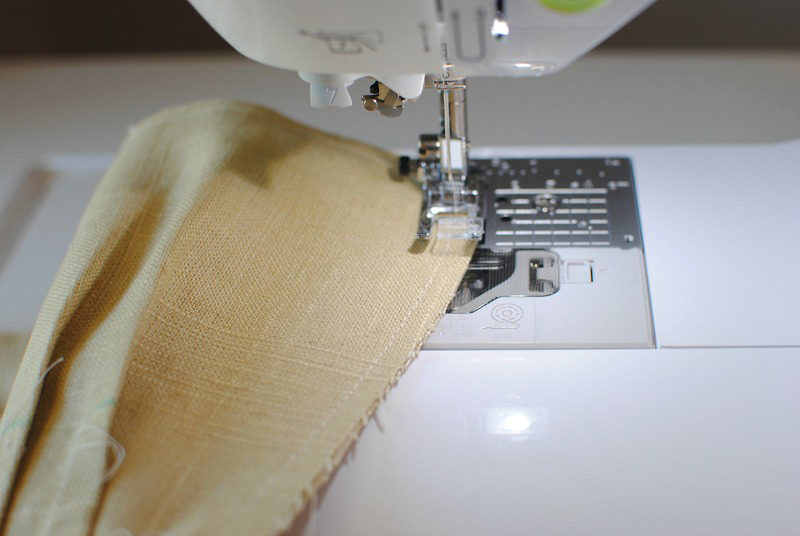
Fold the fabric along the pleat line, pin it, and sew. Backstitch at the end of the seam. Continue until you have four even pleats.
Then, repeat to stitch the pleats on the rest of the pieces. Press all four pieces.

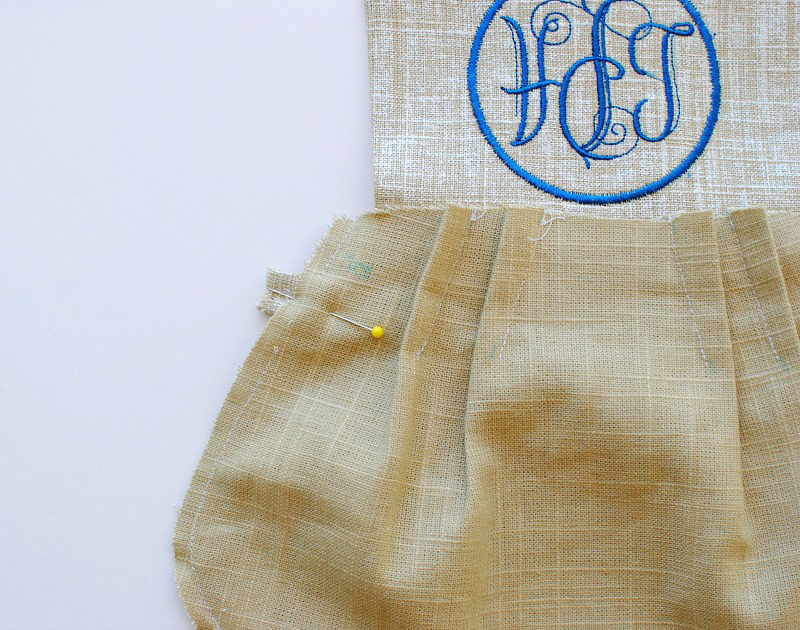
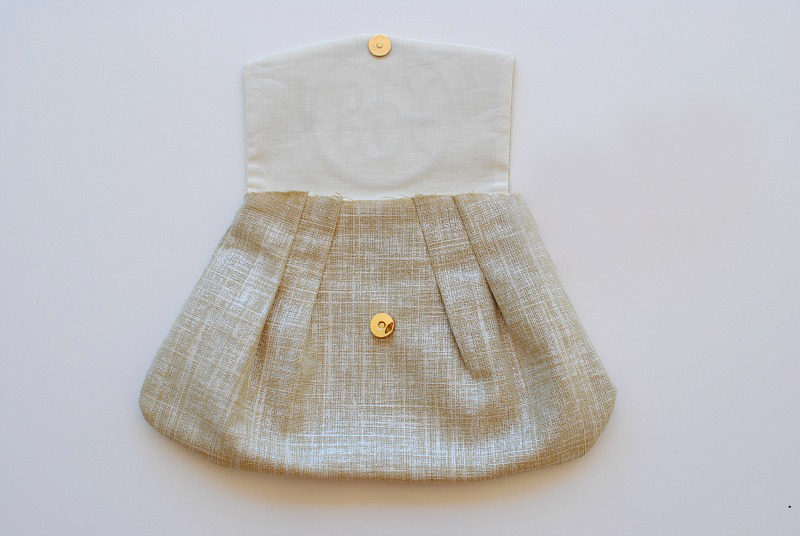
Attach the flap
Center the flap on the outer bag back piece, placing the right sides together. Sew the flap into place along the edge.
Add the strap tab
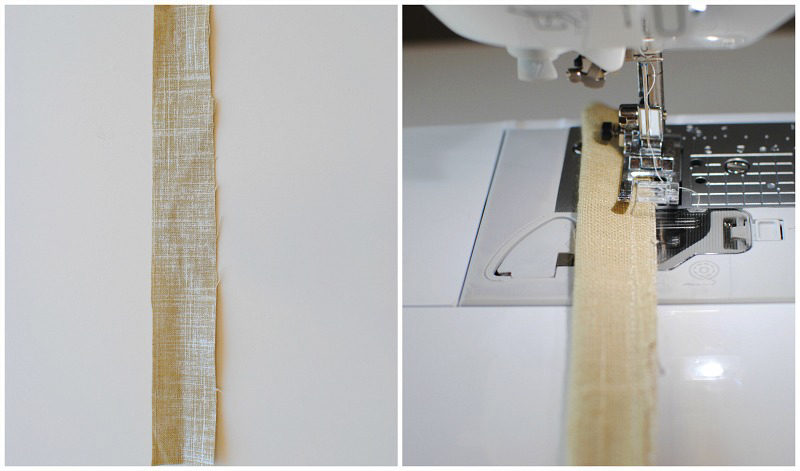
Fold the strap fabric in half lengthwise with the right sides together and sew along the edge. Turn it right side out using the loop turner.
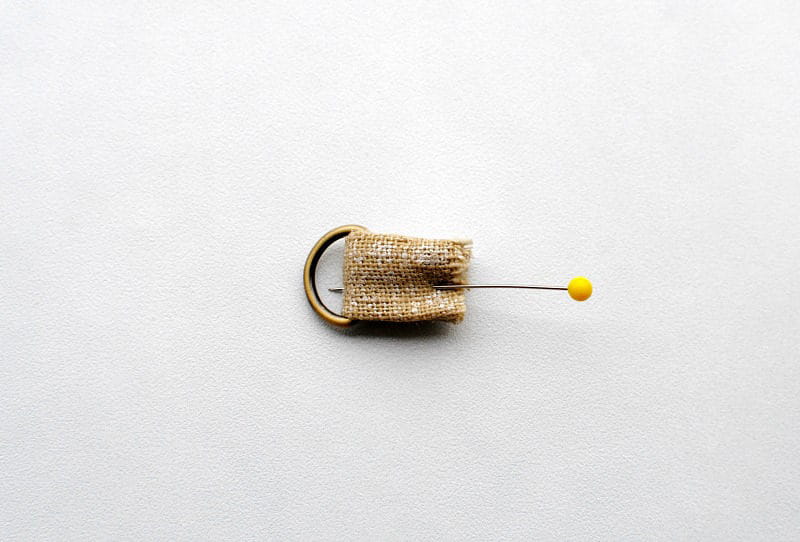
Cut 2” off the strip, loop it through the D-ring, and stitch it closed to secure it.
Sandwich the tab with the D-Ring between the outer bag front and back pieces (right sides facing), and position the tab about 1” down from the top edge. Baste the tab in place if needed.
Complete the body
Sew the outer bag front and back pieces together (right sides facing).
Sew the front and back lining pieces together, leaving a 2.5” opening along the bottom edge.
5. Assemble the clutch
Turn the outer bag right side out, fold the flap down and mark where the snap hits the front of the bag.
Install the remaining half of the snap closure on the outside of the outer bag front according to the manufacturer’s instructions.
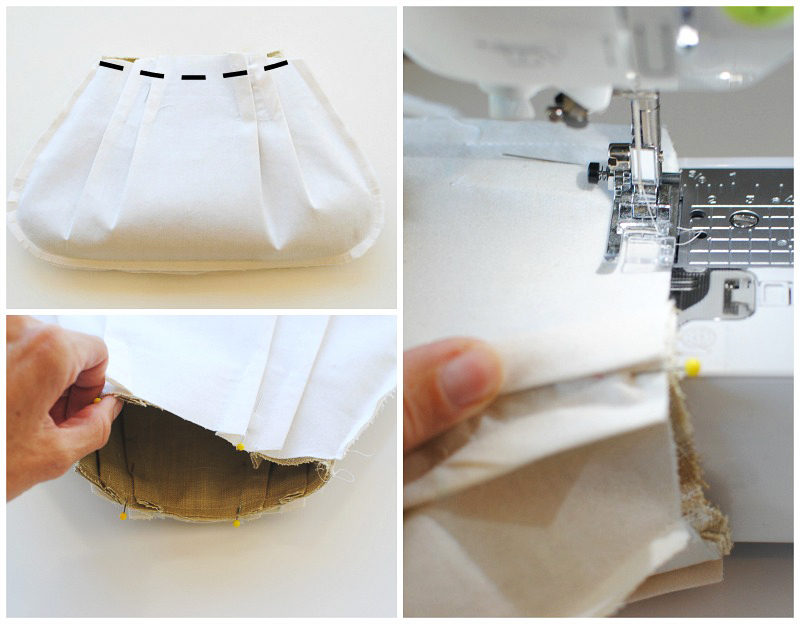
Slide the outer bag inside the lining, placing right sides together. Sew around the top edge.
Flip the bag on the right side out through the opening in the lining.
Sew the opening closed.

Push the lining down inside the bag and press. Next, topstitch around the top edge through all layers.

Complete the handle using the remaining strap from the tab step. Feed the end through the swivel hook. Making sure the raw edge is encased. Stitch through all layers close to the hook to secure.
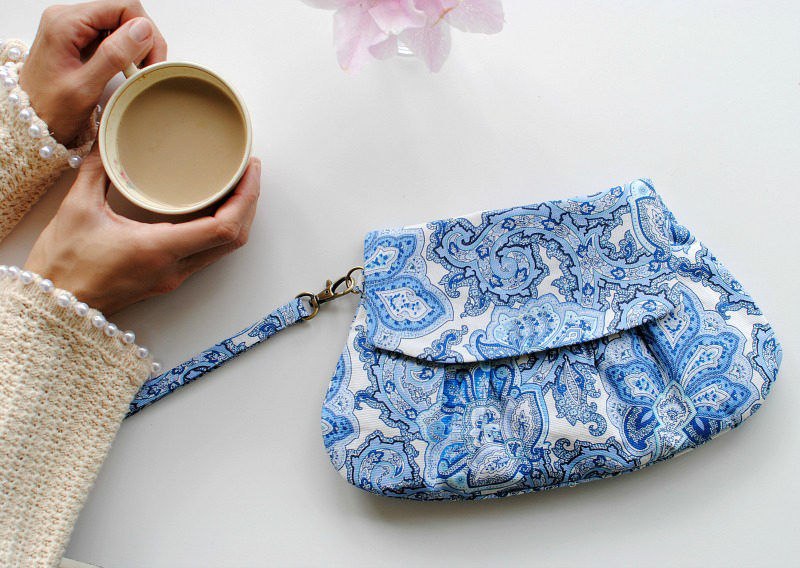
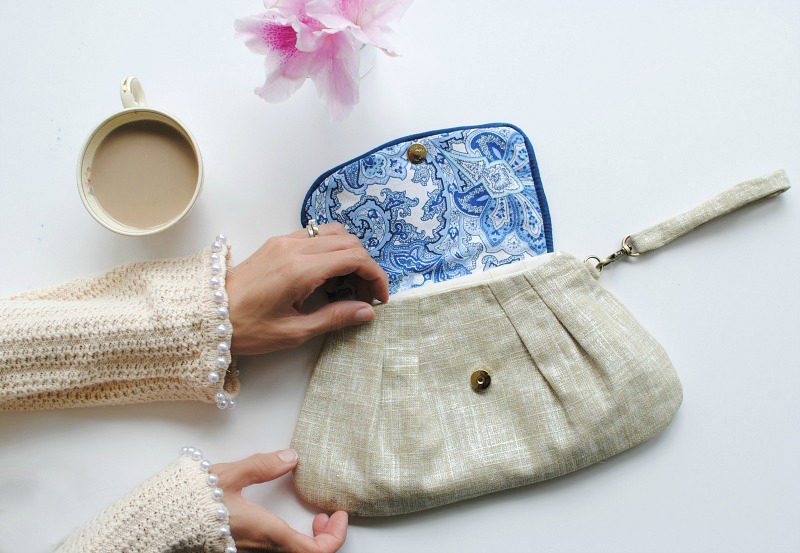
A personalized Mother’s Day clutch that’s thoughtful, functional, and absolutely unique. Whether you’re a seasoned sewist or just starting out, this project allows you to infuse creativity into a heartfelt gift. If you love making this clutch, let your creativity shine with other inspiring Mother’s Day projects, like the Best Mom Ever Apron or colorful personalized Flower Pots, and craft a day that she will cherish forever!
FAQs
Q: What type of fabric works best for this clutch?
A: A medium-weight fabric is ideal for both the outer bag and lining. It holds its shape well and works with fusible interfacing.
Q: Can I use a different closure instead of the magnetic snap?
A: Yes! Velcro or button closures work well as alternatives, depending on your preference.
Q: What embroidery design works best?
A: Monograms, floral patterns, or geometric designs are great choices for adding a custom touch.
Q: What if I don’t own an embroidery machine?
A: No problem! You can skip the embroidery step entirely or use pre-embroidered fabric.
Happy sewing, and Happy Mother’s Day!
Related Projects
Stay Connected
* Required fields