Free Design of the Month for December – Embroidered Criss Cross Sweater Knit Scarf
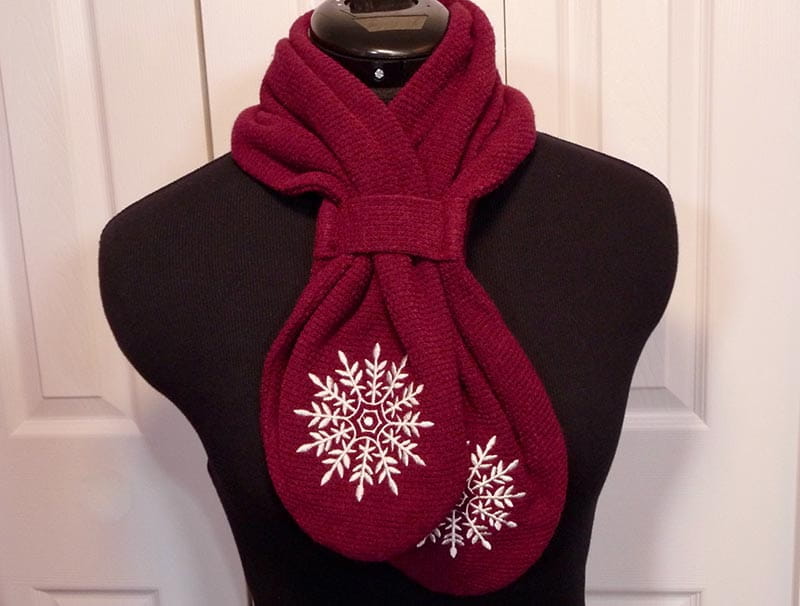
It’s Scarf Season, and this one is designed to elevate your winter wardrobe to high status! This simple style is easy to make and requires very little fabric. Look closely, and you’ll see that it mimics what you would commonly find in a hand-knit scarf. Add a striking snowflake design to the tapered ends using the Brother Free Design of the Month. These instructions come complete with a downloadable pdf pattern to shape the ends of the scarf. Follow along and learn two methods for stabilizing a sweater knit fabric. Be prepared for compliments and consider making these for gifts. A stylish scarf like this is sure to be appreciated!
Finished size of scarf is 9-inches at widest part and 35-inches long.
Please read through instructions before beginning. Basic steps are as follows:
- Download and print pdf pattern.
- Cut fabric and embroider ends.
- Sew loop and scarf pieces.
Supplies for Criss Cross Scarf:
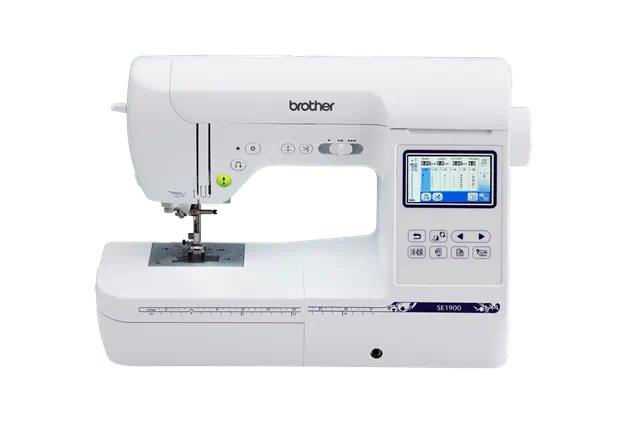
- Brother embroidery machine with 4-inch hoop capability.
- Brother closed toe walking foot for sewing sweater knit.
- SA5931 Brother medium-weight fusible cut-away stabilizer for stabilizing sweater knit using option #1.
- SA520 Brother light weight water-soluble embroidery topping for stabilizing option #1 & #2.
- SA5906 lightweight, adhesive-backed, water-soluble for stabilizing option #2.
- Polyester or nylon organza to blend with sweater knit fabric color for stabilizing option #2.
- Embroidery thread and size 11 embroidery needle for embroidering.
- Basic notions, including thread to match fabric and removeable chalk for marking.
- Printable pdf pattern for shaping ends of scarf. Scarf Template
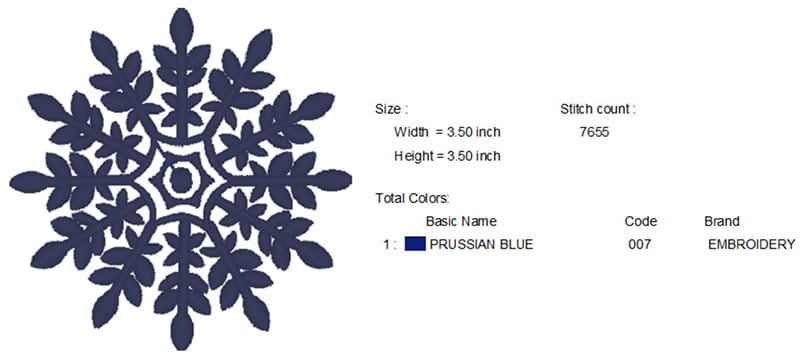
- Brother Free Design of the month, See Figure #1 below.
- Fabric for scarf:
Light weight sweater knit with a close weave, cut two pieces measuring 10-inches wide X 36-inches long for scarf, one for top side and one for back side. In addition, cut one piece measuring 3 ½-inches wide X 4-inches long for scarf loop.
Figure #1
All Steps to Create Criss Cross Scarf:
- Download design and transfer to your machine. Print Scarf Template and trim just outside the heavy black lines. Prepare to embroider each end of top scarf piece as follows: Place template along scarf end and trace tapered shape using a chalk marker. See Figure #2.
- Cut an oversized piece of SA5931 fusible cut away and a piece of SA520 water-soluble to fit 4-inch hoop. See Figure #4.
- Layer cut away against wrong side of scarf end, making sure that the stabilizer will fill the entire hoop once fabric is hooped. See Figure #5.
- Layer wash away on the top and hoop so center marking is aligned with center of hoop. Take care that wash-away stabilizer is smooth and taut. See Figure #6.
- Embroider design. See Figure #7.
- When finished, remove excess wash-away stabilizer, then lift the lightly fused cut away on the back and trim close to design edges. Note: On most knits, I always leave a margin of at least ½-inch of cut away. However, this design is light, and the fabric needs to remain soft, so close trimming is a better option. See Figure #8.
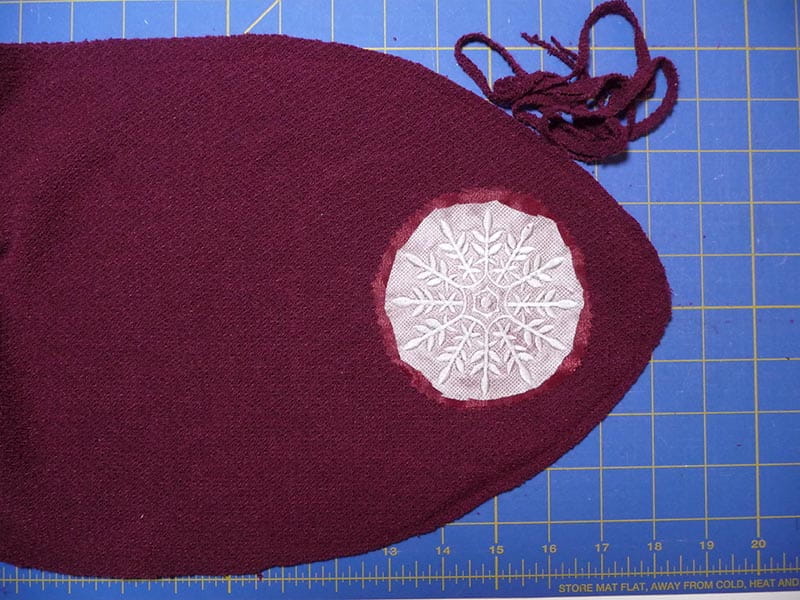
- Layer light weight wash-away on top as shown in method #1. Embroider design as shown previously. Peel back the adhesive and trim excess. Trim organza close to design. Tip: I like to use pinking shears to trim the edge. See Figure #12
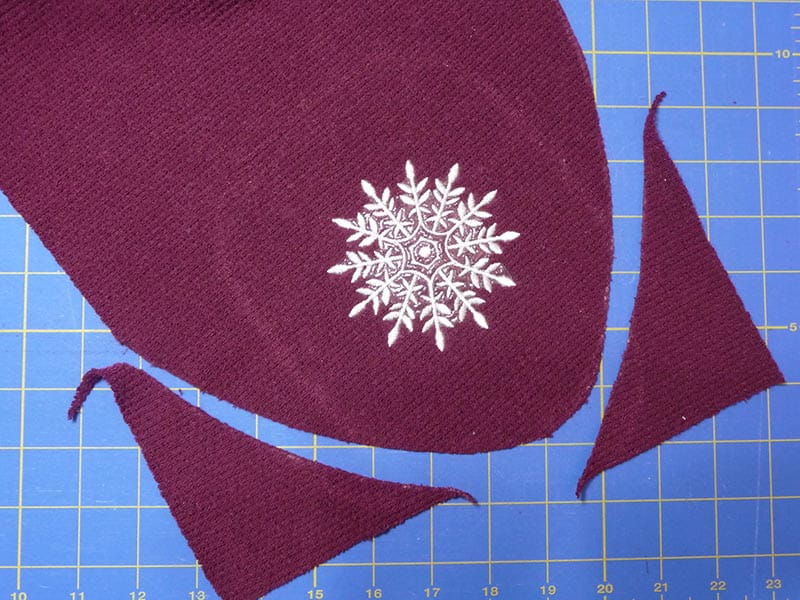
- Trim both ends along chalked lines to create tapered ends. See Figure #13
Figure #2
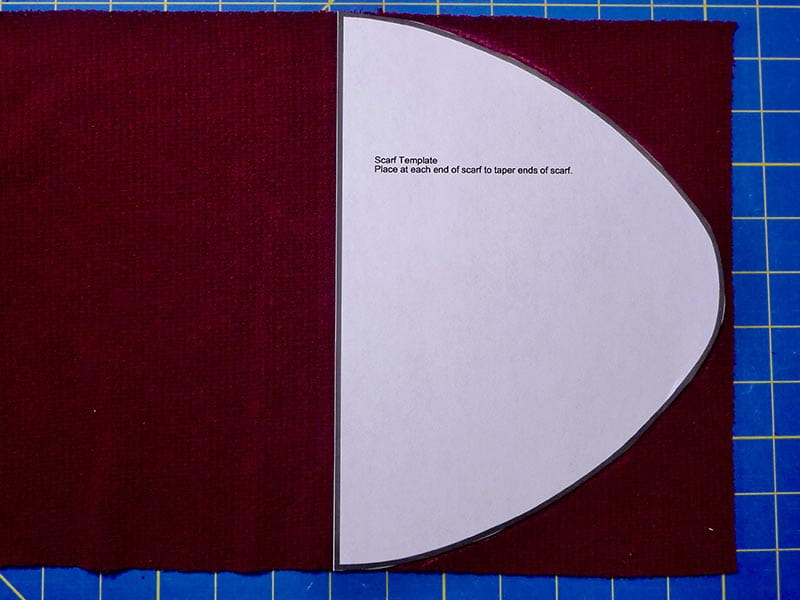
Mark center point of placement for embroidery 4-inches from tapered point. Do not trim the end, we’ll save that step for after embroidery is complete. See Figure #3.
Figure #3
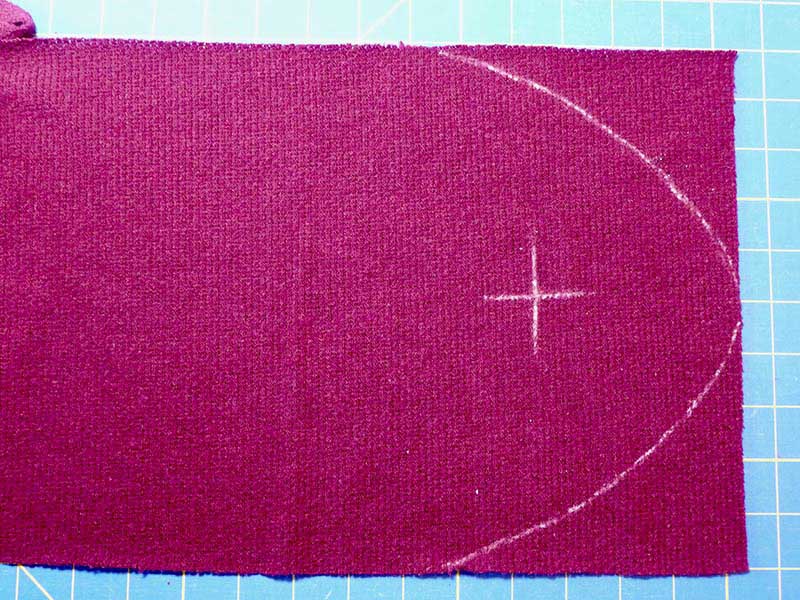
Repeat steps for opposite end of scarf.
Note: These instructions include two methods for stabilizing the snowflake design on the stretchy sweater knit. The first method is very traditional and works well for any textured, stretchy knit. However, there are times when cut-away fusible stabilizer may be a bit too heavy or stiff for the knit, or the color of the stabilizer shows through to the right side. In this case, I like to use my “outside the box” method. I suggest you read about both methods below and choose the most appropriate option for your particular project. In a perfect world, you would test each method first and then decide which one works best. Once you’ve selected your preferred method, go ahead and embroider the snowflake design on each end of the top scarf piece. The two methods are as follows.
Method #1 using traditional stabilizer:
Figure #4
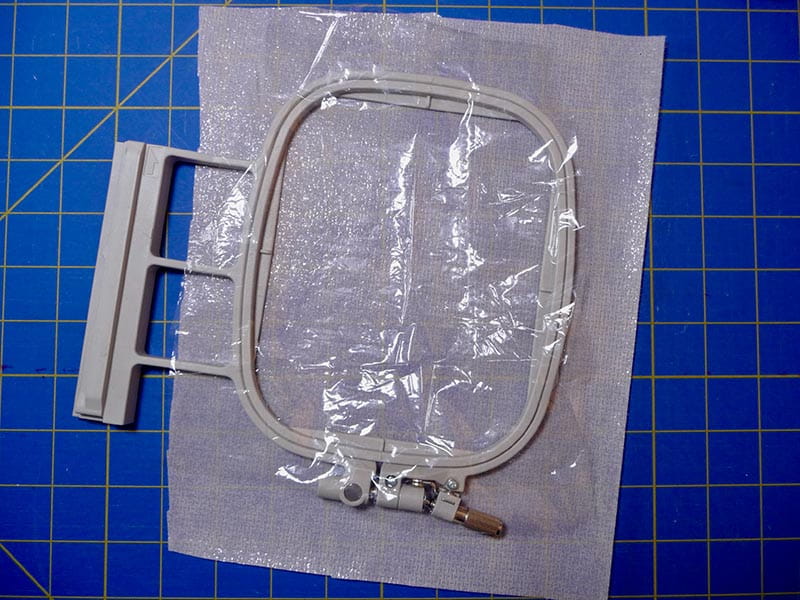
Figure #5
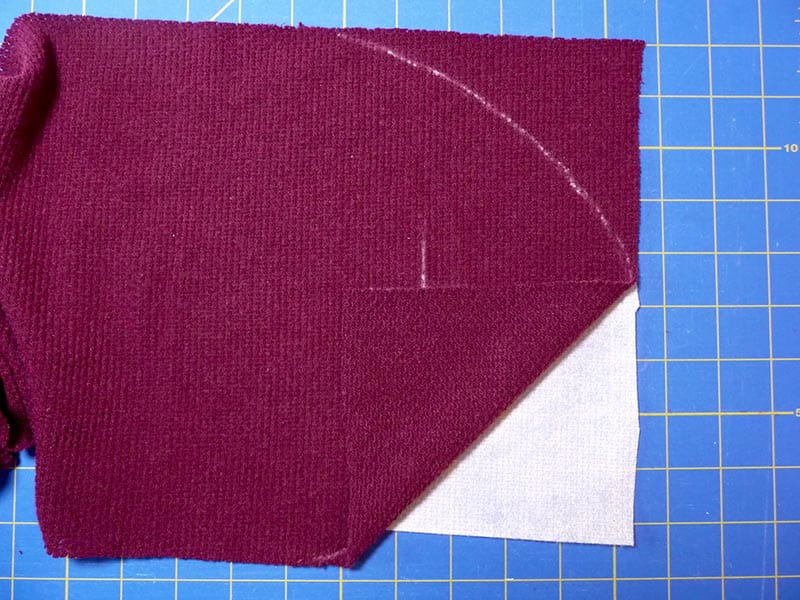
Figure #6
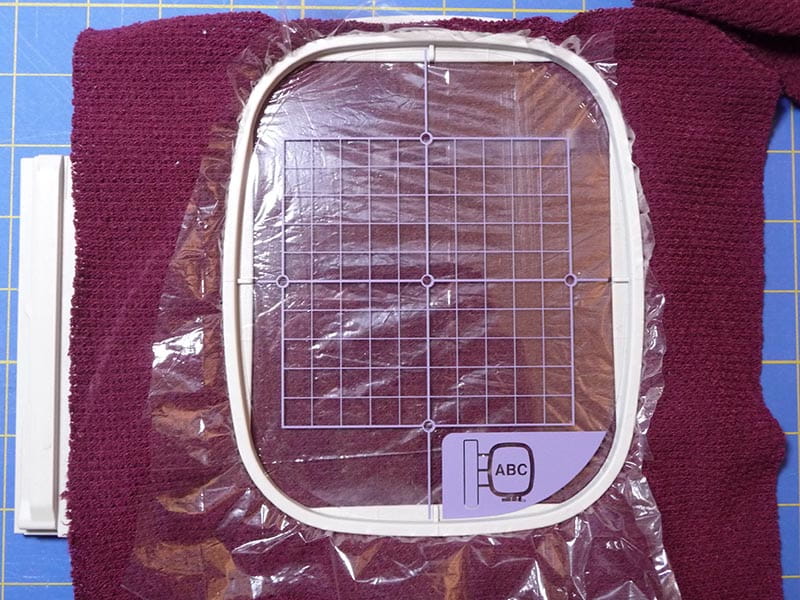
Figure #7
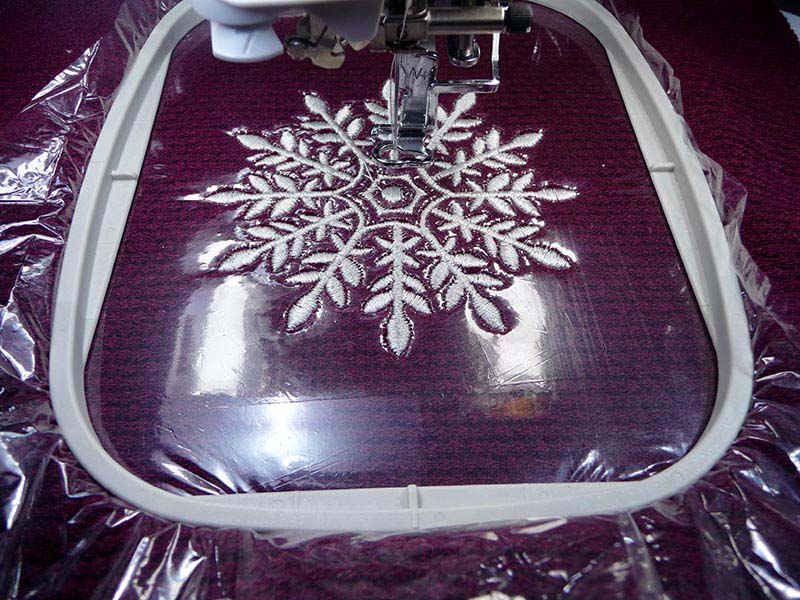
Figure #8
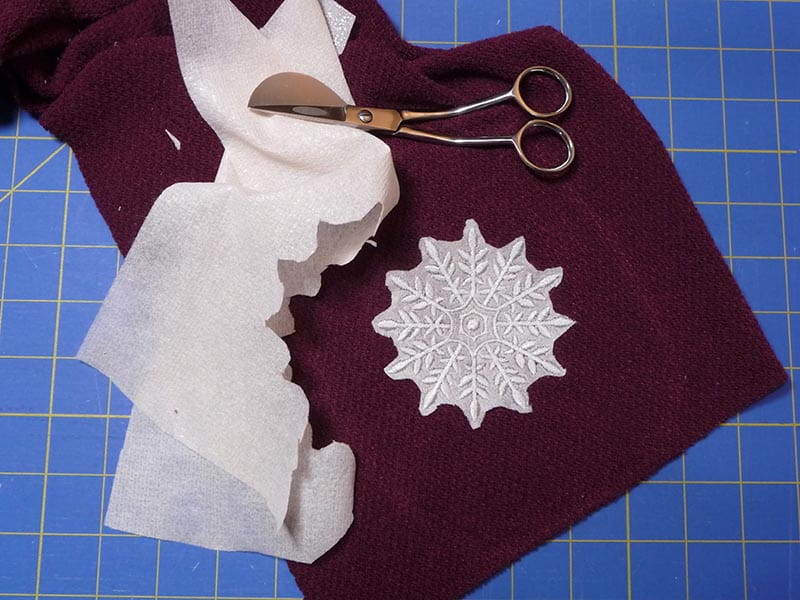
Method #2 using traditional stabilizer:
Cut an oversized piece of organza. Note: Organza is often found in the special fabric section of fabric stores and comes in many colors to coordinate with bridal and dress fabrics. See Figure #9.
Figure #9
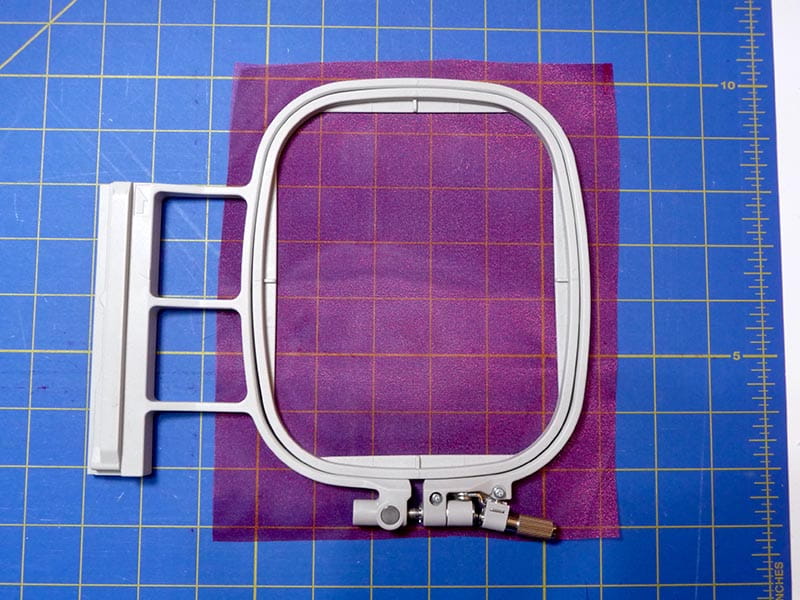
Position organza on wrong side of scarf end. Hoop layers having center markings aligned with center of hoop. See Figure #10.
Figure #10
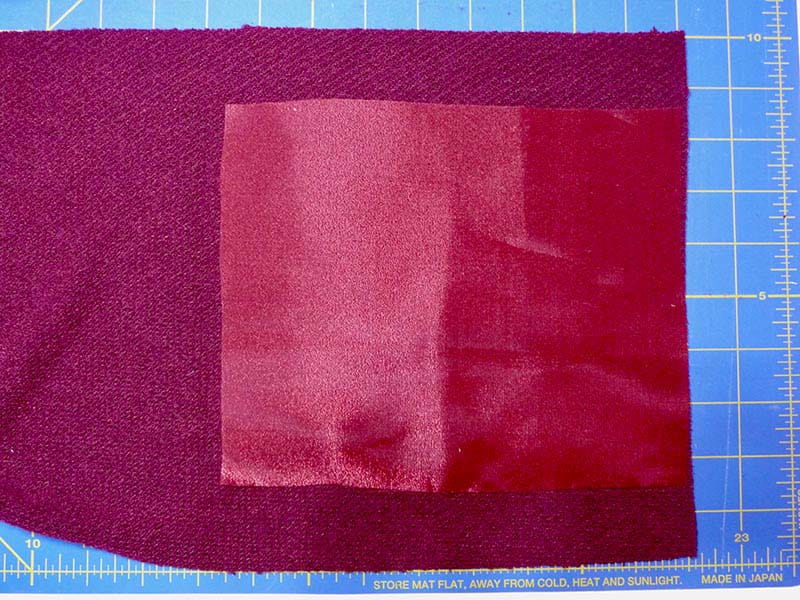
Cut a generous piece of SA5906 to cover the organza and keep to it from moving. Note that this wash-away stabilizer will also help firm up the fabric during embroidery, yet it disappears with washing. See example in Figure #11.
Figure #11
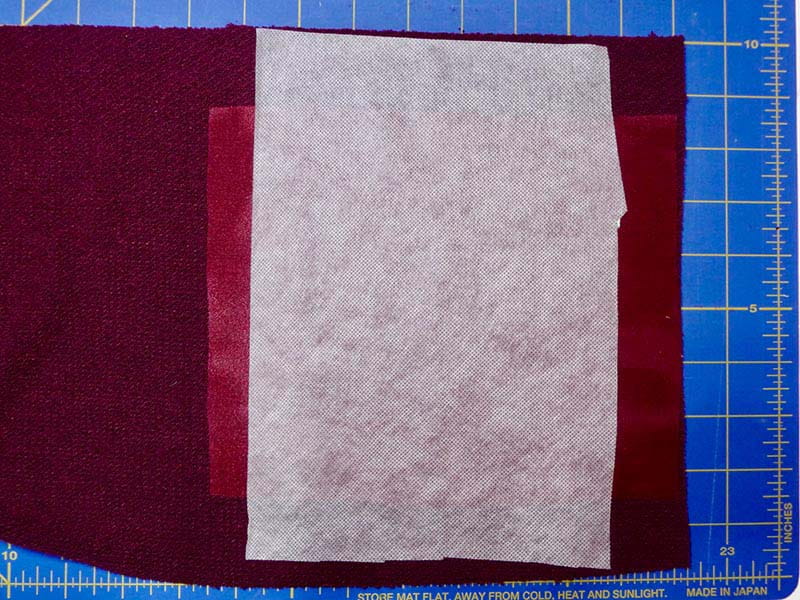
Figure #12
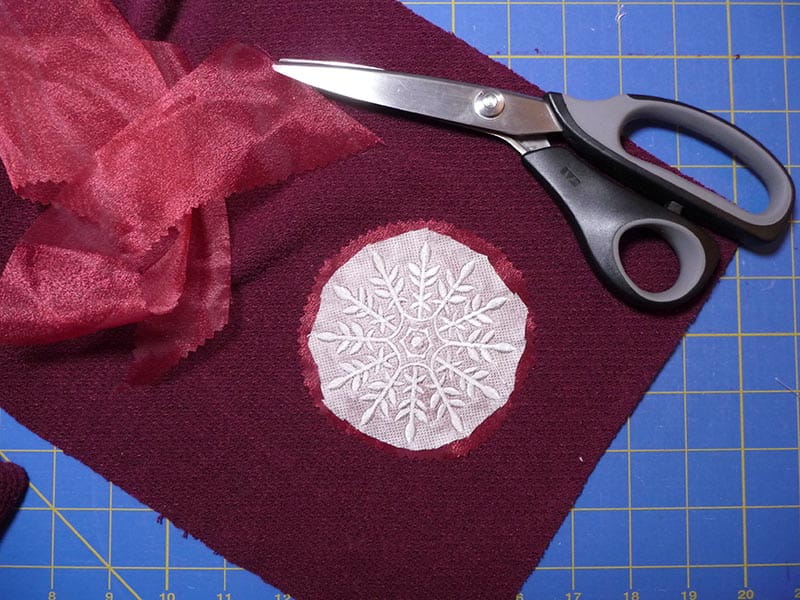
Figure #13
Next, let’s make the loop. Fold loop piece in half lengthwise, with right sides together. Sew loop with ½-inch seam allowance. See Figure #14a and Figure #14b.
Figure #14a
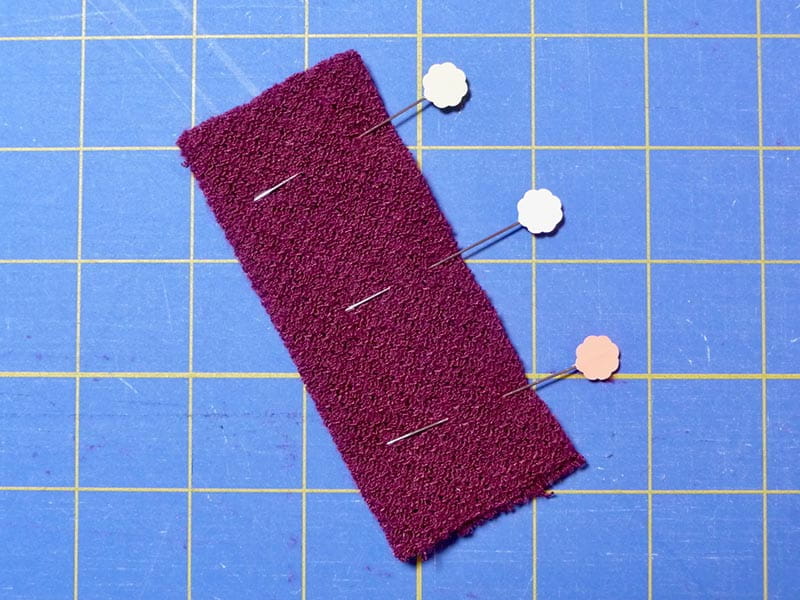
Figure #14b
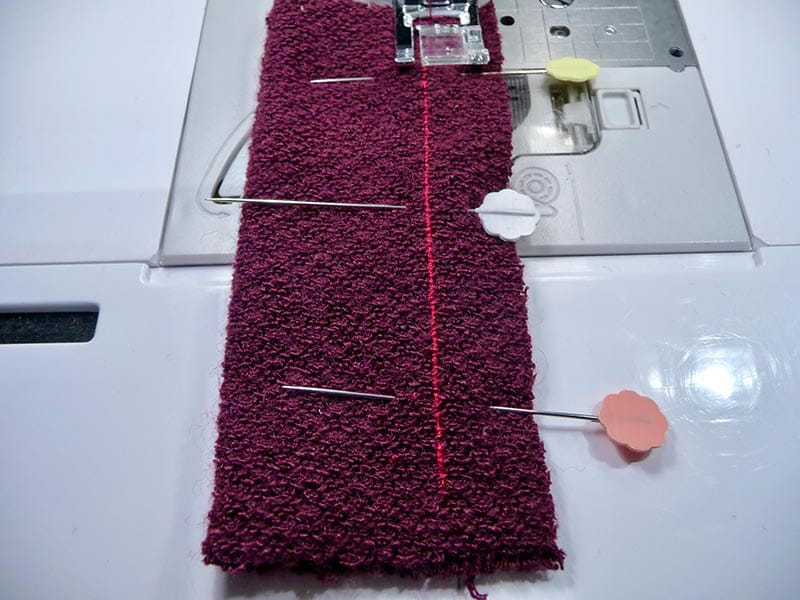
Turn loop right side out and press with seam centered in the back. Pin loop to left side of scarf end, placing loop 10-inches from tapered point and having raw edges even. Pin in place. See Figure #15.
Figure #15
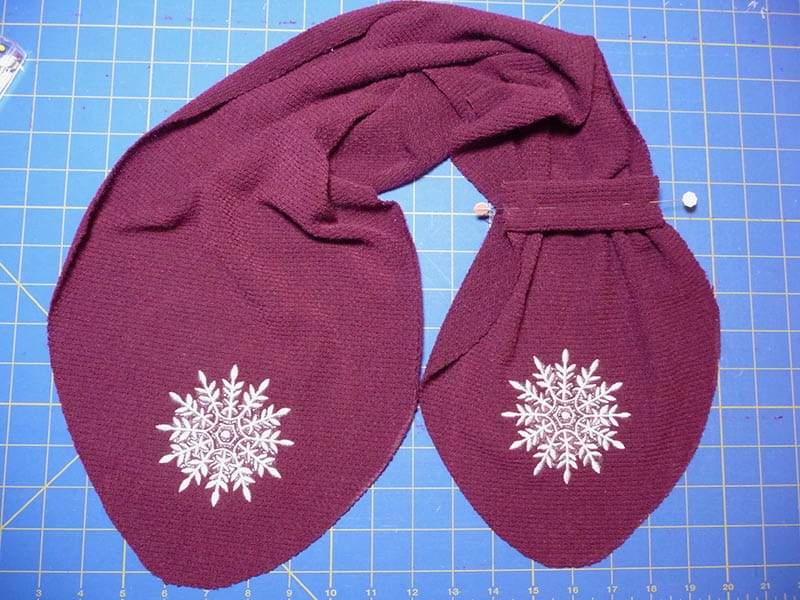
Machine baste loop 1-inch from raw edge to help keep it in place. See Figure #16.
Figure #16
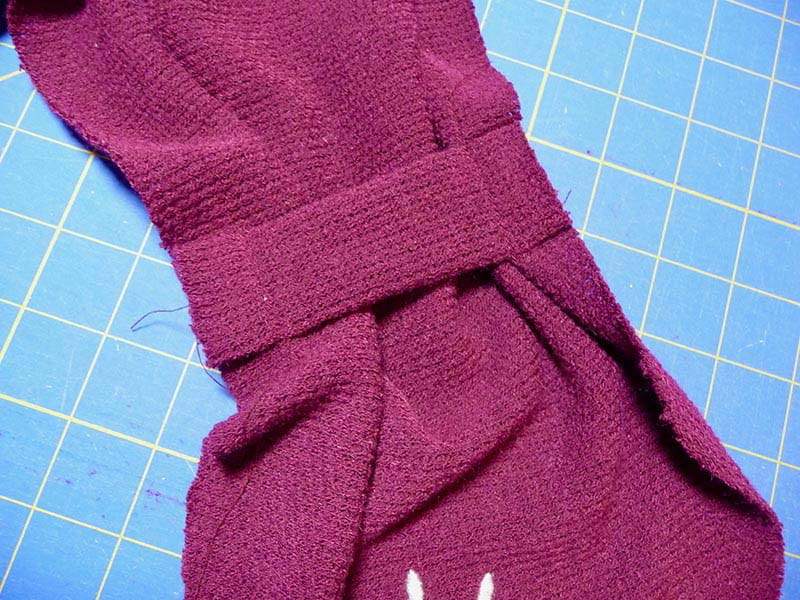
To finish scarf, place top and bottom pieces together with right sides facing and raw edges matching. Pin layers together, marking off a 3-inch opening along one long side for turning. See Figure #17.
Figure #17
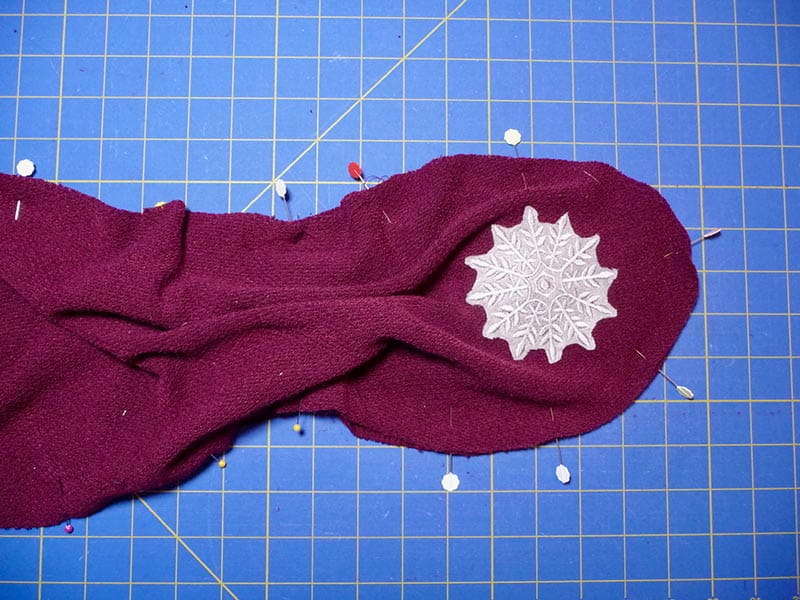
Place walking foot on machine and set up for sewing a ½-inch seam allowance. Read tips shown below for sewing with sweater knits, then sew pieces together, taking care to leave an opening. Make sure edges are flat when stitching, keeping bulk from loop area from being caught in the seam. Trim seam allowance to ¼-inch at tapered ends to reduce bulk. See Figure #18.
Figure #18
Important tips for sewing sweater knit:
- Use a closed toe walking foot, sewing a ½-inch seam allowance with the entire bottom of the foot resting on the fabric layers.
- Set machine for a straight stitch using a length of 3.5.
- Ease fabric layers as you sew using a pin or stiletto.
- Use pivot function if you have this option available to help fabric relax when you pause sewing to adjust fabric layers.
- Don’t backstitch, instead, turn and pivot fabric to secure seams at beginning and end.
- Pin every couple inches, removing pins as you sew.
- Don’t let fabric hang off the table, instead always have fabric supported while sewing. It is important to keep it from stretching as you stitch. If possible, use an extension table.
Turn scarf right side out and press lightly, folding in opening as you press. Sew opening closed using small hand stiches. Top stitch loop ½-inch from edges to keep it flat. See Figure #19.
Figure #19
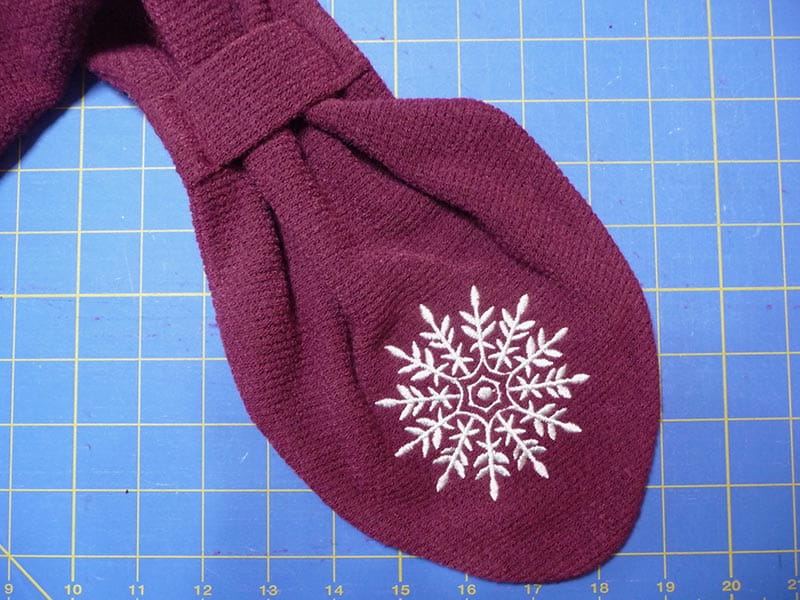
You are finished! To wear scarf, wrap around neck and insert tapered end of right-hand side of scarf through loop on left. Adjust as desired and enjoy wearing your new stylish scarf!


