Accessory Spotlight: Explore the Brother Magnifying Lens for Luminaire, Stellaire, and Dream Machine!
If you have a Brother Luminaire, Stellaire, or Dream Machine, you owe it to yourself to consider adding this accessory to your repertoire. In thisBrother Magnifying Lens short tutorial we’ll unpack SAML, the super helpful sewing magnifier made specifically for the machines listed here.
Just imagine the thought that went into making this package! The box includes a perfectly sized protective drawstring bag for storing this uniquely shaped item. Of course, detailed and helpful instructions are included too. See Figure #1.
Figure #1

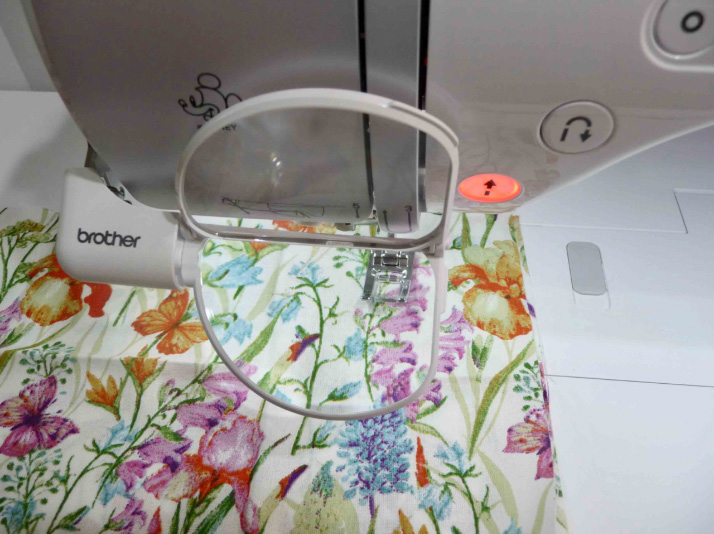
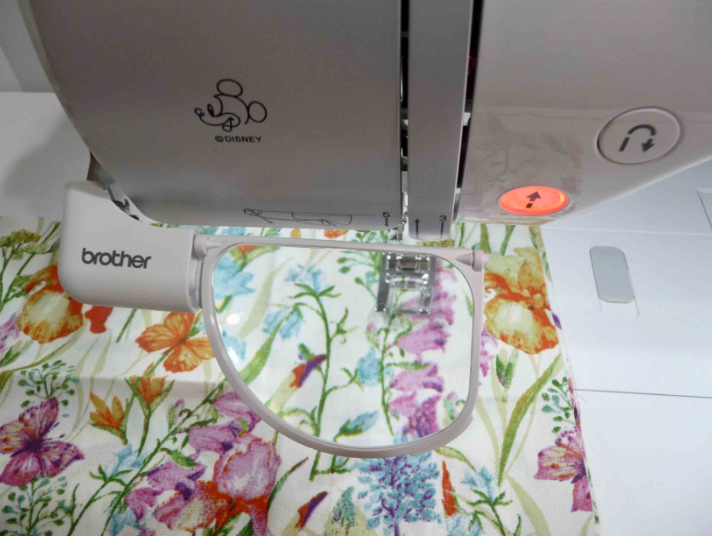
This accessory slips into an open notch on the top of the machine and is designed to accommodate the yarn guides you’ll need when using the couching attachment. Use just one lens or both, depending on how much magnification you need. See and Figure #2b below.
Figure #2a

Figure #2b

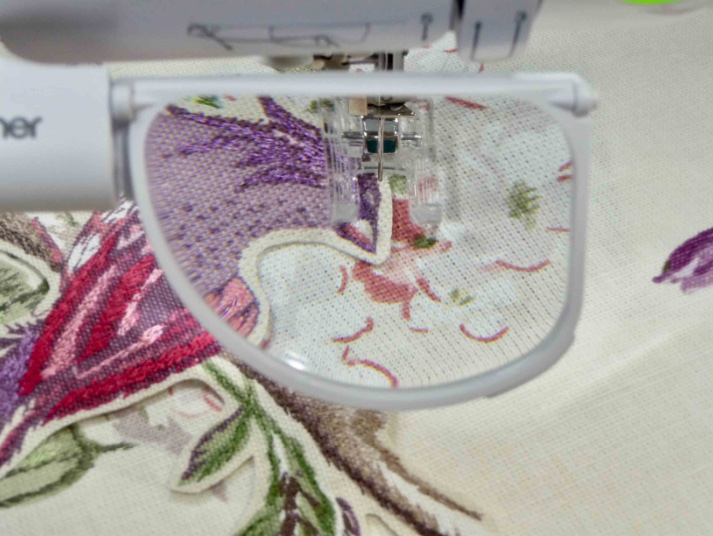
I like to use the lens for a close up view when stitching appliqué. It’s great to see the exact edge where you need to attach an applique piece to your fabric. You can see exactly where to position the needle for catching the raw edge of the appliqué piece. See Figure #3.
Figure #3

The attachment holds the magnifier and has the same couching guides as the couching attachment, so you can use it for couching with the MuVit foot and couching sole. I made a sample using pre-quilted fabric and a zig zag stitch, couching yard on top of the diamond pattern of the quilt design. See Figure #4a and Figure #4b.
Figure #4a

Figure #4b

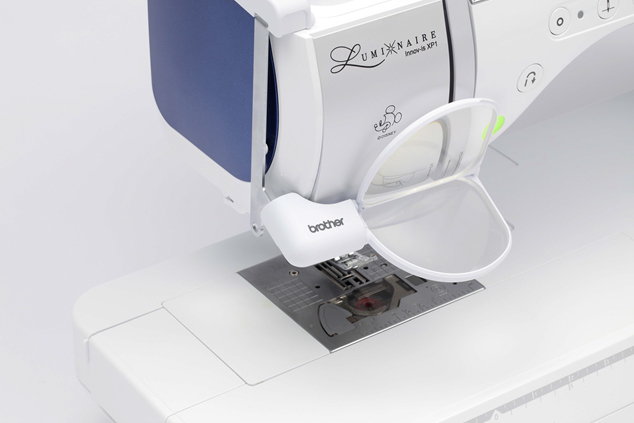
Having the magnifier will help you with so many sewing and embroidery projects that require close up work. Attach it to your machine and simply swing it out of the way when you’re not using it. See Figure #5.
Figure #5

When you’re ready to store the accessory, stash it all in the protective pouch until the next time you need extra help sewing and seeing your projects. Figure #6.
Figure #6


Just imagine the thought that went into making this package! The box includes a perfectly sized protective drawstring bag for storing this uniquely shaped item. Of course, detailed and helpful instructions are included too. See Figure #1.
Figure #1

This accessory slips into an open notch on the top of the machine and is designed to accommodate the yarn guides you’ll need when using the couching attachment. Use just one lens or both, depending on how much magnification you need. See and Figure #2b below.
Figure #2a

Figure #2b

I like to use the lens for a close up view when stitching appliqué. It’s great to see the exact edge where you need to attach an applique piece to your fabric. You can see exactly where to position the needle for catching the raw edge of the appliqué piece. See Figure #3.
Figure #3

The attachment holds the magnifier and has the same couching guides as the couching attachment, so you can use it for couching with the MuVit foot and couching sole. I made a sample using pre-quilted fabric and a zig zag stitch, couching yard on top of the diamond pattern of the quilt design. See Figure #4a and Figure #4b.
Figure #4a

Figure #4b

Having the magnifier will help you with so many sewing and embroidery projects that require close up work. Attach it to your machine and simply swing it out of the way when you’re not using it. See Figure #5.
Figure #5

When you’re ready to store the accessory, stash it all in the protective pouch until the next time you need extra help sewing and seeing your projects. Figure #6.
Figure #6


