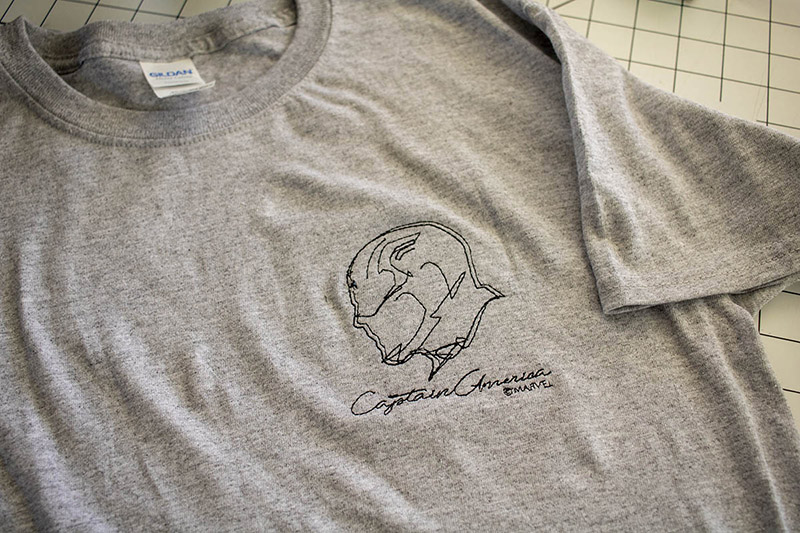
Exploring the Marvel Embroidery Designs in the LB5000M
We’ve been working our way through the Marvel movies while at home during this quarantine season and my family are loving all the movies. I thought using my Brother LB5000M
machine that came with Marvel designs would be a fun way to also celebrate this season of life while making this cool Marvel shirt! I’m guessing that this Marvel shirt will get tons of wear I’m sure. Today I’m going to show you how to use the designs that came with your machine. Many have built in designs and the specialty ones {Marvel, Star Wars, Disney} have a code for you to download your designs. I’m going to show you how to access and use those designs today. You may have been using your combo sewing/embroidery machine and not accessed the free designs that came with it. {I know, I didn’t right away}
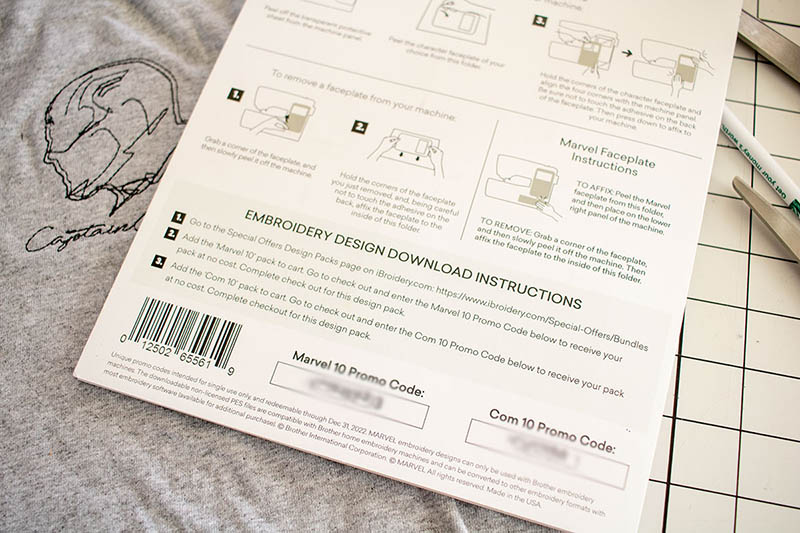 Locate the sheet that came with your machine. It should have the cool faceplates inside and the design codes on the back. Head over to iBroidery
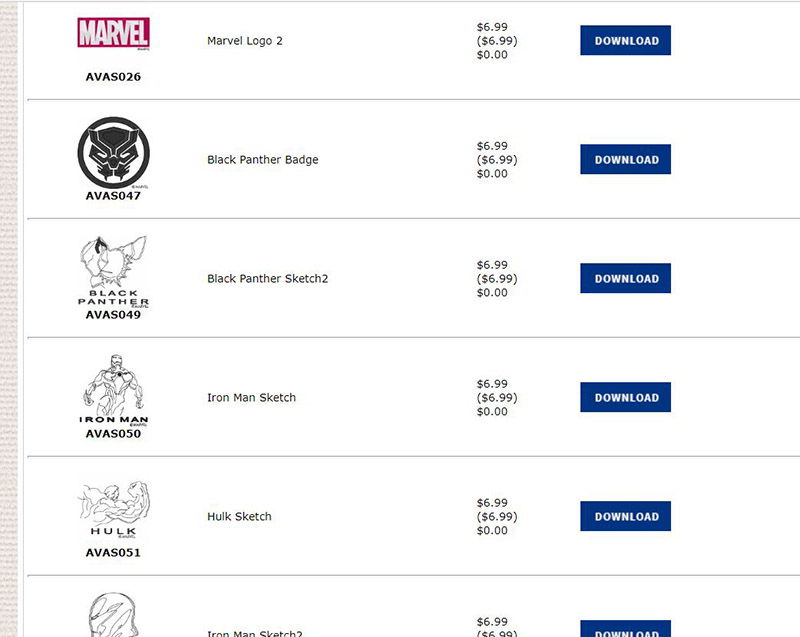
using the web address on the sheet and at the payment location in the checkout put in your code to get the designs for free. After checkout, download the files to your computer.
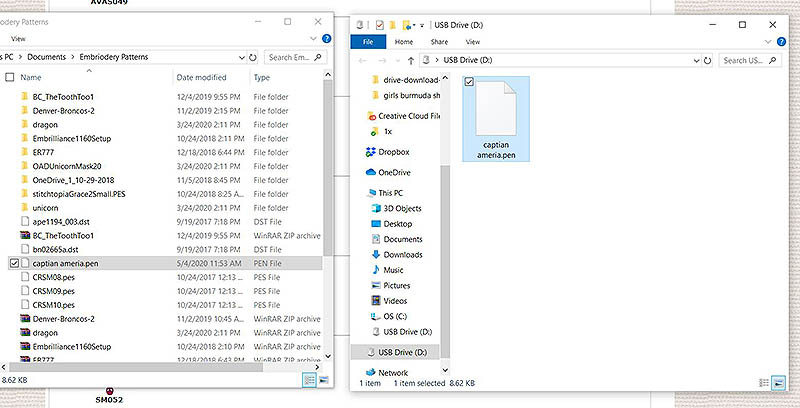
 Transfer the file from your computer to sewing machine via USB or WIFI if your machine has that function. The Brother LB5000M
uses USB transfer so that’s what I did for this design.
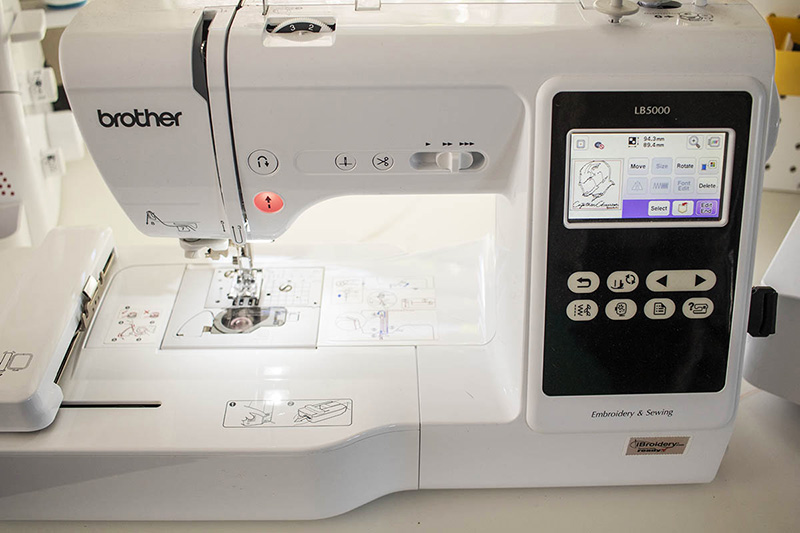
 Now make sure your machine is set up to embroider. If you have a combo machine like I do, it’s simple to change it over! I love the space saving and ease of use with the combo sewing/embroidery machines. Place your USB in your machine to access the design you put on it from your computer.
 https://youtu.be/3qEnEZMtPT8
Wasn’t that fast? So quick. After you have the embroidery arm in place and your design open, just change the foot on your machine to get started. Remove the sewing foot and put on the embroidery foot.
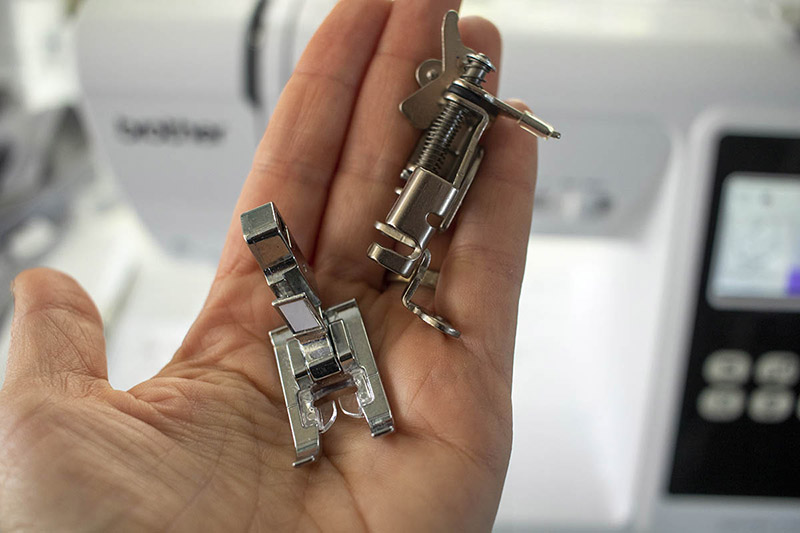
Gather your supplies to make this easy shirt:
- A t-shirt
- Hoop
- Medium Stabilizer {tear away or cut away}
- Design {as mentioned above}
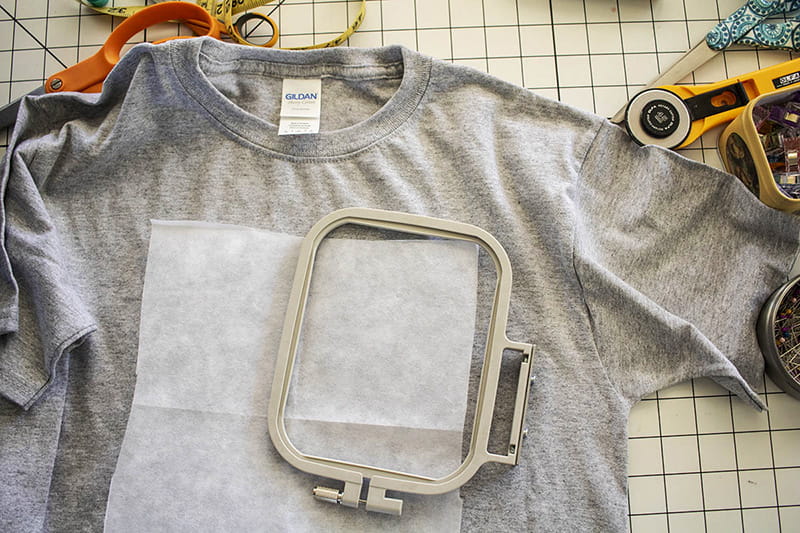 Hoop your shirt. You can place the design anywhere you want. I put the design on the upper left even though there wasn’t a pocket there. When you put the hoop in your machine make sure to keep the rest of the shirt fabric out of the way. Start your design. Mine was fairly straightforward as it was only one color. If you need to change color as directed while your machine is working through the design. Follow the directions on the machine to complete the colors and the design.
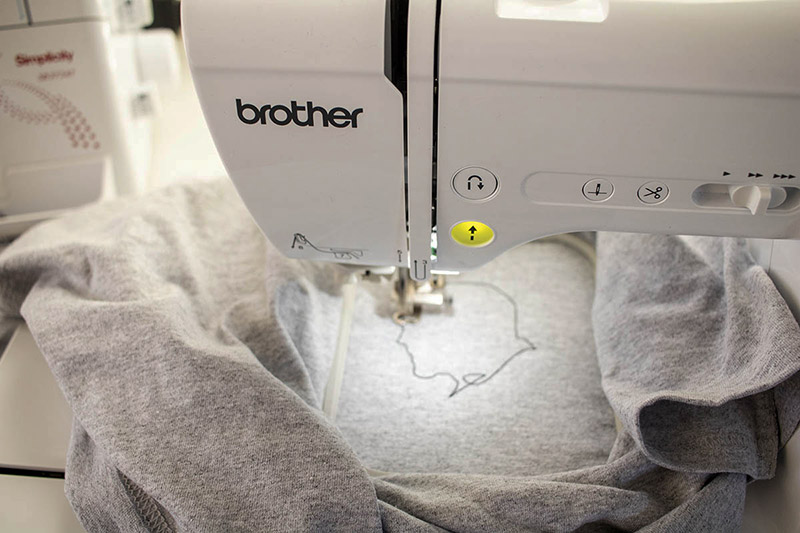 When it is finished you can remove the hoop from the machine and cut or tear away the stabilizer on the back. Now you have a fabulous custom shirt to use and enjoy!
