Part 2: Lettering the Minnie Mouse Tote
Need to stitch a line of lettering longer than your largest hoop size? No problem! In Part 2 of the Minnie Mouse Tote Bag project (Part 1 of this lesson can be found here!), you'll learn how to mark and re-hoop for extended lettering. Of course there is always more than one option for completing a task. This one is easy to learn and easy to accomplish, especially if you are working with a 4-inch hoop size. This example features the Brother NS 1750D
sewing and embroidery combination machine with a 4 X 4-inch hoop size. This tutorial will help you link lettering and stitch a group of letters longer than the 4-inch hoop for a project such as the featured tote project shown above. Once you learn this technique you can apply the principle to any hoop size you choose, stitching long lines of lettering is possible on any machine once you master this technique. I suggest you read the instructions and then follow step by step to practice the technique for yourself. What you learn here can surely be applied to future projects. Are you ready? Let's go sew!
Materials and Supplies:
- Brother Embroidery machine
- Brother Polyester Embroidery Threads
- Brother Bobbin Thread for Embroidery
- SA5810 Brother Pacesetter® Medium Weight Tear-Away Stabilizer
- 4-inch hoop and included template grid
- Embroidery needle for embroidering
- Removable marker commonly used for embroidering on fabric
General tips for Embroidering the Lettering:
Practice on a remnant of firm fabric backed with tear away stabilizer to get a feel for this technique. If you are embroidering lettering along with an embroidery design, it's easier to center the design above or below the lettering than it is to center lettering above or below the design. When sewing from scratch, begin by cutting an oversized piece of fabric whenever possible, add embroidery, and then place the pattern on top and cut to actual size.Steps to Program and Determine Size of Combined Lettering Embroider Lettering in Multiple "Hoopings"
- Use your favorite removable marker to trace off the outline of the pattern on oversized fabric.
- Select font style from the menu.

- We'll focus on the following phrase: (Sewing is my Happy Place)
- Select the first letter and then choose the size. This example uses size small.

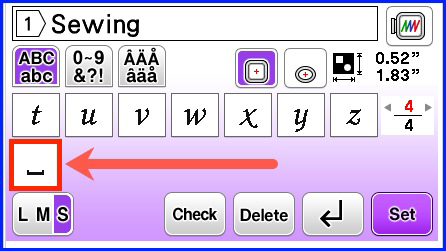
- Begin to program lettering with space between each word. Use the arrow key on the machine turning pages as necessary to access upper and lower case letters. Note: Space key shown below.
- Continue to add letters that nearly fill the entire hoop. Depending on your letters, you may find it necessary to stop even if you have additional space for more letters. Let me explain: In this case it is possible to fill the hoop with letters up to, and including the (a).

- However, if we continue the next letter would be (p) but it's easier to line up two consecutive letters that do not drop below the bottom line. We'll stop at the (H) just to make things easy. It may help to visualize this as if you were writing on a sheet of notebook paper. It's simply easier to line up letters along a straight bottom line as if you were writing on a lined page.

- Note that at his point you are in discovery mode, seeing what works best and determining the entire length of lettering with added spaces between the words. Depending on the words you choose you can try a variety of different combinations before you continue.
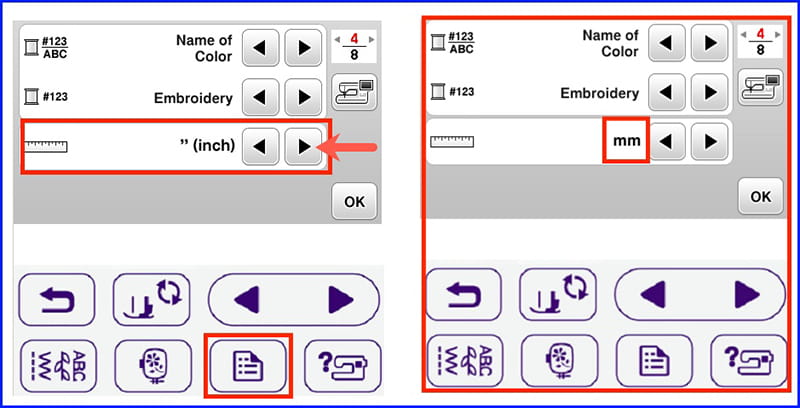
- To position the lettering in a specific spot we'll need to record the measurement for the first section before we go any further. Fractions of inch measurements are tricky to add and divide so we'll switch to metrics for more accuracy. You can easily switch back and forth between metrics and the Imperial form of measurement by touching the Set Mode key and then using the arrow key to select one or the other.
- Note the measurement of the programmed lettering on the embroidery screen and then save lettering into memory to retrieve later. Return to main menu.
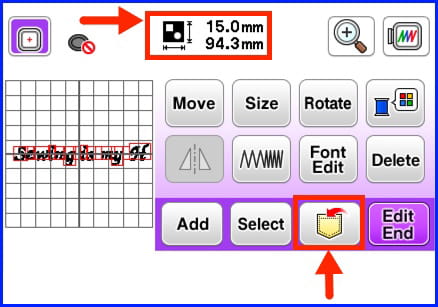

Tip: The height may also come into play if you need to be more precise in the positioning. Different letters will vary slightly in height so you will want to choose the highest measurement. Another way to determine the width of the entire string of lettering is to stitch a sample and them measure and mark the center. This is even more precise as you are not rounding off any millimeters. However, this is an extra step and does take some time to do. Either way works, you decide what is best for your particular project.
Steps to Embroider the Lettering in Multiple "Hoopings"
- Recall the first string of lettering from memory. We want to make this as easy and fool proof as possible. Use Edit features to magnify, enlarge, and move the lettering so that the first letter is at the far left of the hoop and the letters sit directly on top of a line. Once again, picture the lines on a notebook style page where the margin and the lower line help you to write evenly and neatly. See below:

- Touch Ok when finished, end the editing and proceed to embroidery. Next you can mark the center on your fabric as the halfway point, and then measure over to mark the beginning point which is the left hand margin for lettering. Using the 78mm measurement, measure from the center to the left to mark the starting point.
- Hoop the fabric so the grid line matches the starting line and the bottom line for the lettering.
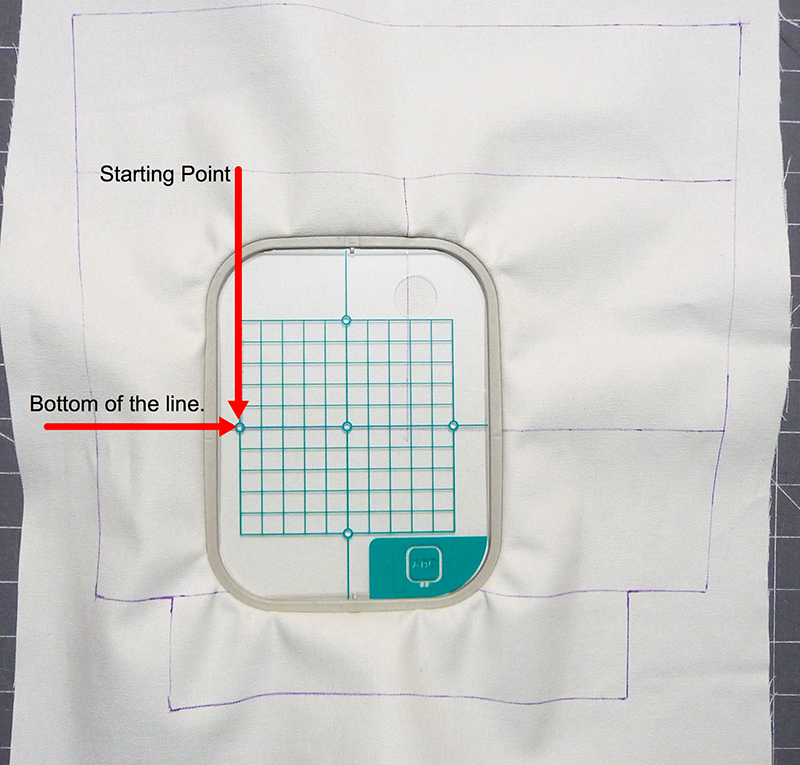
- Before embroidering check the precise position by selecting the Starting Point key. Next touch the key that sends the hoop to the lower left starting point.
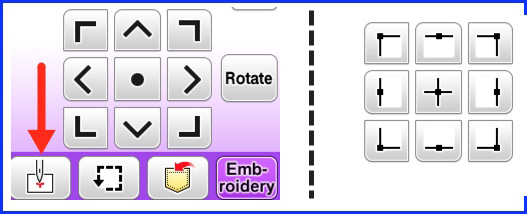
Note: Check to see if the needle drop point for lower left corner matches drawn line for your lettering. Adjust if necessary using the arrow keys and then stitch.
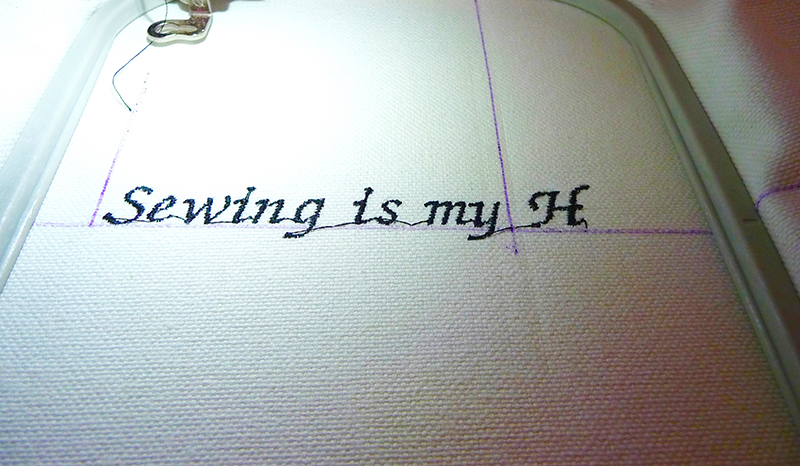
- Return to the menu and retrieve the additional line of lettering from the memory Re-hoop with the grid aligned to match your previous stitching. Don't worry if you're not perfect, it's most important to be level with the line.
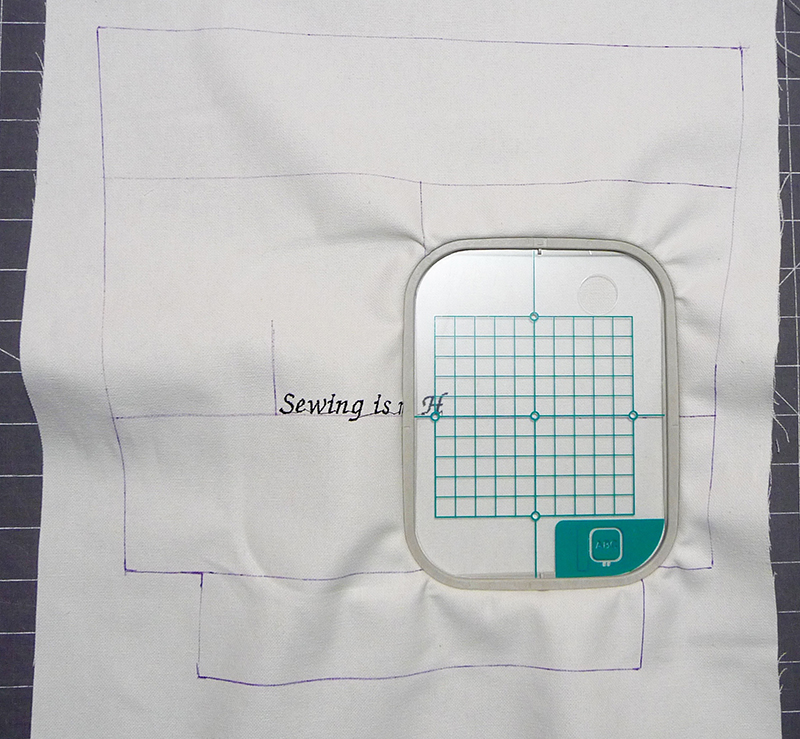
- Follow the same process you used in step #4 and adjust as necessary to fine tune the position. Stitch the second line of lettering.
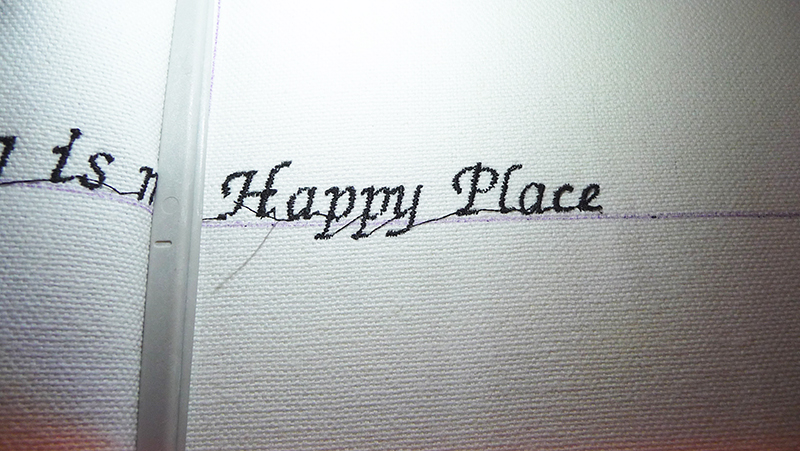
Tip: It's always a good idea to leave a little bit of bump room to adjust your lettering. If you fill the entire hoop with lettering from left to right you won't be able to fine-tune the position.
Take a look at how even the line of lettering looks when you use this method!
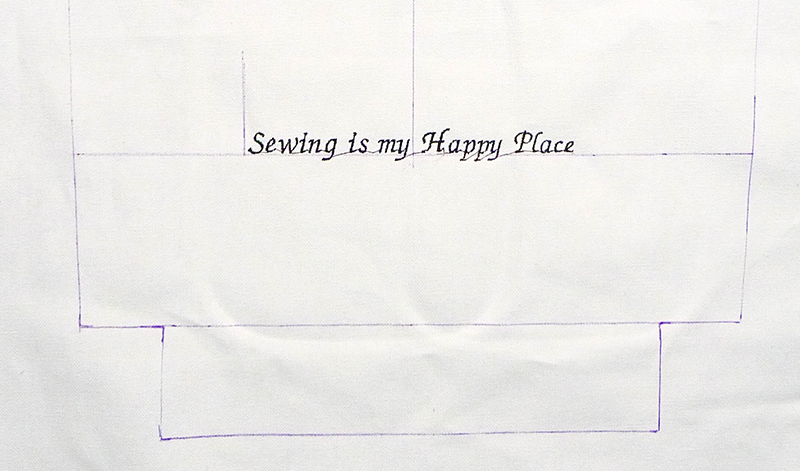 The embroidery design can now be easily centered on the bag in alignment with the lettering.
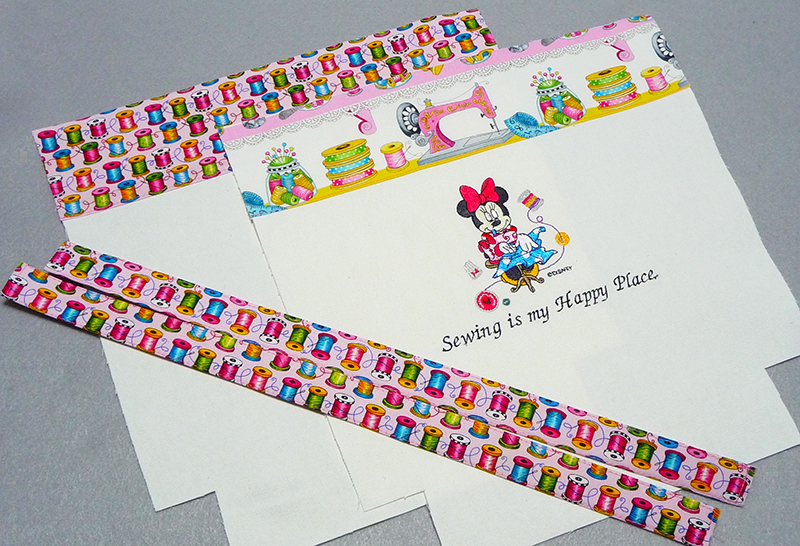
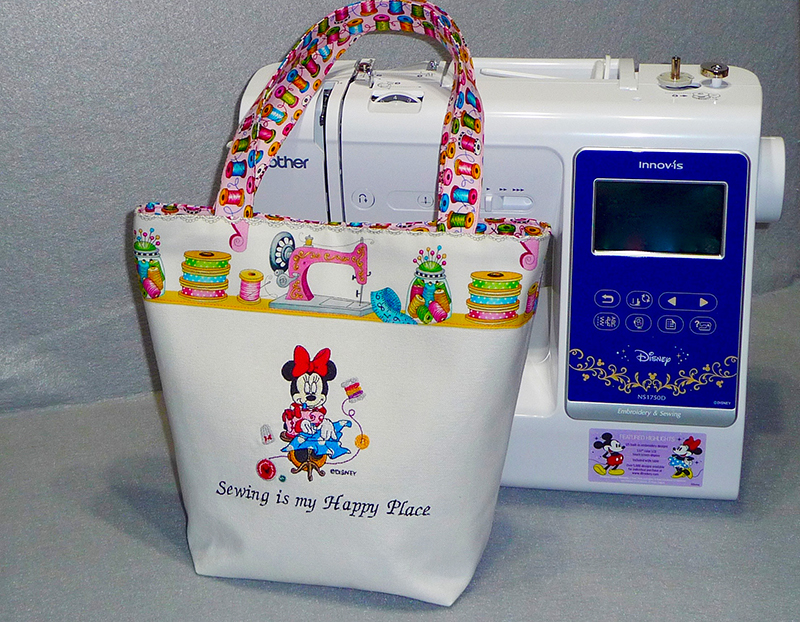 Now you're equipped to stitch out a big word like supercalifragilisticexpialidocious, something I've been meaning to do for a long time!!!
If this method is new to you we hope you'll try it out and let us know how it worked for you.

