How To Create DIY Fabric Baskets
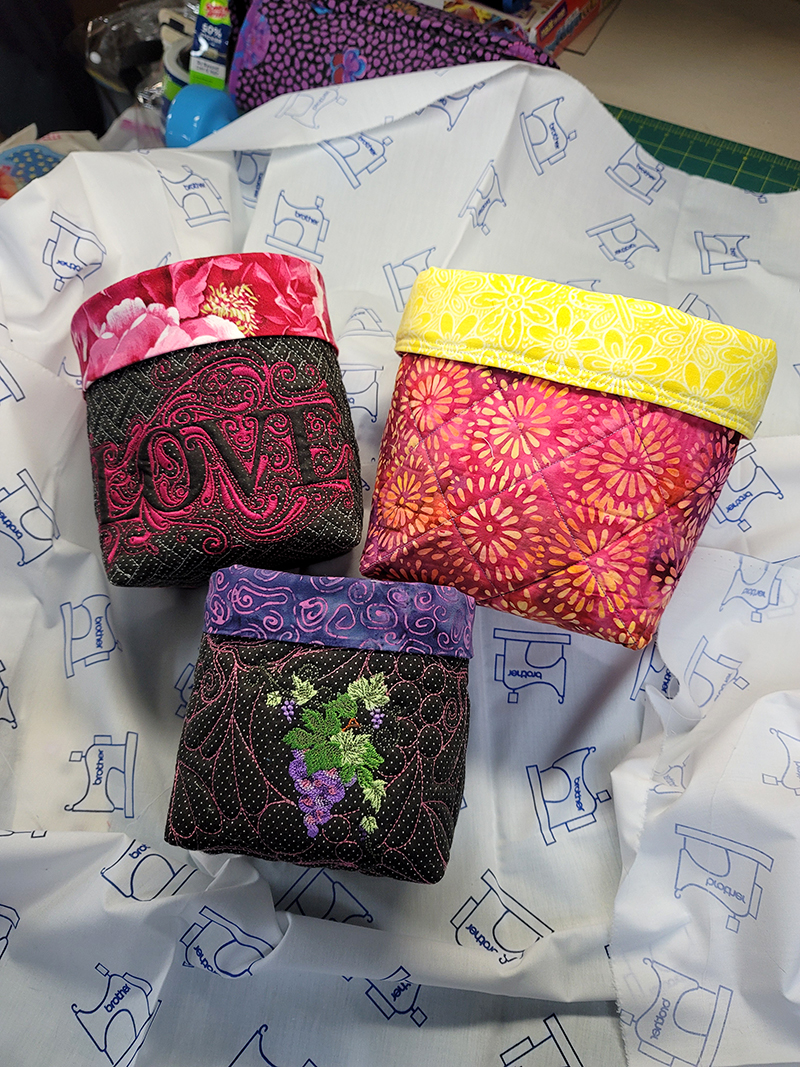
DIY Fabric baskets are a great way to introduce a pop of color into your space and keep you organized at the same time. These homemade fabric baskets are quick to make in any size you need. Choose a fun fabric or embellish your basket with embroidery; the possibilities are endless. Supplies:
- Fabric: 2 fat quarters or assorted jelly roll strips (one for outer layer – one for lining)
- Single sided fusible foam batting
- Standard “J” Foot
- Walking Foot
- Fabric marker
- Pins or clips
- Rotary cutter, ruler, and mat
- Iron and pressing surface
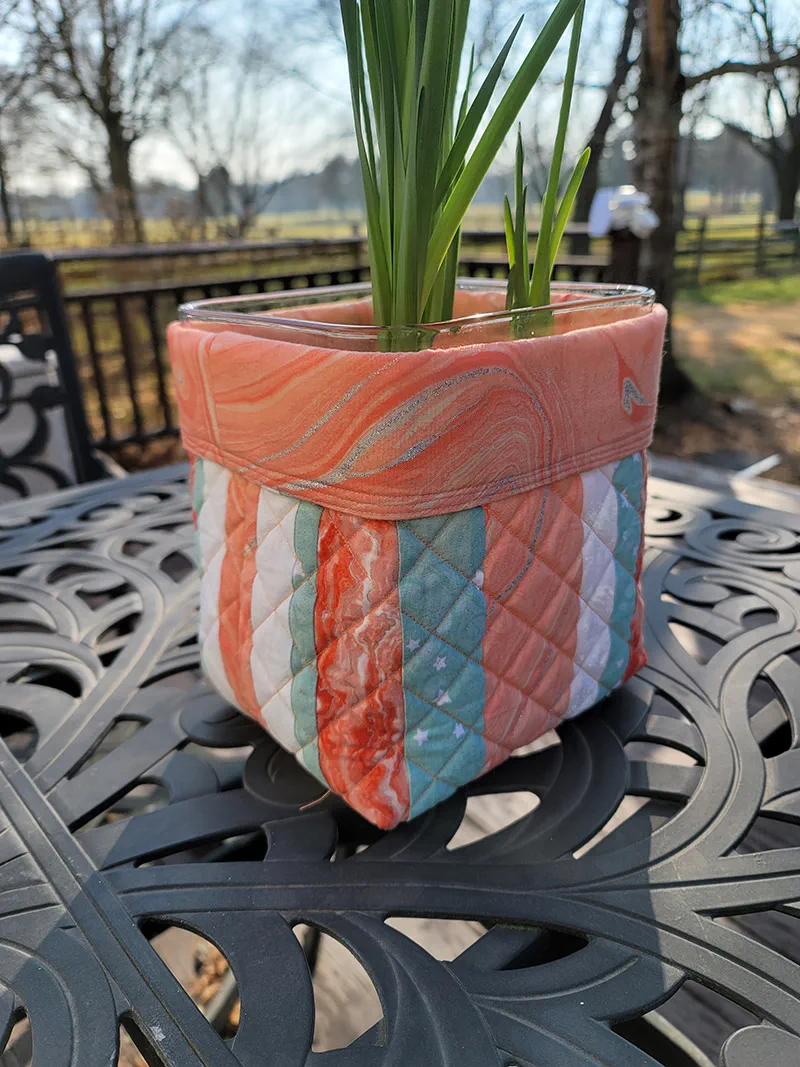
Creating a Template Our finished basket is approximately 6” tall x 5” wide. The basket has a turndown cuff that is approximately 2-3”. We used a 12” square as the template and cut 2½” squares from the two bottom corners.
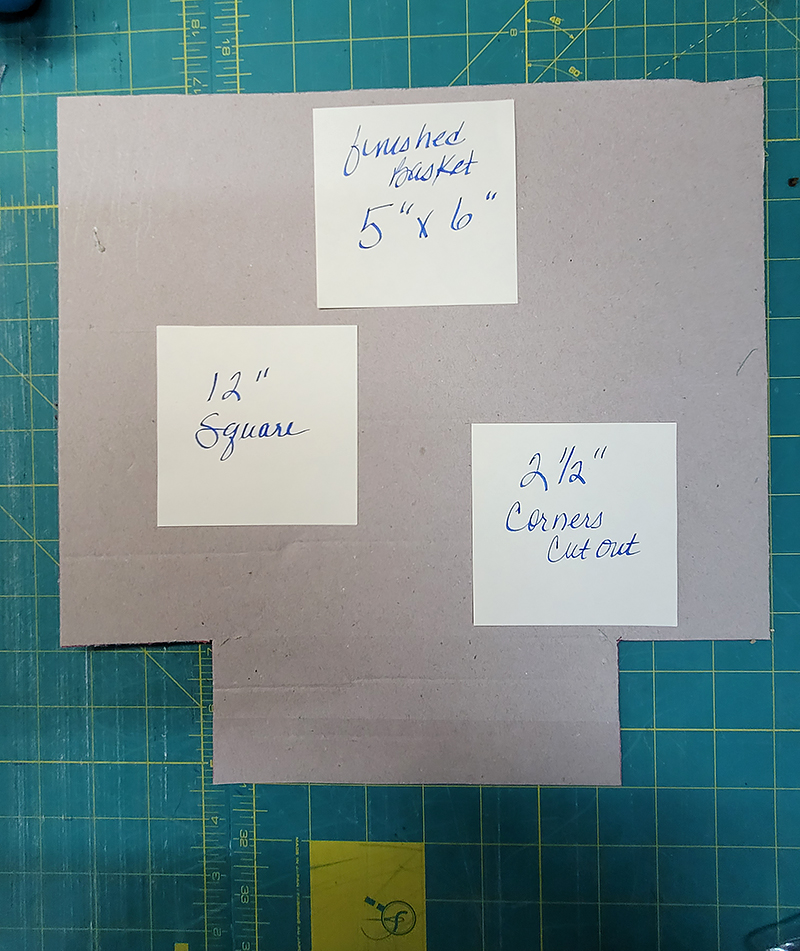 Note: The template represents half of the basket. You will need to cut two pieces or one on the fold for your basket.
If you would like a different size basket, here is a formula you can use to create your template:
- Height of template = height of finished basket + ½ the finished height + 1” seam allowance
- Width of the template = 2 x the finished width + 1” seam allowance
- Cutouts should be ½ the finished width + ½” seam allowance
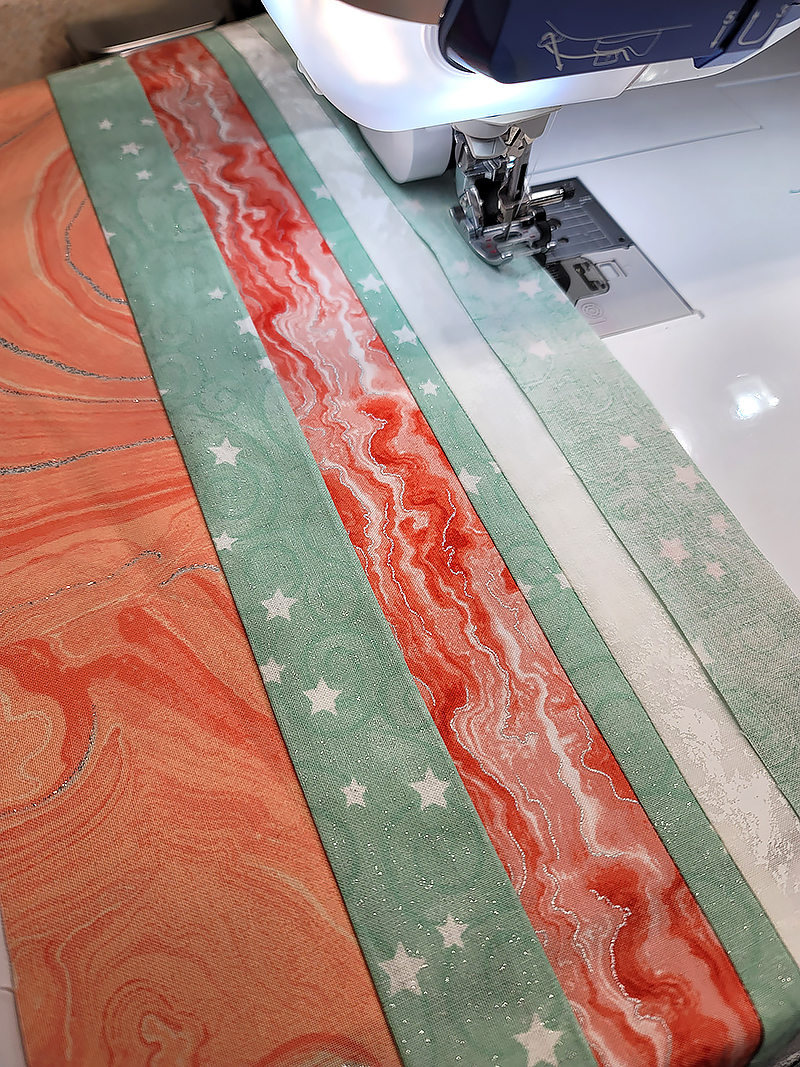
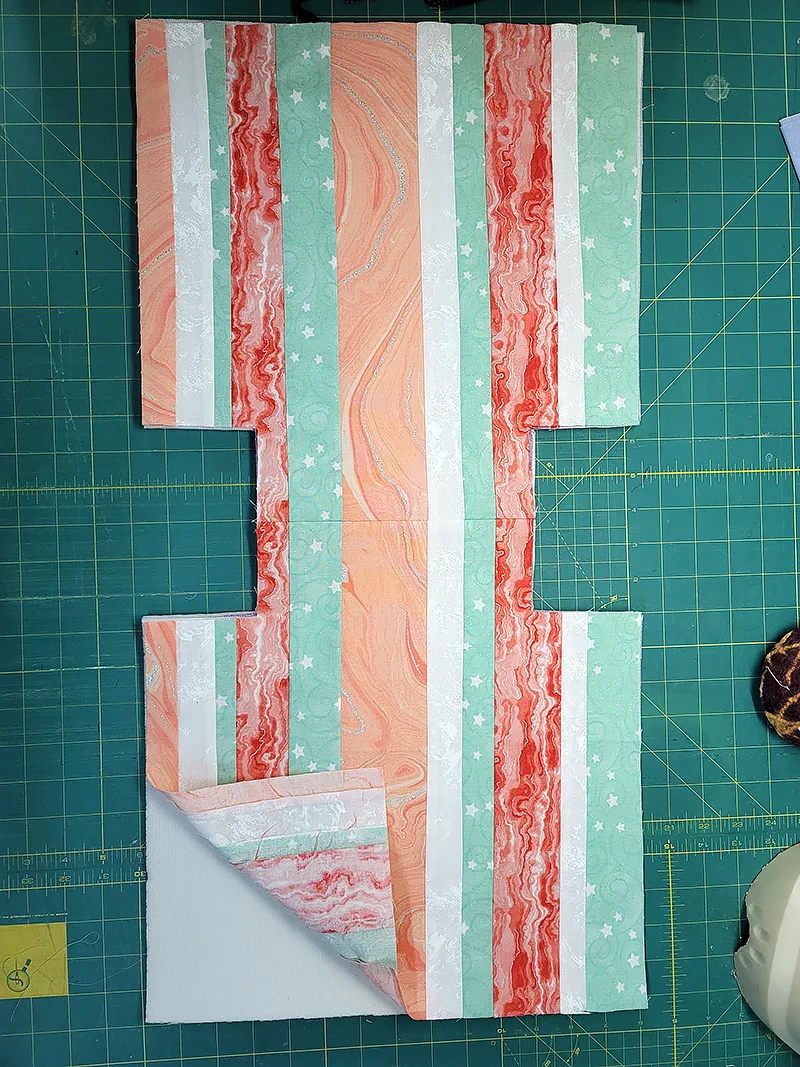
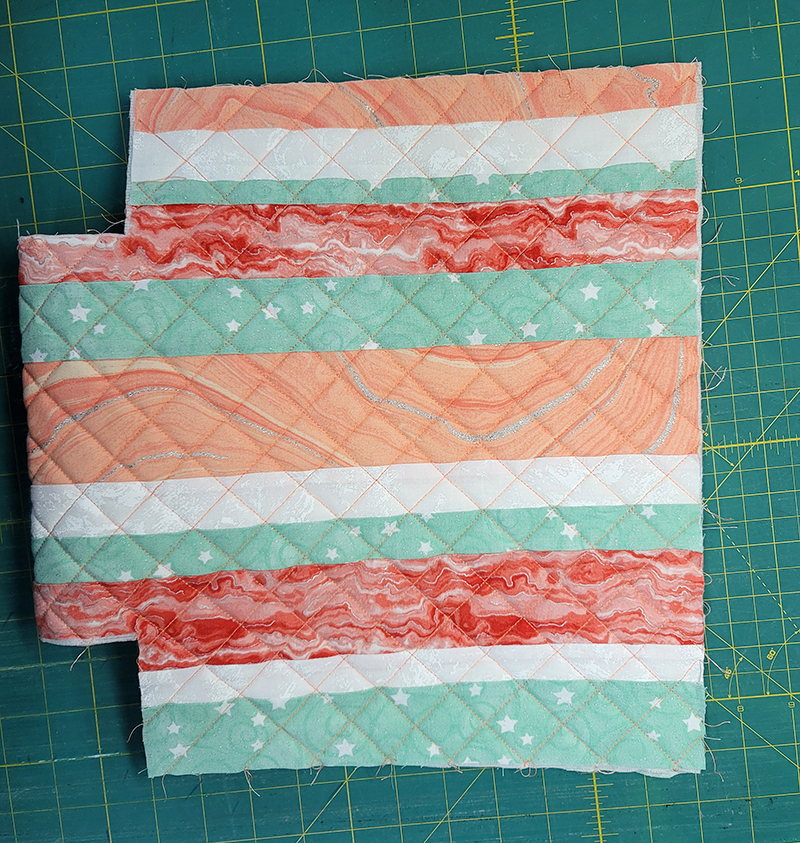
Construction 1. If using a jelly roll, assemble enough strips to cover the template – approximately 25” long x 13” wide.
 2. Trace the template on the fabric, lining and foam batting.
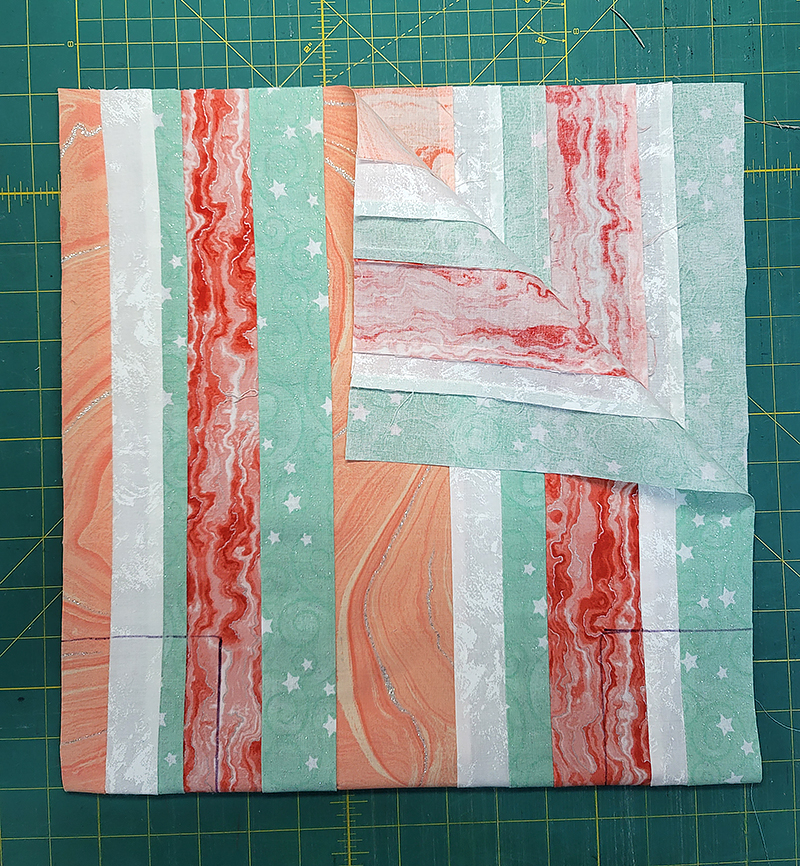
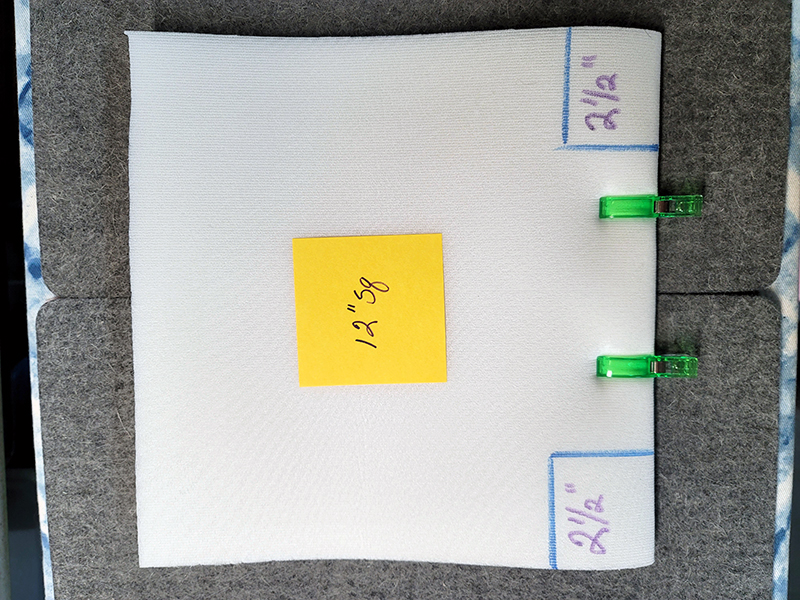 3. Cut all three layers
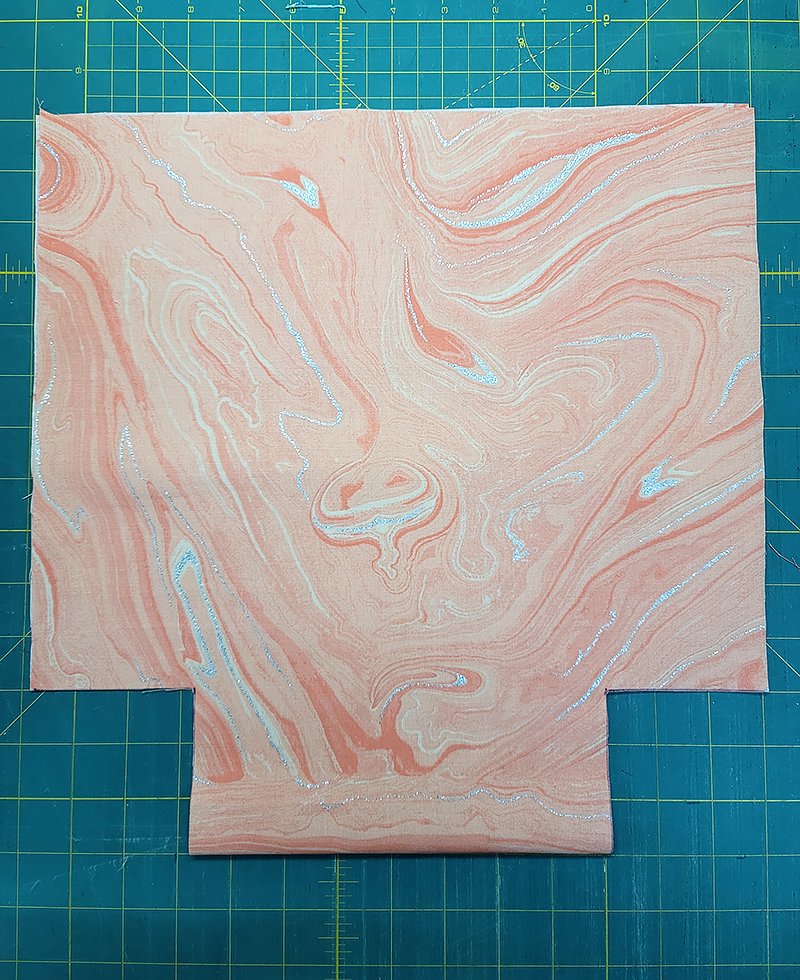
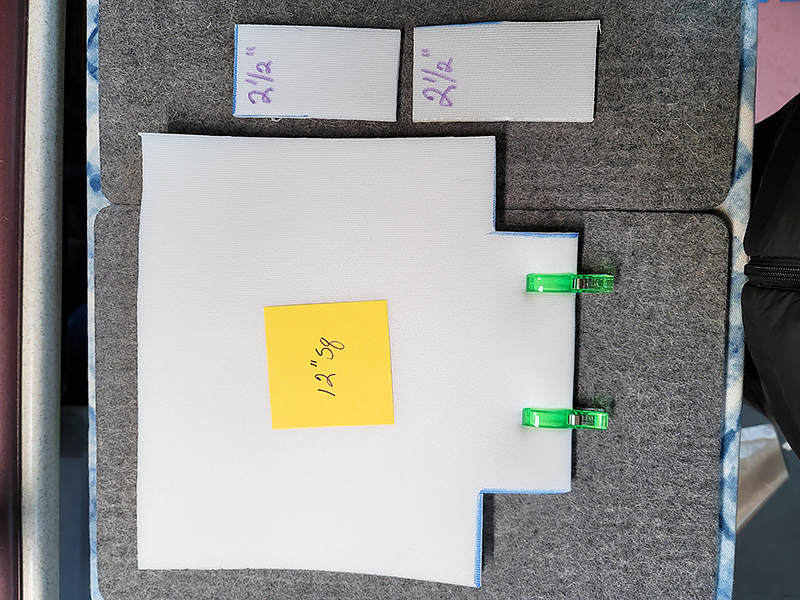 4. Place fusible foam batting with fusible side up, layer the outer fabric on top – right side facing up and fuse, following manufacturer’s instructions.
 5. Mark the fabric for quilting. Our example includes cross hatch quilting done with the walking foot.
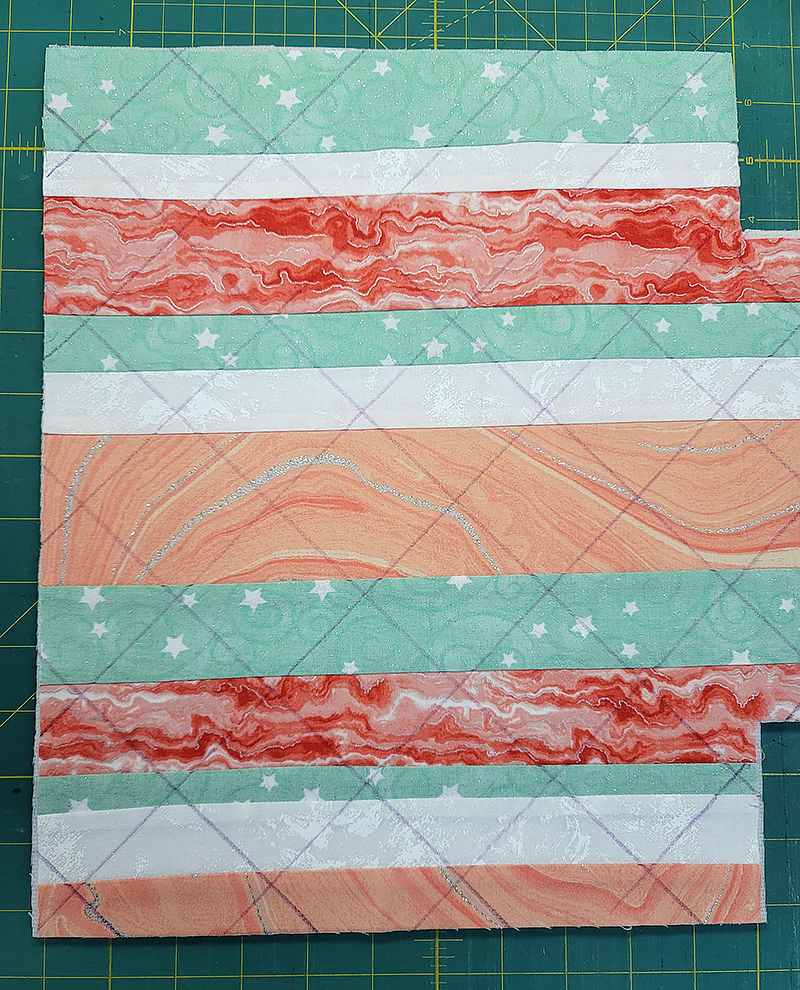
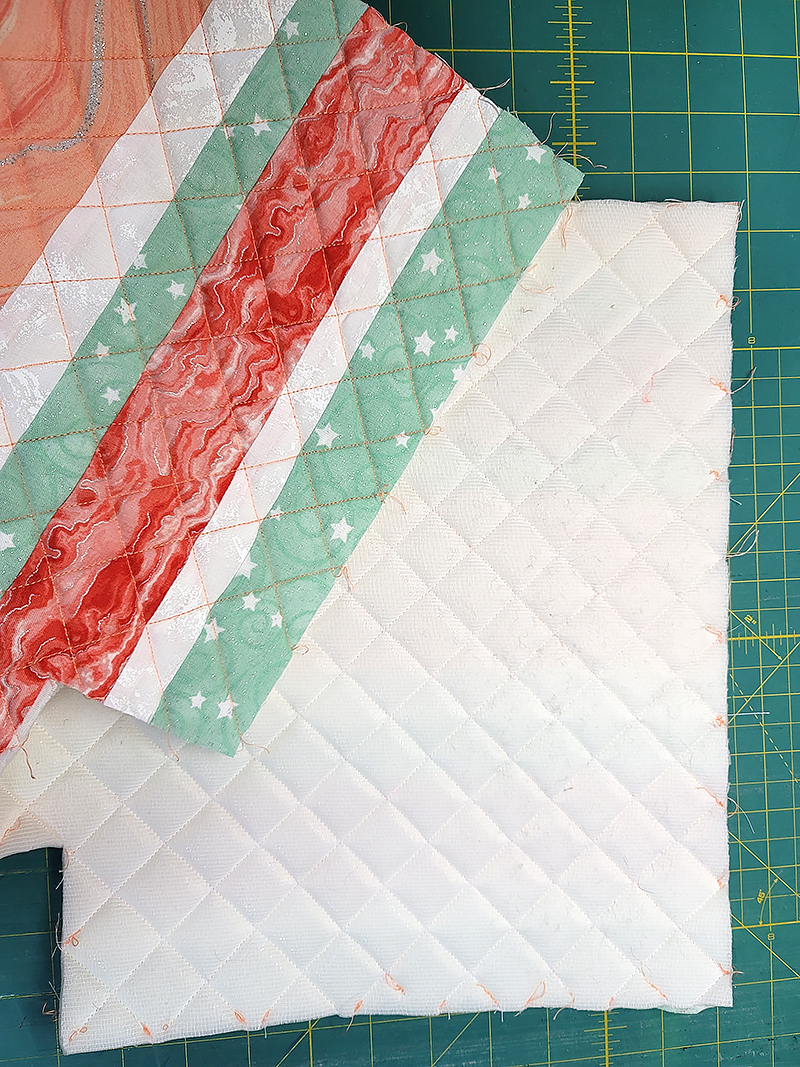 Add any decorative embroidery or applique prior to quilting. You could also do free-motion quilting or embroidery to quilt the layers.
 Note: The stitching should go through the top and foam batting only. The lining will be sewn separately.
6. Fold right sides together and stitch down each side and across the bottom with a ½” seam allowance.
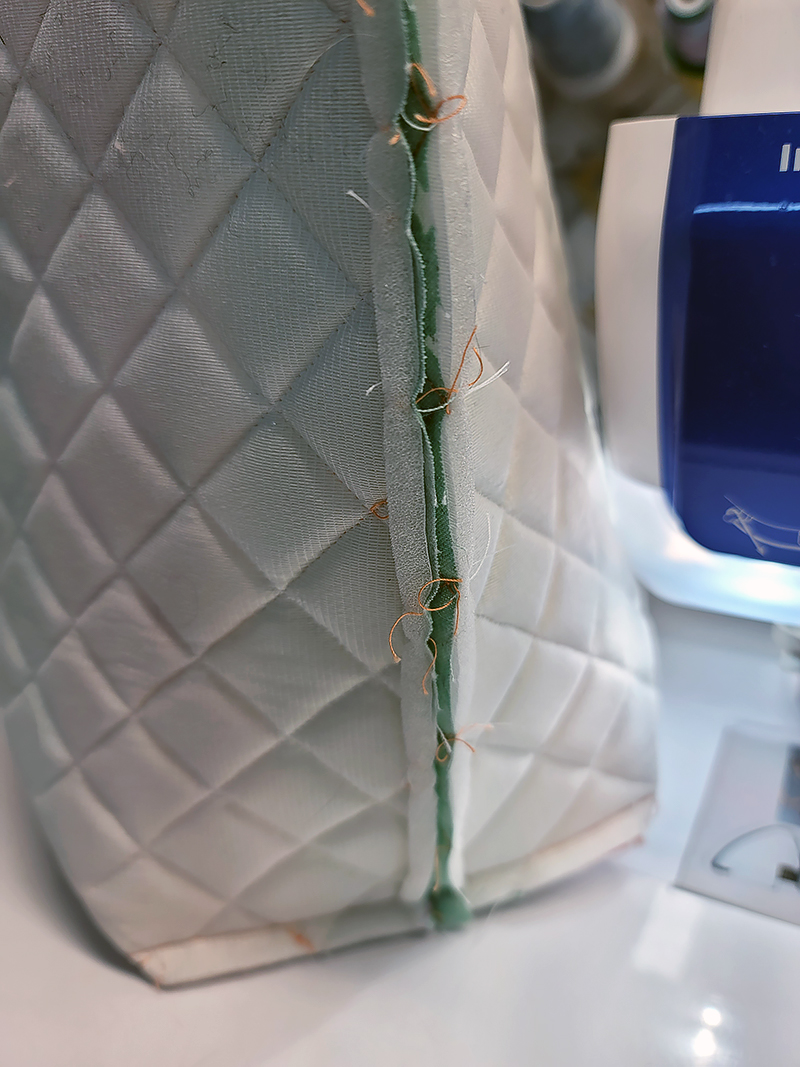 7. Pinch the opening on the bottom together, matching seams. Stitch across the opening.
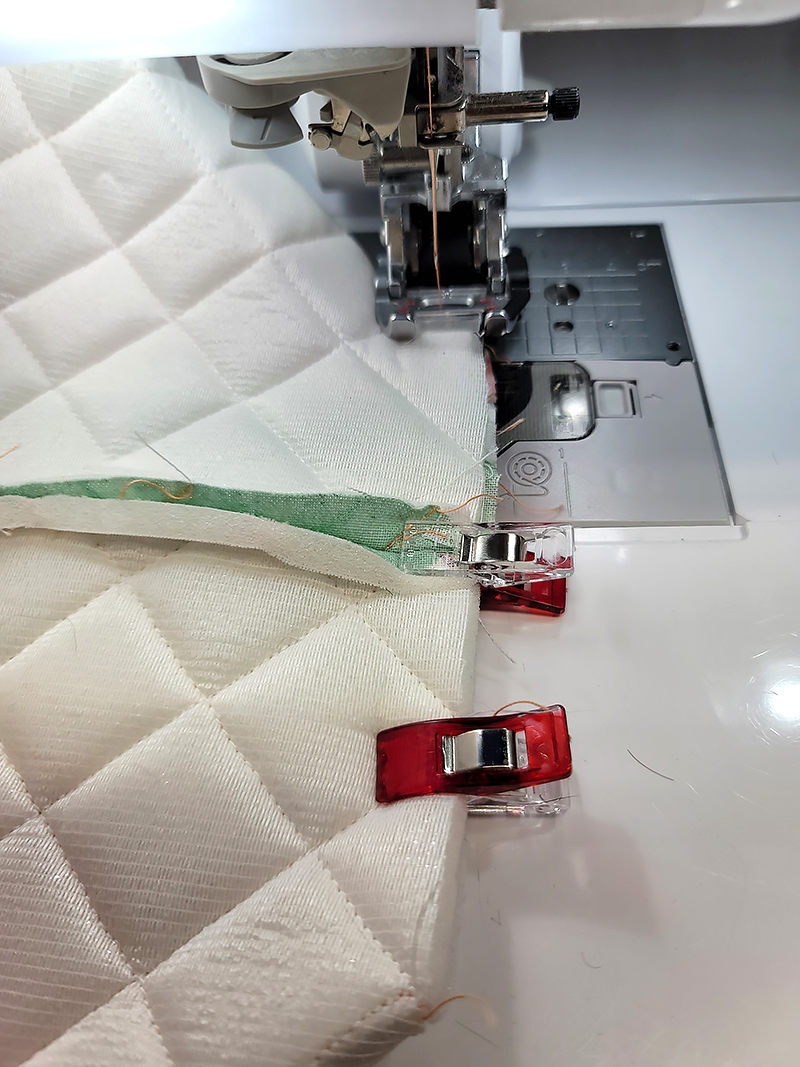
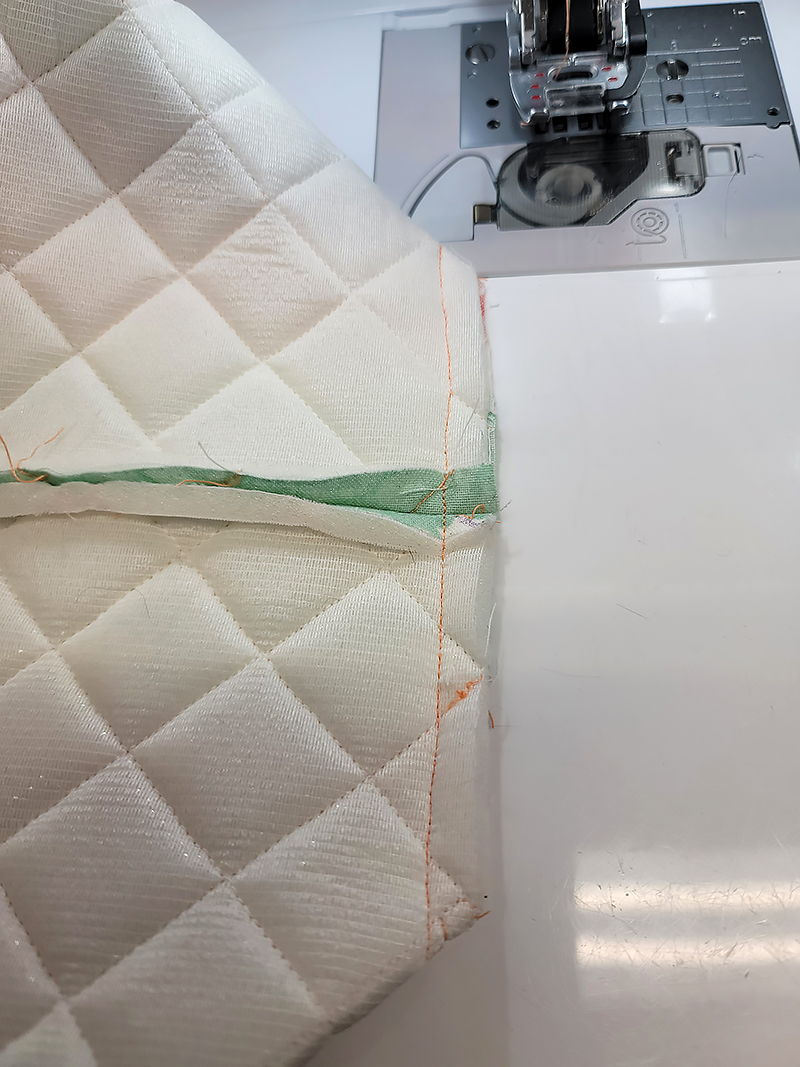 8. Repeat steps 6 and 7 to sew the side seams and bottom of the lining.
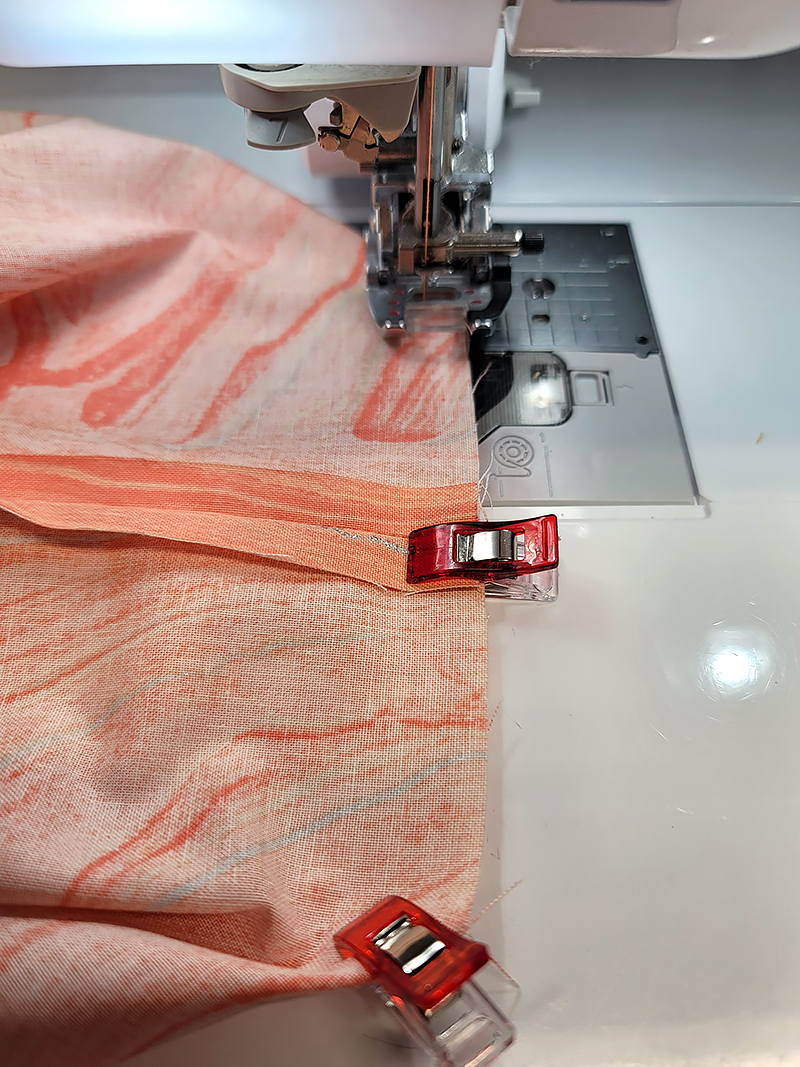 9. Press outer basket and lining.
10. Turn the lining right side out and slip inside outer basket so right sides are together; match the side seams and pin or clip in place.
11. Sew around the top of the basket, leaving an opening of about 2½” for turning.
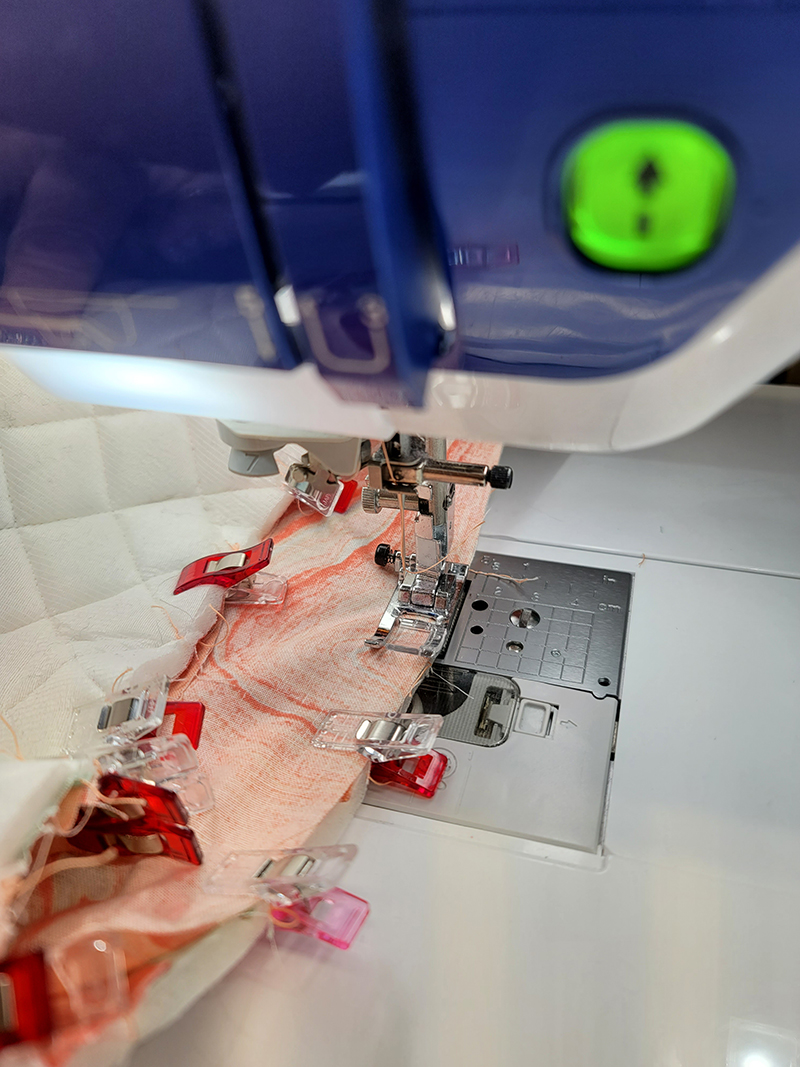
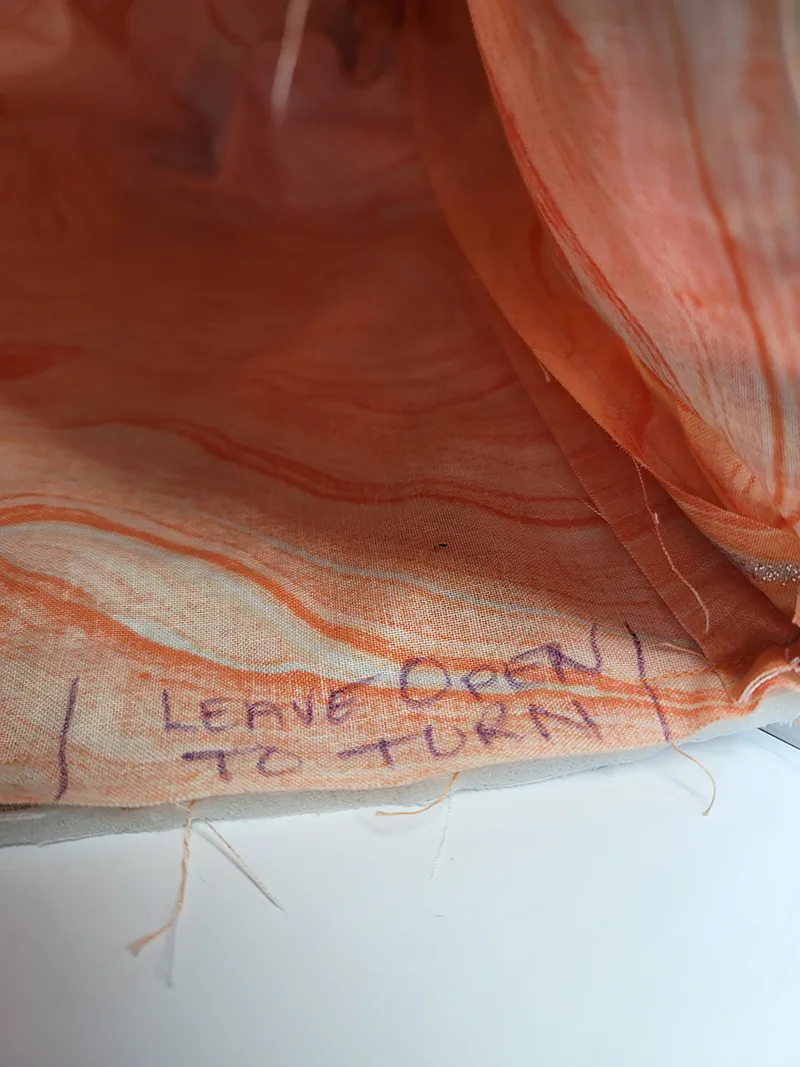 Note: Allow a larger opening for a bigger basket.
12. Turn basket right side out, tuck lining down into basket and press.
13. Topstitch close to the top edge of the basket to secure the open section. We sewed two additional rows about ⅛” apart to give our basket a crisp edge.
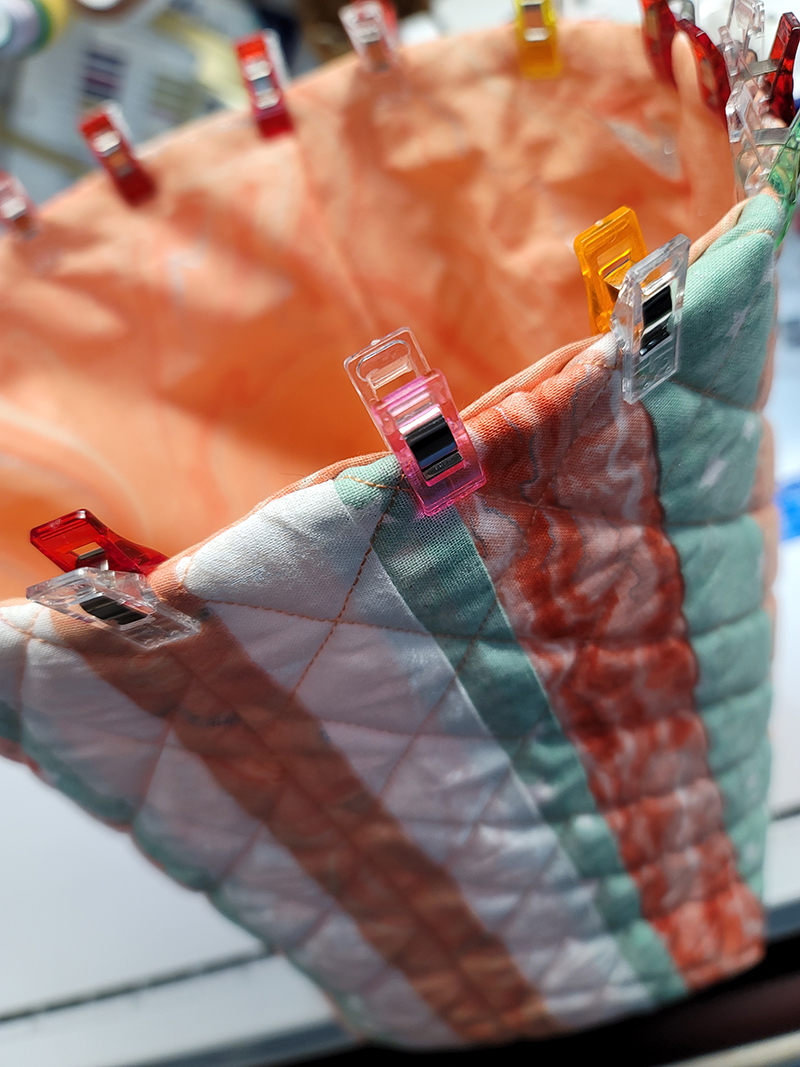 14. Fold down 2-3 times for the cuff or as desired.
 CLICK HERE FOR PDF!

