Fall Home Décor Project
Don’t you just love the color changes fall represents? Here is a quick easy DIY vase or jar cover; a great way to decorate!
Materials:
- 1/3 yard of orange cotton fabric
- Brother ScanNCut Iron-On Fabric Appliqué Contact Sheet
- ½ yard burlap
- Medium weight tearaway embroidery stabilizer
- Embroidery thread
- Standard polyester sewing thread
- Iron
- 4 glass vases or jars
Machines Used:
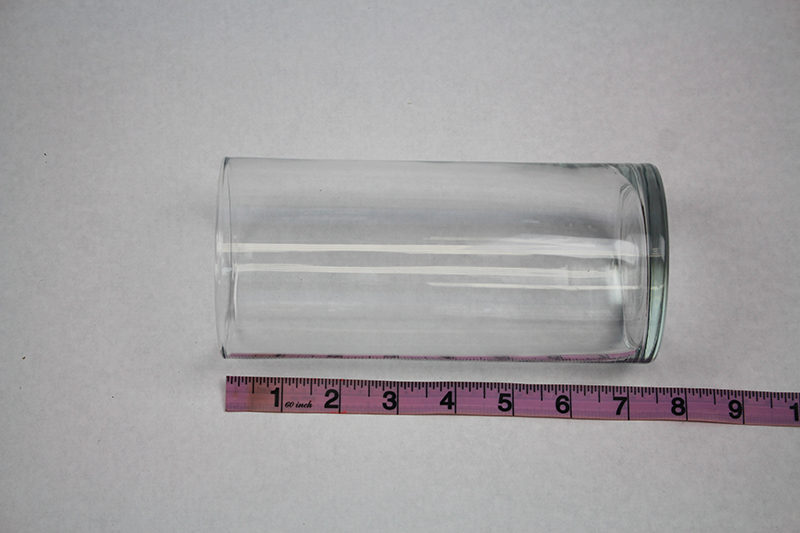
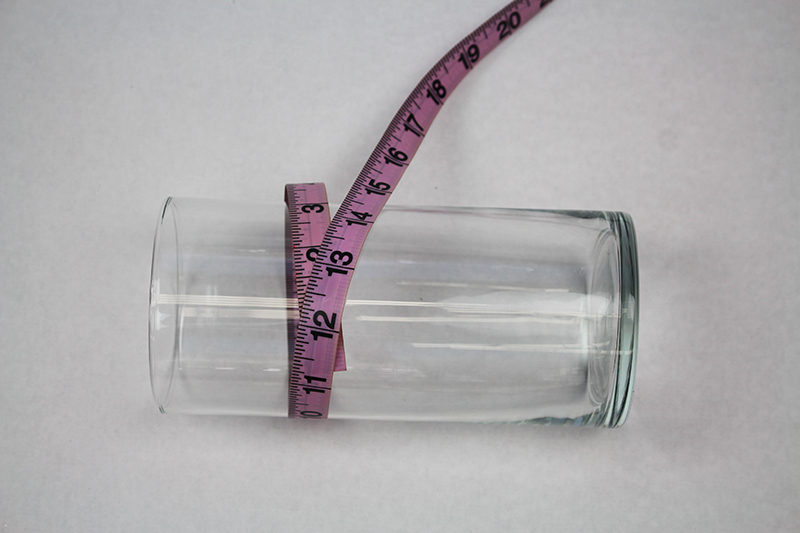
- Start by Measuring the vase or jar; measuring the length and the circumference. Keep the length measurement in mind when you choose a font, as you want the letters to fit on the vase.
- Add 6” to the length measurement of the vase and add 1 ½” to the circumference measurement. Cut 4 pieces of burlap to those final measurements.
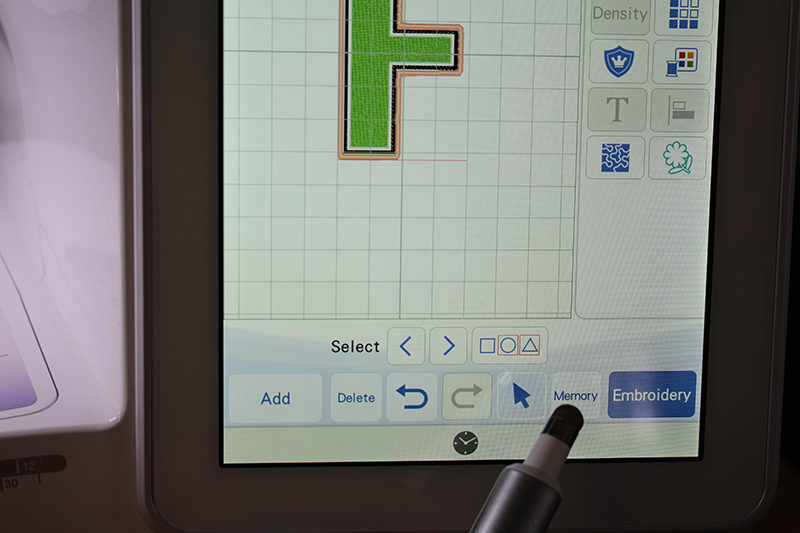
Choose a Font
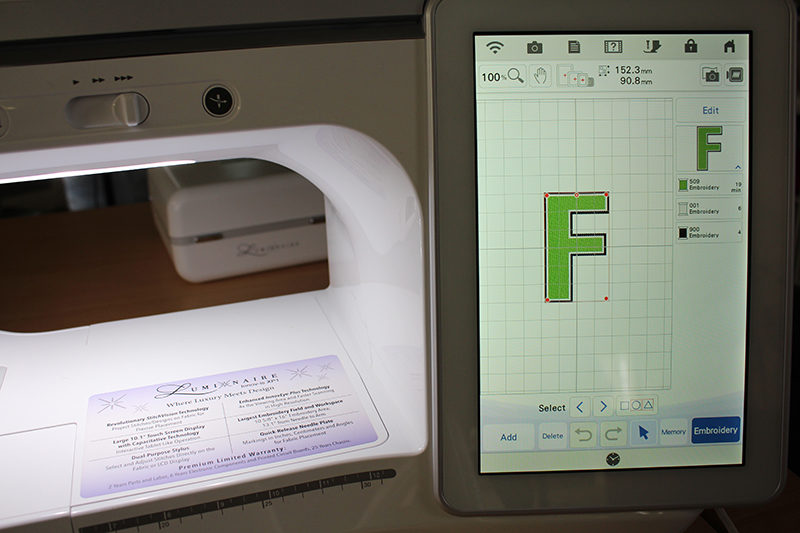
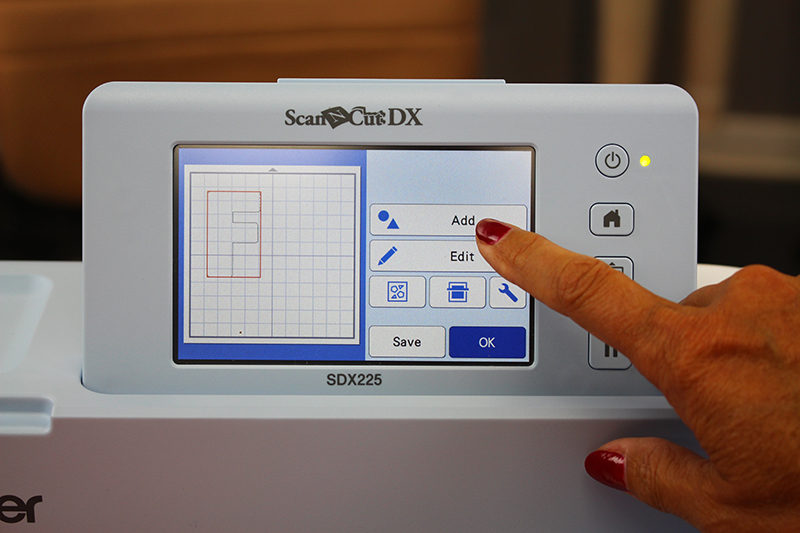
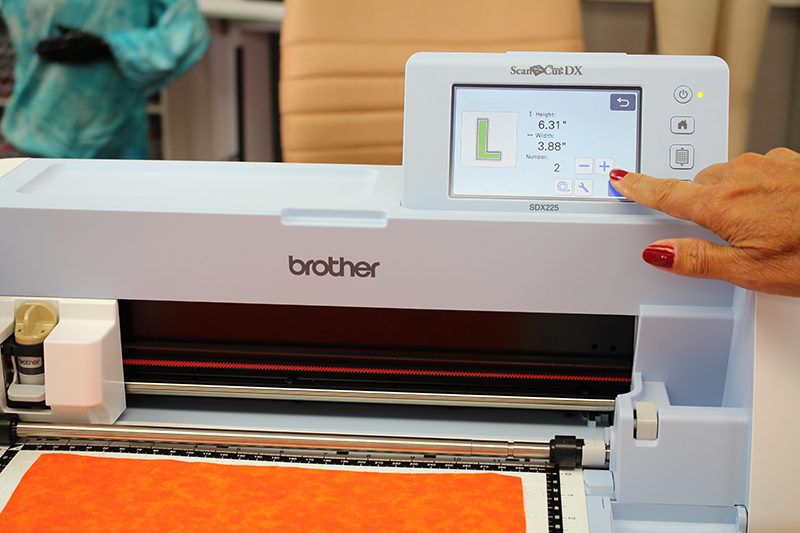
- Scroll through the letters and choose a font (there are additional fonts available on iBroidery.com). Click on the letter “F”. Make sure the final letters will fit on the vase, so check the height and width measurement of the letter.
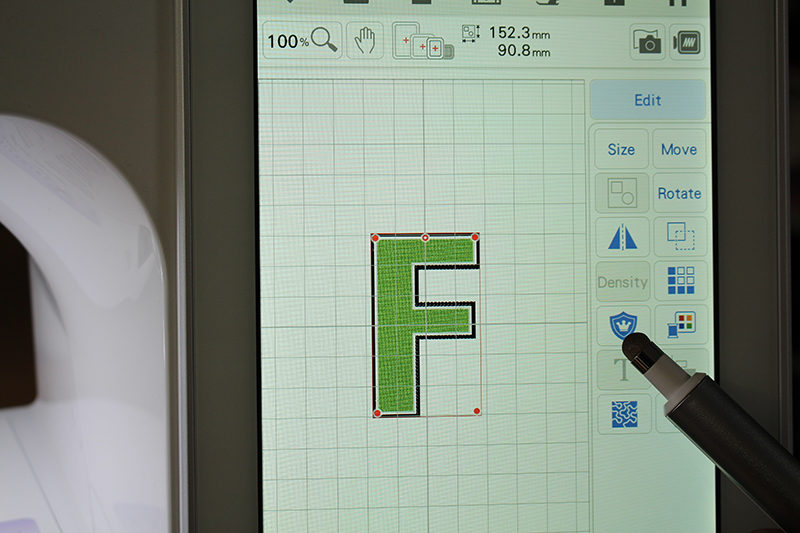
- Click on Edit and add an Appliqué outline to the letter.

- Save the design to memory and then save the letter to a USB stick.
- Follow steps 3 – 5 for letters A and L.
Cut the Letters
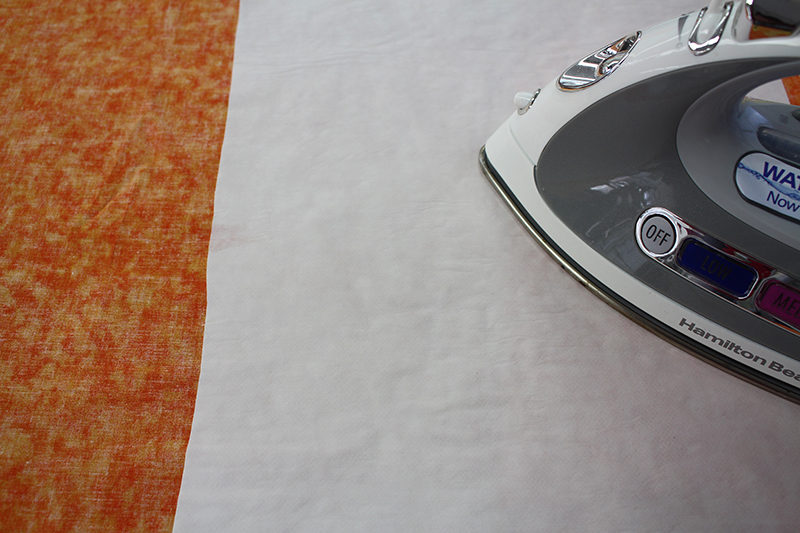
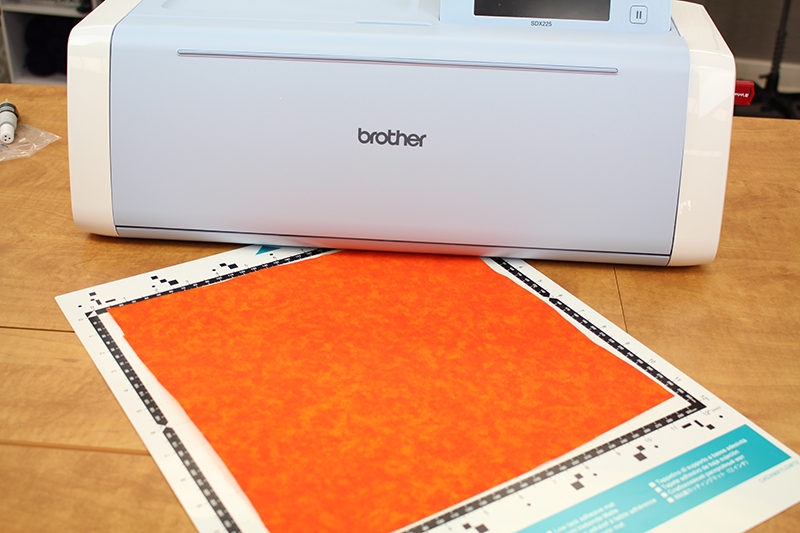
- Prep the cotton fabric for the letters: Cut as many pieces of fabric 12” by 12” as needed for the font size you chose. (I needed 2 sheets for my project.) Press ulta bond to the wrong side of the fabric. Place the fabric onto the mat.
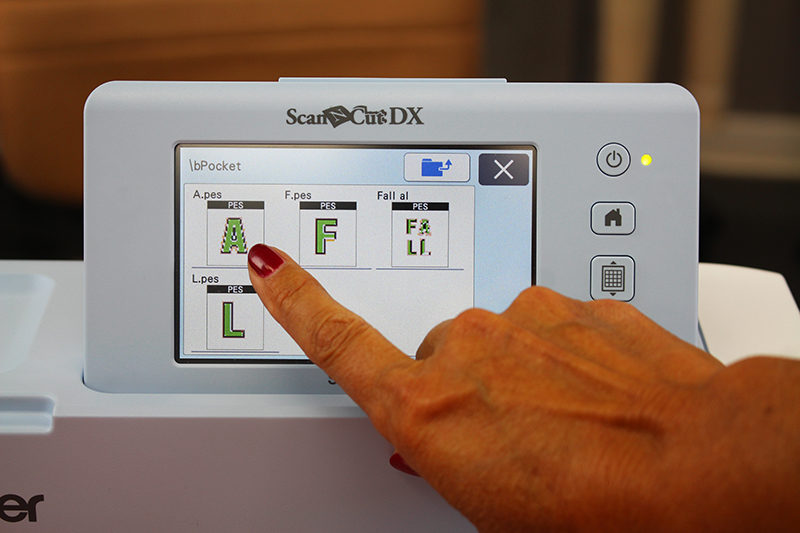
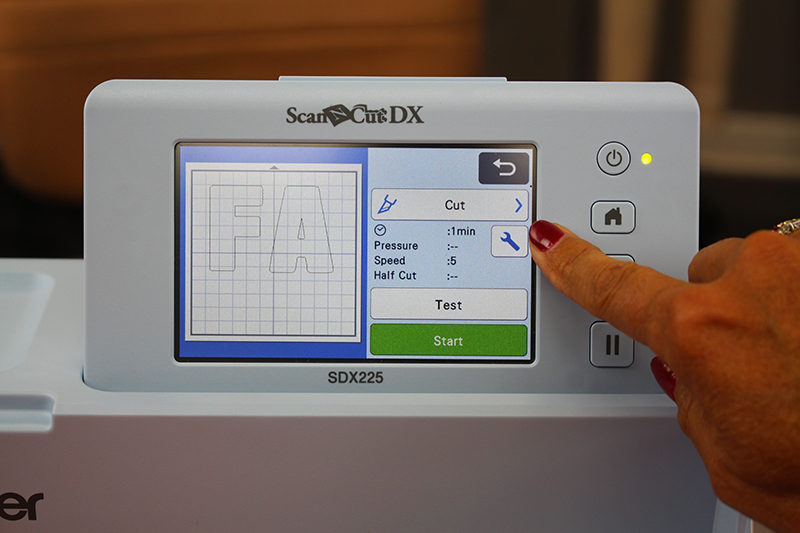
- Open the letter files from the embroidery machine. Choose the Appliqué icon. Click Set.
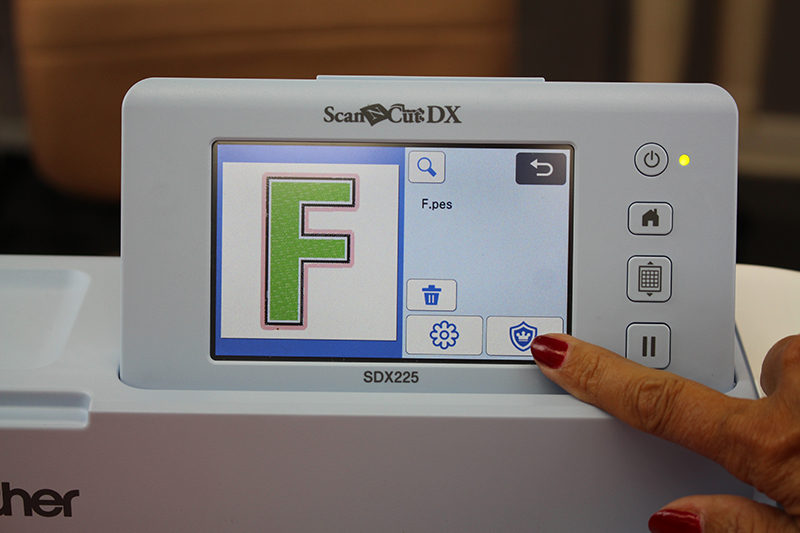
- Add the additional letters.
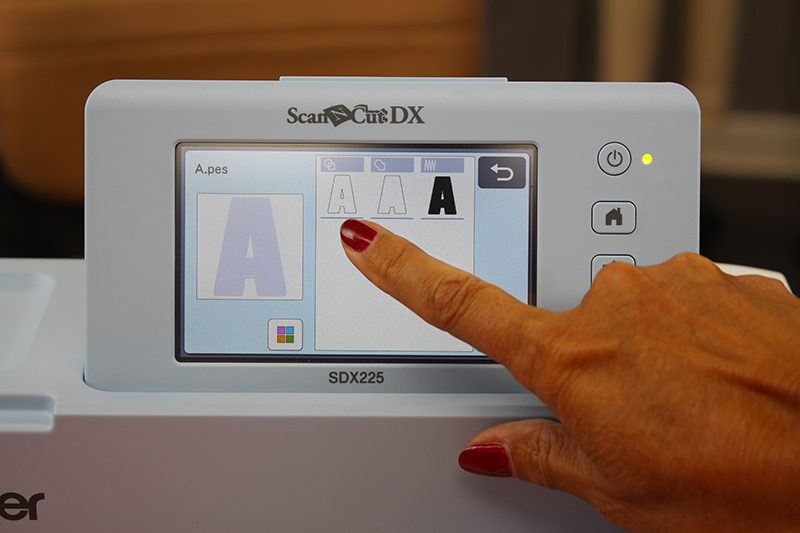
- Depending on the font you chose, check if the center of the “A” is cut out. If you want to have the inside of the A cut out, choose the outline icon instead of the appliqué.

- Go ahead and add two letter “L’s” if you have room. Scan in the mat and move the letter around to fit onto the fabric. The ScanNCut DX automatically detects the thickness of your fabric, so no need to change any settings 😊 Although it’s still a good idea to test cut first.
Tip: My letters were a little too large to cut all four letters at the same time. Don’t worry the ScanNCut will tell you if there is room or not.
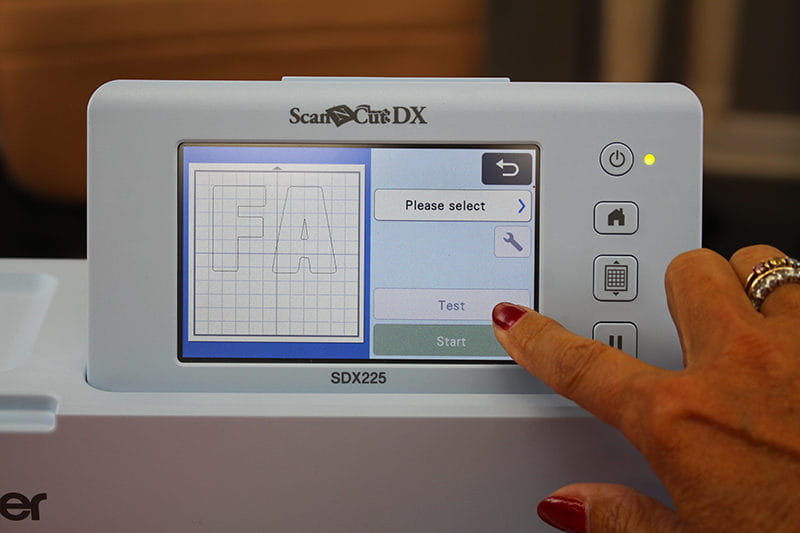
- Cut.


- If you were not able to cut all four letters, follow steps the same steps for both “L” shapes.

Embroidering the Letters
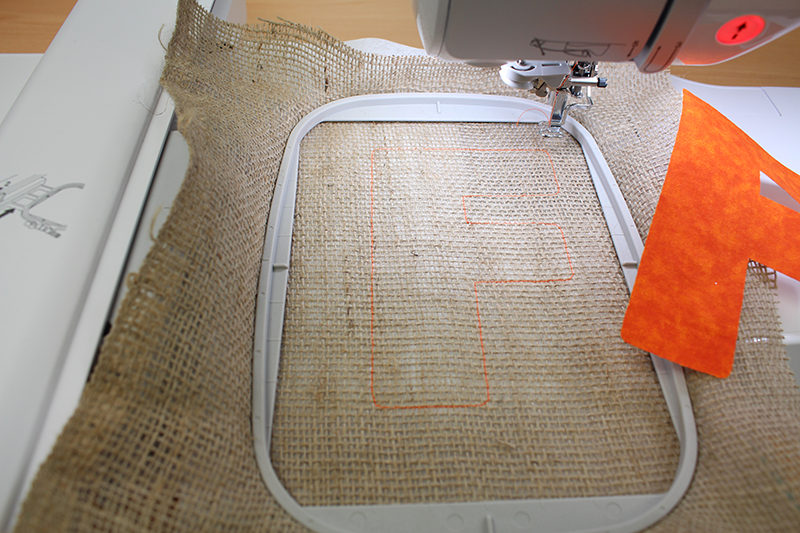
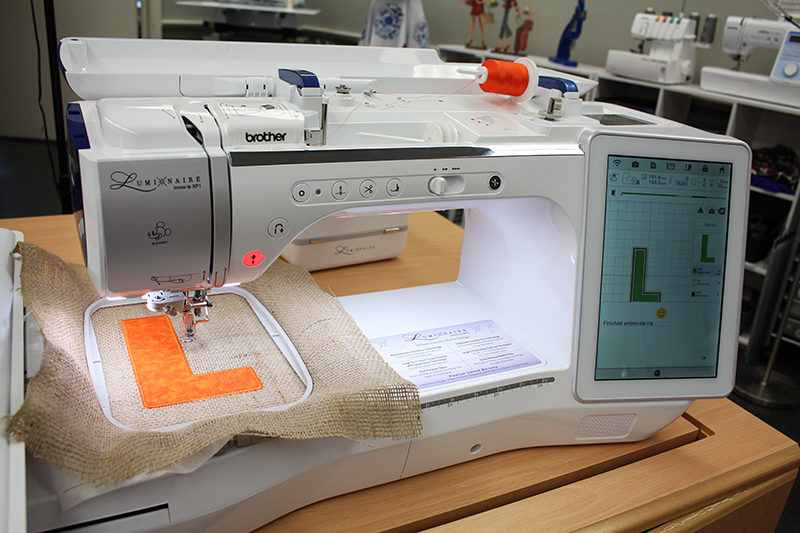
- Hoop the burlap and medium weight tearaway stabilizer, take care to center the fabric in the hoop (it doesn’t have to be exact, just close to centered). Here I am projecting the letter “F” onto the fabric.
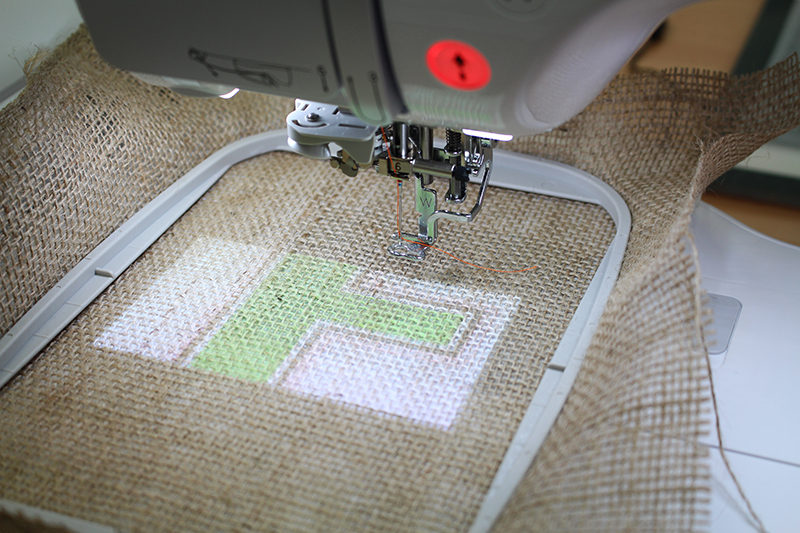

- I only want the appliqué outline, so I will skip the stitches on the letter. Stitch the placement line for the appliqué.
- Remove the hoop. Peel off the paper on the ulta bond, on the backside of the letter.
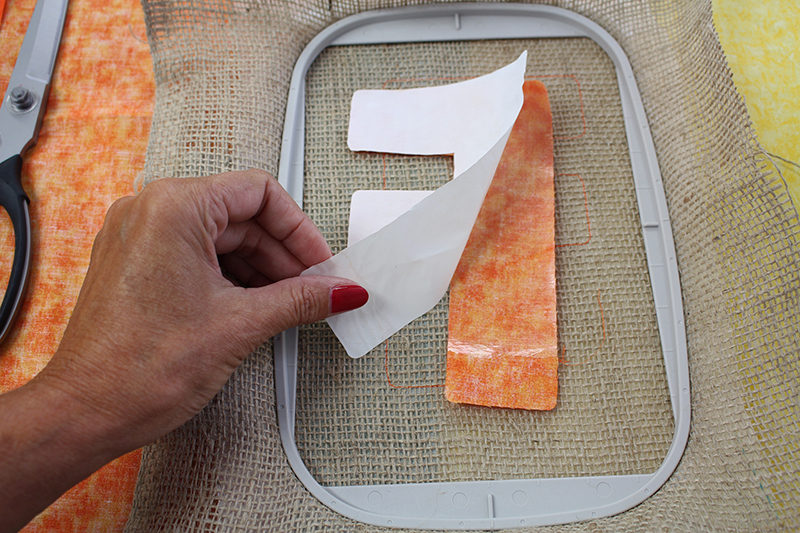
- Position the appliqué letter inside the stitched outline. Press the letter to secure.
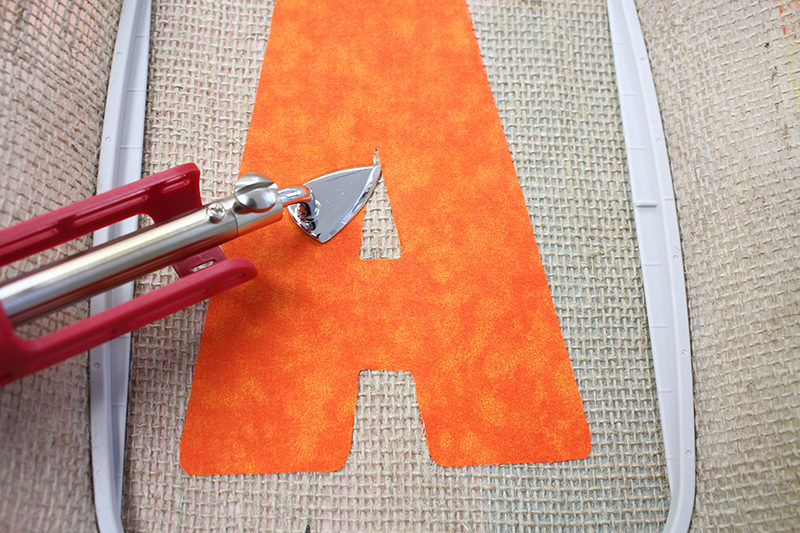 (I am showing the “A” here, I didn’t have a photo of pressing the “F” 😊)
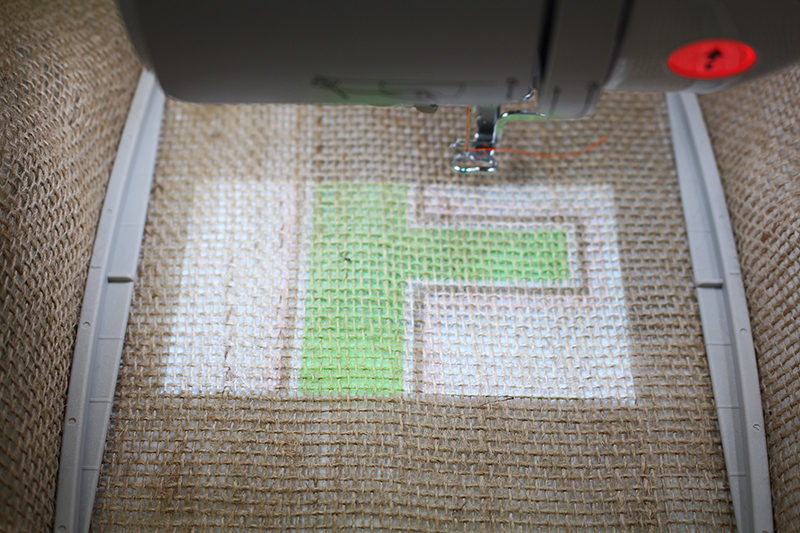
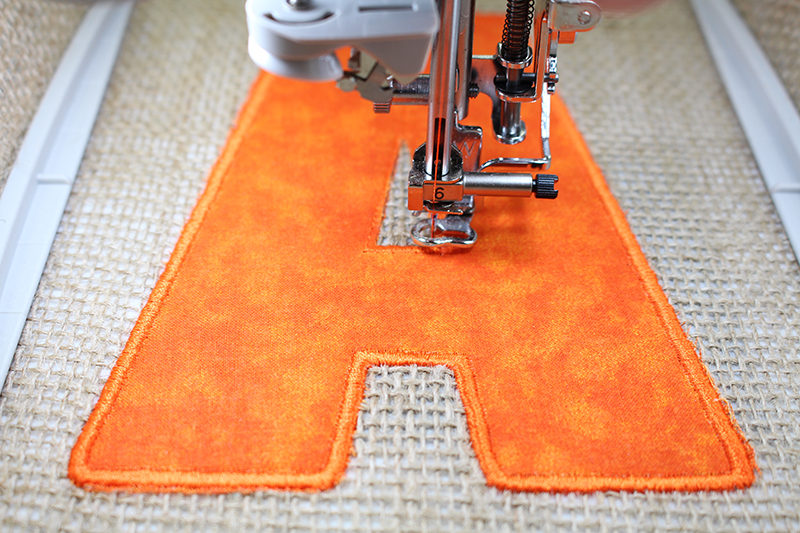
- Place the hoop back in the embroidery machine. Stitch the next steps for the appliqué.


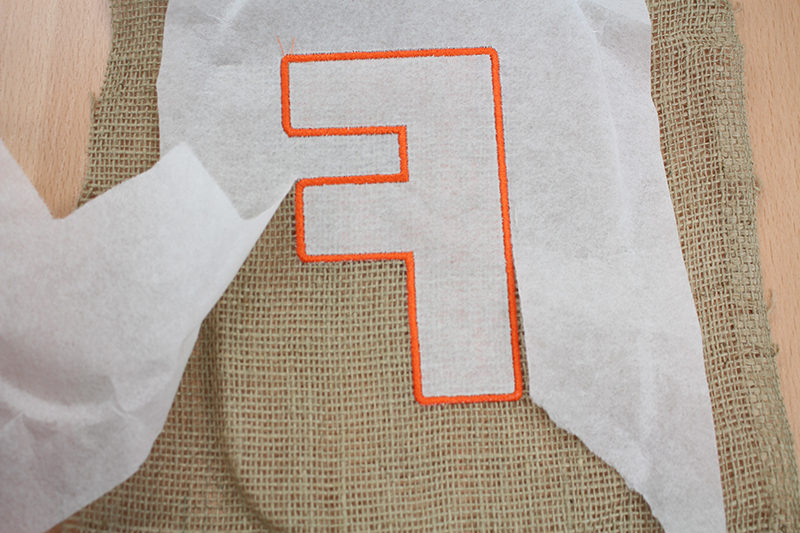
- Remove the fabric from the hoop and tearaway the stabilizer.
- Follow the same steps for the rest of the letters. For the letter “A”, if the appliqué didn’t include the center triangle, go back through the stitches and find locate the satin stitches in this area. Stitch.
Sewing the Tube
- Center the vase on the letter as shown below.
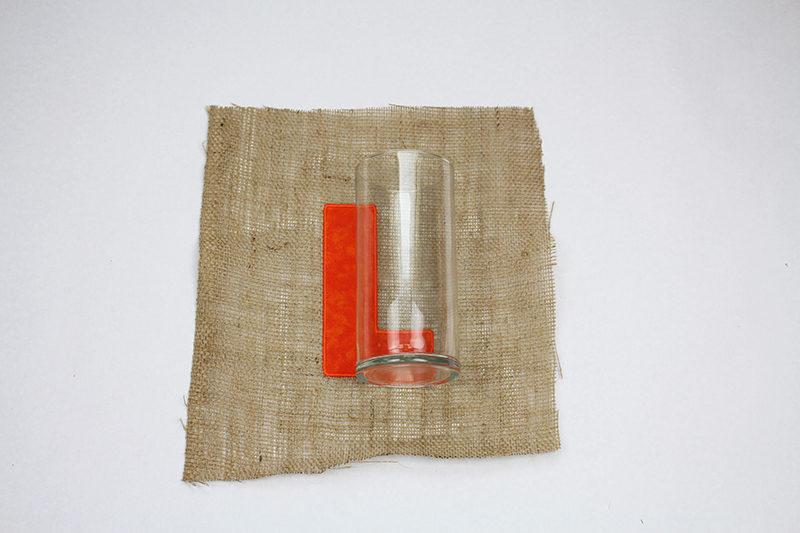
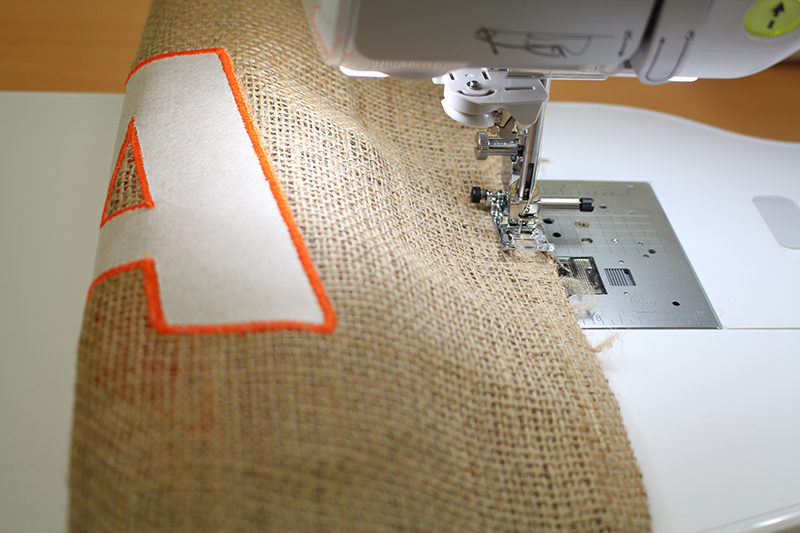
- Fold the burlap around the vase and pin.
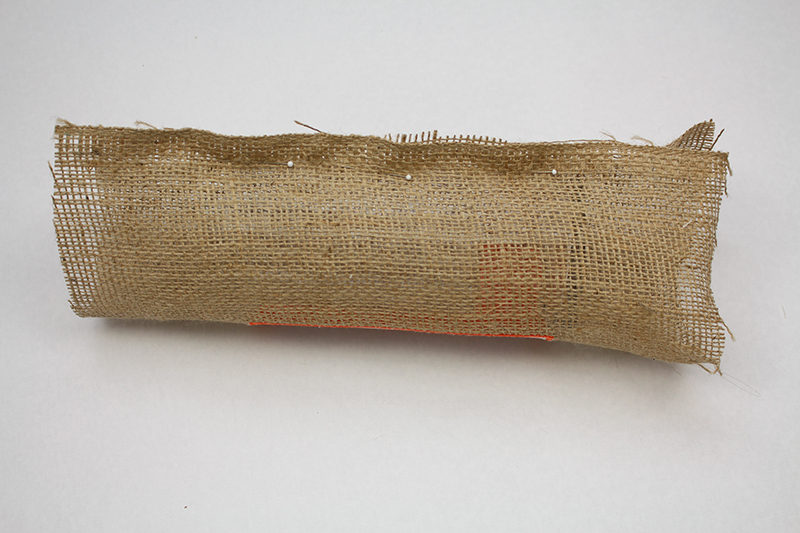
- Stitch along the pinned line, leaving 3” free at the top and bottom of the seam.
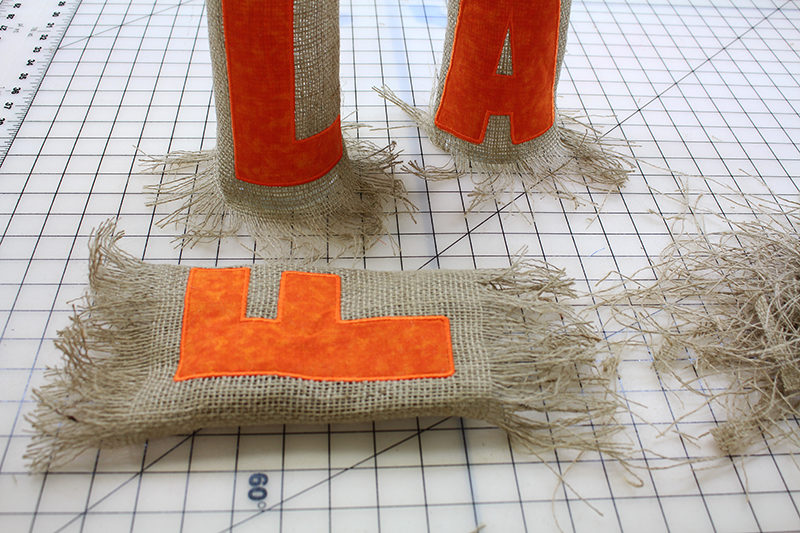
- Turn the fabric tube right side out and fringe 3” up at each end.
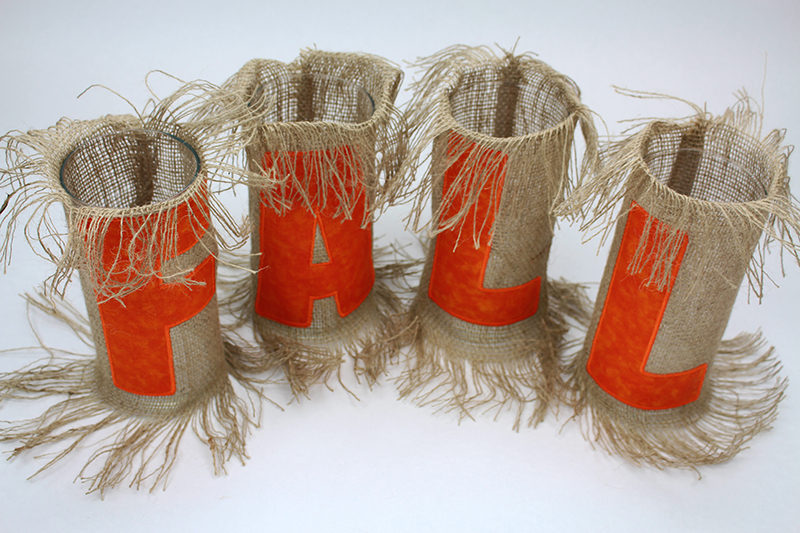
- Slide the vase into the burlap tube.
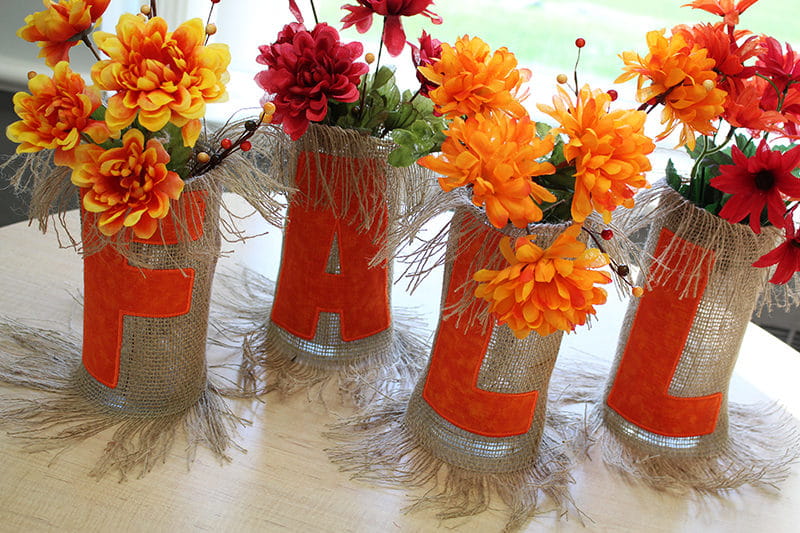 That’s it! Add flowers or leaves and your table or counter will have a festive fall look 😊 What are you adding to your table this fall? I always love to see your creativity at work, so be sure to share photos and use hashtags #brothersews #angelawolf
Happy Fall!
Angela
That’s it! Add flowers or leaves and your table or counter will have a festive fall look 😊 What are you adding to your table this fall? I always love to see your creativity at work, so be sure to share photos and use hashtags #brothersews #angelawolf
Happy Fall!
Angela

Related Projects
Stay Connected
* Required fields