Free Embroidery Design of the Month for June: Father’s Day Embroidered Desk Tray

Dad will surely appreciate this classy desk tray as a Father’s Day gift! It’s made from vinyl and decorated with the Brother free embroidery design of the month. The addition of a monogrammed letter makes it a custom, unique handmade gift for Father’s Day. Whether this handmade gift is used for computer accessories or as a catch-all for his cell phone, car keys, etc., this tray will be your dad’s favorite Father’s Day gift. Are you ready? Let’s go sew!
Note: Project created with the Brother Luminaire sewing and embroidery machine, using the 10 5/8” X 16” hoop. Note that the free design fits within a 4-inch hoop with room to add a monogram letter. Featured instructions show how to create a diamond shaped rectangle, and an additional outline using My Design Center features found in the Luminaire. Please read the instructions and you will find options for creating a similar custom embroidered tray with smaller hoop sizes, using straight stitching on the sewing machine to create the diamond shaped frame.
Finished size of tray: 6-inches wide by 10-inches long, (inside dimensions).
Materials and Supplies for Desk Tray:
- Brother sewing and embroidery machine with 4-inch or larger hoop capability.
- SA5929 Brother Cut-Away stabilizer.
- Embroidery threads and size 11 embroidery needle for embroidering.
- Size 14 sharp needle for sewing corners of tray.
- Temporary adhesive spray specifically for embroidery.
- Low tack tape to hold edges of vinyl in place.
- Basic sewing notions including thread and clips to hold vinyl layers together.
- Rotary cutter, ruler, and mat for trimming vinyl.
- Material for tray: Two pieces of home décor weight vinyl measuring 13-inches long X 10-inches wide. You may find this material labeled faux leather or vegan leather.
- For optional stitching on sewing side of the machine you’ll need the following: Brother SA132 Quilt Guide and Brother SA114 Non-Stick foot or Brother SA190 Roller foot, paper, and a ball point pen.
- Brother Free Design of the month, See Figure #1 below.
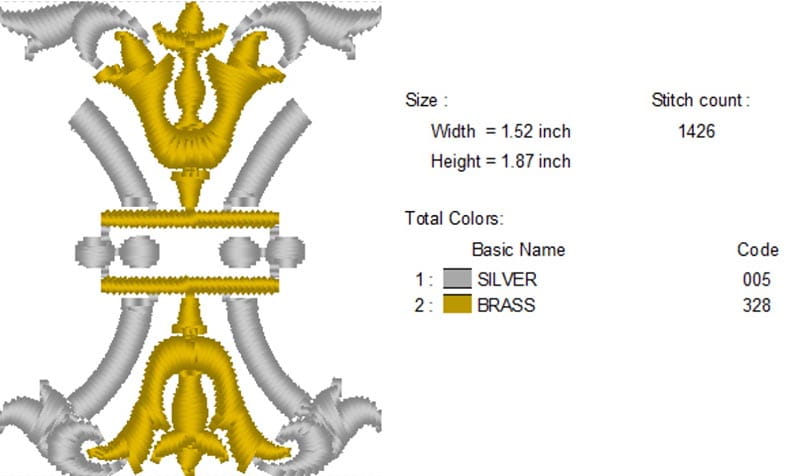
Please read through all instructions before beginning this project. Basic steps are as follows:
- Cut oversized pieces for front and back of tray.
- Create a combination design with monogram and featured free design.
- Prepare designs in My Design Center to add to combination design with monogram.
- Embroider first two steps of top piece.
- Add second piece of vinyl to back side and stitch final outline. Sew corners to form tray and finish.
Important Tips:
- Note that it’s not necessary to precisely cut the oversized vinyl pieces. You will trim the final piece to make it nice and even. Be aware that vinyl shows any pin or needle penetrations. Take care when stitching and use clips instead of pins to hold layers.
- Test your tape before using, making sure it holds pieces in place and does not mar your vinyl. Take care to tape primarily in areas that will be trimmed away to avoid any tape residue.
- When using temporary adhesive spray, it’s important to follow manufacturer’s instructions and avoid over spray in unwanted areas.
- Familiarize yourself with the tools and icons in My Design Center and practice on scrap fabric if necessary until you’re comfortable creating the design for the tray. OK is the final command key for finishing a process at various stages. Note that you’ll need to frequently use OK, even though it is not mentioned in these instructions.
- Featured design will also fit into a 9.5-inch X 14-inch hoop if you have that one available.
All Steps to Create Desk Tray:
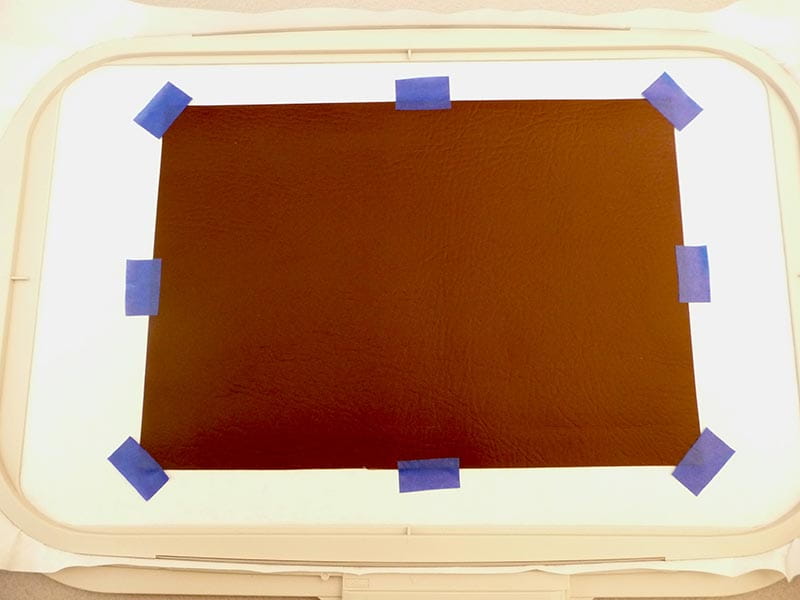
- Transfer design to embroidery machine. Gather supplies and hoop cut-away stabilizer in 10 5/8” X 16” hoop. Lightly spray wrong side of one piece of vinyl and center in the hoop with right side facing up. Add tape at the edges for extra holding power. See Figure #2a and Figure #2b.
- Create a combination monogram design and save to memory.
- Next, we will use My Design Center to create the rectangular shaped frame with diamond fill stitches for center of tray. Start by selecting My Design Center from the home page. Select the following stitch settings for the outline and the fill stitch:
- Touch Add and retrieve your saved monogram design. Touch Set. See combination of diamond frame and monogram design in Figure #5.
- Your design is complete and ready to stitch. Proceed to embroider the tray in the following order:
- Finish by stitching each of the four corners closed, forming tray as follows: Fold corner to form a point. Stitch from raw edge to fold, sewing 1-inch away from the point and sewing a straight line from top to bottom. See Figure #12a through Figure 12d.
Figure #2a
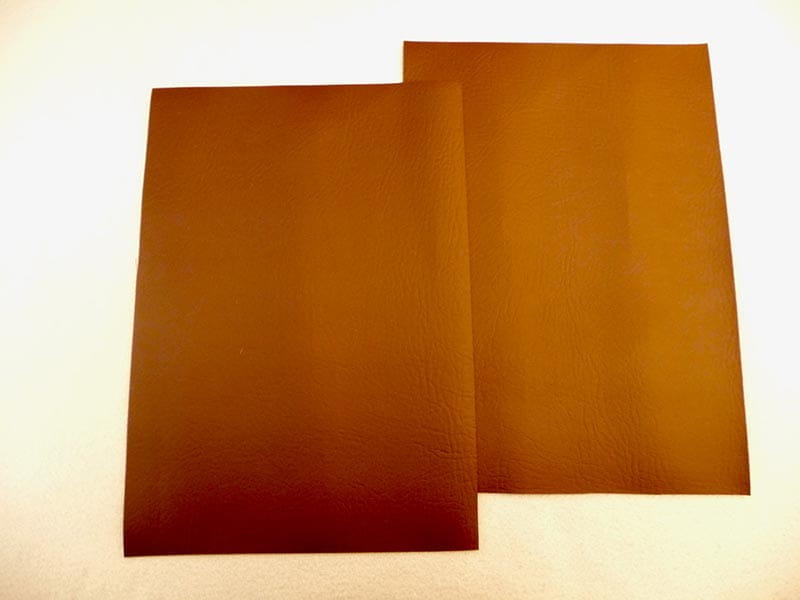
Figure #2b
Note: I rotated the design 45 degrees, then used mirror image and duplication features to create a frame suitable for adding the monogram in the center. There are many ways to align the designs depending on your machine’s capabilities and hoop size. Featured monogram is the old English font. Note that choosing a font with a bold satin stitch produces the best results for this project. Tip: To create a design with less needle penetrations, I used the Density key to lower the density of the letter to 85 percent. When you’re pleased with the arrangement, proceed to the embroidery screen and touch layout, then rotate the combined design 90 degrees so it stitches in the proper layout for the rectangular tray. Save your combination design to memory to retrieve later. See example of combined design in Figure #3
Figure #3
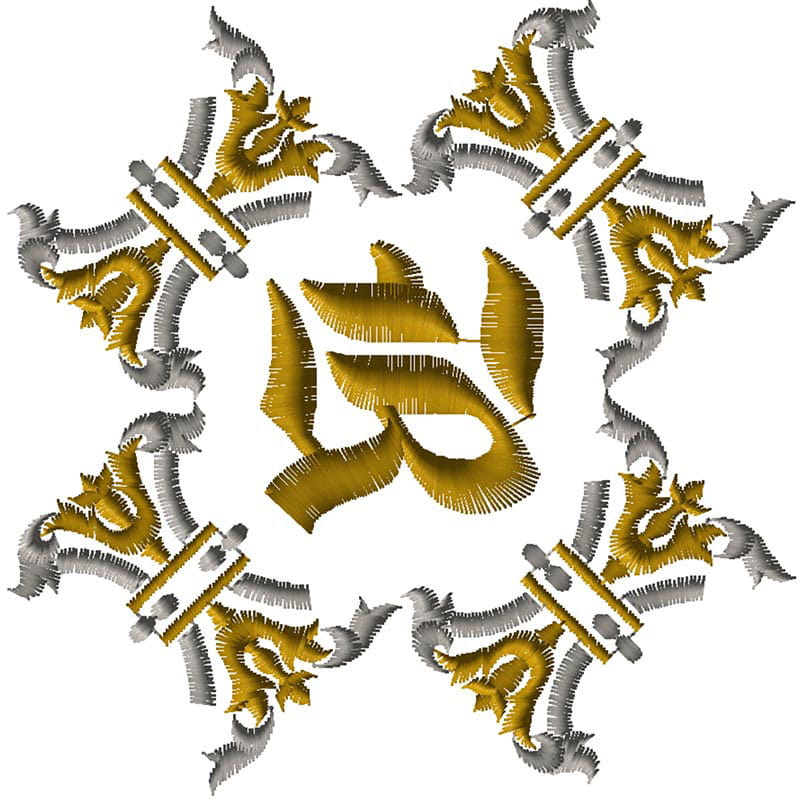
Figure #4
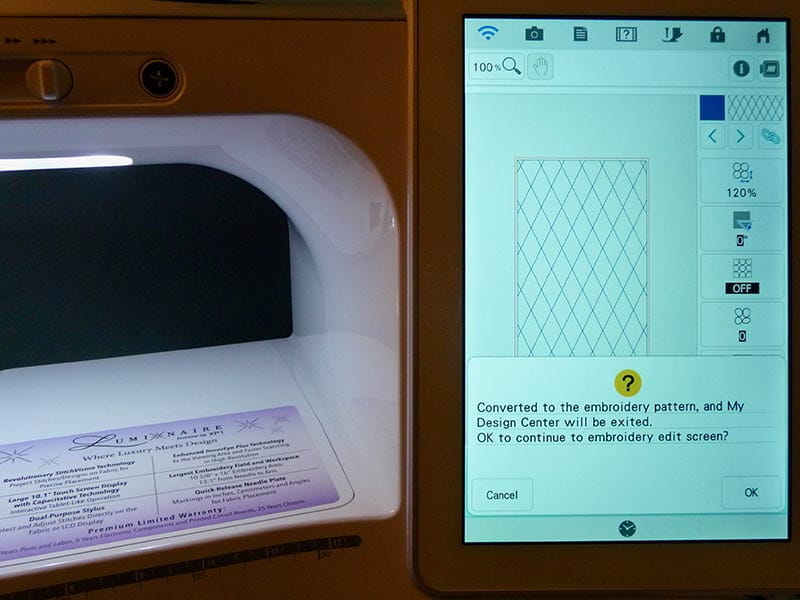
Figure #5
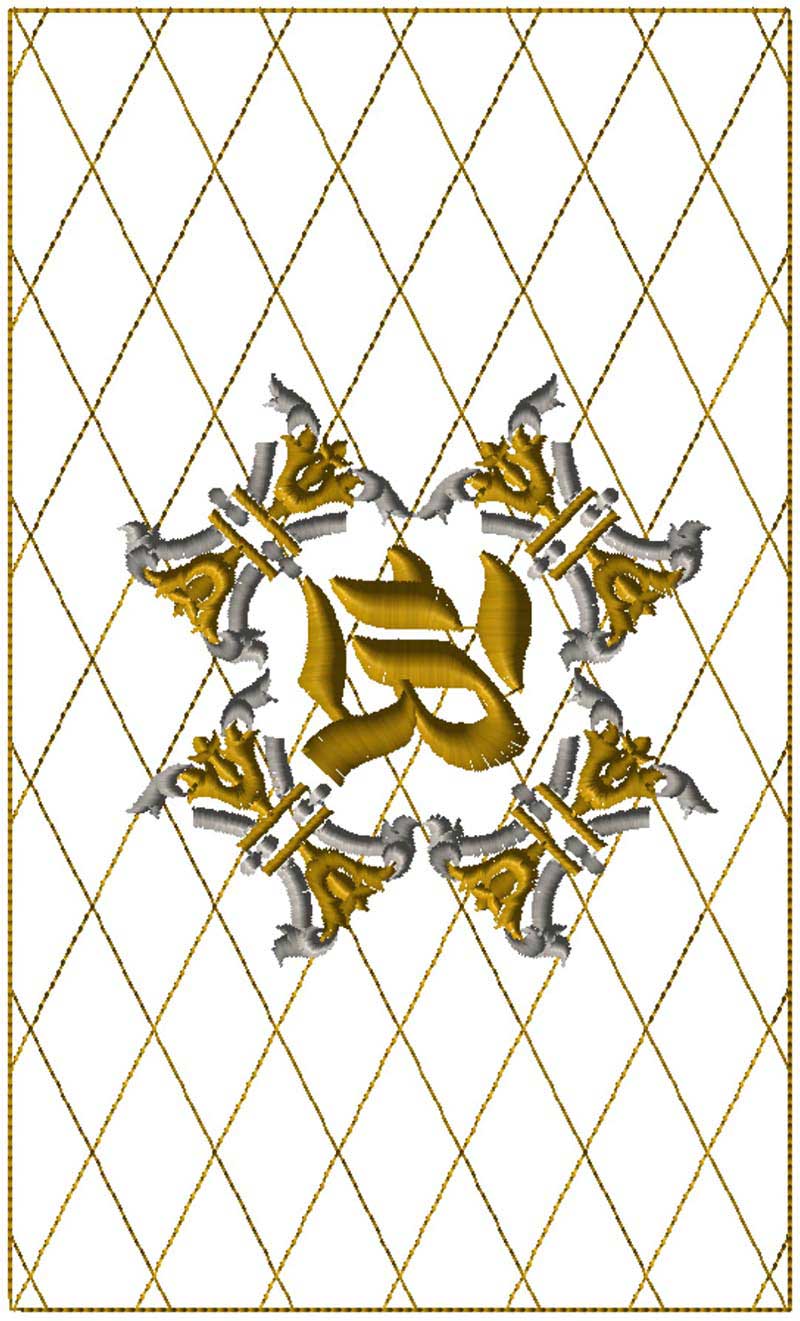
Touch Add again and press key in bottom corner to return to My Design Center. Create final outline for tray as follows:
Figure #6a
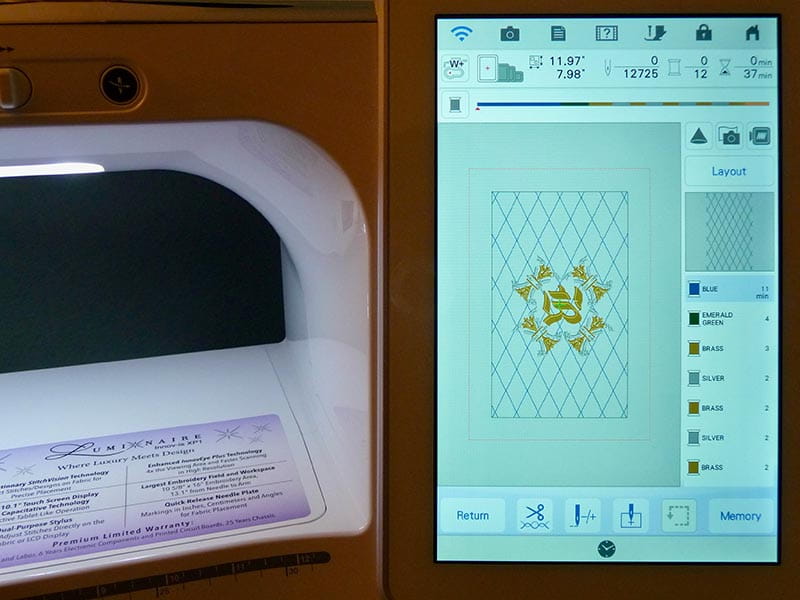
Figure #6b
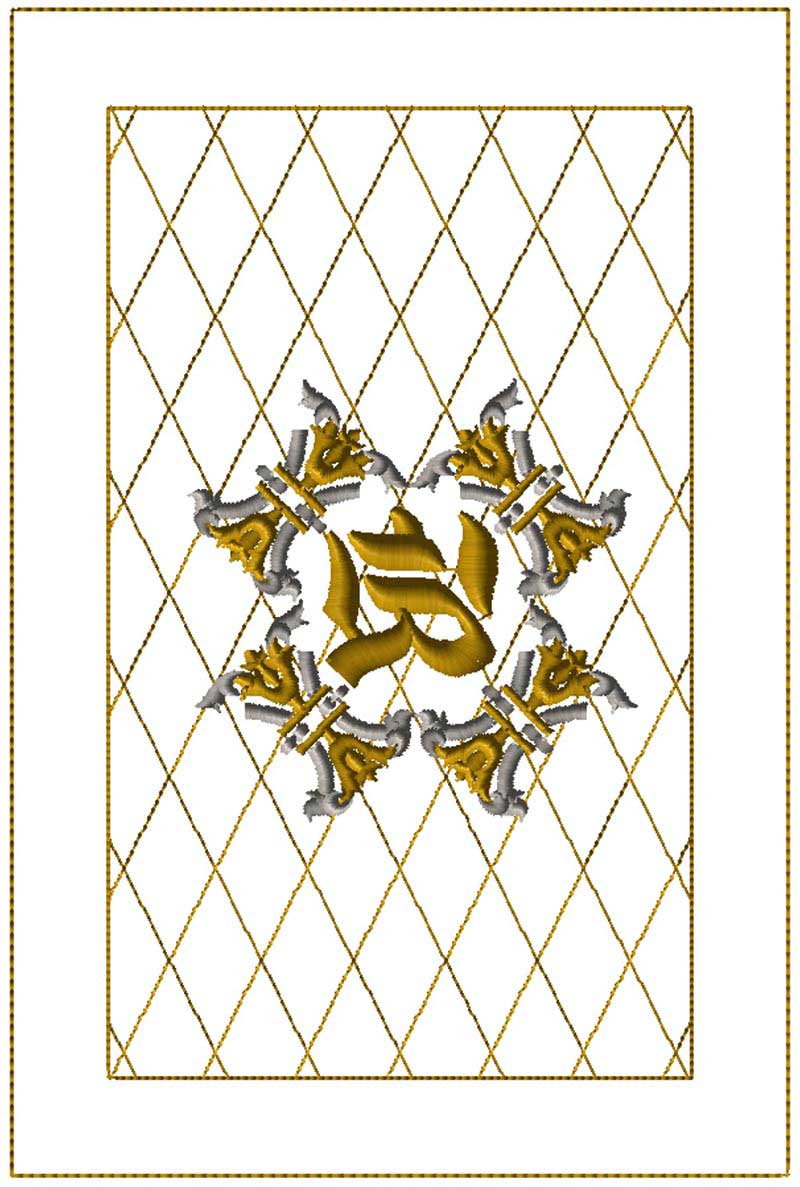
Figure #7
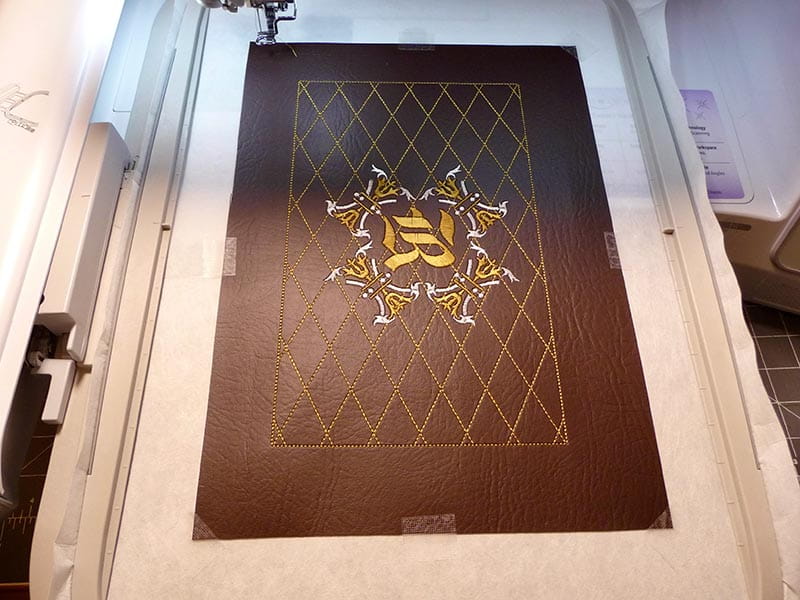
Figure #8
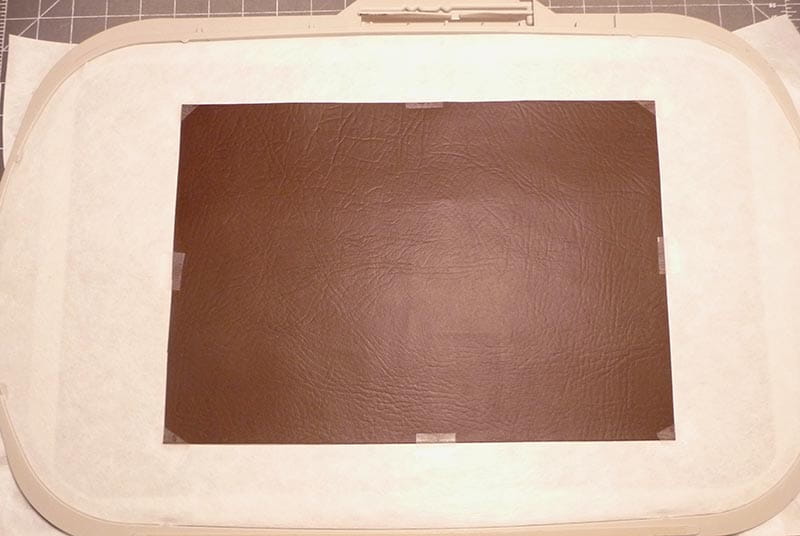
Stitch final piece as follows: Advance to first stitch. Send needle down and up, and then pull bobbin thread to the top. Hold thread for the first few stitches, stop and trim thread tails, then resume stitching. See Figure #9.
Figure #9
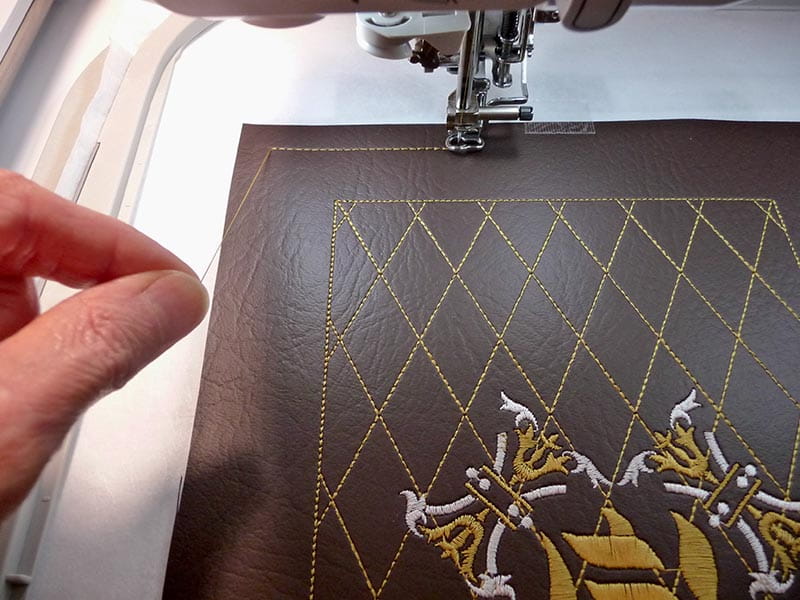
See completed top side of piece in Figure #10a and completed back side of piece in Figure #10b.
Figure #10a
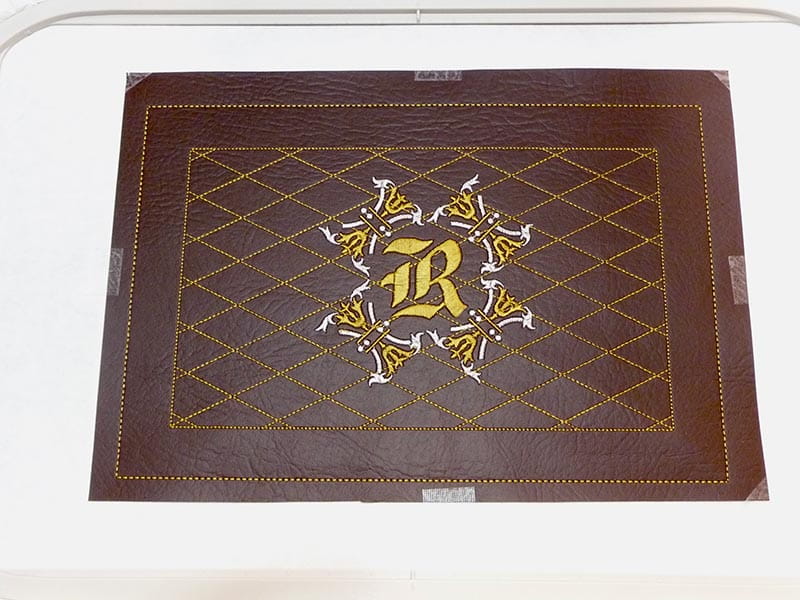
Figure #10b
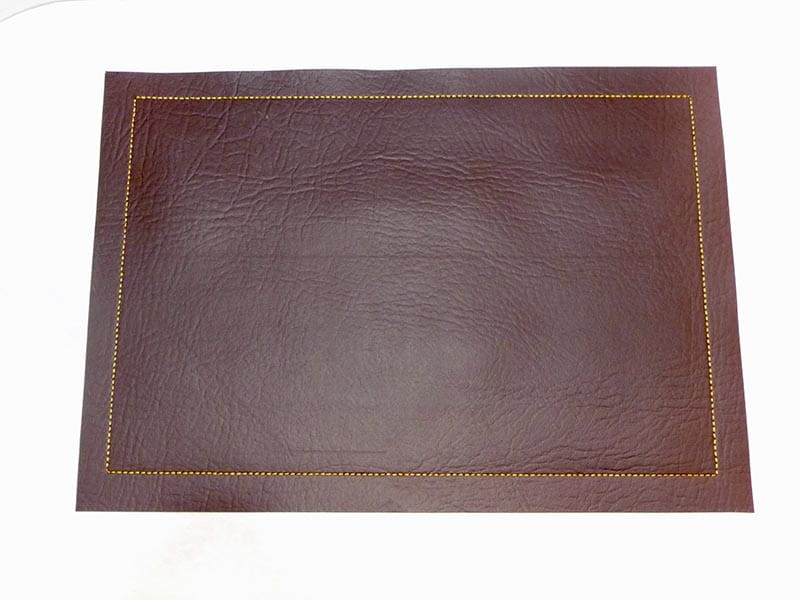
Remove piece from hoop and use rotary cutting tools to carefully trim just outside of final outline. See Figure #11.
Figure #11
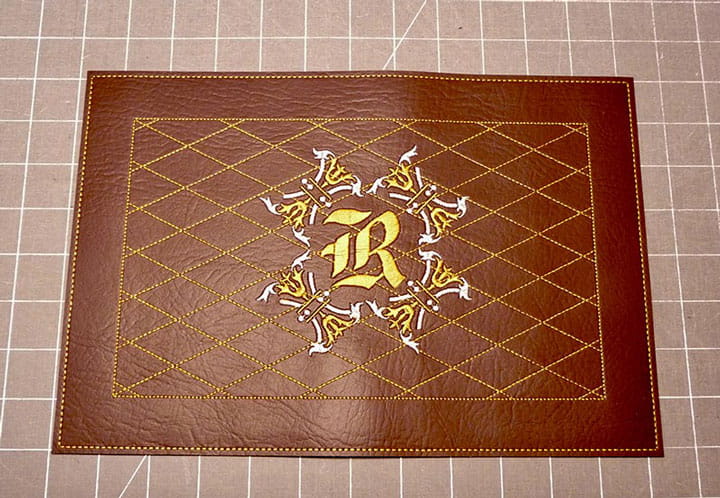
Figure #12a
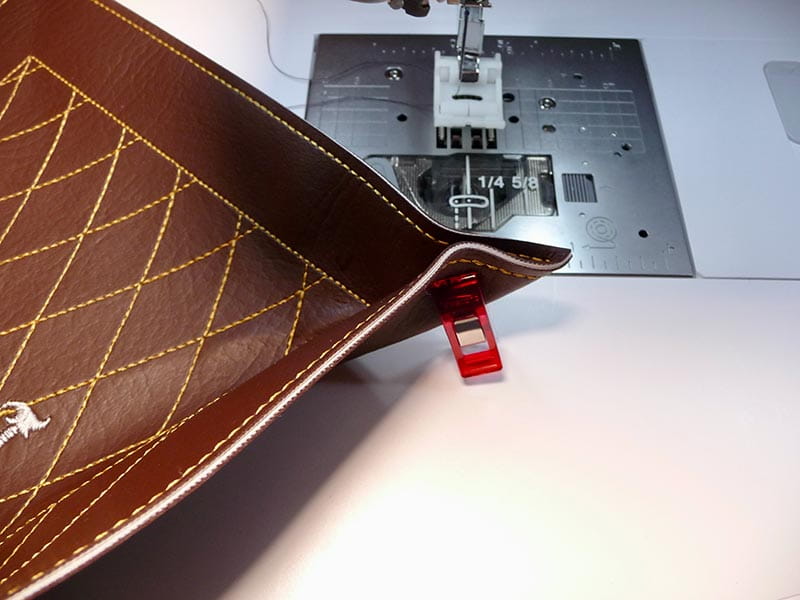
Figure #12b
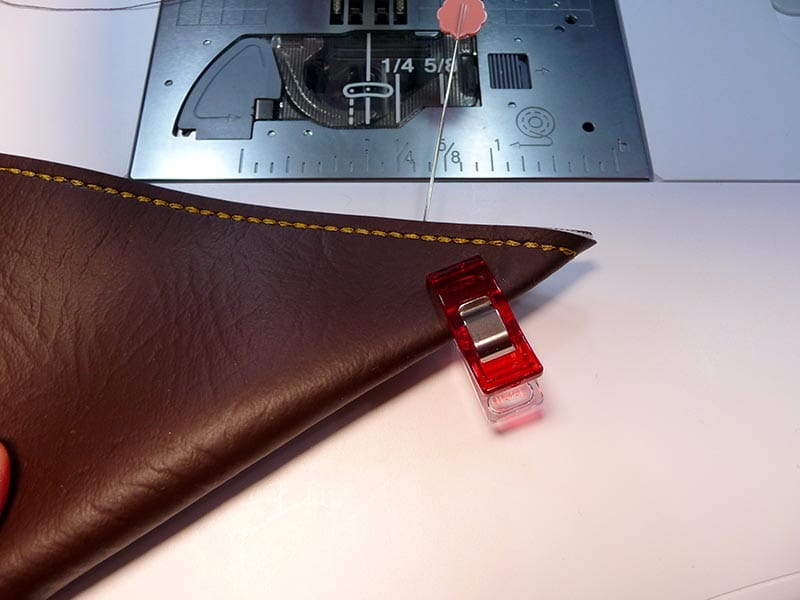
Figure #12c
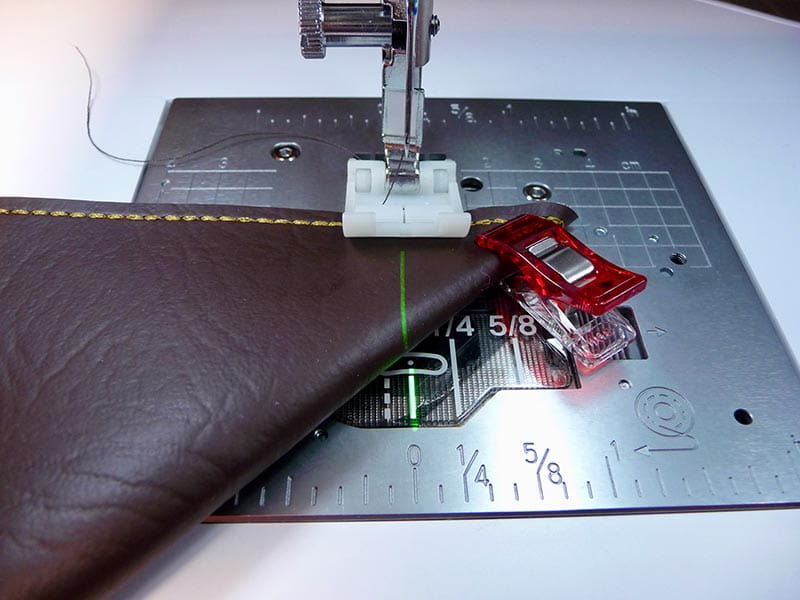
Figure #12d
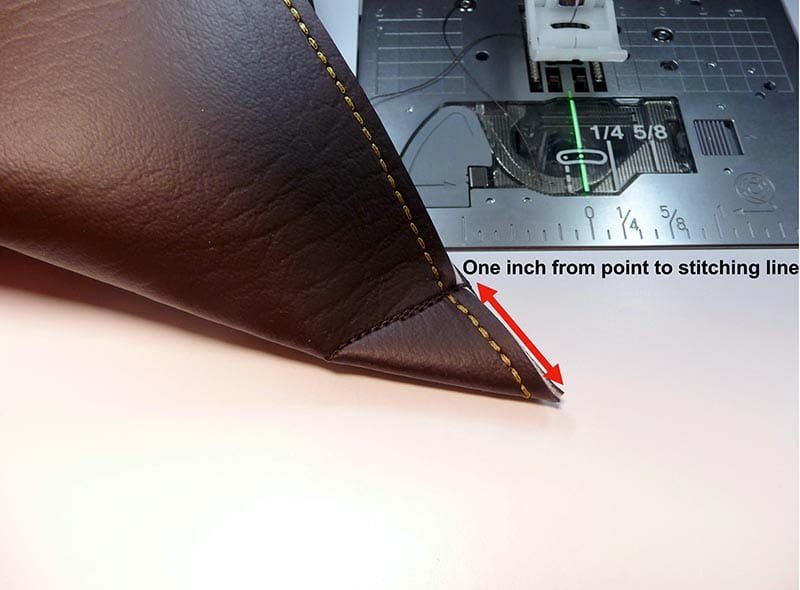
Tip: If you’re accustomed to using double sided specialty snaps, you can apply snaps at the corners in place of the stitching. Snaps allow for the piece to be flattened for storage and travel
Options for smaller hoop machines and without My Design Center capabilities:
For machines without My Design Center and a large hoop, consider creating the diamond frame on the sewing machine. Steps are as follows:
Figure #13
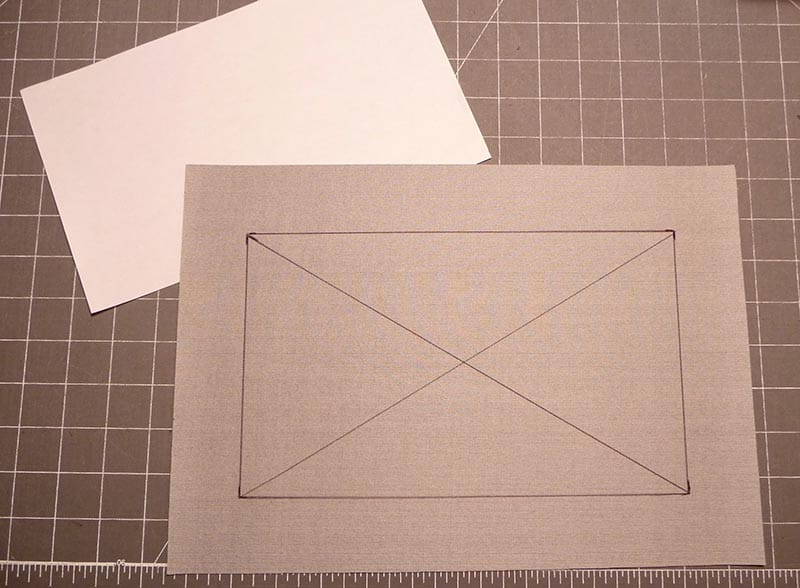
Thread top and bobbin with matching embroidery thread and stitch the rectangle and the starter lines, working from the wrong side. Note: I used the Brother SA190 Roller foot for stitching on the vinyl. See Figure #14.
Figure #14
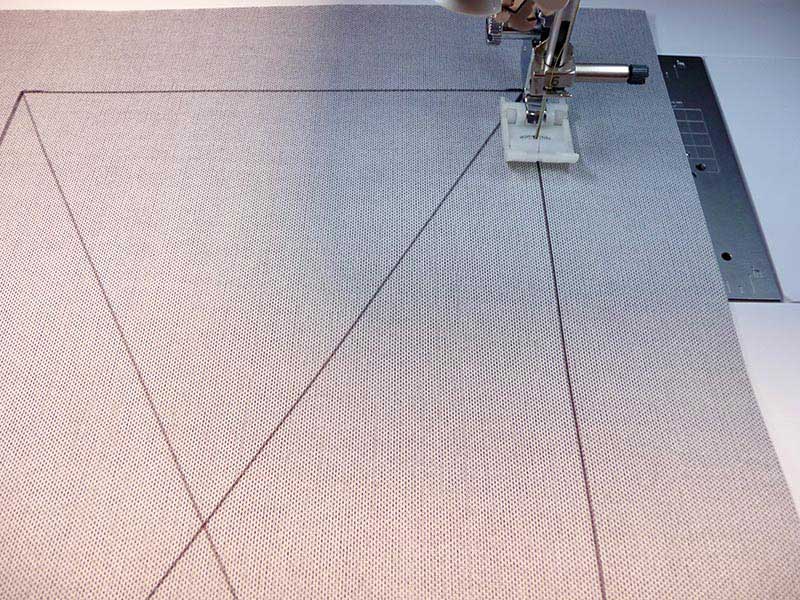
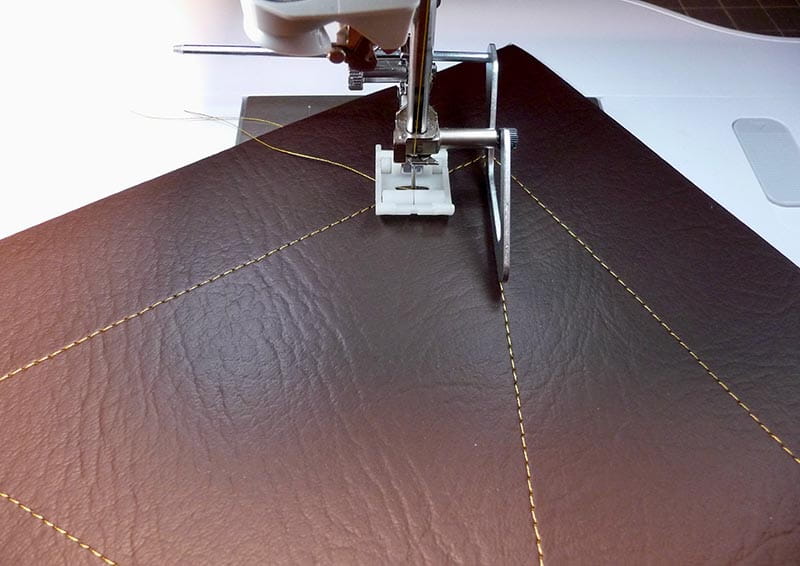
Turn piece to right side and stitch additional equally spaced lines using the quilt guide and a non-stick foot. See Figure #15.
Figure #15
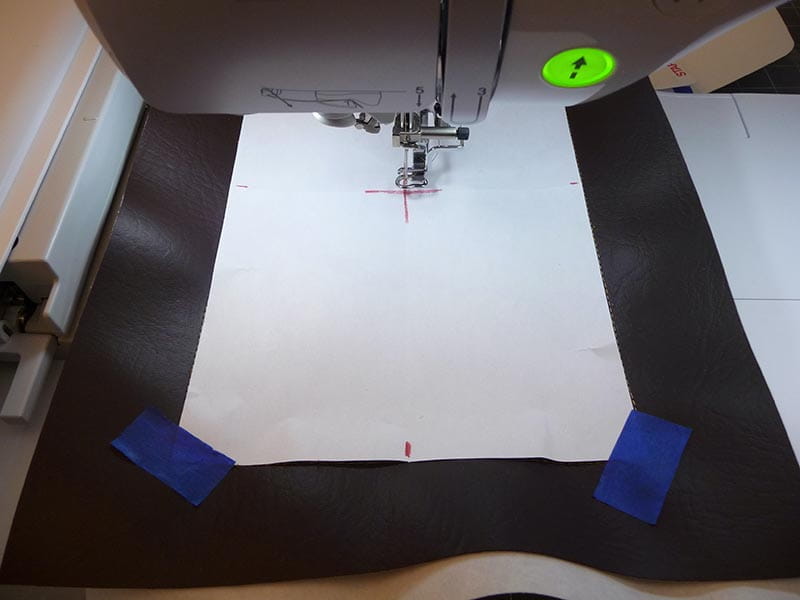
Create a combination design with a monogram letter to fit your chosen hoop. Align the design with the center of the diamond stitching as follows: Fold paper to find and mark center and temporarily tape paper over the diamond stitched rectangle. Hoop a piece of cut away stabilizer and center the stitched piece in the hoop, securing it to the stabilizer using the adhesive spray. Note: I used a 5-inch X 7-inch hoop in this example. Place hoop on machine and make sure needle points to center of marking, adjusting as necessary with your jog keys before stitching. See Figure #16.
Figure #16
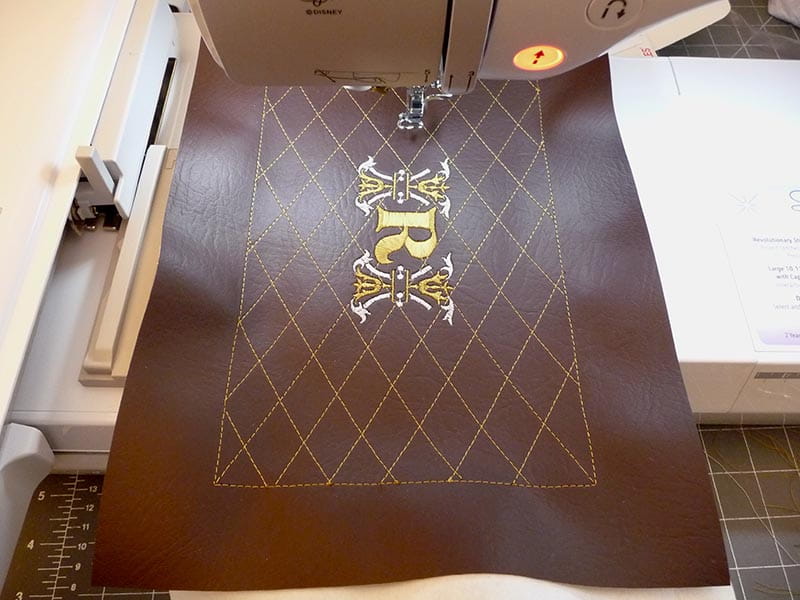
Embroider design. See example in Figure #17.
Remove from hoop and trim excess stabilizer. To finish, layer two pieces of vinyl with wrong sides together, securing them with adhesive spray. Use the quilt guide to stitch a final rectangle 1-inch from the outer edges of the rectangular diamond frame so it resembles the finished design shown in Step #5. Trim outside the stitching line and finish corners as described in Step #6. Your completed piece will look very similar to the original design shown in this project.
Consider making a matching coaster with the vinyl. You’ll find this idea presented during the Brother sponsored It’s Sew Easy TV show 1711, found on the Let’s Go Sew with Joanne Banko YouTube channel here: https://www.youtube.com/watch?v=iEfUz9h2Xw0
Enjoy!


